SpringCloud -创建统一的依赖管理
场景
Spring Cloud 为开发者提供了在分布式系统(配置管理,服务发现,熔断,路由,微代理,控制总线,一次性 Token,全居琐,Leader 选举,分布式 Session,集群状态)中快速构建的工具,使用 Spring Cloud 的开发者可以快速的启动服务或构建应用、同时能够快速和云平台资源进行对接。
注:
博客:
https://blog.csdn.net/badao_liumang_qizhi
关注公众号
霸道的程序猿
获取编程相关电子书、教程推送与免费下载。
实现
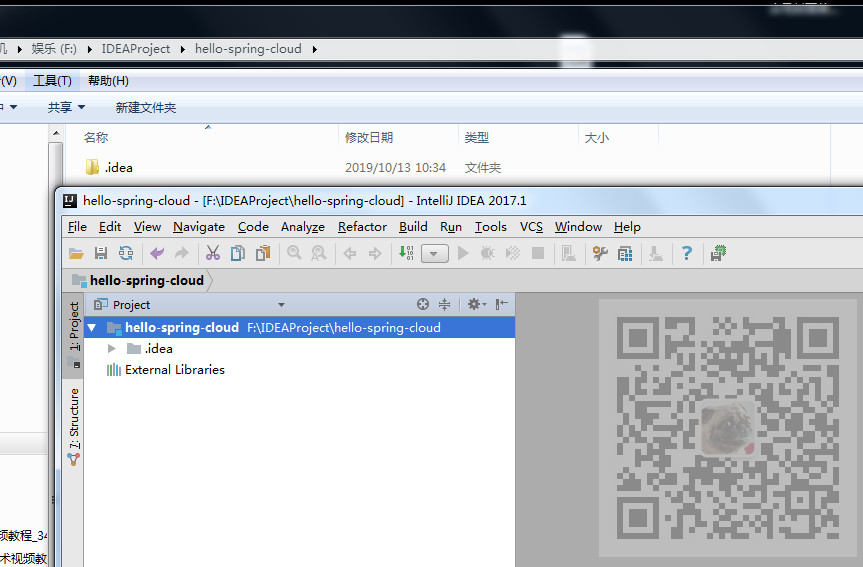
在目录下新建一个目录hello-spring-cloud ,然后使用IDEA打开这个目录。
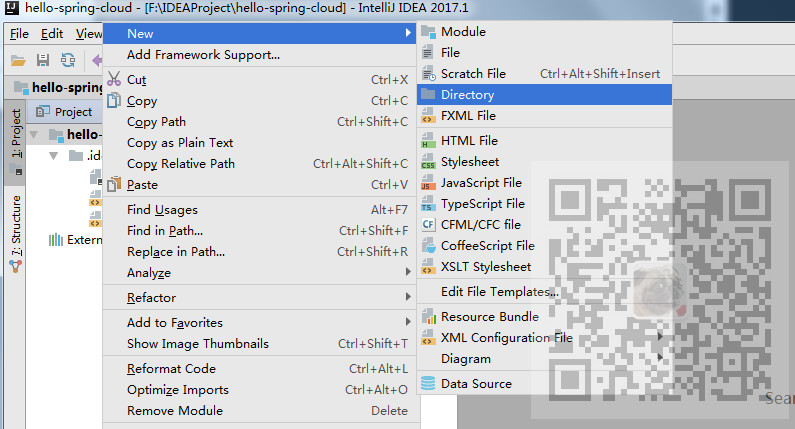
这个文件夹是用来放所有工程的,所以在IDEA上右击目录继续新建目录。
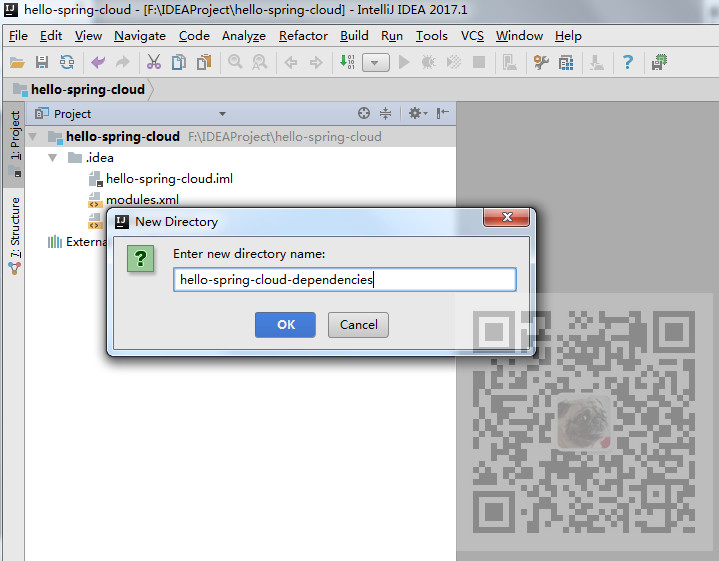
为统一的依赖管理项目取名字。
新建完成后再新建File--pom.xml
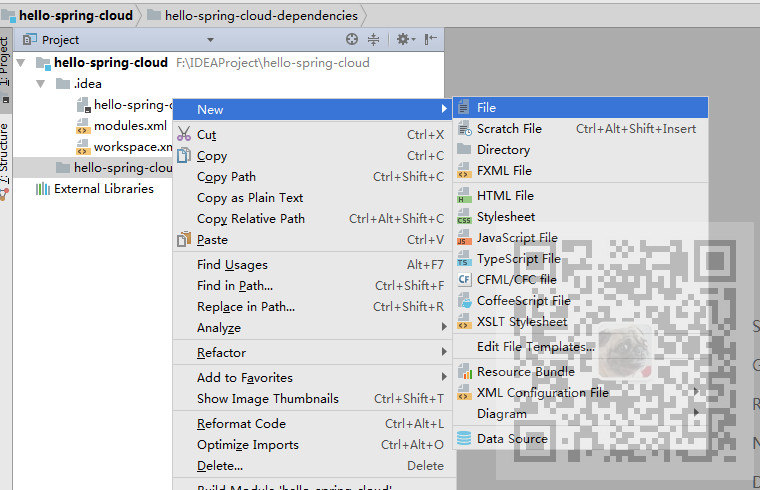
复制如下代码:
<?xml version="1.0" encoding="UTF-8"?>

<project xmlns="http://maven.apache.org/POM/4.0.0" xmlns:xsi="http://www.w3.org/2001/XMLSchema-instance"

         xsi:schemaLocation="http://maven.apache.org/POM/4.0.0 http://maven.apache.org/xsd/maven-4.0.0.xsd">

    <modelVersion>4.0.0</modelVersion>

    <parent>

        <groupId>org.springframework.boot</groupId>

        <artifactId>spring-boot-starter-parent</artifactId>

        <version>2.0.3.RELEASE</version>

    </parent>

    <groupId>com.badao</groupId>

    <artifactId>hello-spring-cloud-dependencies</artifactId>

    <version>1.0.0-SNAPSHOT</version>

    <packaging>pom</packaging>

    <name>hello-spring-cloud-dependencies</name>

    <url>https://blog.csdn.net/badao_liumang_qizhi</url>

    <inceptionYear>2019-Now</inceptionYear>

    <properties>

        <!-- Environment Settings -->

        <java.version>1.8</java.version>

        <project.build.sourceEncoding>UTF-8</project.build.sourceEncoding>

        <project.reporting.outputEncoding>UTF-8</project.reporting.outputEncoding>

        <!-- Spring Settings -->

        <spring-cloud.version>Finchley.RC1</spring-cloud.version>

    </properties>

    <dependencyManagement>

        <dependencies>

            <dependency>

                <groupId>org.springframework.cloud</groupId>

                <artifactId>spring-cloud-dependencies</artifactId>

                <version>${spring-cloud.version}</version>

                <type>pom</type>

                <scope>import</scope>

            </dependency>

        </dependencies>

    </dependencyManagement>

    <build>

        <plugins>

            <!-- Compiler 插件, 设定 JDK 版本 -->

            <plugin>

                <groupId>org.apache.maven.plugins</groupId>

                <artifactId>maven-compiler-plugin</artifactId>

                <configuration>

                    <showWarnings>true</showWarnings>

                </configuration>

            </plugin>

            <!-- 打包 jar 文件时,配置 manifest 文件,加入 lib 包的 jar 依赖 -->

            <plugin>

                <groupId>org.apache.maven.plugins</groupId>

                <artifactId>maven-jar-plugin</artifactId>

                <configuration>

                    <archive>

                        <addMavenDescriptor>false</addMavenDescriptor>

                    </archive>

                </configuration>

                <executions>

                    <execution>

                        <configuration>

                            <archive>

                                <manifest>

                                    <!-- Add directory entries -->

                                    <addDefaultImplementationEntries>true</addDefaultImplementationEntries>

                                    <addDefaultSpecificationEntries>true</addDefaultSpecificationEntries>

                                    <addClasspath>true</addClasspath>

                                </manifest>

                            </archive>

                        </configuration>

                    </execution>

                </executions>

            </plugin>

            <!-- resource -->

            <plugin>

                <groupId>org.apache.maven.plugins</groupId>

                <artifactId>maven-resources-plugin</artifactId>

            </plugin>

            <!-- install -->

            <plugin>

                <groupId>org.apache.maven.plugins</groupId>

                <artifactId>maven-install-plugin</artifactId>

            </plugin>

            <!-- clean -->

            <plugin>

                <groupId>org.apache.maven.plugins</groupId>

                <artifactId>maven-clean-plugin</artifactId>

            </plugin>

            <!-- ant -->

            <plugin>

                <groupId>org.apache.maven.plugins</groupId>

                <artifactId>maven-antrun-plugin</artifactId>

            </plugin>

            <!-- dependency -->

            <plugin>

                <groupId>org.apache.maven.plugins</groupId>

                <artifactId>maven-dependency-plugin</artifactId>

            </plugin>

        </plugins>

        <pluginManagement>

            <plugins>

                <!-- Java Document Generate -->

                <plugin>

                    <groupId>org.apache.maven.plugins</groupId>

                    <artifactId>maven-javadoc-plugin</artifactId>

                    <executions>

                        <execution>

                            <phase>prepare-package</phase>

                            <goals>

                                <goal>jar</goal>

                            </goals>

                        </execution>

                    </executions>

                </plugin>

                <!-- YUI Compressor (CSS/JS压缩) -->

                <plugin>

                    <groupId>net.alchim31.maven</groupId>

                    <artifactId>yuicompressor-maven-plugin</artifactId>

                    <version>1.5.1</version>

                    <executions>

                        <execution>

                            <phase>prepare-package</phase>

                            <goals>

                                <goal>compress</goal>

                            </goals>

                        </execution>

                    </executions>

                    <configuration>

                        <encoding>UTF-8</encoding>

                        <jswarn>false</jswarn>

                        <nosuffix>true</nosuffix>

                        <linebreakpos>30000</linebreakpos>

                        <force>true</force>

                        <includes>

                            <include>**/*.js</include>

                            <include>**/*.css</include>

                        </includes>

                        <excludes>

                            <exclude>**/*.min.js</exclude>

                            <exclude>**/*.min.css</exclude>

                        </excludes>

                    </configuration>

                </plugin>

            </plugins>

        </pluginManagement>

        <!-- 资源文件配置 -->

        <resources>

            <resource>

                <directory>src/main/java</directory>

                <excludes>

                    <exclude>**/*.java</exclude>

                </excludes>

            </resource>

            <resource>

                <directory>src/main/resources</directory>

            </resource>

        </resources>

    </build>

    <repositories>

        <repository>

            <id>aliyun-repos</id>

            <name>Aliyun Repository</name>

            <url>http://maven.aliyun.com/nexus/content/groups/public</url>

            <releases>

                <enabled>true</enabled>

            </releases>

            <snapshots>

                <enabled>false</enabled>

            </snapshots>

        </repository>

        <repository>

            <id>sonatype-repos</id>

            <name>Sonatype Repository</name>

            <url>https://oss.sonatype.org/content/groups/public</url>

            <releases>

                <enabled>true</enabled>

            </releases>

            <snapshots>

                <enabled>false</enabled>

            </snapshots>

        </repository>

        <repository>

            <id>sonatype-repos-s</id>

            <name>Sonatype Repository</name>

            <url>https://oss.sonatype.org/content/repositories/snapshots</url>

            <releases>

                <enabled>false</enabled>

            </releases>

            <snapshots>

                <enabled>true</enabled>

            </snapshots>

        </repository>

        <repository>

            <id>spring-snapshots</id>

            <name>Spring Snapshots</name>

            <url>https://repo.spring.io/snapshot</url>

            <snapshots>

                <enabled>true</enabled>

            </snapshots>

        </repository>

        <repository>

            <id>spring-milestones</id>

            <name>Spring Milestones</name>

            <url>https://repo.spring.io/milestone</url>

            <snapshots>

                <enabled>false</enabled>

            </snapshots>

        </repository>

    </repositories>

    <pluginRepositories>

        <pluginRepository>

            <id>aliyun-repos</id>

            <name>Aliyun Repository</name>

            <url>http://maven.aliyun.com/nexus/content/groups/public</url>

            <releases>

                <enabled>true</enabled>

            </releases>

            <snapshots>

                <enabled>false</enabled>

            </snapshots>

        </pluginRepository>

    </pluginRepositories>

</project>
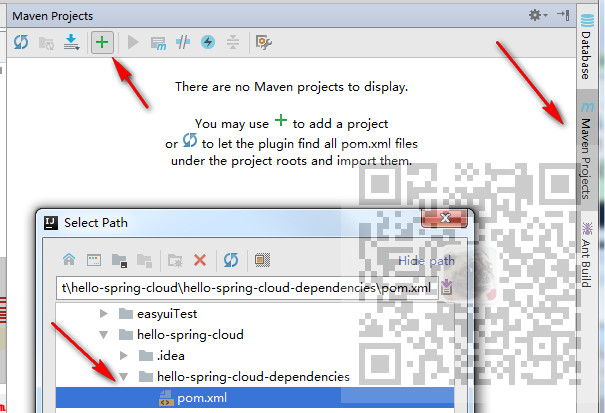
然后将pom.xml添加到托管
SpringCloud -创建统一的依赖管理的更多相关文章
- Android 统一配置依赖管理
Android Studio中默认就是使用Gradle来构建管理工程的,当我们在工程构建过程中创建了多个Module时,就可能存在一个问题,那就是每个Module以及Module中一些公用库的依赖存在 ...
- 【spring-boot 源码解析】spring-boot 依赖管理
关键词:spring-boot 依赖管理.spring-boot-dependencies.spring-boot-parent 问题 maven 工程,依赖管理是非常基本又非常重要的功能,现在的工程 ...
- 多个SpringMVC项目配置统一管理(来自于springCloud的统一配置思路)
因公司项目分多个系统进行开发,而系统架构几乎完全一样,所以同样的配置文件会存在不同的系统中 当其中的某些配置需要修改时,就需要依次把所有系统中相关的配置都修改掉 纯耗时且没技术含量的体力活 所以借鉴S ...
- SpringBoot2.x的依赖管理
前提 这篇文章是<SpringBoot2.x入门>专辑的第1篇文章,使用的SpringBoot版本为2.3.1.RELEASE,JDK版本为1.8. 主要梳理一下SpringBoot2.x ...
- Composer : php依赖管理工具
原始时代 我记得在当时用php的时候还没有composer,只有个pear,但是不好用呀,还不如直接在互联网上到处复制代码了,更快更不容易出错,当时也没有github这么好的社区工具了 总结如下 代码 ...
- Maven01——简介、安装配置、入门程序、项目构建和依赖管理
1 Maven的简介 1.1 什么是maven 是apache下的一个开源项目,是纯java开发,并且只是用来管理java项目的 Svn eclipse maven量级 1.2 Maven好处 同 ...
- Gradle 1.12用户指南翻译——第五十章. 依赖管理
本文由CSDN博客貌似掉线翻译,其他章节的翻译请参见:http://blog.csdn.net/column/details/gradle-translation.html翻译项目请关注Github上 ...
- Maven 学习总结(三) 之 依赖管理
聚合 为了要一次构建多个项目,而不是到每个模块目录下分别执行mvn命令.maven聚合这一特性就是为该需求服务的.为此我们需要创建一个额外的模块aggregator, 然后通过该模块构建整个项目的所有 ...
- SpringBoot系列三:SpringBoot基本概念(统一父 pom 管理、SpringBoot 代码测试、启动注解分析、配置访问路径、使用内置对象、项目打包发布)
声明:本文来源于MLDN培训视频的课堂笔记,写在这里只是为了方便查阅. 1.了解SpringBoot的基本概念 2.具体内容 在之前所建立的 SpringBoot 项目只是根据官方文档实现的一个基础程 ...
随机推荐
- String字符串为什么不可变的深入理解
String是被final修饰的,是不可变对象,那么这句什么意思呢.在学习scala时候var,val时候,就想到这个问题,所以记录下 看案例: package com.cxy; import sun ...
- vue通过控制boolean值来决定是否添加class类名
vue通过控制boolean值来决定是否添加class类名
- BeanUtils.copyProperties()怎样去掉字段首尾的空格
背景 下午三时许,笔者正戴着耳机听着歌开心的敲着bug,忽然听到办公室的吵架声,原来是ios开发和产品小姐姐吵起来了,为了一个车牌号的校验问题.起因是ios传的车牌号没有将字符串的首尾空格去掉,后端直 ...
- MySQL 格式化时间 成字符串
创建个表: CREATE TABLE `x02基本信息` ( `ID` varchar(32) NOT NULL COMMENT '系统内记录的唯一标识,供系统内部使用.', `名称` varchar ...
- 图解leetcode —— 124. 二叉树中的最大路径和
前言: 每道题附带动态示意图,提供java.python两种语言答案,力求提供leetcode最优解. 描述: 给定一个非空二叉树,返回其最大路径和. 本题中,路径被定义为一条从树中任意节点出发,达到 ...
- MVVMLight绑定数据
我们先新建一个WPF项目MVVMLightDemo,添加GalaSoft.MvvmLight.dll(没有可以自己下载) 然后在项目中添加三个文件夹,如图: 先添加我们的Model,在Model下新建 ...
- 整合多个maven工程时Spring配置加载JDBC问题
问题叙述: 两个工程都通过JDBC访问mysql数据库,各自运行OK, 但合并成一个maven工程后,发现前一个工程访问数据库异常,貌似拿不到自己的DAO. 解决办法: 发现这两个工程的xml配置中, ...
- 解密国内BAT等大厂前端技术体系-百度篇(长文建议收藏)
1 引言 整个业界在前端框架不断迭代中,也寻找到了许多突破方向,例如跨平台中的RN.Flutter,服务端GraphQL.Serverless,前端和客户端的融合越来越紧密,前端在Node和Elect ...
- 转 与App Store审核的斗智斗勇
原文链接:http://www.cocoachina.com/bbs/read.php?tid-326229.html 提交了4.5个新的app,以及每个版本更新了十几次版本之后,总算是有那么点心得可 ...
- CryptoJS中WordArray
目录 WordArray (An array of 32-bit words. 1.1 : 初始化 1.2 : WordArray 对象 ->16进制字符串 1.3 : 16进制字符串 -> ...