使用C#编写.NET分析器(三)
译者注
这是在Datadog公司任职的Kevin Gosse大佬使用C#编写.NET分析器的系列文章之一,在国内只有很少很少的人了解和研究.NET分析器,它常被用于APM(应用性能诊断)、IDE、诊断工具中,比如Datadog的APM,Visual Studio的分析器以及Rider和Reshaper等等。之前只能使用C++编写,自从.NET NativeAOT发布以后,使用C#编写变为可能。
笔者最近也在尝试开发一个运行时方法注入的工具,欢迎熟悉MSIL 、PE Metadata 布局、CLR 源码、CLR Profiler API的大佬,或者对这个感兴趣的朋友留联系方式或者在公众号留言,一起交流学习。
原作者:Kevin Gosse
原文链接:https://minidump.net/writing-a-net-profiler-in-c-part-3-7d2c59fc017f
项目链接:https://github.com/kevingosse/ManagedDotnetProfiler
使用C#编写.NET分析器-一:https://www.cnblogs.com/InCerry/p/writing-a-net-profiler-in-c-sharp-part-1.html
使用C#编写.NET分析器-二:https://www.cnblogs.com/InCerry/p/writing-a-net-profiler-in-c-sharp-part-2.html
正文
在第一部分中,我们了解了如何使用NativeAOT让我们用C#编写一个分析器,以及如何暴露一个伪造的COM对象来使用分析API。在第二部分中,我们改进了解决方案,使用实例方法替代静态方法。现在我们知道了如何与分析API进行交互,我们将编写一个源代码生成器,自动生成实现ICorProfilerCallback接口中声明的70多个方法所需的样板代码。
首先,我们需要手动将ICorProfilerCallback接口转换为C#。从技术上讲,本可以从C++头文件中自动生成这些代码,但是相同的C++代码在C#中可以用不同的方式翻译,因此了解函数的目的以正确语义进行转换十分重要。
以JITInlining函数为实际例子。在C++中的原型是:
HRESULT JITInlining(FunctionID callerId, FunctionID calleeId, BOOL *pfShouldInline);
一个简单的C#版本转换可能是:
HResult JITInlining(FunctionId callerId, FunctionId calleeId, in bool pfShouldInline);
但是,如果我们查看函数的文档,我们可以了解到pfShouldInline是一个应由函数自身设置的值。所以我们应该使用out关键字:
Result JITInlining(FunctionId callerId, FunctionId calleeId, out bool pfShouldInline);
在其他情况下,我们会根据意图使用in或ref关键字。这就是为什么我们无法完全自动化这个过程。
在将接口转换为C#之后,我们可以继续创建源代码生成器。请注意,我并不打算编写一个最先进的源代码生成器,主要原因是API非常复杂(是的,这话来自于一个教你如何用C#编写分析器的人),你可以查看Andrew Lock的精彩文章来了解如何编写高级源代码生成器。
编写源代码生成器
要创建源代码生成器,我们在解决方案中添加一个针对netstandard2.0的类库项目,并添加对Microsoft.CodeAnalysis.CSharp和Microsoft.CodeAnalysis.Analyzers的引用:
<Project Sdk="Microsoft.NET.Sdk">

  <PropertyGroup>

    <TargetFramework>netstandard2.0</TargetFramework>

    <ImplicitUsings>enable</ImplicitUsings>

    <LangVersion>latest</LangVersion>

    <IsRoslynComponent>true</IsRoslynComponent>

  </PropertyGroup>

  <ItemGroup>

    <PackageReference Include="Microsoft.CodeAnalysis.CSharp" Version="4.0.1" PrivateAssets="all" />

    <PackageReference Include="Microsoft.CodeAnalysis.Analyzers" Version="3.3.3">

      <PrivateAssets>all</PrivateAssets>

      <IncludeAssets>runtime; build; native; contentfiles; analyzers; buildtransitive</IncludeAssets>

    </PackageReference>

  </ItemGroup>

</Project>
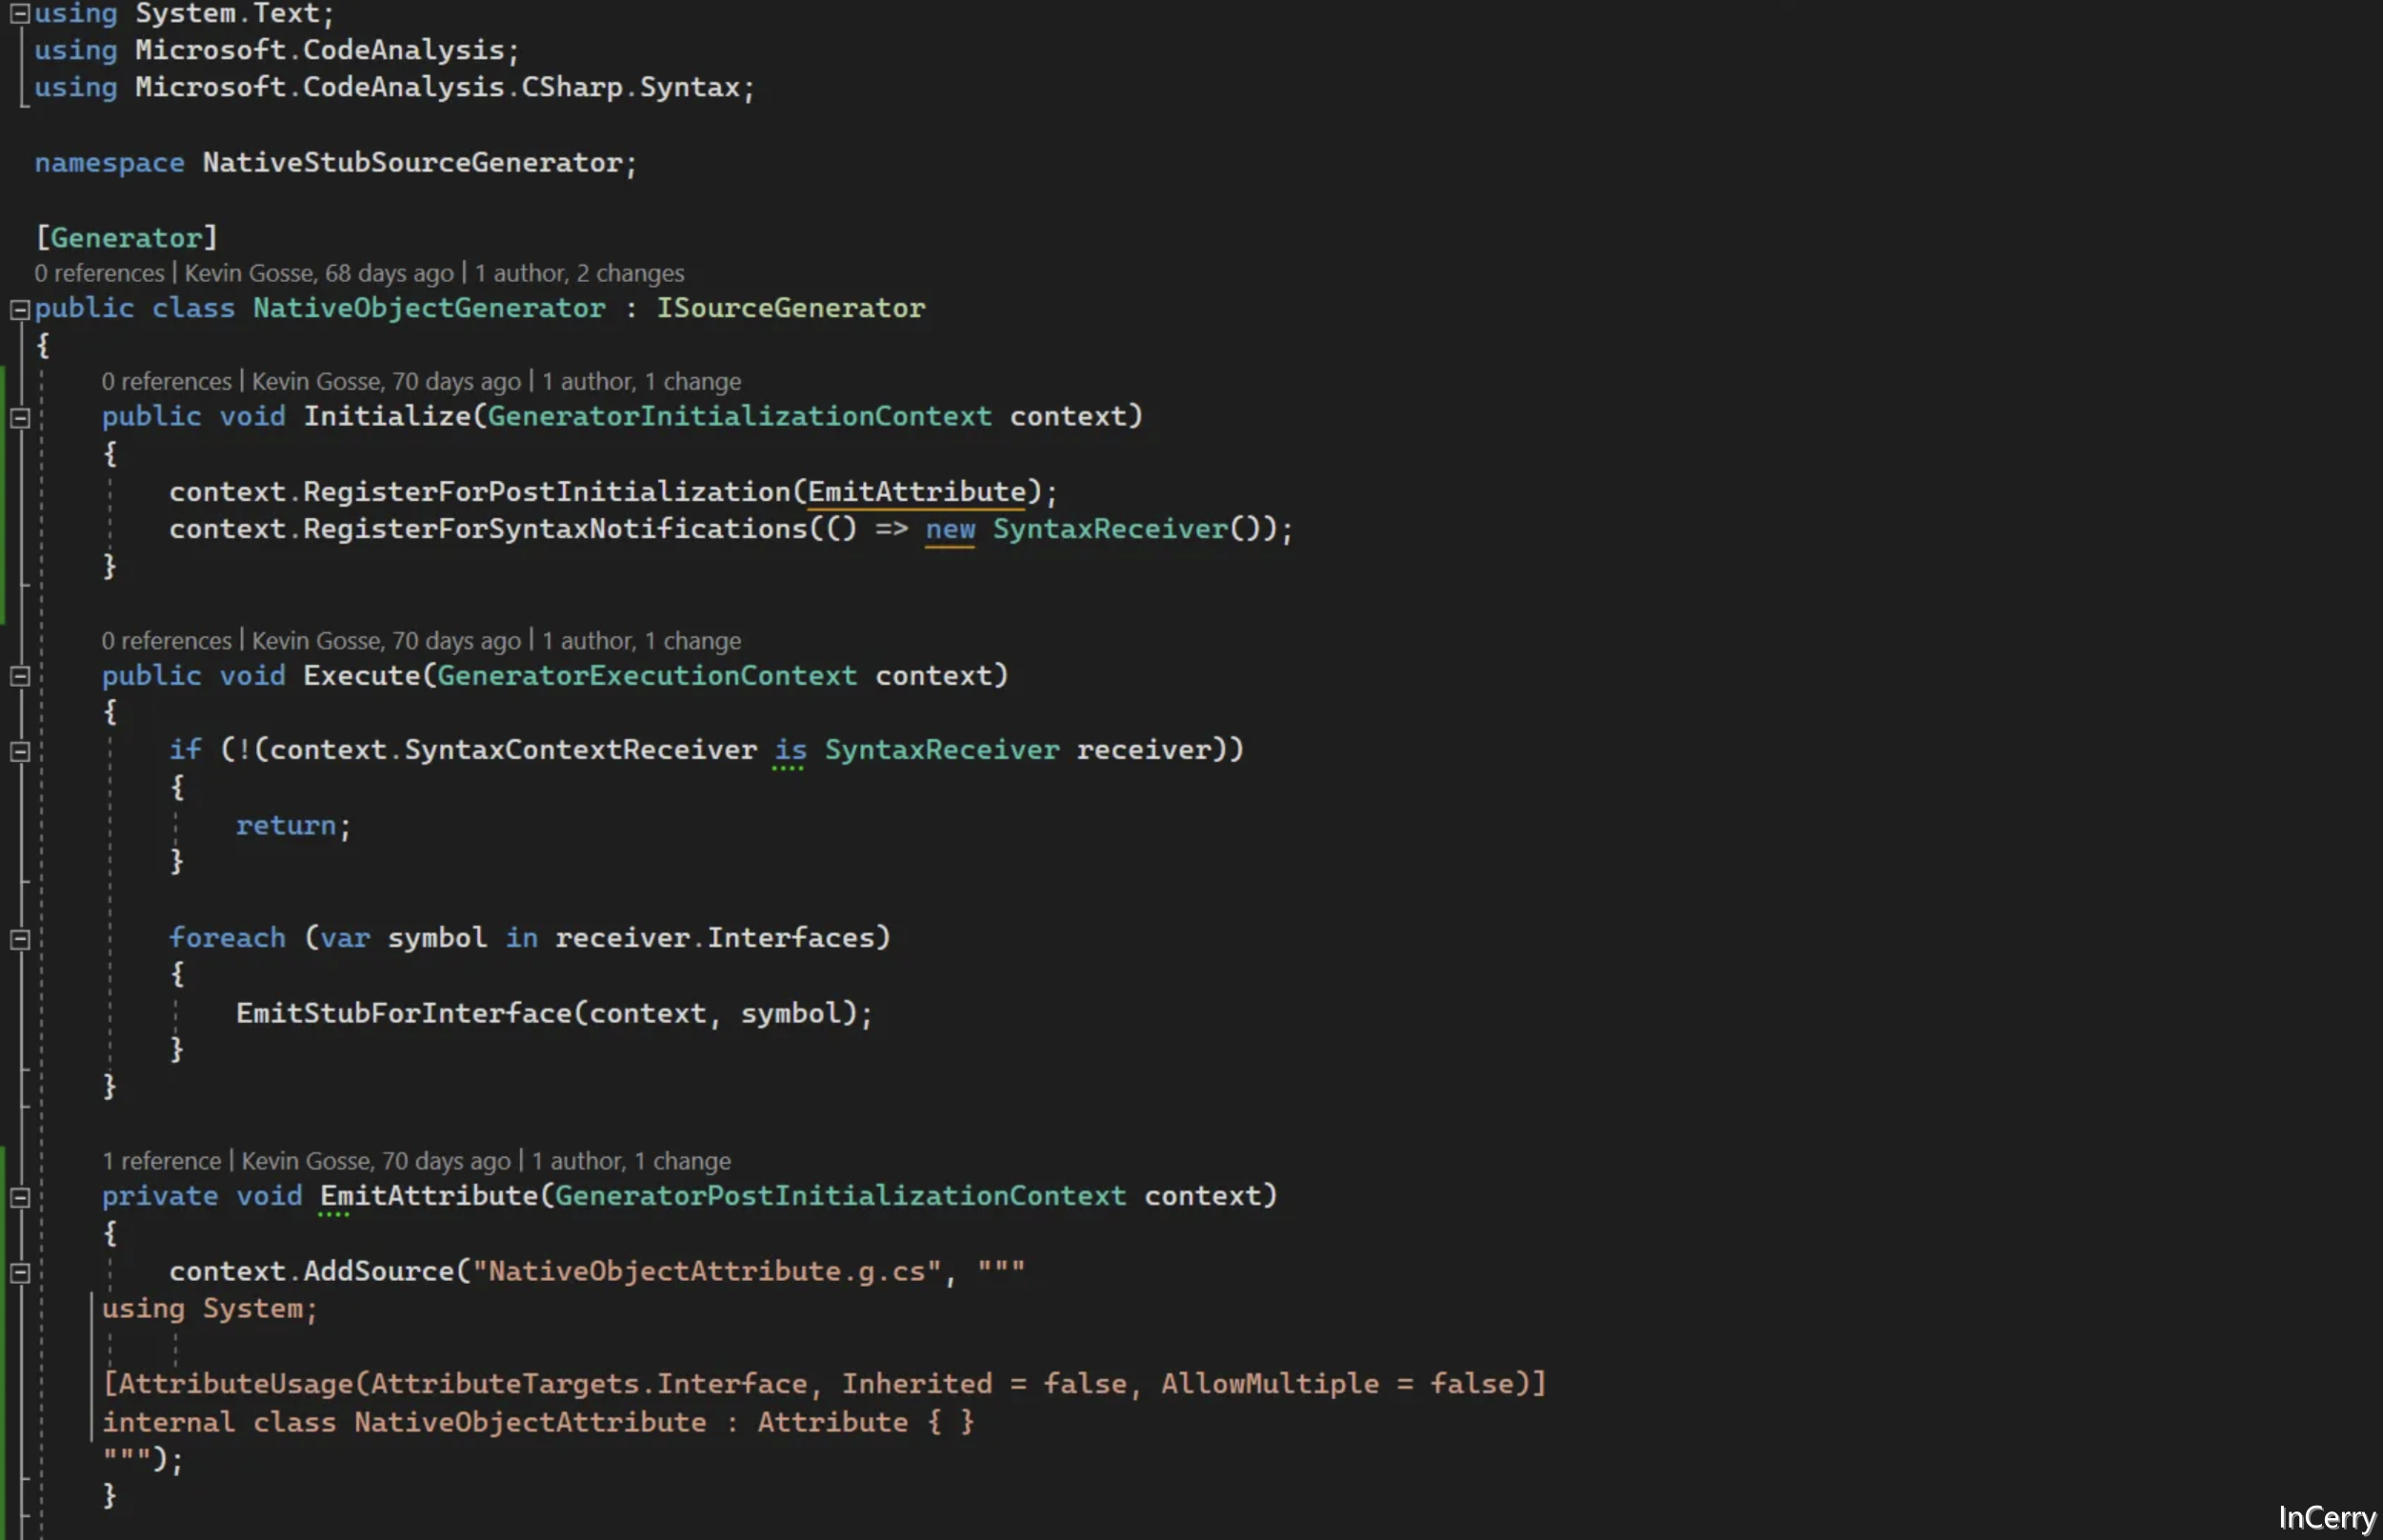
接下来,我们添加一个实现ISourceGenerator接口的类,并用[Generator]属性进行修饰:
[Generator]

public class NativeObjectGenerator : ISourceGenerator

{

    public void Initialize(GeneratorInitializationContext context)

    {

    }

    public void Execute(GeneratorExecutionContext context)

    {

    }

}
我们要做的第一件事是生成一个[NativeObject]属性。我们将用它来修饰我们想要在源代码生成器上运行的接口。我们使用RegisterForPostInitialization在管道早期运行这段代码:
[Generator]

public class NativeObjectGenerator : ISourceGenerator

{

    public void Initialize(GeneratorInitializationContext context)

    {

        context.RegisterForPostInitialization(EmitAttribute);

    }

    public void Execute(GeneratorExecutionContext context)

    {

    }

    private void EmitAttribute(GeneratorPostInitializationContext context)

    {

        context.AddSource("NativeObjectAttribute.g.cs", """

    using System;

    [AttributeUsage(AttributeTargets.Interface, Inherited = false, AllowMultiple = false)]

    internal class NativeObjectAttribute : Attribute { }

    """);

    }

}
现在我们需要注册一个ISyntaxContextReceiver来检查类型并检测哪些类型被我们的 [NativeObject] 属性修饰。
public class SyntaxReceiver : ISyntaxContextReceiver

{

    public List<INamedTypeSymbol> Interfaces { get; } = new();

    public void OnVisitSyntaxNode(GeneratorSyntaxContext context)

    {

        if (context.Node is InterfaceDeclarationSyntax classDeclarationSyntax

            && classDeclarationSyntax.AttributeLists.Count > 0)

        {

            var symbol = (INamedTypeSymbol)context.SemanticModel.GetDeclaredSymbol(classDeclarationSyntax);

            if (symbol.GetAttributes().Any(a => a.AttributeClass.ToDisplayString() == "NativeObjectAttribute"))

            {

                Interfaces.Add(symbol);

            }

        }

    }

}
基本上,语法接收器将被用于访问语法树中的每个节点。我们检查该节点是否是一个接口声明,如果是,我们检查属性以查找NativeObjectAttribute。可能有很多事情都可以改进,特别是确认它是否是我们的NativeObjectAttribute,但我们认为对于我们的目的来说这已经足够好了。
在源代码生成器初始化期间,需要注册语法接收器:
    public void Initialize(GeneratorInitializationContext context)

    {

        context.RegisterForPostInitialization(EmitAttribute);

        context.RegisterForSyntaxNotifications(() => new SyntaxReceiver());

    }
最后,在Execute方法中,我们获取存储在语法接收器中的接口列表,并为其生成代码:
public void Execute(GeneratorExecutionContext context)

    {

        if (!(context.SyntaxContextReceiver is SyntaxReceiver receiver))

        {

            return;

        }

        foreach (var symbol in receiver.Interfaces)

        {

            EmitStubForInterface(context, symbol);

        }

    }
生成Native包装器
对于EmitStubForInterface方法,我们可以使用模板引擎,但是我们将依赖于一个经典的StringBuilder和Replace调用。
首先,我们创建我们的模板:
var sourceBuilder = new StringBuilder("""

    using System;

    using System.Runtime.InteropServices;

    namespace NativeObjects

    {

        {visibility} unsafe class {typeName} : IDisposable

        {

            private {typeName}({interfaceName} implementation)

            {

                const int delegateCount = {delegateCount};

                var obj = (IntPtr*)NativeMemory.Alloc((nuint)2 + delegateCount, (nuint)IntPtr.Size);

                var vtable = obj + 2;

                *obj = (IntPtr)vtable;

                var handle = GCHandle.Alloc(implementation);

                *(obj + 1) = GCHandle.ToIntPtr(handle);

    {functionPointers}

                Object = (IntPtr)obj;

            }

            public IntPtr Object { get; private set; }

            public static {typeName} Wrap({interfaceName} implementation) => new(implementation);

            public static implicit operator IntPtr({typeName} stub) => stub.Object;

            ~{typeName}()

            {

                Dispose();

            }

            public void Dispose()

            {

                if (Object != IntPtr.Zero)

                {

                    NativeMemory.Free((void*)Object);

                    Object = IntPtr.Zero;

                }

                GC.SuppressFinalize(this);

            }

            private static class Exports

            {

    {exports}

            }

        }

    }

    """);
如果你对某些部分不理解,请记得查看前一篇文章。这里唯一的新内容是析构函数和Dispose方法,我们在其中调用NativeMemory.Free来释放为该对象分配的内存。接下来,我们需要填充所有的模板部分:{visibility}、{typeName}、{interfaceName}、{delegateCount}、{functionPointers} 和 {exports}。
首先是简单的部分:
var interfaceName = symbol.ToString();

var typeName = $"{symbol.Name}";

var visibility = symbol.DeclaredAccessibility.ToString().ToLower();

// To be filled later

int delegateCount = 0;

var exports = new StringBuilder();

var functionPointers = new StringBuilder();
对于一个接口MyProfiler.ICorProfilerCallback,我们将生成一个类型为NativeObjects.ICorProfilerCallback的包装器。这就是为什么我们将完全限定名存储在interfaceName(= MyProfiler.ICorProfilerCallback)中,而仅将类型名存储在typeName(= ICorProfilerCallback)中。
接下来我们想要生成导出列表及其函数指针。我希望源代码生成器支持继承,以避免代码重复,因为ICorProfilerCallback13实现了ICorProfilerCallback12,而ICorProfilerCallback12本身又实现了ICorProfilerCallback11,依此类推。因此我们提取目标接口继承自的接口列表,并为它们中的每一个提取方法:
var interfaceList = symbol.AllInterfaces.ToList();

        interfaceList.Reverse();

        interfaceList.Add(symbol);

        foreach (var @interface in interfaceList)

        {

            foreach (var member in @interface.GetMembers())

            {

                if (member is not IMethodSymbol method)

                {

                    continue;

                }

                // TODO: Inspect the method

            }

        }
对于一个QueryInterface(in Guid guid, out IntPtr ptr)方法,我们将生成的导出看起来像这样:
[UnmanagedCallersOnly]

public static int QueryInterface(IntPtr* self, Guid* __arg1, IntPtr* __arg2)

{

    var handleAddress = *(self + 1);

    var handle = GCHandle.FromIntPtr(handleAddress);

    var obj = (IUnknown)handle.Target;

    var result = obj.QueryInterface(*__arg1, out var __local2);

    *__arg2 = __local2;

    return result;

}
由于这些方法是实例方法,我们添加了IntPtr* self参数。另外,如果托管接口中的函数带有in/out/ref关键字修饰,我们将参数声明为指针类型,因为UnmanagedCallersOnly方法不支持in/out/ref。
生成导出所需的代码为:
var parameterList = new StringBuilder();

parameterList.Append("IntPtr* self");

foreach (var parameter in method.Parameters)

{

    var isPointer = parameter.RefKind == RefKind.None ? "" : "*";

    parameterList.Append($", {parameter.Type}{isPointer} __arg{parameter.Ordinal}");

}

exports.AppendLine($"            [UnmanagedCallersOnly]");

exports.AppendLine($"            public static {method.ReturnType} {method.Name}({parameterList})");

exports.AppendLine($"            {{");

exports.AppendLine($"                var handle = GCHandle.FromIntPtr(*(self + 1));");

exports.AppendLine($"                var obj = ({interfaceName})handle.Target;");

exports.Append($"                ");

if (!method.ReturnsVoid)

{

    exports.Append("var result = ");

}

exports.Append($"obj.{method.Name}(");

for (int i = 0; i < method.Parameters.Length; i++)

{

    if (i > 0)

    {

        exports.Append(", ");

    }

    if (method.Parameters[i].RefKind == RefKind.In)

    {

        exports.Append($"*__arg{i}");

    }

    else if (method.Parameters[i].RefKind is RefKind.Out)

    {

        exports.Append($"out var __local{i}");

    }

    else

    {

        exports.Append($"__arg{i}");

    }

}

exports.AppendLine(");");

for (int i = 0; i < method.Parameters.Length; i++)

{

    if (method.Parameters[i].RefKind is RefKind.Out)

    {

        exports.AppendLine($"                *__arg{i} = __local{i};");

    }

}

if (!method.ReturnsVoid)

{

    exports.AppendLine($"                return result;");

}

exports.AppendLine($"            }}");

exports.AppendLine();

exports.AppendLine();
对于函数指针,给定与前面相同的方法,我们希望建立:
*(vtable + 1) = (IntPtr)(delegate* unmanaged<IntPtr*, Guid*, IntPtr*>)&Exports.QueryInterface;
生成代码如下:
var sourceArgsList = new StringBuilder();

sourceArgsList.Append("IntPtr _");

for (int i = 0; i < method.Parameters.Length; i++)

{

    sourceArgsList.Append($", {method.Parameters[i].OriginalDefinition} a{i}");

}

functionPointers.Append($"            *(vtable + {delegateCount}) = (IntPtr)(delegate* unmanaged<IntPtr*");

for (int i = 0; i < method.Parameters.Length; i++)

{

    functionPointers.Append($", {method.Parameters[i].Type}");

    if (method.Parameters[i].RefKind != RefKind.None)

    {

        functionPointers.Append("*");

    }

}

if (method.ReturnsVoid)

{

    functionPointers.Append(", void");

}

else

{

    functionPointers.Append($", {method.ReturnType}");

}

functionPointers.AppendLine($">)&Exports.{method.Name};");

delegateCount++;
我们在接口的每个方法都完成了这个操作后,我们只需替换模板中的值并添加生成的源文件:
sourceBuilder.Replace("{typeName}", typeName);

sourceBuilder.Replace("{visibility}", visibility);

sourceBuilder.Replace("{exports}", exports.ToString());

sourceBuilder.Replace("{interfaceName}", interfaceName);

sourceBuilder.Replace("{delegateCount}", delegateCount.ToString());

sourceBuilder.Replace("{functionPointers}", functionPointers.ToString());

context.AddSource($"{symbol.ContainingNamespace?.Name ?? "_"}.{symbol.Name}.g.cs", sourceBuilder.ToString());
就这样,我们的源代码生成器现在准备好了。
使用生成的代码
要使用我们的源代码生成器,我们可以声明IUnknown、IClassFactory和ICorProfilerCallback接口,并用[NativeObject]属性修饰它们:
[NativeObject]

public interface IUnknown

{

    HResult QueryInterface(in Guid guid, out IntPtr ptr);

    int AddRef();

    int Release();

}
[NativeObject]

internal interface IClassFactory : IUnknown

{

    HResult CreateInstance(IntPtr outer, in Guid guid, out IntPtr instance);

    HResult LockServer(bool @lock);

}
[NativeObject]

public unsafe interface ICorProfilerCallback : IUnknown

{

    HResult Initialize(IntPtr pICorProfilerInfoUnk);

    // 70+ 多个方法,在这里省略

}
然后我们实现IClassFactory并调用NativeObjects.IClassFactory.Wrap来创建本机包装器并暴露我们的ICorProfilerCallback实例:
public unsafe class ClassFactory : IClassFactory

{

    private NativeObjects.IClassFactory _classFactory;

    private CorProfilerCallback2 _corProfilerCallback;

    public ClassFactory()

    {

        _classFactory = NativeObjects.IClassFactory.Wrap(this);

    }

    // The native wrapper has an implicit cast operator to IntPtr

    public IntPtr Object => _classFactory;

    public HResult CreateInstance(IntPtr outer, in Guid guid, out IntPtr instance)

    {

        Console.WriteLine("[Profiler] ClassFactory - CreateInstance");

        _corProfilerCallback = new();

        instance = _corProfilerCallback.Object;

        return HResult.S_OK;

    }

    public HResult LockServer(bool @lock)

    {

        return default;

    }

    public HResult QueryInterface(in Guid guid, out IntPtr ptr)

    {

        Console.WriteLine("[Profiler] ClassFactory - QueryInterface - " + guid);

        if (guid == KnownGuids.ClassFactoryGuid)

        {

            ptr = Object;

            return HResult.S_OK;

        }

        ptr = IntPtr.Zero;

        return HResult.E_NOTIMPL;

    }

    public int AddRef()

    {

        return 1; // TODO: 做实际的引用计数

    }

    public int Release()

    {

        return 0; // TODO: 做实际的引用计数

    }

}
并在DllGetClassObject中暴露它:
public class DllMain

{

    private static ClassFactory Instance;

    [UnmanagedCallersOnly(EntryPoint = "DllGetClassObject")]

    public static unsafe int DllGetClassObject(void* rclsid, void* riid, nint* ppv)

    {

        Console.WriteLine("[Profiler] DllGetClassObject");

        Instance = new ClassFactory();

        *ppv = Instance.Object;

        return 0;

    }

}
最后,我们可以实现ICorProfilerCallback的实例:
public unsafe class CorProfilerCallback2 : ICorProfilerCallback2

{

    private static readonly Guid ICorProfilerCallback2Guid = Guid.Parse("8a8cc829-ccf2-49fe-bbae-0f022228071a");

    private readonly NativeObjects.ICorProfilerCallback2 _corProfilerCallback2;

    public CorProfilerCallback2()

    {

        _corProfilerCallback2 = NativeObjects.ICorProfilerCallback2.Wrap(this);

    }

    public IntPtr Object => _corProfilerCallback2;

    public HResult Initialize(IntPtr pICorProfilerInfoUnk)

    {

        Console.WriteLine("[Profiler] ICorProfilerCallback2 - Initialize");

        // TODO: To be implemented in next article

        return HResult.S_OK;

    }

    public HResult QueryInterface(in Guid guid, out IntPtr ptr)

    {

        if (guid == ICorProfilerCallback2Guid)

        {

            Console.WriteLine("[Profiler] ICorProfilerCallback2 - QueryInterface");

            ptr = Object;

            return HResult.S_OK;

        }

        ptr = IntPtr.Zero;

        return HResult.E_NOTIMPL;

    }

    // Stripped for brevity: the default implementation of all 70+ methods of the interface

    // Automatically generated by the IDE

}
如果我们使用一个测试应用程序运行它,我们会发现这些功能能按预期工作:
[Profiler] DllGetClassObject

[Profiler] ClassFactory - CreateInstance

[Profiler] ICorProfilerCallback2 - QueryInterface

[Profiler] ICorProfilerCallback2 - Initialize

Hello, World!
在下一步中,我们将处理拼图的最后一个缺失部分:实现ICorProfilerCallback.Initialize方法并获取ICorProfilerInfo的实例。这样我们就拥有了与性能分析器API实际交互所需的一切。
.NET性能优化交流群
相信大家在开发中经常会遇到一些性能问题,苦于没有有效的工具去发现性能瓶颈,或者是发现瓶颈以后不知道该如何优化。之前一直有读者朋友询问有没有技术交流群,但是由于各种原因一直都没创建,现在很高兴的在这里宣布,我创建了一个专门交流.NET性能优化经验的群组,主题包括但不限于:
如何找到.NET性能瓶颈,如使用APM、dotnet tools等工具
.NET框架底层原理的实现,如垃圾回收器、JIT等等
如何编写高性能的.NET代码,哪些地方存在性能陷阱
希望能有更多志同道合朋友加入,分享一些工作中遇到的.NET性能问题和宝贵的性能分析优化经验。目前一群已满,现在开放二群。
如果提示已经达到200人,可以加我微信,我拉你进群: lishi-wk
另外也创建了QQ群,群号: 687779078,欢迎大家加入。
抽奖送书活动预热!!!
感谢大家对我公众号的支持与陪伴!为庆祝公众号一周年,抽奖送出一些书籍,请大家关注公众号后续推文!

使用C#编写.NET分析器(三)的更多相关文章
- 【C学习笔记】day5-3 编写代码模拟三次密码输入的场景
3.编写代码模拟三次密码输入的场景. 最多能输入三次密码,密码正确,提示"登录成功",密码错误, 可以重新输入,最多输入三次.三次均错,则提示退出程序. #define _CRT_ ...
- Problem A: 编写函数:三个数的最大最小值
Description 给出三个数a,b,c,最大值是?最小值是? ------------------------------------------------------------------ ...
- Go - 如何编写 ProtoBuf 插件 (三) ?
目录 前言 演示代码 小结 推荐阅读 前言 上篇文章<Go - 如何编写 ProtoBuf 插件 (二) >,分享了基于 自定义选项 定义了 interceptor 插件,然后在 hell ...
- 解读Unity中的CG编写Shader系列三
转自http://www.itnose.net/detail/6096068.html 在上一个例子中,我们得到了由mesh组件传递的信息经过数学转换至合适的颜色区间以颜色的形式着色到物体上.这篇文章 ...
- Spring Boot 2.x 编写 RESTful API (三) 程序层次 & 数据传输
用Spring Boot编写RESTful API 学习笔记 程序的层次结构 相邻层级的数据传输 JavaBean 有一个 public 的无参构造方法 属性 private,且可以通过 get.se ...
- 用仿ActionScript的语法来编写html5——第三篇,鼠标事件与游戏人物移动
第三篇,鼠标事件与游戏人物移动 一,假设假设,所有可添加鼠标事件的对象,都有一个mouseEvent方法,添加的鼠标事件同过这个mouseEvent来调用.这样的话,添加鼠标事件,其实只需要给canv ...
- Egret 学习之 入口函数 及开始编写程序(三)
1,Egret的程序入口: C和java是以一个main函数作为入口,但egret类似于ActionScript 是以一个文档类作为入口,确切的说是以这个文档类的构造函数作为入口: 2,文档类的构造函 ...
- JavaScript编写风格指南 (三)
七(七):严格模式 // 严格模式应当仅限在函数内部使用,千万不要在全局使用 //不好的写法:全局使用严格模式"user strict"; function doSomething ...
- 开始编写Makefile(三)Makefile的默认模式规则
1.make中建立的其他语言的规则 SCCS , RCS , ar, lex 和yacc 命令 2.为了建立一个目标,make会遍历一连串的依赖关系:这个是为 决定何处开始创建: 如果没有找到目标文 ...
- .net core编写转发服务(三) 接入Polly
在web服务里面,很常见出现各种问题,需要一些响应的策略,比如服务繁忙的时候,重试,或者重试等待 服务繁忙的时候根据策略即使处理 关于接入Polly我还是沿用之前的代码,继续迭代 Web Api用的是 ...
随机推荐
- 通过 iframe 调用 天气预报&jsonp
<!DOCTYPE html PUBLIC "-//W3C//DTD XHTML 1.0 Transitional//EN" "http://www.w3.org/ ...
- Vuex刷新页面数据会丢失吗?咋解决的?
1.问题描述:页面刷新的时候vuex里的数据会重新初始化,导致数据丢失.因为vuex里的数据是保存在运行内存中的,当页面刷新时,页面会重新加载vue实例,vuex里面的数据就会被重新赋值. 2.解决思 ...
- [2]SpinalHDL教程——Scala简单入门
第一个 Scala 程序 shell里面输入 $ scala scala> 1 + 1 res0: Int = 2 scala> println("Hello World!&qu ...
- Network Science:巴拉巴西网络科学阅读笔记2 第一章图论
第一章:图论 完全图又被称为团. Metcalfe's Law: Metcalfe's law states that the value of a telecommunications networ ...
- 产品质量管理利器,华为云发布CodeArts Defect缺陷管理服务
摘要:近日,华为云CodeArts Defect缺陷管理服务正式上线,提供结构化缺陷跟踪流程和标准化的质量度量模型. 本文分享自华为云社区<产品质量管理利器,华为云发布CodeArts Defe ...
- 一篇文章搞定什么是nodeJs它和NPM关系与应用
现在前端的入门门槛越来越高了,不再是单纯 html+css+js,各种前端框架 层出不穷,各种ui组件库层出不穷. 模块化,打包化,各种工具库层出不穷,前端变成大前端 ,甚至前端可以搞定整个项目,通过 ...
- Windows的Mysql5.7社区版的安装详细操作,从无到有,安装配置一条龙服务。(压缩包自行安装,非installer安装)
换了一个电脑,所有软件.环境都得重新来安装一次,安装到Mysql的时候,发现网上有两种安装方式,一种是Mysql的压缩包安装方式,这种方式直接到官网下载Mysql的压缩包,解压之后做些配置就可以了,另 ...
- 金三银四好像消失了,IT行业何时复苏!
疫情时候不敢离职,以为熬过来疫情了,行情会好一些,可是疫情结束了,反而行情更差了, 这是要哪样 我心中不由一万个 草泥 路过 我心中不惊有了很多疑惑和感叹 接着上一篇 一个28岁程序员入行自述和感受 ...
- 2020-11-21:java中,什么是跨代引用?
福哥答案2020-11-21: [答案来自此链接:](http://bbs.xiangxueketang.cn/question/404) 跨代引用常出现与 CMS 分代收集时需要使用可达性分析判断对 ...
- SQL Server2019 新增字段并设置默认值
命令: ALTER TABLE 表名 add 列名 数据类型 default 默认值 not null 例如: ALTER TABLE LJEL005H add el_req int default ...