
Casdoor 开始
Casdoor 是一个基于 OAuth 2.0 / OIDC 的中心化的单点登录(SSO)身份验证平台,简单来说,就是 Casdoor 可以帮你解决用户管理的难题,你无需开发用户登录、注册等与用户鉴权相关的一系列功能,只需几个步骤进行简单配置,与你的主应用配合,便可完全托管你的用户模块,简单省心,功能强大。
官网有 demo 体验,及文档。本文是依照文档「服务器安装」「使用 Docker 运行」于 Ubuntu 22 上的实践记录。
安装环境
安装 Go
# 下载,依据系统选择 Linux x86-64 的发布包

curl -O -L https://go.dev/dl/go1.20.4.linux-amd64.tar.gz

# 解压

tar -xzvf go1.20.4.linux-amd64.tar.gz

# 重命名,带上版本号

mv go go1.20.4.linux-amd64

# 软链,便于配置或切版本

sudo ln -sfT `pwd`/go1.20.4.linux-amd64 /usr/local/go

# 配置,GOPATH 用自己的工作目录

cat <<-EOF >> ~/.bashrc

# go

export GOROOT=/usr/local/go

export GOPATH=\$HOME/Codes/Go

export PATH=\$GOROOT/bin:\$GOPATH/bin:\$PATH

EOF

# 检查

go version

go env
安装 Node.js
# 下载,选了当前最新的 LTS 版本,可用

curl -O -L https://nodejs.org/dist/v18.16.0/node-v18.16.0-linux-x64.tar.xz

# 解压

tar -xvf node-v18.16.0-linux-x64.tar.xz

# 软链,便于配置或切版本

sudo ln -sfT `pwd`/node-v18.16.0-linux-x64 /usr/local/node

# 配置,GOPATH 用自己的工作目录

cat <<-EOF >> ~/.bashrc

# node

export NODE_HOME=/usr/local/node

export PATH=\$NODE_HOME/bin:\$PATH

EOF

# 检查

node -v

npm -v
安装 Yarn
npm install yarn -g

# 检查

yarn -v
安装 MySQL
sudo apt update -y

# 安装

sudo apt install mysql-server -y

# 检查

systemctl status mysql.service

# 或启动

systemctl start mysql.service
配置 MySQL:
1 修改 root 用户的密码,
sudo mysql

ALTER USER 'root'@'localhost' IDENTIFIED WITH mysql_native_password BY 'YourPassword';

exit
不然,执行 mysql_secure_installation 会遇到如下错误:
... Failed! Error: SET PASSWORD has no significance for user 'root'@'localhost' as the authentication method used doesn't store authentication data in the MySQL server. Please consider using ALTER USER instead if you want to change authentication parameters.
2 执行配置脚本 mysql_secure_installation 把不安全的功能都给关了,
$ sudo mysql_secure_installation

Securing the MySQL server deployment.

Enter password for user root:

The 'validate_password' component is installed on the server.

The subsequent steps will run with the existing configuration

of the component.

Using existing password for root.

Estimated strength of the password: 100

Change the password for root ? ((Press y|Y for Yes, any other key for No) : n

 ... skipping.

By default, a MySQL installation has an anonymous user,

allowing anyone to log into MySQL without having to have

a user account created for them. This is intended only for

testing, and to make the installation go a bit smoother.

You should remove them before moving into a production

environment.

Remove anonymous users? (Press y|Y for Yes, any other key for No) : y

Success.

Normally, root should only be allowed to connect from

'localhost'. This ensures that someone cannot guess at

the root password from the network.

Disallow root login remotely? (Press y|Y for Yes, any other key for No) : y

Success.

By default, MySQL comes with a database named 'test' that

anyone can access. This is also intended only for testing,

and should be removed before moving into a production

environment.

Remove test database and access to it? (Press y|Y for Yes, any other key for No) : y

 - Dropping test database...

Success.

 - Removing privileges on test database...

Success.

Reloading the privilege tables will ensure that all changes

made so far will take effect immediately.

Reload privilege tables now? (Press y|Y for Yes, any other key for No) : y

Success.

All done!
3 恢复 sudo mysql 登录,
用客户端的话,跳过这一步。
# 密码登录

mysql -u root -p

# 恢复 sudo mysql 登录

ALTER USER 'root'@'localhost' IDENTIFIED WITH auth_socket;

# 退出

exit
安装 MySQL 客户端:
# 例如,用 MySQL Workbench

sudo snap install mysql-workbench-community

# 或者,用 phpMyAdmin 等
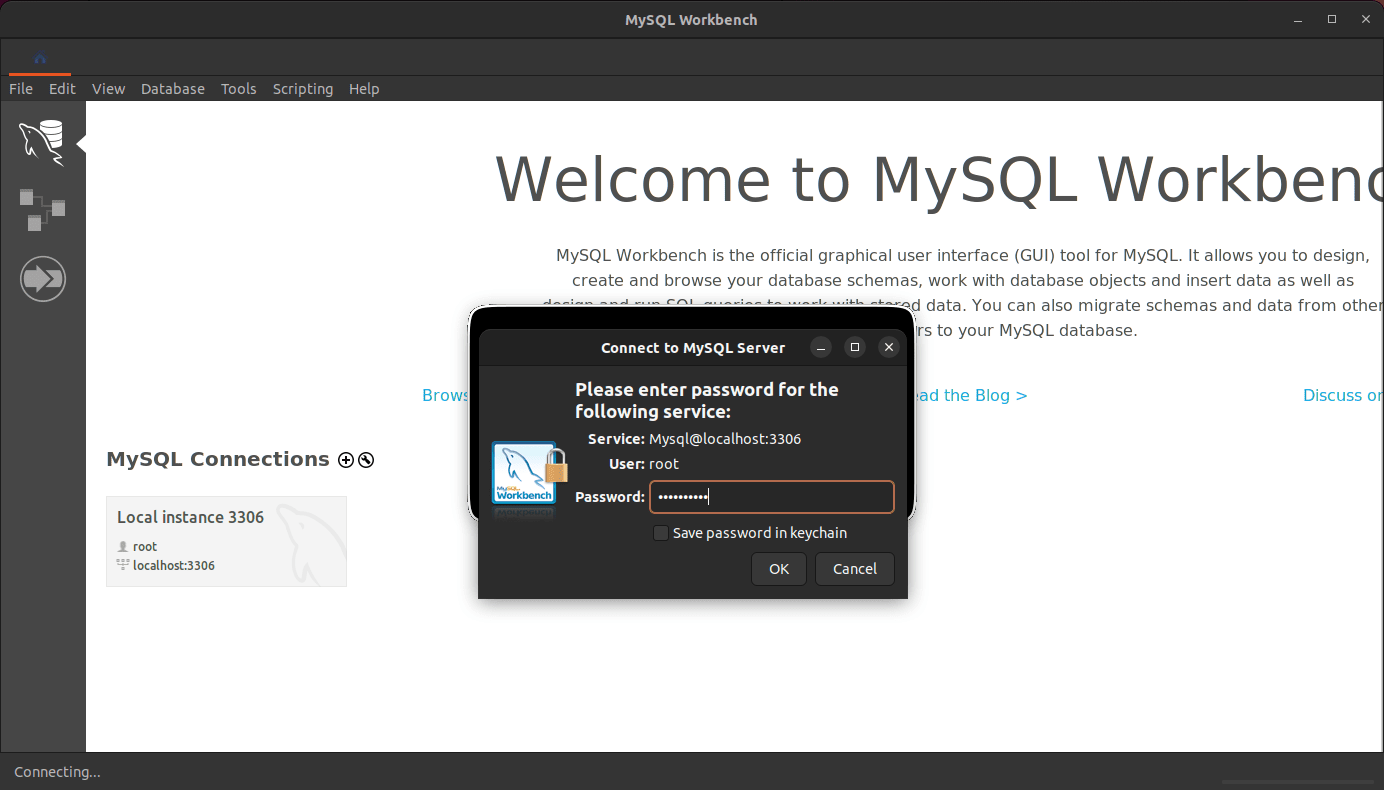
选择 Local 实例,用密码登录,
创建一个名为 casdoor 的数据库,
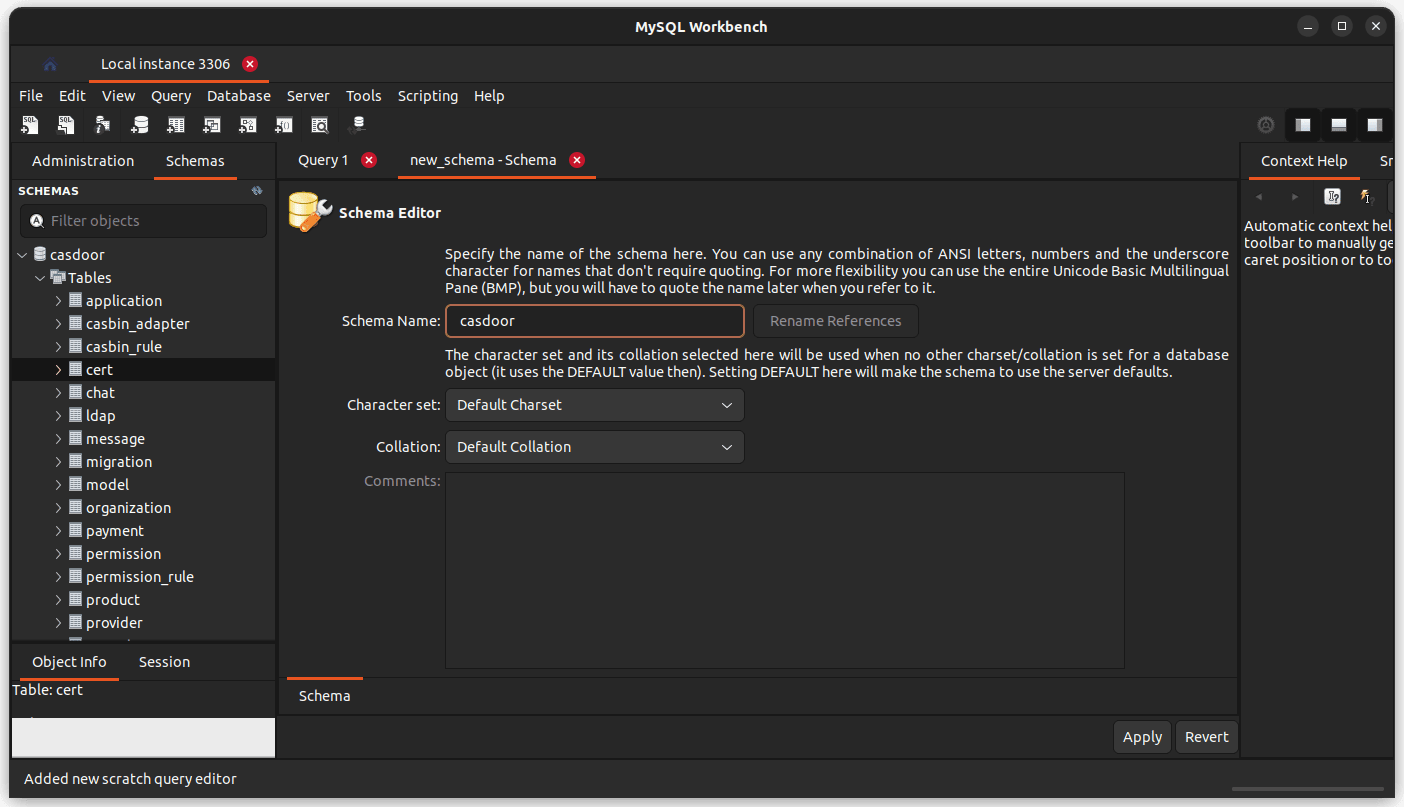
另外,可创建一个名为 casdoor 的新用户,专门管理该数据库。
获取源码
进工作目录,获取 Casdoor 源码,
# 获取源码

git clone --depth 1 https://github.com/casdoor/casdoor.git
配置
配置位于 casdoor/conf/app.conf,
appname = casdoor

httpport = 8000

runmode = dev

copyrequestbody = true

driverName = mysql

dataSourceName = root:123456@tcp(localhost:3306)/

dbName = casdoor

tableNamePrefix =

showSql = false

redisEndpoint =

defaultStorageProvider =

isCloudIntranet = false

authState = "casdoor"

socks5Proxy = "127.0.0.1:10808"

verificationCodeTimeout = 10

initScore = 2000

logPostOnly = true

origin =

staticBaseUrl = "https://cdn.casbin.org"

isDemoMode = false

batchSize = 100

ldapServerPort = 389

languages = en,zh,es,fr,de,id,ja,ko,ru,vi

quota = {"organization": -1, "user": -1, "application": -1, "provider": -1}
目前先只配置数据库字段 driverName dataSourceName dbName。更多字段说明,见官方文档「服务器安装 / 通过-ini-文件配置」。
运行
开发模式
运行后端:
cd casdoor/

go run main.go
如果发生错误 checksum mismatch,可执行:
go clean -modcache

rm go.sum

go mod tidy

# 还不行,切个代理,再试一次

#  可能代理缓存不一致;可写进 ~/.bashrc

export GOPROXY="https://goproxy.cn,direct"
运行前端:
cd casdoor/web

yarn install

yarn start
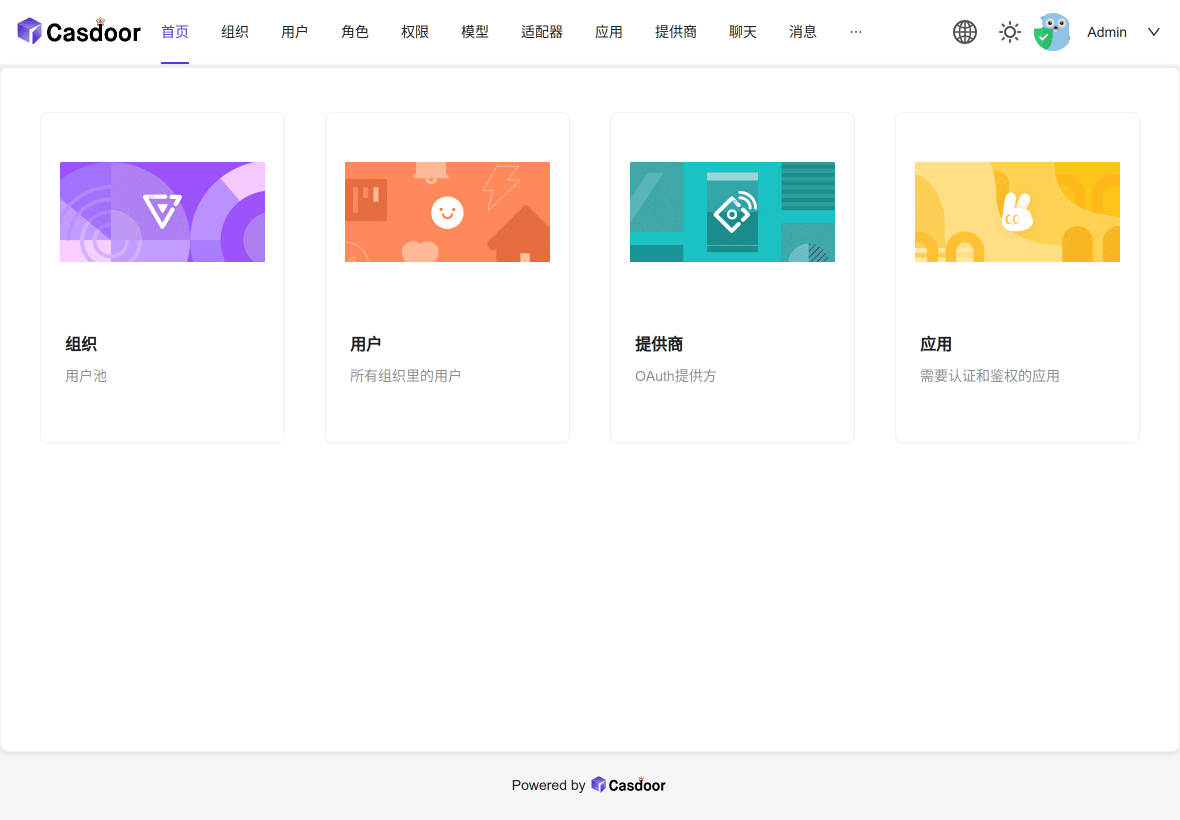
访问 http://localhost:7001/,用户 admin 密码 123 登录,
生产模式
运行后端:
cd casdoor/

go build

./casdoor
运行前端:
cd casdoor/web

yarn install

yarn build
容器运行
Docker 准备
Install Docker Desktop on Ubuntu,
$ docker -v

Docker version 23.0.6, build ef23cbc

$ docker compose version

Docker Compose version v2.17.3
Docker 运行
Casdoor 可以使用 docker-compose 运行,它带有独立的数据库,
cd casdoor/

docker compose up
可以如下修改,用本地已有的数据库,
- 编辑
docker-compose.yml- 删掉
services/casdoor下,entrypoint里的--createDatabase=true参数depends_on里的db依赖
- 删掉
services/db的所有配置
- 删掉
version: '3.1'

services:

  casdoor:

    restart: always

    build:

      context: ./

      dockerfile: Dockerfile

      target: STANDARD

    entrypoint: /bin/sh -c './server'

    ports:

      - "8000:8000"

    volumes:

      - ./conf:/conf/
- 编辑
Dockerfile删掉ENTRYPOINT ["/server"]之后的 db 内容- 遇到
go build提示版本问题,可修改FROM golang:1.17.5 AS BACK升下版本,如1.20.4 - 遇到
go test不过,- 若下载问题,可命令前加
export GOPROXY="https://goproxy.cn,direct" &&用代理 - 若
TestGetVersionInfoFail,可git pull --unshallow拉取更多 commits 即可
- 若下载问题,可命令前加
- 遇到 apk 安装问题,可以注掉
RUN sed -i 's/https/http/' /etc/apk/repositories - 遇到 yarn fresh packages 永不终止,可以注掉
yarn config set registry https://registry.npmmirror.com
- 遇到
此外,再写个独立的 docker-secret.yaml 来放 services/casdoor 的数据库配置:
version: '3.1'

services:

  casdoor:

    environment:

      driverName: "mysql"

      dataSourceName: "casdoor:password@tcp(host.docker.internal:3306)/"

      dbName: "casdoor"
最后,
# 运行服务

$ docker compose -f docker-compose.yml -f docker-secret.yml up

[+] Running 2/0

  Network casdoor_default      Created                                                                                                 0.0s

  Container casdoor-casdoor-1  Created                                                                                                 0.0s

Attaching to casdoor-casdoor-1

casdoor-casdoor-1  | 2023/05/14 06:00:00 Listening on 0.0.0.0:389

casdoor-casdoor-1  | 2023/05/14 06:00:00.000 [I]  http server Running on http://:8000
访问 http://localhost:8000/,用户 admin 密码 123 登录。
结语
Casdoor 这里选择源码方式安装,是考虑做定制化修改;使用容器编译和运行,是考虑发布和部署。
至于 Casdoor 功能如何、怎么使用,要阅读官方文档多做了解,同时也在运行环境里实际玩上一玩。
GoCoding 个人实践的经验分享,可关注公众号!
Casdoor 开始的更多相关文章
- Casdoor + OAuth 实现单点登录 SSO
简介 Casdoor 是一个基于 OAuth 2.0 / OIDC 的中心化的单点登录(SSO)身份验证平台,简单来说,就是 Casdoor 可以帮你解决用户管理的难题,你无需开发用户登录.注册等与用 ...
- 《HelloGitHub》第 73 期
兴趣是最好的老师,HelloGitHub 让你对编程感兴趣! 简介 HelloGitHub 分享 GitHub 上有趣.入门级的开源项目. https://github.com/521xueweiha ...
随机推荐
- Github账户的注册
注册步骤 首先进入github官网界面(注意,只能用Chrome或者Firefox浏览器.这样保险性更强一些) 官网地址:https://github.com/ 映入眼帘的界面是这样的: 点击右上角的 ...
- 开源规则引擎——ice:致力于解决灵活繁复的硬编码问题
背景介绍 业务中是否写了大量的 if-else?是否受够了这些 if-else 还要经常变动? 业务中是否做了大量抽象,发现新的业务场景还是用不上? 是否各种调研规则引擎,发现不是太重就是接入或维护太 ...
- WPF监听快捷键的几种方式
调用Win32 API(优先级最高,全局监听, 支持最小化失焦等情况) 那么,假如我要在一个WPF程序监听CTRL+5按键,首先在主窗口程序添加以下代码: /// <summary> // ...
- Linux RedHat 利用 ISO镜像文件制作本地 yum源
RedHat 利用ISO镜像文件制作本地yum源 [1]创建iso存放目录和挂载目录 1 [root@desktop ~]# cd /mnt/ 2 [root@desktop mnt]# mkdir ...
- Apollo 分布式配置中心理论到实践
携程开源的配置管理中心(统一管理各种应用配置的基础服务组件),能够集中化管理应用的不同环境,不同集群的配置,配置修改后能够实时推送到应用端,适合微服务配置管理场景.Apollo包括服务端和客户端. 在 ...
- Git 操作命令清单 入门到精通(保姆级)
一般来说,日常使用只要记住下图6个命令,就可以了.但是如果你想熟练使用它,要记住大概80个命令. 下面是常用的 Git 命令.几个专用名词的译名如下: Workspace:工作区 Index / St ...
- IconJar - Mac 上的一款多功能图标素材管理工具
IconJar 是一个多功能的图标管理工具,由世界各地的设计师和开发人员使用.在一个应用程序中搜索.组织.预览和检索图标,而不是创建大量的文件夹来存储你的收藏.这款应用针对黑暗模式进行了优化,并支持S ...
- WebSocket集群解决方案,不用MQ
首先不了解WebSocket的可以先看看这篇文章,以及传统的WebSocket方案是怎么做的,https://www.cnblogs.com/jeremylai7/p/16875115.html ...
- Java中的命名规范
Java中的命名规范 一. 常规约定 类一般采用大驼峰命名,方法和局部变量使用小驼峰命名,而大写下划线命名通常是常量和枚举中使用. 类型 约束 例 项目名 全部小写,多个单词用中划线分隔'-' spr ...
- 人工智能 deepface 换脸技术 学习
介绍 Deepface是一个轻量级的python人脸识别和人脸属性分析(年龄.性别.情感和种族)框架.它是一种混合人脸识别框架缠绕状态的最先进的模型:VGG-Face,Google FaceNet,O ...