【rabbitmq】Centos7 下安装rabbitmq
rabbitmq安装
rabbitmq的安装依赖erlang,首先应该先安装erlang,然后安装rabbitmq;
Step1:安装erlang
erlang-rpm安装教程
选择在Centos7 上安装:
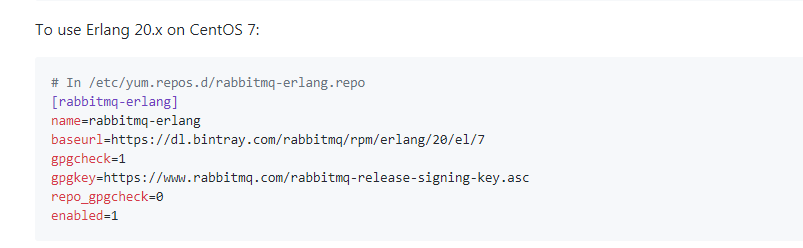
To use Erlang 20.x on CentOS 7:
# In /etc/yum.repos.d/rabbitmq-erlang.repo

[rabbitmq-erlang]

name=rabbitmq-erlang

baseurl=https://dl.bintray.com/rabbitmq/rpm/erlang/20/el/7

gpgcheck=1

gpgkey=https://www.rabbitmq.com/rabbitmq-release-signing-key.asc

repo_gpgcheck=0

enabled=1
然后执行:
yum install erlang
Step2: 安装rabbitmq
下载rpm
wget https://github.com/rabbitmq/rabbitmq-server/releases/download/rabbitmq_v3_6_12/rabbitmq-server-3.6.12-1.el7.noarch.rpm
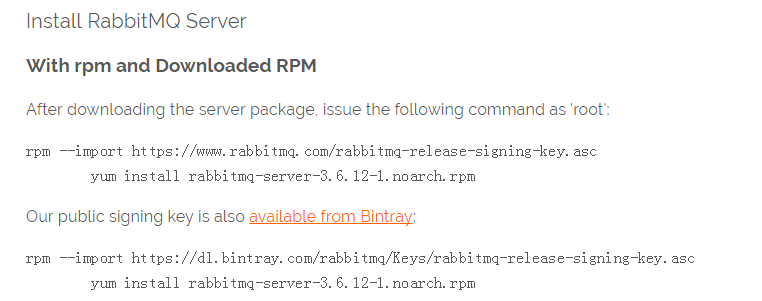
安装rpm
rpm --import https://www.rabbitmq.com/rabbitmq-release-signing-key.asc

yum install rabbitmq-server-3.6.12-1.el7.noarch.rpm
Step3: 设置开机自启动+开启服务
chkconfig rabbitmq-server on

/sbin/service rabbitmq-server stop/start/
Step4: Rabbit管理(非必须)
开启Web管理插件
rabbitmq-plugins enable rabbitmq_management

output:

The following plugins have been enabled:

  mochiweb

  webmachine

  rabbitmq_web_dispatch

  amqp_client

  rabbitmq_management_agent

  rabbitmq_management

Applying plugin configuration to rabbit@PC-201602152056... started 6 plugins.
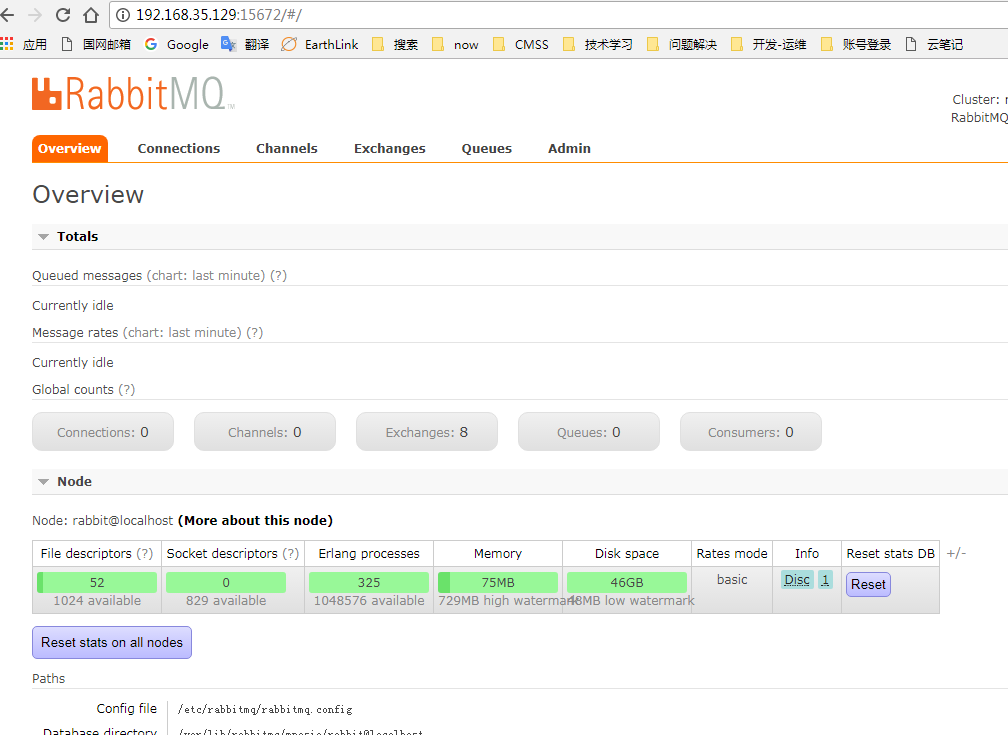
浏览器访问:
http://localhost:15672,
默认用户名和密码: guest/guest;
需要注意的是:guest用户仅仅提供localhost作为ip登录;
如果远程登录,如:http://192.168.35.129:15672/, 则会提示错误,登录不了:
# 如下是日志输出

=WARNING REPORT==== 21-Oct-2017::23:31:33 ===

 HTTP access denied: user 'guest' - User can only log in via localhost
访问控制可参考:
Access Control (Authentication, Authorisation) in RabbitMQ
为了让guest可远程访问,需要修改rabbitmq.config中的loopback_users参数,设置为
[{rabbit, [{loopback_users, []}]}].
官网文档描述如下,可参考官方文档:RabbitMQ Configuration:
loopback_users参数:

List of users which are only permitted to connect to the broker via a loopback interface (i.e. localhost).

If you wish to allow the default guest user to connect remotely, you need to change this to [].

Default:  [<<"guest">>]
默认安装时,rabbitmq.config配置文件可能不存在,有两种方式可以设置配置文件;
- 方式1: 配置文件默认路径: /etc/rabbitmq/rabbitmq.config
- 方式2: 使用环境变量
RABBITMQ_CONFIG_FILE指定rabbitmq.config文件位置;
说明如下:
If rabbitmq.config doesn't exist, it can be created manually. Set the RABBITMQ_CONFIG_FILE environment variable if you change the location. The Erlang runtime automatically appends the .config extension to the value of this variable.
修改完配置文件后,重启,就可以使用guest用户远程访问了;
参考
erlang-rpm
CentOS 7 安裝 RabbitMQ 3.6.12
CentOS7安装rabbitMQ
【rabbitmq】Centos7 下安装rabbitmq的更多相关文章
- centos7下安装rabbitmq
RabbitMQ: RabbitMQ是流行的开源消息队列系统,是AMQP(Advanced Message Queuing Protocol高级消息队列协议)的标准实现,用erlang语言开发.Rab ...
- 学习笔记(3)centos7 下安装RabbitMQ
centos7 安装RabbitMQ 安装erlang 因为RabbitMQ由ERLANG实现,所以需要先安装erlang.可以从https://www.erlang-solutions.com/re ...
- Centos7 下安装 RabbitMQ
安装 erlang 1.下载erlang 官网地址 http://www.erlang.org/download 挑选合适的版本 然后 wget 比如目前最新版本 19.3 运行命令 wget htt ...
- CentOS7下安装rabbitmq消息队
安装如下步骤: 1.首先安装erlang yum install erlang 注:如果出现No package erlang available. rpm -Uvh http://download. ...
- 在Centos7下安装RabbitMQ
1.背景 不用多说,这东西好用! 2.安装 步骤一:下载安装包 链接:https://pan.baidu.com/s/1PIYI60wX6L7BtVyVft-vSA 提取码:1234 复制这段内容后打 ...
- (三)RabbitMQ消息队列-Centos7下安装RabbitMQ3.6.1
原文:(三)RabbitMQ消息队列-Centos7下安装RabbitMQ3.6.1 如果你看过前两章对RabbitMQ已经有了一定了解,现在已经摩拳擦掌,来吧动手吧! 用什么系统 本文使用的是Cen ...
- centos7环境安装rabbitMQ
使用专业的消息队列产品rabbitmq之centos7环境安装 http://www.cnblogs.com/huangxincheng/p/6006569.html [源码安装,适用GNOME + ...
- centos7.4安装rabbitmq服务(3.7.10版本)
一.需要安装erlang版本依赖,可以使用二进制安装方式,也可以通过rpm安装,但是安装的时候会提示需要erlang版本>=19.3,而且直接默认yum仓库中的版本较低.,为了节省时间,文章中直 ...
- [转]centos7环境安装rabbitMQ
使用专业的消息队列产品rabbitmq之centos7环境安装 http://www.cnblogs.com/huangxincheng/p/6006569.html CentOS7上安装Rabbit ...
随机推荐
- windows service 2008 R2 安装net4.6环境失败,windows service 2008 R2 升级sp1问题
一.错误 1.因为我的程序是以vs2017开发的,在windows service 2008 R2 IIS部署项目文件报出错误,因此要安装net4.6的环境. 2.windows service 2 ...
- 『TensorFlow』函数查询列表_神经网络相关
tf.Graph 操作 描述 class tf.Graph tensorflow中的计算以图数据流的方式表示一个图包含一系列表示计算单元的操作对象以及在图中流动的数据单元以tensor对象表现 tf. ...
- 91. Reverse Linked List 反转链表
网址:https://leetcode.com/problems/reverse-linked-list/ 直接参考92:https://www.cnblogs.com/tornado549/p/10 ...
- Oracle 11g streams部署
环境 源服务器 目标服务器 系统版本 CentOS Linux release 7.3.1611 (Core) CentOS Linux release 7.3.1611 (Core) 主机名 s ...
- Android7.0手机程序保活(附源码下载)
项目地址,求starhttps://github.com/979451341/AppAlive 本人在学习音视频时无意发现的黑科技,发现在使用AudioTrack播放音乐时,使用手机的一键清理发现程序 ...
- LeetCode 总结,二叉树各种类型问题小结
三大遍历 前序遍历 中序遍历 后序遍历 关于三大基础遍历,必须要条件反射式的记住:三种遍历的迭代方式使用的都是栈,后序遍历必须使用了 两个栈,其余乱七八糟的解决方式统统就不要再记了. 广度遍历: 分析 ...
- Java实验6
dbq时隔这么久我总算又来更新了 这次说说一个很好玩的类,JLabel的如何改里面字的属性 label.setFont(new Font("宋体", 0 , 15)); 这个指的是 ...
- 2D过渡模块的其他属性
官网上关于过渡属性的值: 属性 描述 CSS transition 简写属性,用于在一个属性中设置四个过渡属性. 3 transition-property 规定应用过渡的 CSS 属性的名称. 3 ...
- Linux下的5种I/O模型(转)
Linux下的五种I/O模型: l 阻塞I/O l 非阻塞I/O l I/O复用(select.poll.epoll) l 信号驱动I/ ...
- python基础09_字符串格式化
首先,使用%s 的方法. #!/usr/bin/env python # coding:utf-8 # 不用format方法,使用%s 和%d name = 'Tom' age = 100 msg = ...