Consul&Nginx&Registrator&ConsulTemplate部署高可用负载均衡
1. Consul Server
创建consul server虚拟主机
docker-machine create consul
出现如下内容即创建成功
Running pre-create checks...

Creating machine...

(consul) Copying /Users/enoch/.docker/machine/cache/boot2docker.iso to /Users/enoch/.docker/machine/machines/consul/boot2docker.iso...

(consul) Creating VirtualBox VM...

(consul) Creating SSH key...

(consul) Starting the VM...

(consul) Check network to re-create if needed...

(consul) Waiting for an IP...

Waiting for machine to be running, this may take a few minutes...

Detecting operating system of created instance...

Waiting for SSH to be available...

Detecting the provisioner...

Provisioning with boot2docker...

Copying certs to the local machine directory...

Copying certs to the remote machine...

Setting Docker configuration on the remote daemon...

Checking connection to Docker...

Docker is up and running!

To see how to connect your Docker Client to the Docker Engine running on this virtual machine, run: docker-machine env consul
创建工作目录consul
mkdir -p ~/workspace/consul && cd ~/workspace/consul
创建docker-compose.yml
version: "3"

services:

  consul:

    image: consul:latest

    ports:

      - 8500:8500

    command: agent -server -bootstrap -ui -client=0.0.0.0 -node=server01
切换环境到consul
eval $(docker-machine env consul)
执行docker-compose.yml
docker-compose up -d
查看虚拟主机IP
docker-machine ip consul

# output 192.168.99.103
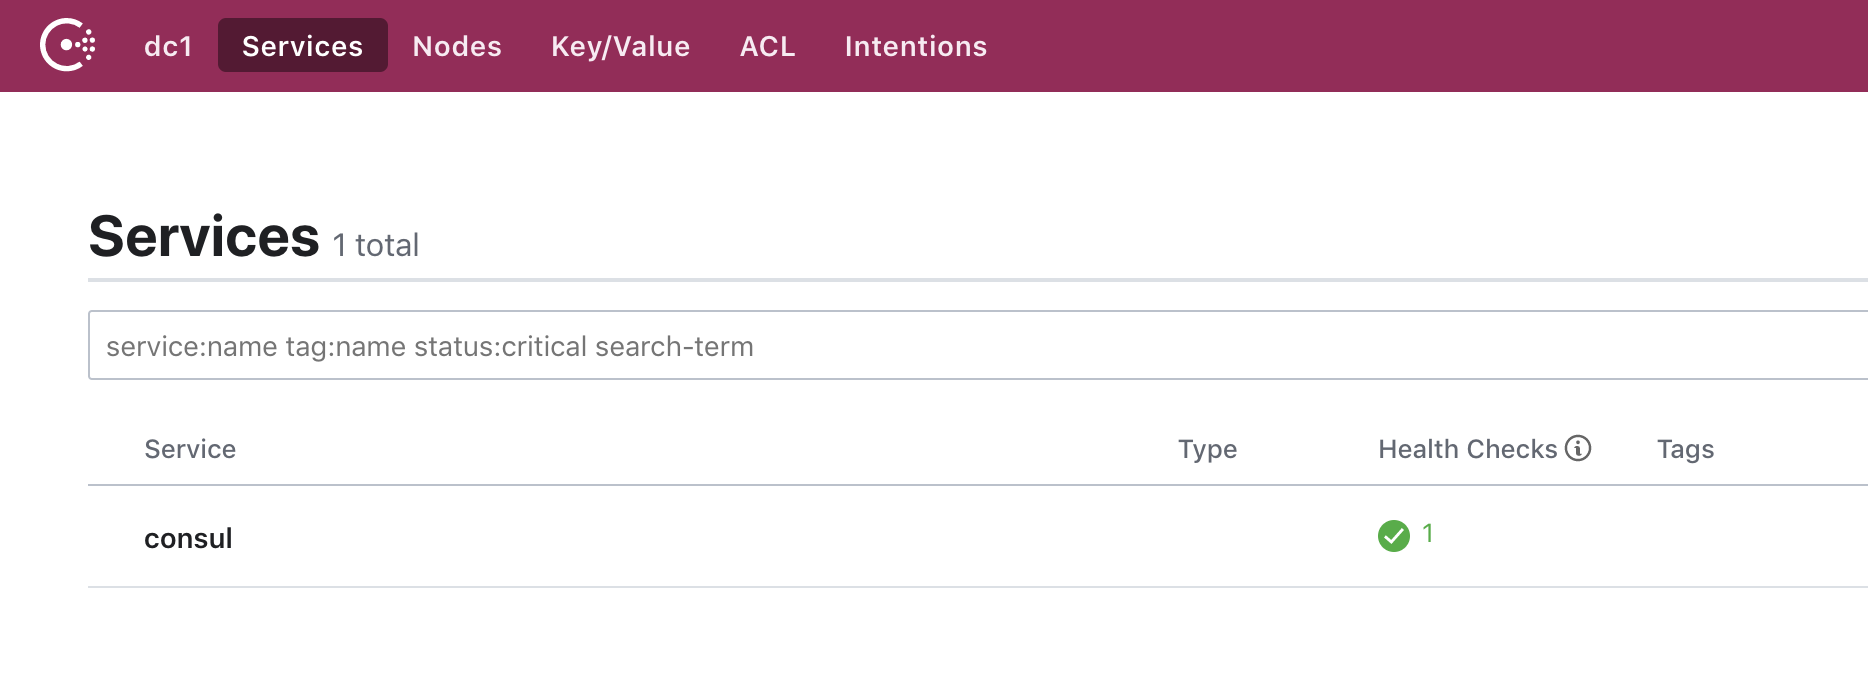
通过IP在浏览器访问8500端口,即可看到Consul的UI界面
2. Nginx + Consul Template
创建反向代理虚拟主机
docker-machine create reverseproxy
出现以下内容代表创建成功
Running pre-create checks...

Creating machine...

(reverseproxy) Copying /Users/enoch/.docker/machine/cache/boot2docker.iso to /Users/enoch/.docker/machine/machines/reverseproxy/boot2docker.iso...

(reverseproxy) Creating VirtualBox VM...

(reverseproxy) Creating SSH key...

(reverseproxy) Starting the VM...

(reverseproxy) Check network to re-create if needed...

(reverseproxy) Waiting for an IP...

Waiting for machine to be running, this may take a few minutes...

Detecting operating system of created instance...

Waiting for SSH to be available...

Detecting the provisioner...

Provisioning with boot2docker...

Copying certs to the local machine directory...

Copying certs to the remote machine...

Setting Docker configuration on the remote daemon...

Checking connection to Docker...

Docker is up and running!

To see how to connect your Docker Client to the Docker Engine running on this virtual machine, run: docker-machine env reverseproxy
切换当前环境到虚拟主机
eval $(docker-machine env reverseproxy)
创建工作目录reverseproxy
mkdir -p ~/workspace/reverseproxy && cd ~/workspace/reverseproxy
创建docker-compose.yml
version: "3"

services:

  nginx:

    image: nginx:latest

    ports:

      - 8081:80

    volumes:

      - ./nginx.conf:/etc/nginx/nginx.conf

      - ./conf.d:/etc/nginx/conf.d

  consul-template:

    image: hashicorp/consul-template:alpine

    volumes:

      - ./conf.d:/etc/nginx/conf.d

    command: consul-template --consul-addr 192.168.99.103:8500 --template "/etc/nginx/conf.d/nginx.ctmpl:/etc/nginx/conf.d/vhost.conf" --log-level=info
把容器跑起来
docker-compose up -d
查看IP
docker-machine ip reverseproxy

# output 192.168.99.102
浏览器访问reverseproxy的8081端口,出现如下内容代表启动成功

3. Webserver搭建
创建虚拟主机webserver1
docker-machine create webserver1

eval $(docker-machine env webserver1)

mkdir webserver1 & cd webserver1
创建docker—compose.yml
version: "3"

services:

  nginx1:

    image: nginx:latest

    ports:

      - 81:80

  nginx2:

    image: nginx:latest

    ports:

      - 82:80

  registrator:

    image: shaharil/registrator:latest

    volumes:

      - /var/run/docker.sock:/tmp/docker.sock

    command: consul://192.168.99.103:8500
跑起来
docker-compose up -d
打开reverseproxy/conf.d/vhost.conf可以看到webserver启动的nginxIP地址都被加了进去
upstream http_backend {

    server 172.18.0.2:81;

    server 172.18.0.3:82;

}

server {

    listen 8000;

    server_name localhost;

    location / {

        proxy_pass http://http_backend;

    }

}
做个试验,现在将其中一台nginx容器关闭
eval $(docker-machine env webserver1)

docker stop webserver1_nginx2_1
此时可以看到vhost.conf中的IP被去掉了
upstream http_backend {

    server 172.18.0.2:81;

}

server {

    listen 8000;

    server_name localhost;

    location / {

        proxy_pass http://http_backend;

    }

}
再将nginx容器打开,该容器的IP地址随之也会被加进去
docker start webserver1_nginx2_1

//以下是文件内容

upstream http_backend {

    server 172.18.0.2:81;

}

server {

    listen 8000;

    server_name localhost;

    location / {

        proxy_pass http://http_backend;

    }

}
Consul&Nginx&Registrator&ConsulTemplate部署高可用负载均衡的更多相关文章
- consul-template + nginx部署高可用负载均衡
一.Consul-Template简介 Consul-Template是基于Consul的自动替换配置文件的应用.在Consul-Template没出现之前,大家构建服务发现系统大多采用的是Zooke ...
- Nginx + Keepalived实现应用高可用负载均衡功能
说明:此处仅介绍 Keepalived 实现nginx负载均衡器的高可用,关于nginx介绍和负载均衡实现可查看我的另两篇博文 Nginx负载均衡 和 Nginx配置了解 应用背景:实现高可用,避免单 ...
- 【Linux运维-集群技术进阶】Nginx+Keepalived+Tomcat搭建高可用/负载均衡/动静分离的Webserver集群
额.博客名字有点长.. . 前言 最终到这篇文章了,心情是有点激动的. 由于这篇文章会集中曾经博客讲到的全部Nginx功能点.包含主要的负载均衡,还有动静分离技术再加上这篇文章的重点.通过Keepal ...
- 基于MySQL+MHA+Haproxy部署高可用负载均衡集群
一.MHA 概述 MHA(Master High Availability)是可以在MySQL上使用的一套高可用方案.所编写的语言为Perl 从名字上我们可以看到.MHA的目的就是为了维护Master ...
- nginx+keepalived双主高可用负载均衡
实验环境及软件版本:CentOS版本: 6.6(2.6.32.-504.el6.x86_64)nginx版本: nginx-1.6.3keepalived版本:keepalived-1.2.7 主LB ...
- 使用Ansible实现nginx+keepalived高可用负载均衡自动化部署
本篇文章记录通过Ansible自动化部署nginx的负载均衡高可用,前端代理使用nginx+keepalived,端web server使用3台nginx用于负载效果的体现,结构图如下: 部署前准备工 ...
- 搭建 Keepalived + Nginx + Tomcat 的高可用负载均衡架构
1 概述 初期的互联网企业由于业务量较小,所以一般单机部署,实现单点访问即可满足业务的需求,这也是最简单的部署方式,但是随着业务的不断扩大,系统的访问量逐渐的上升,单机部署的模式已无法承载现有的业务量 ...
- [转]搭建Keepalived+Nginx+Tomcat高可用负载均衡架构
[原文]https://www.toutiao.com/i6591714650205716996/ 一.概述 初期的互联网企业由于业务量较小,所以一般单机部署,实现单点访问即可满足业务的需求,这也是最 ...
- Keepalived + Nginx + Tomcat 的高可用负载均衡架构搭建
Keepalived + Nginx + Tomcat 的高可用负载均衡架构搭建 Nginx 是一个高性能的 HTTP反向代理服务器 Keepalived 是一个基于VRRP协议来实现的LVS服务高可 ...
随机推荐
- uow Unit of work
通过学习圣杰的文章 UnitOfWork知多少 知道uow其实就是为了解决 一次提交所有更改 1.ef本身可以具备这样一个功能,但是我们在写仓储的实现的时候 经常会直接显式saveChanges了 ...
- 第一泰泽(Tizen)智能手机发布在俄罗斯
请看下图: 这是韩国三星公司在俄罗斯境内公布的第一款泰泽(Tizen)智能手机(今年6月2日).这说明,Tizen操作系统没有死去. 在泰泽官网上将泰泽操作系统定义为:"The OS of ...
- if-then和if-then-else声明
1.使用if-then声明 结构化命令,主要类型为if-then声明.if-then例如,下面的语句格式: if command then commands fi 假设你在使用其它编程语言的if-th ...
- (015)实现一个函数来检查是否平衡树(keep it up)
实现一个函数来检查是否平衡树.这个问题而言. 平衡指的是这棵树随意两个叶子结点到根结点的距离之差不大于1. 这个题我们能够採用暴力搜索,找到叶子节点到根节点的最小值和最大值.然后他们的差假设大于1就不 ...
- WPF 调用资源图片
原文:WPF 调用资源图片 最近做的wpf项目中,在开发的时候,把图片放到了bin下面,采用了imagePath =System.IO.Directory.GetCurrentDirectory()+ ...
- js css加时间戳
为了强制更新文件,取消浏览器缓存 <link rel="stylesheet" href="~/XXX.css?time='+new Date().getTime( ...
- sql 循环 随机数创建数据
--循环 WHILE @i<40 BEGIN …… end --随机数 SET @money=rand()*100000 例子: DECLARE @i INT DECLARE @money MO ...
- EF延迟加载LazyLoading
优点 只在需要的时候加载数据,不需要预先计划,避免了各种复杂的外连接.索引.视图操作带来的低效率问题 缺陷:多次与DB交互,性能降低 阻止延迟加载解决方案:1.ToList(),返回的东西是个内存级的 ...
- C++和QML混合的QT程序调试方法
以前调试只是QML或者只是C++的QT程序很简单,断点打上,直接debug按钮一点,喝一口水,自然就停在断点了. 这次遇到C++和QML混合的程序,把CONFIG+=declarative_debug ...
- sqlserver检查sql执行时间
set statistics profile onset statistics io onset statistics time onGO select * from mytable; goset s ...