
mac下mysql的卸载和安装
1. mysql的卸载
- 1 sudo rm /usr/local/mysql
- 2 sudo rm -rf /usr/local/mysql*
- 3 sudo rm -rf /Library/StartupItems/MySQLCOM
- 4 sudo rm -rf /Library/PreferencePanes/My*
- 5 vim /etc/hostconfig (and removed the line MYSQLCOM=-YES-)
- 6 rm -rf ~/Library/PreferencePanes/My*
- 7 sudo rm -rf /Library/Receipts/mysql*
- 8 sudo rm -rf /Library/Receipts/MySQL*
- 9 sudo rm -rf /var/db/receipts/com.mysql.*
在我的mac上没有Library文件夹,故6、7、8操作执行
2.下载mysql免费版(可以用brew install mysql 但是安装的都是最新的版本)
- https://downloads.mysql.com/archives/community/

3.下载后dmg文件后,双击后一步步安转
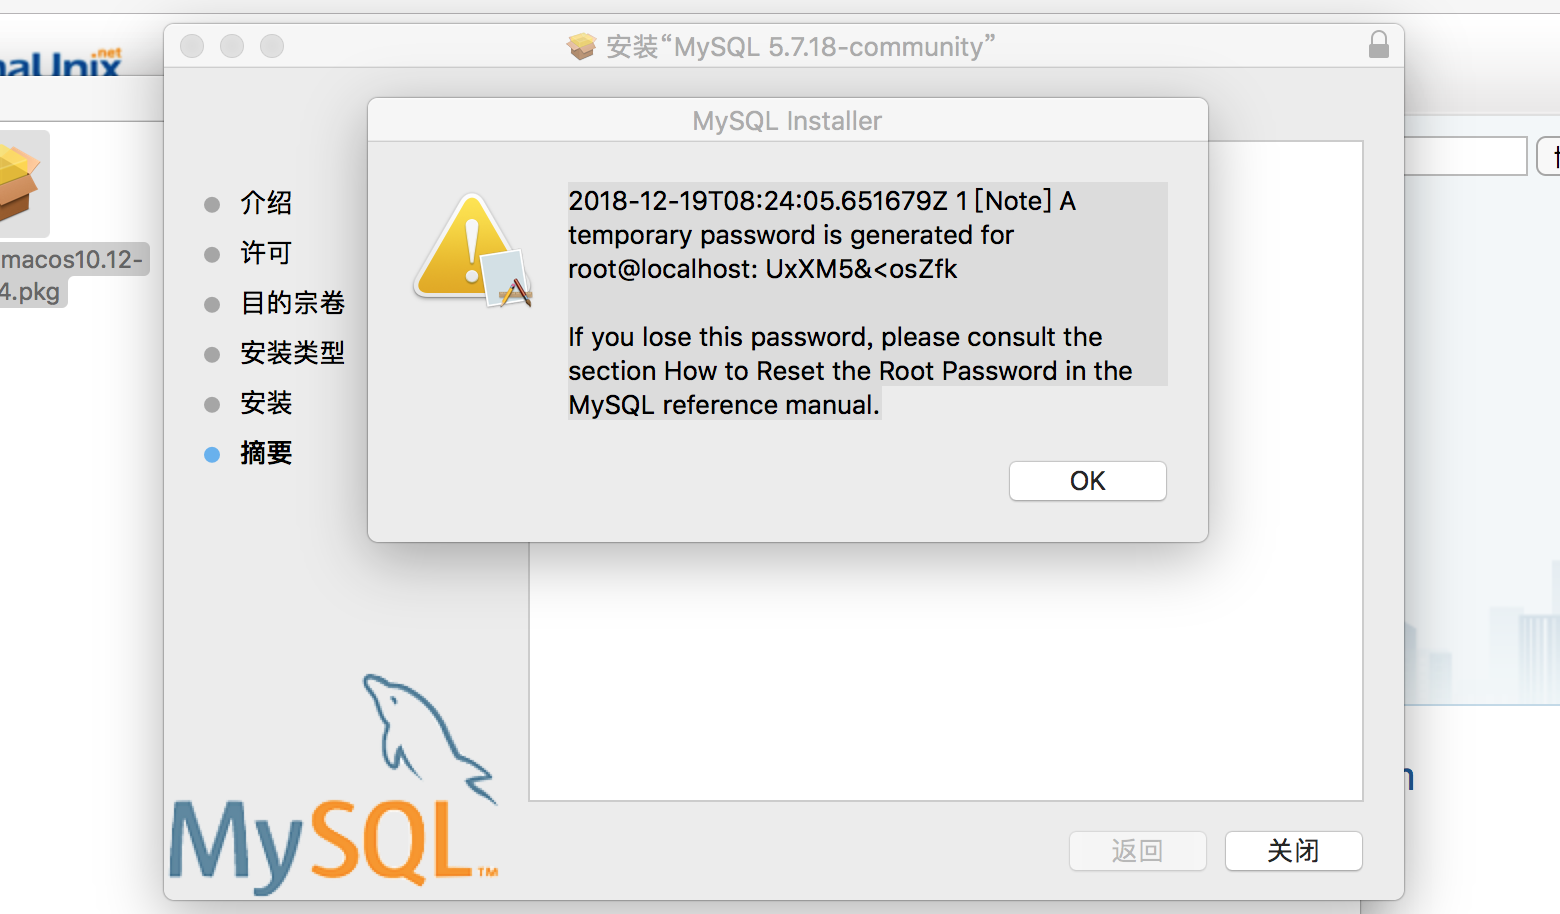
4.安装最后一步会生成一个密码,此密码是mysql自动生成的密码
5. 启动mysql服务
sudo mysqld --user=mysql &    //不能用root用户启动

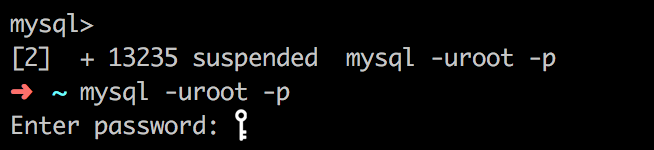
输入刚才生成的密码
5. 修改数据库密码
SET PASSWORD FOR'root'@'localhost'=PASSWORD('new password');flush privileges;
6. 安装mysql后配置环境变量,以便使用mysql命令
- vi ~/.zshrc 不存在就新建
- 然后输入 export PATH=${PATH}:/usr/local/mysql/bin
- 保存后 source ~/.zshrc
7. 启动、停止和重启
- 启动MySQL服务
sudo /usr/local/MySQL/support-files/mysql.server start
- 停止MySQL服务
sudo /usr/local/mysql/support-files/mysql.server stop
- 重启MySQL服务
sudo /usr/local/mysql/support-files/mysql.server restart
8. 在/usr/local/mysql/support-files创建my.cnf文件(mac默认没有此文件),并给于666权限,才可以编辑
# Example MySQL config file for small systems.

#

# This is for a system with little memory (<= 64M) where MySQL is only used

# from time to time and it's important that the mysqld daemon

# doesn't use much resources.

#

# MySQL programs look for option files in a set of

# locations which depend on the deployment platform.

# You can copy this option file to one of those

# locations. For information about these locations, see:

# http://dev.mysql.com/doc/mysql/en/option-files.html

#

# In this file, you can use all long options that a program supports.

# If you want to know which options a program supports, run the program

# with the "--help" option.

# The following options will be passed to all MySQL clients

[client]

default-character-set=utf8

#password   = your_password

port        = 3306

socket      = /tmp/mysql.sock

# Here follows entries for some specific programs

# The MySQL server

[mysqld]

default-storage-engine=INNODB

character-set-server=utf8

collation-server=utf8_general_ci

port        = 3306

socket      = /tmp/mysql.sock

skip-external-locking

key_buffer_size = 16K

max_allowed_packet = 1M

table_open_cache = 4

sort_buffer_size = 64K

read_buffer_size = 256K

read_rnd_buffer_size = 256K

net_buffer_length = 2K

thread_stack = 128K

# Don't listen on a TCP/IP port at all. This can be a security enhancement,

# if all processes that need to connect to mysqld run on the same host.

# All interaction with mysqld must be made via Unix sockets or named pipes.

# Note that using this option without enabling named pipes on Windows

# (using the "enable-named-pipe" option) will render mysqld useless!

#

#skip-networking

server-id   = 1

# Uncomment the following if you want to log updates

#log-bin=mysql-bin

# binary logging format - mixed recommended

#binlog_format=mixed

# Causes updates to non-transactional engines using statement format to be

# written directly to binary log. Before using this option make sure that

# there are no dependencies between transactional and non-transactional

# tables such as in the statement INSERT INTO t_myisam SELECT * FROM

# t_innodb; otherwise, slaves may diverge from the master.

#binlog_direct_non_transactional_updates=TRUE

# Uncomment the following if you are using InnoDB tables

#innodb_data_home_dir = /usr/local/mysql/data

#innodb_data_file_path = ibdata1:10M:autoextend

#innodb_log_group_home_dir = /usr/local/mysql/data

# You can set .._buffer_pool_size up to 50 - 80 %

# of RAM but beware of setting memory usage too high

#innodb_buffer_pool_size = 16M

#innodb_additional_mem_pool_size = 2M

# Set .._log_file_size to 25 % of buffer pool size

#innodb_log_file_size = 5M

#innodb_log_buffer_size = 8M

#innodb_flush_log_at_trx_commit = 1

#innodb_lock_wait_timeout = 50

[mysqldump]

quick

max_allowed_packet = 16M

[mysql]

no-auto-rehash

# Remove the next comment character if you are not familiar with SQL

#safe-updates

[myisamchk]

key_buffer_size = 8M

sort_buffer_size = 8M

[mysqlhotcopy]

interactive-timeout
- touch my.cnf
- sudo chmod 666 my.cnf
修改完后,再执行
- sudo chmod 664 /etc/my.cnf
9.查询mysql进程
- mysql.server status
10.查询mysql状态
- mysql.server status
mac下mysql的卸载和安装的更多相关文章
- linux下mysql的卸载、安装全过程
卸载mysql 1.查找以前是否装有mysql 命令:rpm -qa|grep -i mysql 可以看到mysql的两个包: mysql-4.1.12-3.RHEL4.1 mysqlclient10 ...
- Mac下MySQL与MySQLWorkbench的安装
通过查阅各种各样的资料,去安装这些东东.最后经过一番周折终于安装完成.下面是对安装过程和遇到的问题做个简单记录. 一. 下载MySQL和MySQL Workbench http://dev.mysql ...
- Mac下MySQL的卸载
先停止所有mysql有关进程. 打开控制台一次复制下列所有内容: sudo rm /usr/local/mysql sudo rm -rf /usr/local/mysql* sudo rm -rf ...
- Mac下MySQL卸载方法 转载
mac下mysql的DMG格式安装内有安装文件,却没有卸载文件……很郁闷的事. 网上搜了一下,发现给的方法原来得手动去删. 很多文章记述要删的文件不完整,后来在stackoverflow这里发现了一个 ...
- Mac下MySQL卸载方法
mac下mysql的DMG格式安装内有安装文件,却没有卸载文件……很郁闷的事.1 sudo rm /usr/local/mysql2 sudo rm -rf /usr/local/mysql*3 su ...
- MAC下 mySQL及workbench安装
1.首先去mysql 网站下载安装包,https://dev.mysql.com/downloads/mysql/ 选择第一个.dmg格式的下载安装 2.安装完成后,在System Preferenc ...
- MAC下 mysql不能插入中文和中文乱码的问题总结
MAC下 mysql不能插入中文和中文乱码的问题总结 前言 本文中所提到的问题解决方案,都是基于mac环境下的,但其他环境,比如windows应该也适用. 问题描述 本文解决下边两个问题: 往mysq ...
- mac下mysql数据库的配置
这里记录一下. 之前在mac下使用brew install mysql安装,但是安装完成后发现密码不好修改,上网搜了下发现mac下使用命令行安装mysql确实存在很多问题,这一点确实远不如Ubuntu ...
- MAC下MySQL忘记初始密码
MAC下MySQL忘记初始密码的解决方法分享给大家,供大家参考,具体内容如下 从官网安装好MySQL的dmg后. 1 设置mysql命令 从终端输入 ? 1 mysql --version 若显示版本 ...
随机推荐
- AI2XAML's Bug
原文:AI2XAML's Bug My picture is like this: I use Adobe Illustator CS to draw the outline of that, I s ...
- 给WPF文字加多条修饰线
原文:给WPF文字加多条修饰线 这是上篇WPF中的文字修饰--上划线,中划线,基线与下划线 最后留给朋友思考的问题. 效果图: XAML代码:<Page xmlns="http://s ...
- Codeforces Round #248 (Div. 2) B称号 【数据结构:树状数组】
主题链接:http://codeforces.com/contest/433/problem/B 题目大意:给n(1 ≤ n ≤ 105)个数据(1 ≤ vi ≤ 109),当中有m(1 ≤ m ≤ ...
- SecureCRT循环检查设备状态
1: #$language = "VBScript" 2: #$interface = "1.0" 3: 4: ' This automatically gen ...
- WPF范围选择控件(RangeSelector)
原文:WPF范围选择控件(RangeSelector) 版权声明:本文为博主原创文章,转载请注明作者和出处 https://blog.csdn.net/ZZZWWWPPP11199988899/art ...
- xmarin live player 连接 IOS以及安卓实现实时效果查看
原文:xmarin live player 连接 IOS以及安卓实现实时效果查看 在之前有介绍过xamarin 单独IOS项目开发的运行环境搭建,但是这段时间我看到了xmarin forms 3.0 ...
- WPF与缓动(一) N次缓动
原文:WPF与缓动(一) N次缓动 WPF与缓动(一) N次缓动 ...
- 简化网站开发:SiteMesh小工具
在一个站点的制备,几乎所有的页面将具有相同的部分.导航栏例如,顶,每一页都是一样的,在底部的版权声明,每一页还都是一样的. 因此,在顶部导航栏的准备.第一种方法是直接复制的所有导航栏的代码,这种方法是 ...
- spring boot 配置swagger UI
springboot集成swaggerUI 有这样的需求 1.在每个接口上都增加一个字段: 2.接口文档只展示满足一定条件URL的接口 配置文件 详细看代码 import org.springfram ...
- 关于 IIS 上运行 ASP.NET Core 站点的“HTTP 错误 500.19”错误
昨天回答了博问中的一个问题 —— “HTTP 错误 500.19 - Internal Server Error dotnetcore”,今天在这篇随笔中时候事后诸葛亮地小结一下. 服务器是 Wind ...