spring boot 异步发送邮件
发送邮件由于是一个耗时的操作,有可能需要一个几十秒的操作,但是呢,接口 是一个瞬间完成的,为了不影响接口的性能,所以需要对发送邮件的操作进行异步操作,我们这里呢,首先我们要引入发送邮件的测试模块。
  <dependency>

            <groupId>org.springframework.boot</groupId>

            <artifactId>spring-boot-starter-mail</artifactId>

        </dependency>
引入包后呢,我们去配置需要的邮件相关的配置,
  mail:

    host: smtp.qq.com

    port: 587

    username: 952943386@qq.com

    password: 需要在你用的邮箱那里配置

    default-encoding: utf-8

    properties:

      mail:

        smtp:

          socketFactoryClass: javax.net.ssl.SSLSocketFactory

        debug: true
这样配置完毕之后呢,就可以发送邮件了,我们利用异步,首先我们先编写一个发送邮件的接口
public interface EmailServer {

    void  sendemail(String  subject,String from ,String touserEmail,String text);

}
我们去实现这个接口,
@Component

@Service

public class EmailServerImpl implements EmailServer {

    @Autowired

    private JavaMailSender javaMailSender;

    @Async("taskExecutor")

    @Override

    public void sendemail(String subject, String from, String touserEmail, String text) {

        SimpleMailMessage message = new SimpleMailMessage();

        message.setSubject(subject);

        message.setFrom(from);

        message.setTo(touserEmail);

        message.setSentDate(new Date());

        message.setText(text);

        javaMailSender.send(message);

    }

}
实现完毕后呢,我们这里已经配置完毕了,我们就可以在正常 的业务去调用了。
我这里改的找回密码的逻辑。
if (user.getEmail() != null) {

                emailServerl.sendemail("全栈测试平台修改密码",user.getEmail(),

                        user.getEmail(),"你的密码修改成功,用户名:" + user.getUsername());

            }
这里,需要在上面去引入
    @Autowired

    private EmailServer emailServerl;
这样我们就已经开发完毕了,我们还需要配置启动的时候,启动异步。
SpringBootApplication(exclude = {DataSourceAutoConfiguration.class, DataSourceTransactionManagerAutoConfiguration.class}, scanBasePackages = "pan")

@EnableScheduling

@EnableAsync//增加这里即可,

public class PlanApplication extends SpringBootServletInitializer {

    public static void main(String[] args) {

        SpringApplication.run(PlanApplication.class, args);

    }

    protected SpringApplicationBuilder configure(SpringApplicationBuilder builder) {

        return builder.sources(PlanApplication.class);

    }

    @Bean

    MeterRegistryCustomizer meterRegistryCustomizer(MeterRegistry meterRegistry) {

        return meterRegistry1 -> {

            meterRegistry.config()

                    .commonTags("application", "Tenantapp");

        };

    }

}
配置完毕后,我们需要配置下异步任务的配置
@Configuration

public class TaskPoolConfig {

    @Bean("taskExecutor")

    public Executor taskExecutor () {

        ThreadPoolTaskExecutor executor = new ThreadPoolTaskExecutor();

        // 核心线程数10:线程池创建时候初始化的线程数

        executor.setCorePoolSize(10);

        // 最大线程数20:

        executor.setMaxPoolSize(15);

        // 缓冲队列200:

        executor.setQueueCapacity(200);

        // 允许线程的空闲时间60秒:

        executor.setKeepAliveSeconds(60);

        // 线程池名的前缀:

        executor.setThreadNamePrefix("taskExecutor-");

        /*

        线程池对拒绝任务的处理策略:这里采用了CallerRunsPolicy策略,

         */

        executor.setRejectedExecutionHandler(new ThreadPoolExecutor.CallerRunsPolicy());

        // 设置线程池关闭的时候等待所有任务都完成再继续销毁其他的Bean

        executor.setWaitForTasksToCompleteOnShutdown(true);

        // 设置线程池中任务的等待时间,如果超过这个时候还没有销毁就强制销毁,

        executor.setAwaitTerminationSeconds(600);

        return executor;

    }

}
这样,我们就完成了整体的代码开发,我们去调用下我们的api测试下
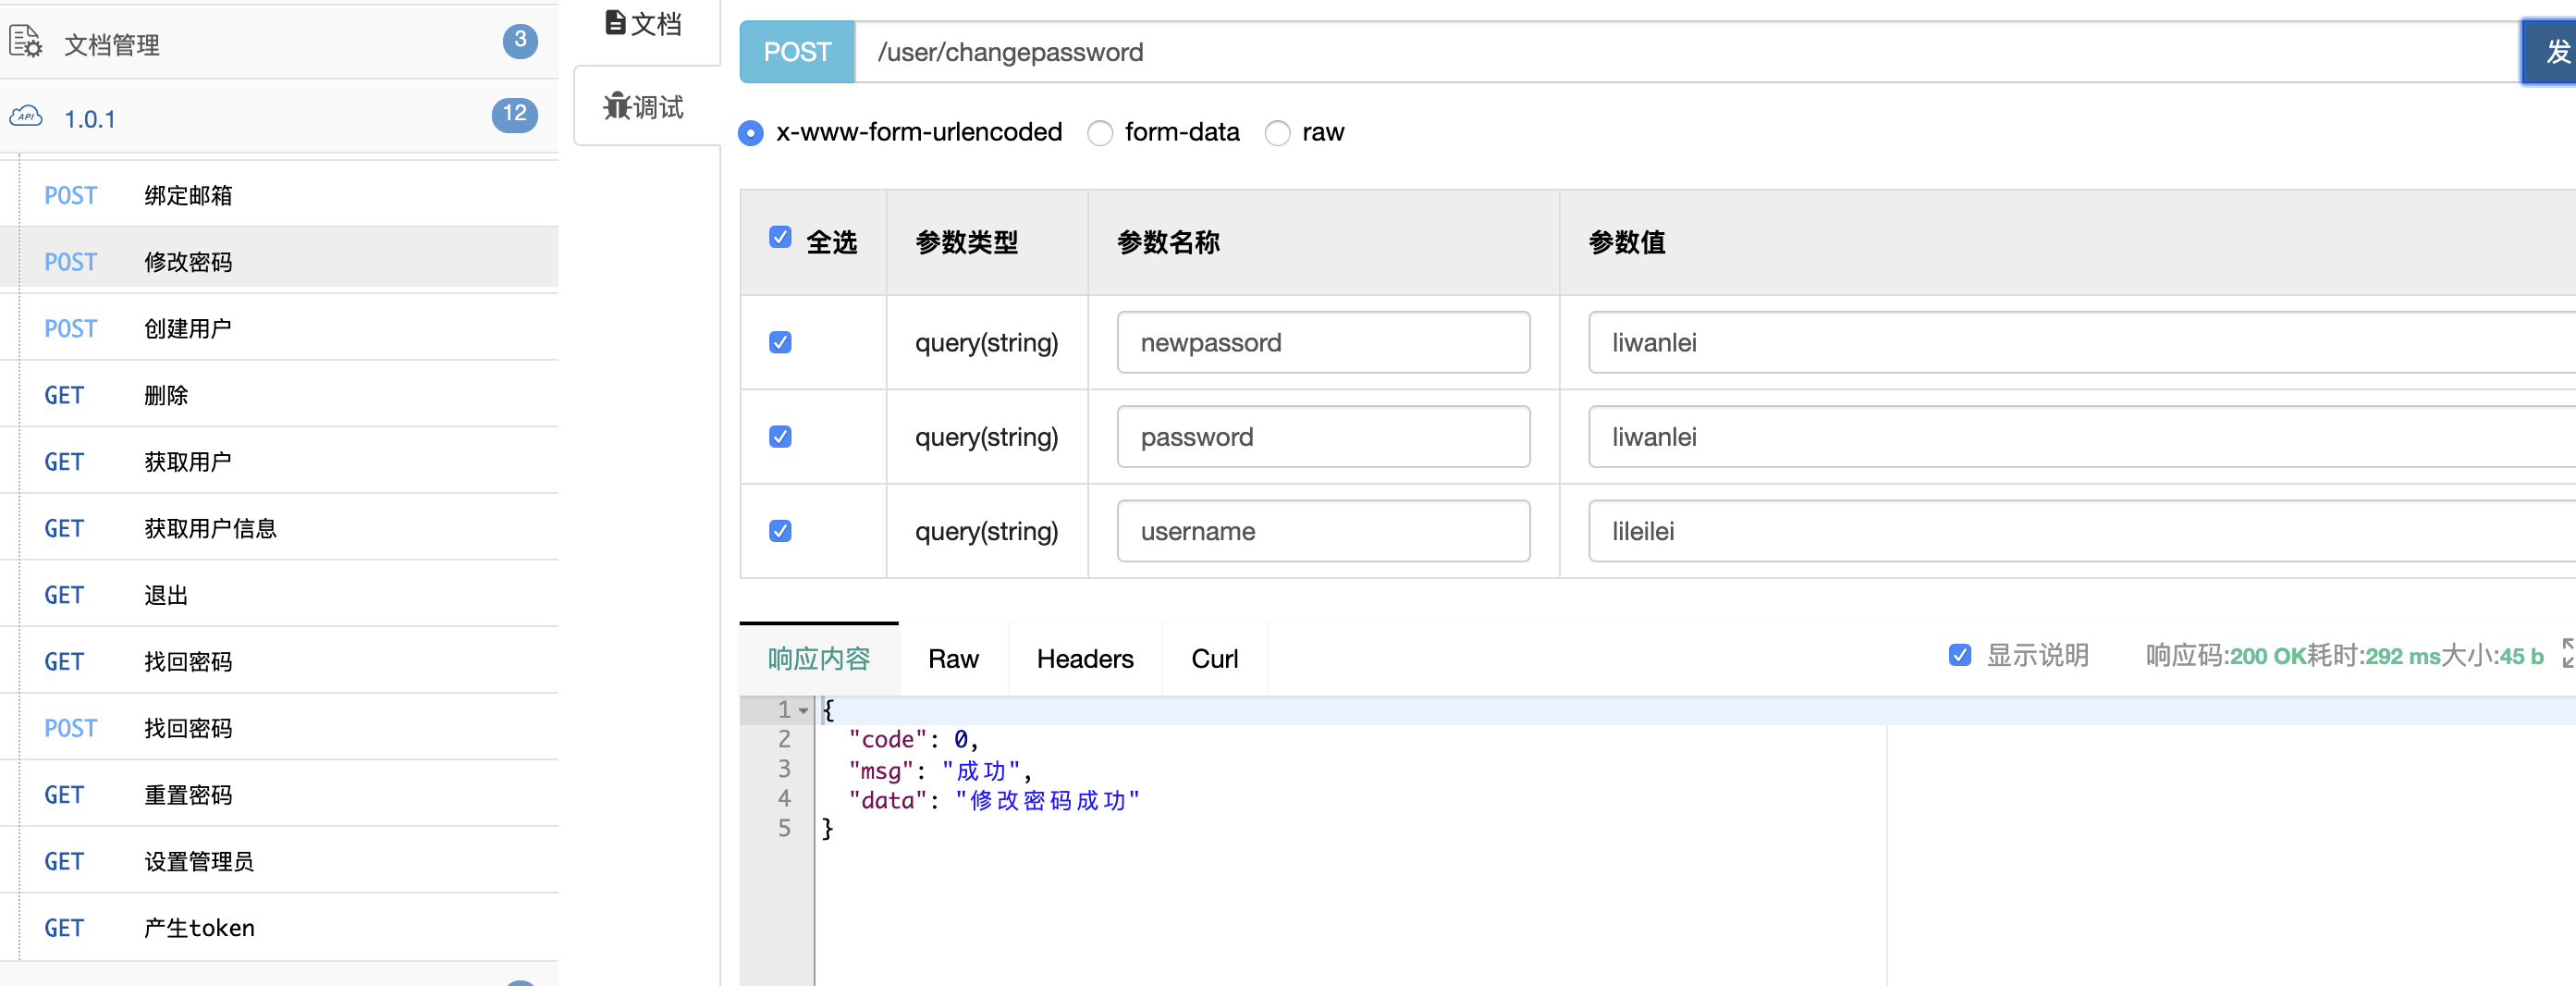
测试完毕,接口返回正常,我们去看下,我们的日志有没有执行我们的发送邮件。
Hibernate: select user0_.id as id1_70_, user0_.admin as admin2_70_, user0_.email as email3_70_, user0_.errornum as errornum4_70_, user0_.freeze as freeze5_70_, user0_.freezetime as freezeti6_70_, user0_.iphone as iphone7_70_, user0_.password as password8_70_, user0_.status as status9_70_, user0_.token as token10_70_, user0_.username as usernam11_70_ from user user0_ where user0_.username=?

。。。。。。。。

250 OK: queued as.

DEBUG SMTP: message successfully delivered to mail server

QUIT

221 Bye.
日志打印,我们看下正常我们应该可以看到邮件的,打开qq邮箱,收到了这封邮件。
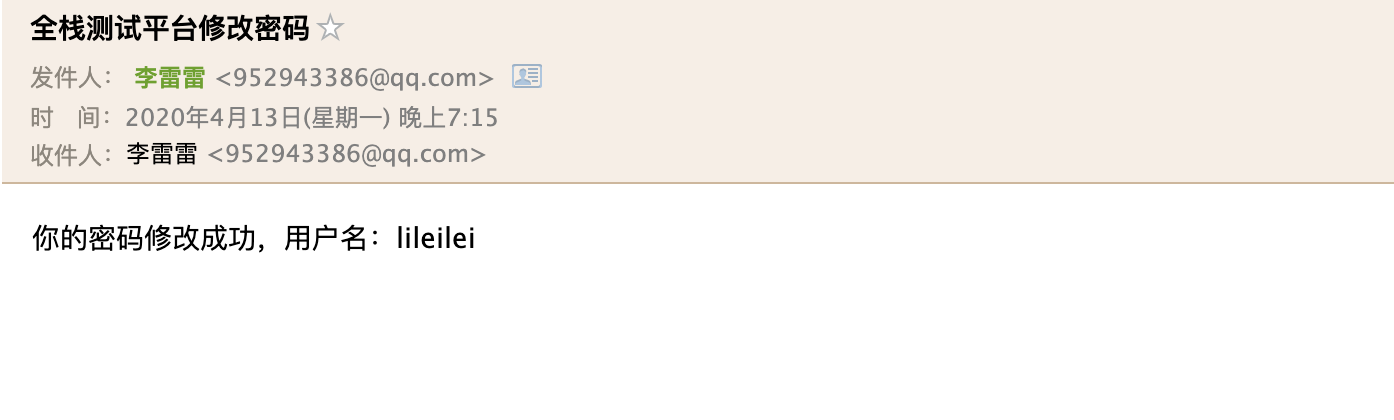
这样我们的异步发送邮件就修改成功了,完成了我们异步的发送邮件开发。后续封装下发送其他类型的模块,就可以完成了,我们的异步发送邮件的
spring boot 异步发送邮件的更多相关文章
- Spring Boot异步发送邮件和请求拦截器配置
用户登录流程图: 在spring拦截器中进行鉴权操作: 控制器的拦截: import com.mooc.house.common.model.User; import org.springframew ...
- Spring Boot 2发送邮件手把手图文教程
原文:http://www.itmuch.com/spring-boot/send-email/ 本文基于:Spring Boot 2.1.3,理论支持Spring Boot 2.x所有版本. 最近有 ...
- Spring Boot 之发送邮件
Spring Boot 之发送邮件 简介 API 配置 实战 引入依赖 配置邮件属性 Java 代码 完整示例 引申和引用 简介 Spring Boot 收发邮件最简便方式是通过 spring-boo ...
- Spring Boot (17) 发送邮件
添加依赖 <!--发送邮件 --> <dependency> <groupId>org.springframework.boot</groupId> & ...
- Spring Boot 异步请求和异步调用,一文搞定
一.Spring Boot中异步请求的使用 1.异步请求与同步请求 特点: 可以先释放容器分配给请求的线程与相关资源,减轻系统负担,释放了容器所分配线程的请求,其响应将被延后,可以在耗时处理完成(例如 ...
- SpringBoot系列:Spring Boot异步调用@Async
在实际开发中,有时候为了及时处理请求和进行响应,我们可能会多任务同时执行,或者先处理主任务,也就是异步调用,异步调用的实现有很多,例如多线程.定时任务.消息队列等, 这一章节,我们就来讲讲@Async ...
- Spring boot 中发送邮件
参考:https://blog.csdn.net/qq_39241443/article/details/81293939 添加依赖: <dependency> <groupId&g ...
- Spring Boot 异步运用
使用@Async标签 导入包 org.springframework.scheduling.annotation.Async 并配置并发线程池asyncTaskConfig 实现AsyncConfig ...
- Spring Boot 异步调用
添加一个类ThreadPoolConfig.java package com.cjcx.inter.framework.config; import org.springframework.conte ...
随机推荐
- 数据库中的两个最重要的日志redo log和binlog
mysql整体来看其实只有两部分,一部分是server层,一部分是引擎层. 1.redo log(重做日志):当有一条记录需要更新的时候,InnoDB 引擎就会先把记录写入redo log里面,并更新 ...
- JAVAEE学习day02
1.数据类型的转换 1>自动转换(隐式) // 将取值范围小的数据类型自动提升为取值范围大的类型 // 定义byte类型数据 byte b = 10; // 定义short类型数据 short ...
- 测试必知必会系列- Linux常用命令 - history
21篇测试必备的Linux常用命令,每天敲一篇,每次敲三遍,每月一循环,全都可记住!! https://www.cnblogs.com/poloyy/category/1672457.html 查看历 ...
- Ubuntu下实现歌词解析
我们要明确目的,实现歌曲歌词同步. 1.将歌词文件一次性去取到内存中.(以周董的“简单爱”为例) a.用fopen打开歌词文件 FILE *fp = fopen(“简单爱.lrc”,"r& ...
- 网络安全从入门到精通 (第二章-4) 后端基础PHP—简介及基本函数-上
本文内容 什么是PHP PHP的基础语法 运算符 条件分支语句 1,什么是PHP? PHP(超文本预处理器)是一种通用开源语言,(是动态语言中的一种,动态语言还有ASP,ASPX,JSP). PHP语 ...
- 【原创】面试官:谈谈你对mysql联合索引的认识?
引言 本文预计分为两个部分: (1)联合索引部分的基础知识 在这个部分,我们温习一下联合索引的基础 (2)联合索引部分的实战题 在这个部分,列举几个我认为算是实战中的代表题,挑出来说说. 正文 基础 ...
- 12. Java 获取指定字符第N次出现的位置
import java.util.regex.Matcher; import java.util.regex.Pattern; public class Demo { //判断"Ab2Ad3 ...
- MS15-034漏洞复现、HTTP.SYS远程代码执行漏洞
#每次命令都百度去找命令,直接弄到博客方便些: 漏洞描述: 在2015年4月安全补丁日,微软发布的众多安全更新中,修复了HTTP.sys中一处允许远程执行代码漏洞,编号为:CVE-2015-1635( ...
- hdu1548 奇怪的电梯 dfs dijkstra bfs都可以,在此奉上dfs
题目链接:http://icpc.njust.edu.cn/Problem/Hdu/5706/ 简单的规定深度进行搜索,代码如下: #include<bits/stdc++.h> usin ...
- 李飞飞团队最新论文:基于anchor关键点的类别级物体6D位姿跟踪
6-PACK: Category-level 6D Pose Tracker with Anchor-Based Keypoints 论文地址: 6-PACK: Category-level 6D P ...