ES集群部署
1.环境准备
| 主机名 | IP地址 | CPU | 内存 | 硬盘 |
| gztxy-prd-es01 | 192.168.1.11 | 8 | 16 | 200 |
| gztxy-prd-es01 | 192.168.1.12 | 8 | 16 | 200 |
| gztxy-prd-es01 | 192.168.1.13 | 8 | 16 | 200 |
2.安装并配置
安装:
wget https://mirrors.huaweicloud.com/elasticsearch/6.8.2/elasticsearch-6.8.2.tar.gz

tar -xf elasticsearch-6.8.2.tar.gz -C /usr/local/

ln -s /usr/local/elasticsearch-6.8.2 /usr/local/elasticsearch

#安装分词插件

/usr/local/elasticsearch/bin/elasticsearch-plugin install https://github.com/medcl/elasticsearch-analysis-ik/releases/download/v6.8.2/elasticsearch-analysis-ik-6.8.2.zip
配置:
#配置JVM参数,系统内存的一半

sed -i "s#-Xms1g#-Xms8g#g" /usr/local/elasticsearch/config/jvm.options

sed -i "s#-Xmx1g#-Xmx8g#g" /usr/local/elasticsearch/config/jvm.options

#配置ES配置

mv /usr/local/elasticsearch/config/elasticsearch.yml /usr/local/elasticsearch/config/elasticsearch.yml-bak

cat >/usr/local/elasticsearch/config/elasticsearch.yml<<EOF

cluster.name: gztxy-prd-behavior
#每个节点node名称唯一

node.name: node-01

path.data: /data/es/data

path.logs: /data/es/logs

path.repo: ["/es_backup/bak"]

node.master: true

node.data: true

node.ingest: true

bootstrap.memory_lock: true

network.host: 0.0.0.0

http.port: 9200

transport.tcp.port: 9300

discovery.zen.ping.unicast.hosts: ["192.168.1.11:9300", "192.168.1.12:9300","192.168.1.13:9300"]

discovery.zen.minimum_master_nodes: 2

http.cors.enabled: true

http.cors.allow-origin: "*"

http.cors.allow-headers: "Authorization,X-Requested-With,Content-Length,Content-Type"

thread_pool:

  write:

    queue_size: 1000

  search:

    queue_size: 1000

EOF
创建数据目录并授权:
#创建数据目录及备份目录

mkdir -p /data/es/{data,logs,backup}

mkdir -p /es_backup/bak

#目录授权

id app > /dev/null 2>&1 || useradd app

chown -R app.app /data/es/ /usr/local/elasticsearch* /es_backup
添加启动脚本:
cat >/usr/local/elasticsearch/config/elasticsearch.service <<EOF

[Unit]

Description=Elasticsearch

Documentation=http://www.elastic.co

Wants=network-online.target

After=network-online.target

[Service]

RuntimeDirectory=elasticsearch

Environment=ES_HOME=/usr/local/elasticsearch

Environment=ES_PATH_CONF=/usr/local/elasticsearch/config

Environment=PID_DIR=/usr/local/elasticsearch

EnvironmentFile=-/etc/sysconfig/elasticsearch

WorkingDirectory=/usr/local/elasticsearch

LimitMEMLOCK=infinity

User=app

Group=app

ExecStart=/usr/local/elasticsearch/bin/elasticsearch -p ${PID_DIR}/elasticsearch.pid --quiet

# StandardOutput is configured to redirect to journalctl since

# some error messages may be logged in standard output before

# elasticsearch logging system is initialized. Elasticsearch

# stores its logs in /var/log/elasticsearch and does not use

# journalctl by default. If you also want to enable journalctl

# logging, you can simply remove the "quiet" option from ExecStart.

StandardOutput=journal

StandardError=inherit

# Specifies the maximum file descriptor number that can be opened by this process

LimitNOFILE=65536

# Specifies the maximum number of processes

LimitNPROC=4096

# Specifies the maximum size of virtual memory

LimitAS=infinity

# Specifies the maximum file size

LimitFSIZE=infinity

# Disable timeout logic and wait until process is stopped

TimeoutStopSec=0

# SIGTERM signal is used to stop the Java process

KillSignal=SIGTERM

# Send the signal only to the JVM rather than its control group

KillMode=process

# Java process is never killed

SendSIGKILL=no

# When a JVM receives a SIGTERM signal it exits with code 143

SuccessExitStatus=143

[Install]

WantedBy=multi-user.target

# Built for distribution-6.3.2 (distribution)

EOF
启动:
cp /usr/local/elasticsearch/config/elasticsearch.service /usr/lib/systemd/system

chmod +x /usr/lib/systemd/system/elasticsearch.service

systemctl daemon-reload

systemctl enable elasticsearch > /dev/null 2>&1

systemctl start elasticsearch

systemctl status elasticsearch
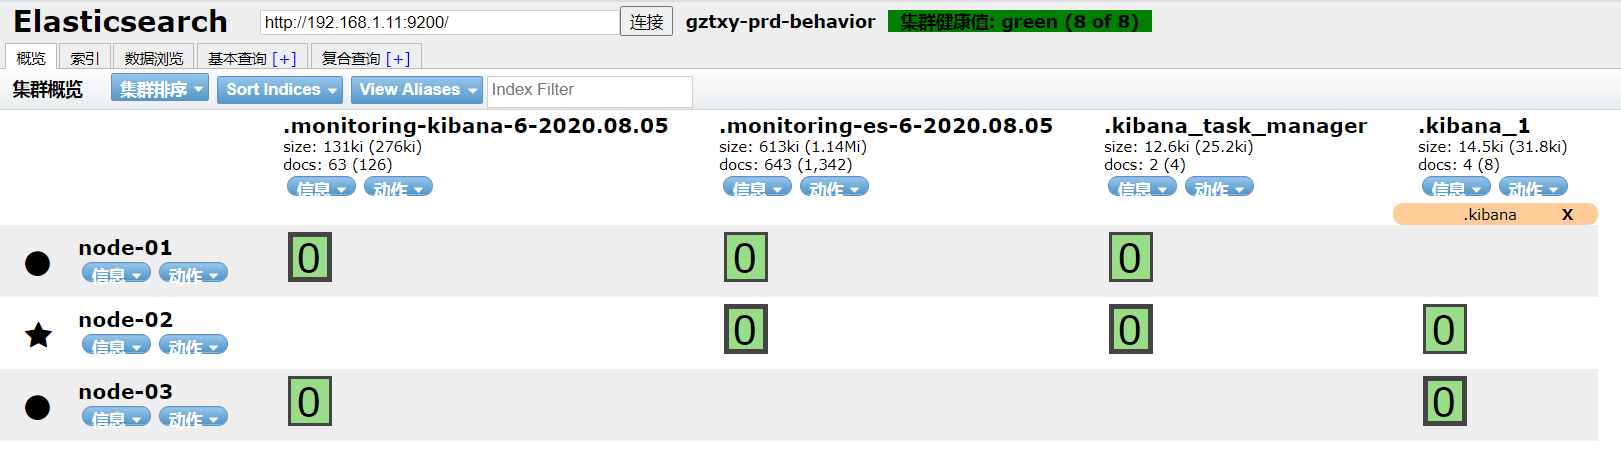
3.测试
ES集群部署的更多相关文章
- es 集群部署
下载 [root@localhost ~]# wget https://artifacts.elastic.co/downloads/elasticsearch/elasticsearch-6.5.1 ...
- 教你在Kubernetes中快速部署ES集群
摘要:ES集群是进行大数据存储和分析,快速检索的利器,本文简述了ES的集群架构,并提供了在Kubernetes中快速部署ES集群的样例:对ES集群的监控运维工具进行了介绍,并提供了部分问题定位经验,最 ...
- 搭建ES集群
服务版本选择 TEG的ctsdb当前最高版本采用的是es的6.4.3版本,为了日后与ctsdb衔接方便,部署开源版es时也采用该版本.6.4.3版本的es依赖的jdk版本要求在8u181以上,测试环境 ...
- docker 快速部署ES集群 spark集群
1) 拉下来 ES集群 spark集群 两套快速部署环境, 并只用docker跑起来,并保存到私库. 2)弄清楚怎么样打包 linux镜像(或者说制作). 3)试着改一下,让它们跑在集群里面. 4) ...
- Docker安装部署es集群
Docker安装部署es集群:环境准备:已安装docker的centos服务器一台1. 拉取es版本docker pull elasticsearch:5.6.82. 新建文件夹 数据挂载目录 和 配 ...
- 利用shell脚本[带注释的]部署单节点多实例es集群(docker版)
文章目录 目录结构 install_docker_es.sh elasticsearch.yml.template 没事写写shell[我自己都不信,如果不是因为工作需要,我才不要写shell],努力 ...
- Windows下ELK环境搭建(单机多节点集群部署)
1.背景 日志主要包括系统日志.应用程序日志和安全日志.系统运维和开发人员可以通过日志了解服务器软硬件信息.检查配置过程中的错误及错误发生的原因.经常分析日志可以了解服务器的负荷,性能安全性,从而及时 ...
- 我的ElasticSearch集群部署总结--大数据搜索引擎你不得不知
摘要:世上有三类书籍:1.介绍知识,2.阐述理论,3.工具书:世间也存在两类知识:1.技术,2.思想.以下是我在部署ElasticSearch集群时的经验总结,它们大体属于第一类知识“techknow ...
- ElasticSearch5集群部署指南
本文简要介绍ES5版本集群部署时的要点. 更多相关信息请参阅官网. 部分配置未在生产环境体现. 生产中2个集群20台centOS,总数据15TB,90亿条. 实时写入5000条/s, 最大7万/s. ...
随机推荐
- MySQL入门(引擎、数据类型、约束)
MySQL入门(二) 表的引擎:驱动数据的方式 - 数据库优化 # 概要:引擎是建表规定的,提供给表使用,不是数据库的 # 展示所有引擎 show engines; # innodb(默认): 支持事 ...
- element-ui 表单校验 Rules 配置 常用黑科技
type 指示type要使用的验证器.可识别的类型值为: string:类型必须为string.type 默认是 string // 校验 string: [ {type: 'string', mes ...
- java 面向对象(十六):Object类的使用
1.java.lang.Object类的说明: * 1.Object类是所Java类的根父类 * 2.如果在类的声明中未使用extends关键字指明其父类,则默认父类为java.lang.Object ...
- javascript基础(三): 操作DOM对象(重点)
DOM:文档对象模型 核心 浏览器网页就是一个Dom树形结构! 更新:更新Dom节点 遍历Dom节点:得到Dom节点 删除:删除一个Dom节点 添加:添加一个新的节点 要操作一个Dom节点,就必须要先 ...
- Active Directory - Right Delegation and Audit
Delegate proper right to some user: Login/Logout Audit - GPO Setting - Event Viewer File Auditing M ...
- Oracle DataGuard主备切换(switchover)
Oracle DataGuard主备切换可以使用传统的手动命令切换,也可以使用dgmgr切换,本文记录手动切换. (一)将主库切换为物理备库 STEP1:查看主库状态 SQL> SELECT O ...
- CENTOS下搭建git代码仓库 ssh协议
centos服务器下搭建git仓库,使用ssh协议管理仓库代码权限 git官网(http://git-scm.com/) 使用ssh协议: 一.安装git,使用yum install git 或 ...
- Vue开发者必会的基础知识盘点
你会Vue吗,你看以下知识点你掌握了多少?实际工作中是否运用的得心应手?如果是,那么恭喜你! Vue中的数据和DOM已经被关联起来,所有的东西都是响应式的.注意我们不再和HTML直接交互.一个Vue应 ...
- python爬虫入门(4)----- selenium
selenium 简介 selenium使用JavaScript模拟真实用户对浏览器进行操作.测试脚本执行时,浏览器自动按照脚本代码做出点击,输入,打开,验证等操作,就像真实用户所做的一样,从终端用户 ...
- css的一些小技巧。修改input样式
在第一次正式写项目的时候,遇到了几个布局的小技巧.记录一下. 我们常常会遇到图片和文字对齐的一种样式.比如 这样的样式,我们写的时候有时候会出现不对齐的情况.我们有俩种方法 一种就是flex的布局,还 ...