python网络爬虫之如何识别验证码
有些网站的登录方式是验证码登录的方式,比如今天我们要测试的网站专利检索及分析。
http://www.pss-system.gov.cn/sipopublicsearch/portal/uilogin-forwardLogin.shtml
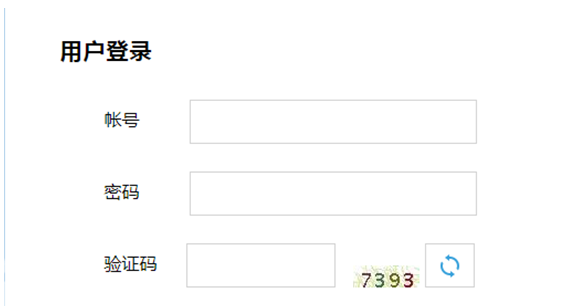
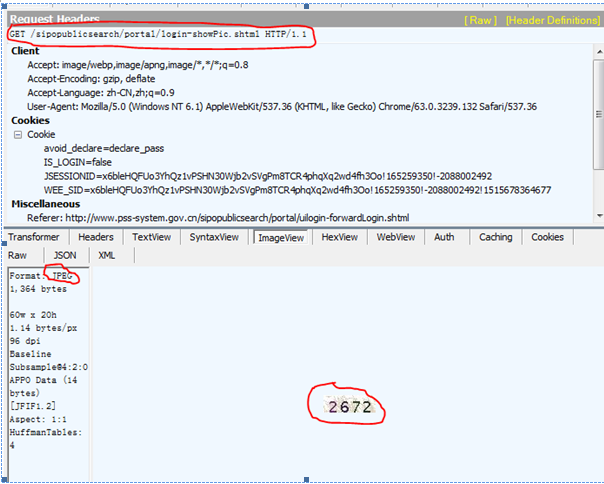
登录此类网站的关键是识别其中的验证码。那么如何识别验证码呢。我们首先来看下网页源代码。在网页中,验证码的是通过下载一个图片得到的。图片的下载地址是src=/sipopublicsearch/portal/login-showPic.shtml

我们从实际的fiddler抓包来看,也是通过请求上面的图片源地址得到了JPEG的图片并显示在浏览器上
那么在scrapy中我们首先就要将图片下载到本地,然后进行识别
def parse(self,response):

    ret=response.xpath('//*[@id="codePic"]/@src').extract()

    image_source=ret[0]

    image_url=response.urljoin(image_source)

    r=requests.get(image_url)

    with open('E://scrapy_project/image2.JPEG',"wb") as code:

        code.write(r.content)
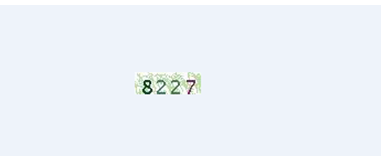
首先提取src的值出来,然后使用requests的方法进行图片下载并保存。打开文件如下。
下一步就是开始识别图片中的验证码了,这就需要用到pytesser以及PIL库了。
首先是安装Tesseract-OCR,在网上下载后进行安装。默认安装路径是C:\Program Files\Tesseract-OCR。将该路径添加到 系统属性的path路径里面。
然后再通过pip安装pytesseract以及PIL。下面来看下如何使用。代码如下:
im=Image.open('E:\\scrapy_project\\image2.JPEG')

im.convert('L')

ret=image_to_string(im,config='-psm 7’)

print ret
结果如下:图片中的验证码已经被识别出来了
image_to_string要配置psm N,参数解释如下,一般我们选择第7个
-psm N
Set Tesseract to only run a subset of layout analysis and assume a certain form of image. The options for N are:
0 = Orientation and script detection (OSD) only.
1 = Automatic page segmentation with OSD.
2 = Automatic page segmentation, but no OSD, or OCR.
3 = Fully automatic page segmentation, but no OSD. (Default)
4 = Assume a single column of text of variable sizes.
5 = Assume a single uniform block of vertically aligned text.
6 = Assume a single uniform block of text.
7 = Treat the image as a single text line.
8 = Treat the image as a single word.
9 = Treat the image as a single word in a circle.
10 = Treat the image as a single character.
E:\python2.7.11\python.exe E:/py_prj/test3.py
8227
python网络爬虫之如何识别验证码的更多相关文章
- Python网络爬虫学习总结
1.检查robots.txt 让爬虫了解爬取该网站时存在哪些限制. 最小化爬虫被封禁的可能,而且还能发现和网站结构相关的线索. 2.检查网站地图(robots.txt文件中发现的Sitemap文件) ...
- 《实战Python网络爬虫》- 感想
端午节假期过了,之前一直在做出行准备,后面旅游完又休息了一下,最近才恢复状态. 端午假期最后一天收到一个快递,回去打开,发现是微信抽奖中的一本书,黄永祥的<实战Python网络爬虫>. 去 ...
- Python 网络爬虫干货总结
Python 网络爬虫干货总结 爬取 对于爬取来说,我们需要学会使用不同的方法来应对不同情景下的数据抓取任务. 爬取的目标绝大多数情况下要么是网页,要么是 App,所以这里就分为这两个大类别来进行了介 ...
- Python网络爬虫与信息提取
1.Requests库入门 Requests安装 用管理员身份打开命令提示符: pip install requests 测试:打开IDLE: >>> import requests ...
- 《精通Python网络爬虫》|百度网盘免费下载|Python爬虫实战
<精通Python网络爬虫>|百度网盘免费下载|Python爬虫实战 提取码:7wr5 内容简介 为什么写这本书 网络爬虫其实很早就出现了,最开始网络爬虫主要应用在各种搜索引擎中.在搜索引 ...
- 《精通python网络爬虫》笔记
<精通python网络爬虫>韦玮 著 目录结构 第一章 什么是网络爬虫 第二章 爬虫技能概览 第三章 爬虫实现原理与实现技术 第四章 Urllib库与URLError异常处理 第五章 正则 ...
- Python网络爬虫与信息提取笔记
直接复制粘贴笔记发现有问题 文档下载地址//download.csdn.net/download/hide_on_rush/12266493 掌握定向网络数据爬取和网页解析的基本能力常用的 Pytho ...
- 关于Python网络爬虫实战笔记③
Python网络爬虫实战笔记③如何下载韩寒博客文章 Python网络爬虫实战笔记③如何下载韩寒博客文章 target:下载全部的文章 1. 博客列表页面规则 也就是, http://blog.sina ...
- 关于Python网络爬虫实战笔记①
python网络爬虫项目实战笔记①如何下载韩寒的博客文章 python网络爬虫项目实战笔记①如何下载韩寒的博客文章 1. 打开韩寒博客列表页面 http://blog.sina.com.cn/s/ar ...
随机推荐
- COFF - 中间文件格式解析
http://www.cnblogs.com/weikanzong/p/5296739.html
- js对象浅拷贝和深拷贝详解
js对象浅拷贝和深拷贝详解 作者:i10630226 字体:[增加 减小] 类型:转载 时间:2016-09-05我要评论 这篇文章主要为大家详细介绍了JavaScript对象的浅拷贝和深拷贝代码,具 ...
- tiny4412 解决内核编译版本号问题
内核版本: linux-3.5开发板: tiny4412作者:彭东林邮箱:pengdonglin137@163.com 问题: 由于我使用 git 管理内核代码,导致编译完成后内核版本变成了如下形式: ...
- [置顶]
python字典和nametuple互相转换例子
如果tuple中的元素很多的时候操作起来就比较麻烦,有可能会由于索引错误导致出错. namedtuple对象给tuple命名. 下面的例子可以字典和nametuple互相转换 aa={'verbosi ...
- sublime去除空白行和重复行
去除空白行 edit -> line -> delete blank lines 去除重复行 打开正则模式 1 edit-> sort lines 2 command+option+ ...
- gitbook简单安装和使用
1.gitbook是用来写书的,支持markdown等 2.在线写 gitbook最新版地址:https://www.gitbook.com/account/ 免费用户只能有一个public和一个pr ...
- Git可视化极简易教程 — Git GUI使用方法
Git可视化极简易教程 — Git GUI使用方法 学习了:http://www.runoob.com/w3cnote/git-gui-window.html
- AAuto无法关闭CMD窗口怎么办
如下图所示,当执行了io.print函数之后,打开的CMD窗口无法使用关闭按钮关闭,其实只要点击左上角的控制台,把钩去掉,该窗口即可关闭.
- AutoIt3常见问题解答
Q1 如何调试脚本? MsgBox(0,"测试",$var) ConsoleWrite("var=" & $var & @CRLF) Q2 ...
- HDU5294——Tricks Device(最短路 + 最大流)
第一次做最大流的题目- 这题就是堆模板 #include <iostream> #include <algorithm> #include <cmath> #inc ...