
OpenCV 之 基本绘图
OpenCV 虽是开源的计算机视觉库,但里面也有一些基础的绘图函数,本文将介绍几种常用绘图函数:直线、圆、椭圆、长方形、多边形等。
1 数据结构
1.1 二维向量
cv::Point 代表的是二维点 (int 型),可用来表示图像坐标 (x, y)
// one way

Point pt;

pt.x = ;

pt.y = ;

// another way

Point pt = Point(, );
OpenCV 中,二维点类型可分为 Point2i, Point2l, Point2f, Point2d 四种,各自定义如下:
// 4 type of Point

typedef Point_<int>    cv::Point2i

typedef Point_<int64>  cv::Point2l

typedef Point_<float>  cv::Point2f

typedef Point_<double> cv::Point2d

// cv::Point

typedef Point2i cv::Point
1.2 四维向量
cv::Scalar 代表的是四维向量,常用来传递像素值,尤其是 BGR 通道的像素值 (最后一个元素不用,则不定义)
$\texttt{Scalar} (blue \_ component, green \_ component, red \_ component)$
2 绘图函数
2.1 line()
OpenCV 中,绘制直线段较简单,就是过两点画一条直线,函数为 line()
// pt1, first point
// pt2, second point

void cv::line ( InputOutputArray img, Point pt1, Point pt2, const Scalar& color, int thickness = , int lineType = LINE_8, int shift = )
2.2 circle() 和 ellipse()
知道圆心和半径,就可以绘制圆了,函数为 circle()
void cv::circle (

       InputOutputArray   img,

       Point  center,         // center of the circle

               int         radius,                       // radius of the circle

               const Scalar &     color,

       int      thickness = ,

       int      lineType = LINE_8,

       int      shift =

)
椭圆稍微复杂,椭圆中心,长、短轴半径,以及椭圆弧的旋转角度,则可得到一段椭圆弧 ellipse()
void cv::ellipse (

    InputOutputArray   img,

    Point       center,         // center of the ellipse

    Size        axes,           // half size of the main axes

    double      angle,          // ellipse rotation angle in degrees

    double      startAngle,

    double      endAngle,

    const Scalar &   color,

    int      thickness = ,

    int      lineType = LINE_8,

    int      shift =

)
2.3 rectangle()
长方形的绘制,主要是靠其对角线上的两个点 pt1 和 pt2,函数为 rectangle()
void cv::rectangle (

    InputOutputArray  img,

    Point      pt1,          // vertex of the rectangle

    Point      pt2,          // vertex of the rectangle opposite to pt1

    const Scalar &    color,

    int      thickness = ,

    int      lineType = LINE_8,

    int      shift =

)
2.4 fillpoly()
void cv::fillPoly (

    InputOutputArray  img,

    const Point **   pts,   //

    const int *      npts,  //

    int      ncontours,

    const Scalar &  color,

    int      lineType = LINE_8,

    int      shift = ,

    Point    offset = Point()

)
3 代码示例
3.1 直线和长方形
#include <opencv2/core.hpp>

#include <opencv2/imgproc.hpp>

#include <opencv2/highgui.hpp>

using namespace cv;

#define w 300

int main()

{

    // creat a white background image

    Mat img;

    img.create(w,w,CV_8UC3);

    img.setTo(Scalar(,,));

    // draw lines

    line(img, Point(w/,w/), Point(*w/, w/), Scalar(, , ));

    line(img, Point(w/,w/), Point(*w/, w/), Scalar(, , ));

    line(img, Point(w/,*w/), Point(*w/, *w/), Scalar(, , ));

    // draw rectangle

    rectangle(img,Point(w/,w/),Point(*w/,*w/),Scalar(,,));

    // show lines in the image

    imshow("line and rectangle", img);

    waitKey();

}
3.2 圆和椭圆
// draw circle and ellipse

circle(img, Point(w/,w/), , Scalar(, , ));

ellipse(img, Point(w/,w/), Size(,), , , , Scalar(, , ));
3.3 多边形
Point rook_points[][];

rook_points[][]  = Point(    w/,   *w/ );

rook_points[][]  = Point(  *w/,   *w/ );

rook_points[][]  = Point(  *w/,  *w/ );

rook_points[][]  = Point( *w/, *w/ );

rook_points[][]  = Point( *w/,  *w/ );

rook_points[][]  = Point(  *w/,   *w/ );

rook_points[][]  = Point(  *w/,     w/ );

rook_points[][]  = Point( *w/,    w/ );

rook_points[][]  = Point( *w/,    w/ );

rook_points[][]  = Point( *w/,    w/ );

rook_points[][] = Point( *w/,    w/ );

rook_points[][] = Point( *w/,    w/ );

rook_points[][] = Point( *w/,    w/ );

rook_points[][] = Point( *w/,    w/ );

rook_points[][] = Point( *w/,    w/ );

rook_points[][] = Point(    w/,     w/ );

rook_points[][] = Point(    w/,   *w/ );

rook_points[][] = Point( *w/,  *w/ );

rook_points[][] = Point(  *w/, *w/ );

rook_points[][] = Point(    w/,  *w/ );

const Point* ppt[] = { rook_points[]};

int npt[] = {  };

// draw polygon

fillPoly(img, ppt, npt, , Scalar(, ,  ));
3.4 显示效果
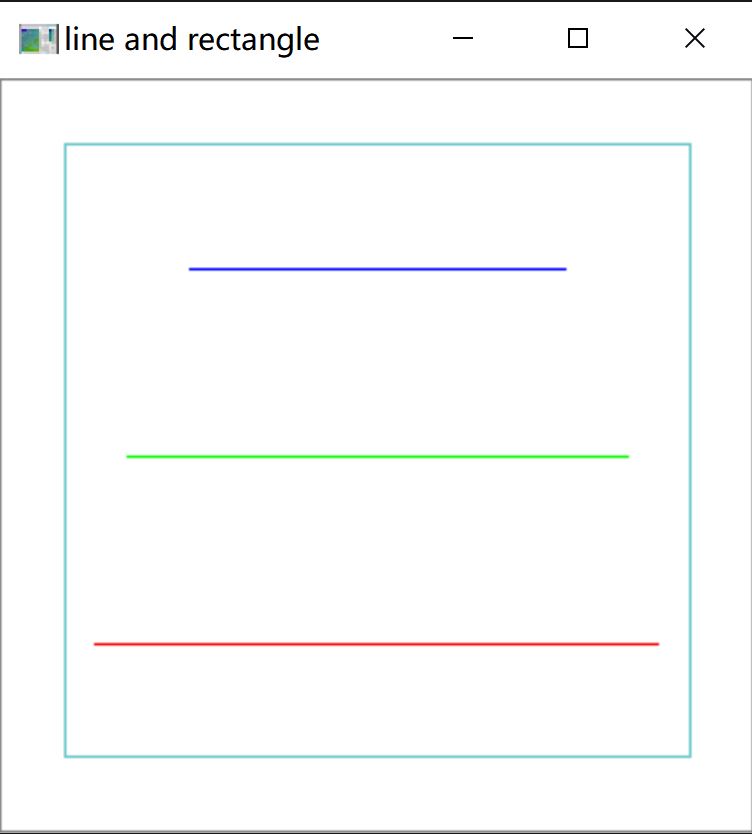
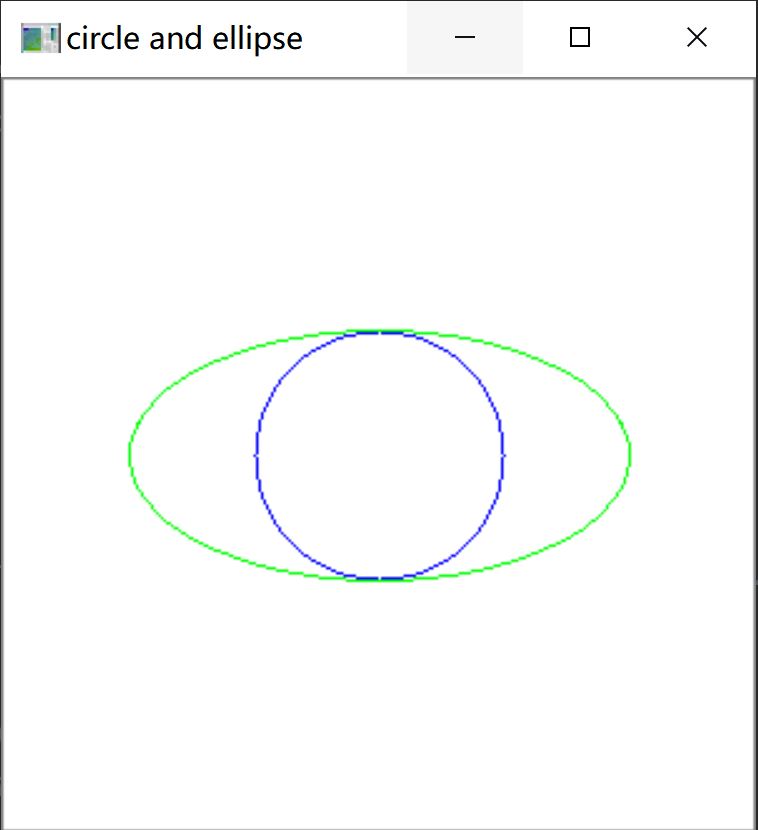
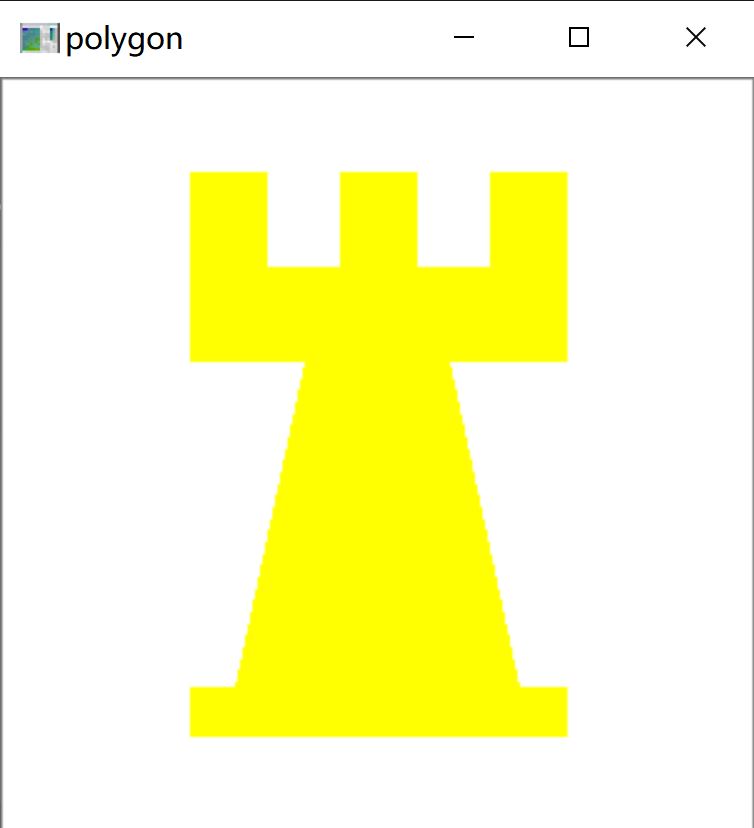
参考资料:
OpenCV Tutorials / imgproc module / Basic Drawing
OpenCV 之 基本绘图的更多相关文章
- OpenCV中的绘图函数-OpenCV步步精深
OpenCV 中的绘图函数 画线 首先要为画的线创造出环境,就要生成一个空的黑底图像 img=np.zeros((512,512,3), np.uint8) 这是黑色的底,我们的画布,我把窗口名叫做i ...
- python之OpenCv(三)---基本绘图
opencv 提供了绘制直线.圆形.矩形等基本绘图的功能 1.绘直线 cv2.line(画布,起点坐标,终点坐标,颜色,宽度) 例如: cv2.line(image,(20,60),(300,400) ...
- 5、opencv中的绘图函数
1.目标 a.学习使用 OpenCV 绘制不同几何图形 b. 你将会学习到这些函数: cv2.line(), cv2.circle(), cv2.rectangle(),cv2.ellipse(),c ...
- OpenCV中的绘图函数
OpenCV可以用来绘制不同的集合图形,包括直线,矩形,圆,椭圆,多边形以及在图片上添加文字.用到的绘图函数包括 cv2.line(),cv2.circle(),cv2.rectangle() ,cv ...
- opencv学习(三)——绘图功能
绘图功能 我们将学习以下函数:cv.line(),cv.circle(),cv.rectangle(),cv.ellipse(),cv.putText()等. 在这些功能中,有一些相同的参数: img ...
- OpenCV绘图
OpenCV绘图 rectangle(Mat& img,Point pt1, Point pt2, const Scalar&color, int thickness=1,int li ...
- OpenCV绘图函数
OpenCV几个绘图函数 矩形 rectangle(Mat& img,Point pt1, Point pt2, const Scalar&color, int thickness=1 ...
- OpenCV之响应鼠标(四):在图像上绘制出矩形并标出起点的坐标
涉及到两方面的内容:1. 用鼠标画出矩形.2.在图像上绘制出点的坐标 用鼠标绘制矩形,涉及到鼠标的操作,opencv中有鼠标事件的介绍.需要用到两个函数:回调函数CvMouseCallback和注册回 ...
- OpenCV中cv2的用法
一.读入图像 使用函数cv2.imread(filepath,flags)读入一副图片 filepath:要读入图片的完整路径 flags:读入图片的标志 cv2.IMREAD_COLOR:默认参数 ...
随机推荐
- vue项目创建与使用
目录 复习 Vue项目环境搭建 Vue项目创建 pycharm配置并启动vue项目 vue项目目录结构分析 vue组件(.vue文件) 全局脚本文件main.js(项目入口) 改写 vue项目启动生命 ...
- [阿里云-机器学习PAI快速入门与业务实战 ]课时1-机器学习背景知识以及业务架构介绍
什么是机器学习? 机器学习指的是机器通过统计学算法,对大量的历史数据进行学习从而生成经验模型,利用经验模型指导业务. 目前机器学习主要在一下一些方面发挥作用: 营销类场景:商品推荐.用户群体画像.广告 ...
- 在C 中加载TorchScript模型
本教程已更新为可与PyTorch 1.2一起使用 顾名思义,PyTorch的主要接口是Python编程语言.尽管Python是合适于许多需要动态性和易于迭代的场景,并且是首选的语言,但同样的,在 许多 ...
- 一文彻底搞懂BP算法:原理推导+数据演示+项目实战(上篇)
欢迎大家关注我们的网站和系列教程:http://www.tensorflownews.com/,学习更多的机器学习.深度学习的知识! 反向传播算法(Backpropagation Algorithm, ...
- 新手必备 | 史上最全的PyTorch学习资源汇总
目录: PyTorch学习教程.手册 PyTorch视频教程 PyTorch项目资源 - NLP&PyTorch实战 - CV&PyTorch实战 PyTorch论 ...
- SQL Server中创建sde数据库
在ArcCatalog或者ArcMap中打开ArcToolBox工具箱. 在工具箱中,找到创建企业级地理数据库工具,依次为数据管理工具→地理数据库管理→创建企业级地理数据库,如图所示. 双击打开创建企 ...
- Make编译Ardupilot源码的两种方法
编译环境准备 Ardupilot源码下载和PX4 toolchain工具链下载 (见https://www.cnblogs.com/BlogsOfLei/p/7707485.html) 注 ...
- MATLAB——nctoolbox安装及使用
1.nctoolbox安装 nctoolbox是一个Matlab工具箱,它提供对通用数据模型数据集的只读访问. (1)下载nctoolbox安装包. 地址:https://code.google.co ...
- extend()和append()的区别
append()方法用于在列表末尾添加新的对象(对象可以是值或列表),一般用于添加列表项. extend()方法用于在列表末尾追加另一个序列中的多个值.
- 为什么要学习Oracle技术?
为什么要学习Oracle技术? 众所周知,Oracle占据着企业数据库领域超过48.1%的市场份额,成为高端企业数据库软件的绝对领导者.随着时间的推移,企业数据库的规模不断扩大,富有经验的资深Orac ...