Github Copilot 实战: 从零开始用AI写一个OCR工具 (3)
源码
https://github.com/densen2014/Blazor100/tree/master/AI/MiOcr
添加一个屏幕截图功能,显示截图起始点,结束点,截图区域,按键ESC取消截图
这里AI就比较中规中矩,很快就能得到我要的功能了.下面只简单贴一下代码
ScreenCaptureWindow.xaml
<Window x:Class="MiOcr.ScreenCaptureWindow"

        xmlns:x="http://schemas.microsoft.com/winfx/2006/xaml"

        xmlns="http://schemas.microsoft.com/winfx/2006/xaml/presentation"

        WindowStyle="None" AllowsTransparency="True" Background="#01000000"

        Topmost="True" ShowInTaskbar="False" WindowState="Maximized">

    <Canvas x:Name="CaptureCanvas">

        <TextBlock x:Name="StartCoordText"

               Foreground="Yellow"

               Background="#80000000"

               FontSize="14"

               Visibility="Collapsed"/>

        <TextBlock x:Name="CurrentCoordText"

               Foreground="Yellow"

               Background="#80000000"

               FontSize="14"

               Visibility="Collapsed"/>

        <TextBlock x:Name="SizeText"

               Foreground="Yellow"

               Background="#80000000"

               FontSize="14"

               Visibility="Collapsed"/>

    </Canvas>

</Window>
ScreenCaptureWindow.xaml.cs
using System.Windows;

using System.Windows.Controls;

using System.Windows.Input;

using System.Windows.Interop;

using System.Windows.Media;

using System.Windows.Media.Imaging;

using System.Windows.Shapes;

namespace MiOcr;

public partial class ScreenCaptureWindow : Window

{

    public Rect SelectedRect { get; private set; }

    public BitmapSource? CapturedImage { get; private set; }

    private System.Windows.Point? _start;

    private Rectangle? _rectShape;

    public ScreenCaptureWindow()

    {

        InitializeComponent();

        MouseLeftButtonDown += OnMouseDown;

        MouseMove += OnMouseMove;

        MouseLeftButtonUp += OnMouseUp;

        Cursor = Cursors.Cross;

        PreviewKeyDown += ScreenCaptureWindow_PreviewKeyDown;

        Focusable = true;

        Loaded += (s, e) => Keyboard.Focus(this);

    }

    private void ScreenCaptureWindow_PreviewKeyDown(object sender, KeyEventArgs e)

    {

        if (e.Key == Key.Escape)

        {

            CapturedImage = null;

            DialogResult = false;

            Close();

        }

    }

    private void PositionTextBlocks(double x, double y, double w, double h)

    {

        double margin = 8;

        double canvasWidth = CaptureCanvas.ActualWidth;

        double canvasHeight = CaptureCanvas.ActualHeight;

        // 先测量文本大小

        StartCoordText.Measure(new Size(double.PositiveInfinity, double.PositiveInfinity));

        SizeText.Measure(new Size(double.PositiveInfinity, double.PositiveInfinity));

        double startW = StartCoordText.DesiredSize.Width;

        double startH = StartCoordText.DesiredSize.Height;

        double sizeW = SizeText.DesiredSize.Width;

        double sizeH = SizeText.DesiredSize.Height;

        // 1. 左上优先

        double startX = x - startW - margin;

        double startY = y - startH - margin;

        if (startX >= 0 && startY >= 0)

        {

            Canvas.SetLeft(StartCoordText, startX);

            Canvas.SetTop(StartCoordText, startY);

            Canvas.SetLeft(SizeText, startX);

            Canvas.SetTop(SizeText, startY + startH + 4);

            return;

        }

        // 2. 右上

        startX = x + w + margin;

        startY = y - startH - margin;

        if (startX + startW <= canvasWidth && startY >= 0)

        {

            Canvas.SetLeft(StartCoordText, startX);

            Canvas.SetTop(StartCoordText, startY);

            Canvas.SetLeft(SizeText, startX);

            Canvas.SetTop(SizeText, startY + startH + 4);

            return;

        }

        // 3. 左下

        startX = x - startW - margin;

        startY = y + h + margin;

        if (startX >= 0 && startY + startH + sizeH + 4 <= canvasHeight)

        {

            Canvas.SetLeft(StartCoordText, startX);

            Canvas.SetTop(StartCoordText, startY);

            Canvas.SetLeft(SizeText, startX);

            Canvas.SetTop(SizeText, startY + startH + 4);

            return;

        }

        // 4. 右下

        startX = x + w + margin;

        startY = y + h + margin;

        if (startX + startW <= canvasWidth && startY + startH + sizeH + 4 <= canvasHeight)

        {

            Canvas.SetLeft(StartCoordText, startX);

            Canvas.SetTop(StartCoordText, startY);

            Canvas.SetLeft(SizeText, startX);

            Canvas.SetTop(SizeText, startY + startH + 4);

            return;

        }

        // 5. 屏幕内兜底

        Canvas.SetLeft(StartCoordText, Math.Max(margin, Math.Min(canvasWidth - startW - margin, x)));

        Canvas.SetTop(StartCoordText, Math.Max(margin, Math.Min(canvasHeight - startH - margin, y)));

        Canvas.SetLeft(SizeText, Math.Max(margin, Math.Min(canvasWidth - sizeW - margin, x)));

        Canvas.SetTop(SizeText, Math.Max(margin, Math.Min(canvasHeight - sizeH - margin, y + startH + 4)));

    }

    private void OnMouseDown(object sender, MouseButtonEventArgs e)

    {

        _start = e.GetPosition(this);

        _rectShape = new Rectangle

        {

            Stroke = Brushes.Red,

            StrokeThickness = 2,

            Fill = new SolidColorBrush(Color.FromArgb(40, 0, 0, 255))

        };

        CaptureCanvas.Children.Add(_rectShape);

        Canvas.SetLeft(_rectShape, _start.Value.X);

        Canvas.SetTop(_rectShape, _start.Value.Y);

        StartCoordText.Text = $"起点: ({(int)_start.Value.X}, {(int)_start.Value.Y})";

        StartCoordText.Visibility = Visibility.Visible;

        CurrentCoordText.Text = $"当前: ({(int)_start.Value.X}, {(int)_start.Value.Y})";

        CurrentCoordText.Visibility = Visibility.Visible;

        SizeText.Text = $"大小: 0 x 0";

        SizeText.Visibility = Visibility.Visible;

        // 初始位置

        PositionTextBlocks(_start.Value.X, _start.Value.Y, 0, 0);

    }

    private void OnMouseMove(object sender, MouseEventArgs e)

    {

        if (_start.HasValue && _rectShape != null)

        {

            var pos = e.GetPosition(this);

            double x = Math.Min(_start.Value.X, pos.X);

            double y = Math.Min(_start.Value.Y, pos.Y);

            double w = Math.Abs(_start.Value.X - pos.X);

            double h = Math.Abs(_start.Value.Y - pos.Y);

            Canvas.SetLeft(_rectShape, x);

            Canvas.SetTop(_rectShape, y);

            _rectShape.Width = w;

            _rectShape.Height = h;

            // 更新当前点坐标

            CurrentCoordText.Text = $"当前: ({(int)pos.X}, {(int)pos.Y})";

            Canvas.SetLeft(CurrentCoordText, pos.X + 2);

            Canvas.SetTop(CurrentCoordText, pos.Y + 2);

            // 更新区域大小

            SizeText.Text = $"大小: {(int)w} x {(int)h}";

            // 动态调整文本位置

            PositionTextBlocks(x, y, w, h);

        }

    }

    private void OnMouseUp(object sender, MouseButtonEventArgs e)

    {

        if (_start.HasValue && _rectShape != null)

        {

            var end = e.GetPosition(this);

            double x = Math.Min(_start.Value.X, end.X);

            double y = Math.Min(_start.Value.Y, end.Y);

            double w = Math.Abs(_start.Value.X - end.X);

            double h = Math.Abs(_start.Value.Y - end.Y);

            SelectedRect = new Rect(x, y, w, h);

            // 隐藏坐标

            StartCoordText.Visibility = Visibility.Collapsed;

            CurrentCoordText.Visibility = Visibility.Collapsed;

            // 隐藏区域大小

            SizeText.Visibility = Visibility.Collapsed;

            // 截图

            CapturedImage = CaptureScreenArea(SelectedRect);

            DialogResult = true;

            Close();

        }

    }

    private BitmapSource CaptureScreenArea(Rect rect)

    {

        double dpiScale = NativeMethods.GetDpiScale(this);

        int x = (int)(rect.X * dpiScale);

        int y = (int)(rect.Y * dpiScale);

        int w = (int)(rect.Width * dpiScale);

        int h = (int)(rect.Height * dpiScale);

        IntPtr hdcSrc = NativeMethods.GetDC(IntPtr.Zero);

        IntPtr hdcDest = NativeMethods.CreateCompatibleDC(hdcSrc);

        IntPtr hBitmap = NativeMethods.CreateCompatibleBitmap(hdcSrc, w, h);

        IntPtr hOld = NativeMethods.SelectObject(hdcDest, hBitmap);

        NativeMethods.BitBlt(hdcDest, 0, 0, w, h, hdcSrc, x, y, 0x00CC0020); // SRCCOPY

        NativeMethods.SelectObject(hdcDest, hOld);

        NativeMethods.DeleteDC(hdcDest);

        NativeMethods.ReleaseDC(IntPtr.Zero, hdcSrc);

        try

        {

            var source = Imaging.CreateBitmapSourceFromHBitmap(

                hBitmap, IntPtr.Zero, Int32Rect.Empty, BitmapSizeOptions.FromEmptyOptions());

            source.Freeze();

            return source;

        }

        finally

        {

            NativeMethods.DeleteObject(hBitmap);

        }

    }

}
截图api,不走system.draw
NativeMethods.cs
using System.Windows;

namespace MiOcr;

public static class NativeMethods

{

    [System.Runtime.InteropServices.DllImport("gdi32.dll")]

    public static extern bool DeleteObject(IntPtr hObject);

    [System.Runtime.InteropServices.DllImport("user32.dll")]

    public static extern IntPtr GetDC(IntPtr hWnd);

    [System.Runtime.InteropServices.DllImport("user32.dll")]

    public static extern int ReleaseDC(IntPtr hWnd, IntPtr hDC);

    [System.Runtime.InteropServices.DllImport("gdi32.dll")]

    public static extern IntPtr CreateCompatibleDC(IntPtr hdc);

    [System.Runtime.InteropServices.DllImport("gdi32.dll")]

    public static extern IntPtr CreateCompatibleBitmap(IntPtr hdc, int nWidth, int nHeight);

    [System.Runtime.InteropServices.DllImport("gdi32.dll")]

    public static extern IntPtr SelectObject(IntPtr hdc, IntPtr hgdiobj);

    [System.Runtime.InteropServices.DllImport("gdi32.dll")]

    public static extern bool BitBlt(IntPtr hdcDest, int nXDest, int nYDest, int nWidth, int nHeight,

        IntPtr hdcSrc, int nXSrc, int nYSrc, int dwRop);

    [System.Runtime.InteropServices.DllImport("gdi32.dll")]

    public static extern bool DeleteDC(IntPtr hdc);

    /// <summary>

    /// 获取指定窗口的 DPI 缩放比例。

    /// </summary>

    /// <param name="window"></param>

    /// <returns></returns>

    public static double GetDpiScale(Window window)

    {

        var source = PresentationSource.FromVisual(window);

        if (source?.CompositionTarget != null)

        {

            return source.CompositionTarget.TransformToDevice.M11; // X 方向缩放

        }

        return 1.0;

    }

}
最后主界面添加按钮
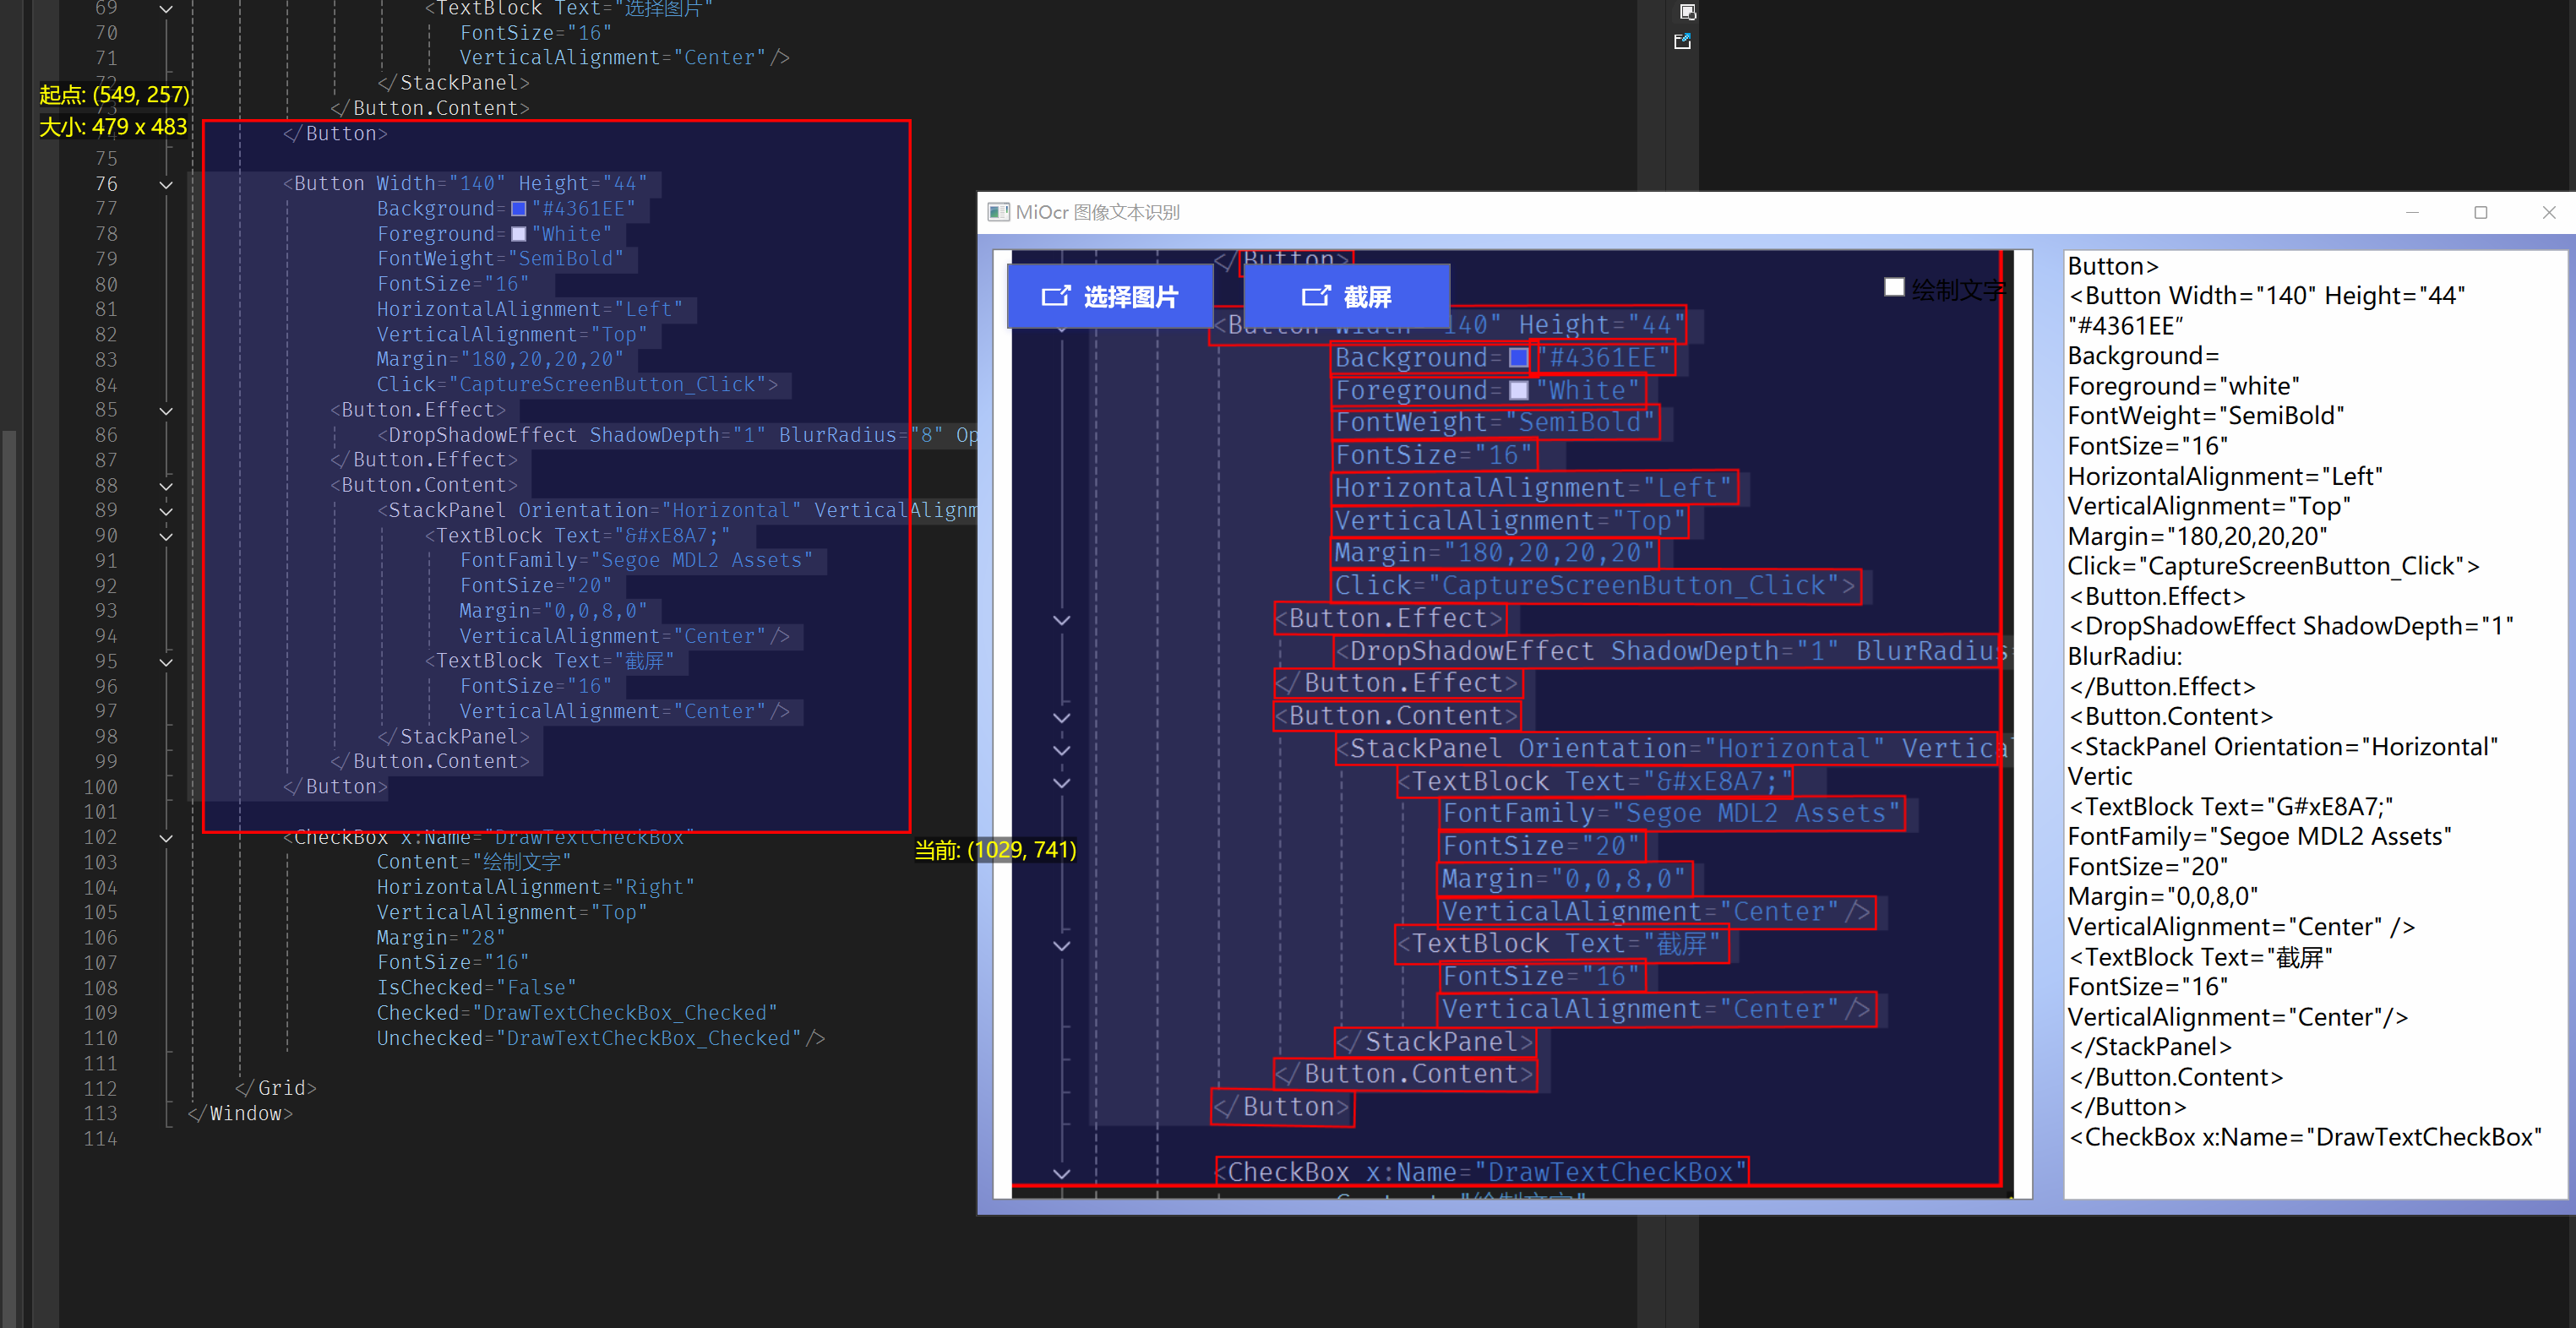
<Button Width="140" Height="44"
Background="#4361EE"
Foreground="White"
FontWeight="SemiBold"
FontSize="16"
HorizontalAlignment="Left"
VerticalAlignment="Top"
Margin="180,20,20,20"
Click="CaptureScreenButton_Click">
<Button.Effect>
<DropShadowEffect ShadowDepth="1" BlurRadius="8" Opacity="0.25" Color="#4361EE"/>
</Button.Effect>
<Button.Content>
<StackPanel Orientation="Horizontal" VerticalAlignment="Center">
<TextBlock Text=""
FontFamily="Segoe MDL2 Assets"
FontSize="20"
Margin="0,0,8,0"
VerticalAlignment="Center"/>
<TextBlock Text="截屏"
FontSize="16"
VerticalAlignment="Center"/>
</StackPanel>
</Button.Content>
</Button>
执行OCR初始化检查模型是否存在, 不存在则回调一个正在初始化提示给UI, 免得用户等待不耐烦
可以通过先检查模型文件是否已存在本地,如果不存在则通知UI“正在初始化/下载模型”,再进行下载。你可以这样实现:
- 检查模型本地路径是否存在。
- 如果不存在,调用UI回调(如事件、Action、委托等)提示“正在初始化”。
- 然后异步下载模型。
假设你用 Action? onStatusChanged 作为回调参数,代码如下:
 // 获取模型本地路径

 var modelInfo = OnlineFullModels.ChineseV3;

 string modelDir = modelInfo.LocalDir;

 if (!Directory.Exists(modelDir) || !File.Exists(Path.Combine(modelDir, "model.pdmodel")))

 {

     onStatusChanged?.Invoke("正在初始化OCR模型,请稍候...");

 }
A: modelInfo.LocalDir; 不存在
A: CreateLocalAsync 方法不存在, 改为异步超时回调UI
这个步骤花了一点时间,因为原本的库就不存在这个功能,所以最终走到这样的代码
明白。你可以通过以下方式实现“异步超时回调UI”:
• 在下载模型前,先启动一个定时任务(如 Task.Delay),如果模型下载还未完成且超时,则回调 UI 提示“正在初始化”。
• 如果模型下载提前完成,则取消提示。
下面是推荐实现方式:
public async Task<(List<string> strings, PaddleOcrResult result)> StartOCR(

    Mat src,

    Action<string>? onStatusChanged = null,

    int timeoutMs = 1500)

{

    PaddleOcrResult result;

    var resultText = new List<string>();

    var modelInfo = OnlineFullModels.ChineseV3;

    // 启动超时提示任务

    using var cts = new CancellationTokenSource();

    var timeoutTask = Task.Delay(timeoutMs, cts.Token)

        .ContinueWith(t =>

        {

            if (!t.IsCanceled)

            {

                onStatusChanged?.Invoke("正在初始化OCR模型,请稍候...");

            }

        });

    // 下载模型(如果已存在会跳过下载)

    FullOcrModel model = await modelInfo.DownloadAsync();

    cts.Cancel(); // 下载完成,取消超时提示

    using (PaddleOcrAll all = new(model)

    {

        AllowRotateDetection = true,

        Enable180Classification = true,

    })

    {

        Stopwatch sw = Stopwatch.StartNew();

        result = all.Run(src);

        Console.WriteLine($"elapsed={sw.ElapsedMilliseconds} ms");

        Console.WriteLine("Detected all texts: \n" + result.Text);

        foreach (PaddleOcrResultRegion region in result.Regions)

        {

            Console.WriteLine($"Text: {region.Text}, Score: {region.Score}, RectCenter: {region.Rect.Center}, RectSize: {region.Rect.Size}, Angle: {region.Rect.Angle}");

            resultText.Add(region.Text);

        }

    }

    src.Dispose();

    return (resultText, result);

}
说明:
• 增加了 timeoutMs 参数(默认1.5秒),可根据需要调整。
• 如果模型下载超过指定时间,UI 会收到“正在初始化OCR模型,请稍候...”提示。
• 如果模型提前下载完成,则不会回调提示。
这样可以优雅地实现异步超时回调UI,无需依赖不存在的 CreateLocalAsync 方法。
StartOCR 处理一下 onStatusChanged 回调, 下载初始化模型反馈友好提示
可以将 PaddleOCRService.StartOCR 的 onStatusChanged 回调参数传递到 UI 层,并在模型下载耗时时友好提示用户。
下面是推荐做法:
- PaddleOCRService.cs 已实现超时回调(见前述建议)。
- MainWindow.xaml.cs 需要在调用 StartOCR 时传递回调,并在 UI 上显示提示。
步骤一:修改 RunOcrAndDraw,传递 onStatusChanged
将 RunOcrAndDraw 方法修改如下,利用 Dispatcher.Invoke 保证 UI 线程安全:
private async Task RunOcrAndDraw(byte[] imageBytes)

{

    ProcessingText.Visibility = Visibility.Visible;

    ProcessingText.Text = "正在识别...";

    var ocr = new PaddleOCRService();

    var results = await ocr.StartOCR(imageBytes, msg =>

    {

        // 友好提示,确保在UI线程

        Dispatcher.Invoke(() =>

        {

            ProcessingText.Text = msg;

            ProcessingText.Visibility = Visibility.Visible;

        });

    });

    ProcessingText.Visibility = Visibility.Collapsed;

    if (results.strings == null || results.strings.Count == 0)

    {

        OcrTextBox.Text = "未识别到文本";

        return;

    }

    OcrTextBox.Text = string.Join(Environment.NewLine, results.result.Regions.Select(r => r.Text));

    _lastOcrResult = results.result;

    var drawed = DrawOcrResultsOnImage(_currentImage, results.result);

    MainImage.Source = drawed;

}
步骤二:确保 PaddleOCRService.cs 的 StartOCR 支持 onStatusChanged
如前所述,PaddleOCRService.cs 需如下实现:
public async Task<(List<string> strings, PaddleOcrResult result)> StartOCR(

    Mat src,

    Action<string>? onStatusChanged = null,

    int timeoutMs = 1500)

{

    PaddleOcrResult result;

    var resultText = new List<string>();

    var modelInfo = OnlineFullModels.ChineseV3;

    using var cts = new CancellationTokenSource();

    var timeoutTask = Task.Delay(timeoutMs, cts.Token)

        .ContinueWith(t =>

        {

            if (!t.IsCanceled)

            {

                onStatusChanged?.Invoke("正在初始化OCR模型,请稍候...");

            }

        });

    FullOcrModel model = await modelInfo.DownloadAsync();

    cts.Cancel();

    using (PaddleOcrAll all = new(model)

    {

        AllowRotateDetection = true,

        Enable180Classification = true,

    })

    {

        Stopwatch sw = Stopwatch.StartNew();

        result = all.Run(src);

        foreach (PaddleOcrResultRegion region in result.Regions)

        {

            resultText.Add(region.Text);

        }

    }

    src.Dispose();

    return (resultText, result);

}
这样,用户在模型首次下载或初始化时会看到“正在初始化OCR模型,请稍候...”,其余时间显示“正在识别...”,体验更友好。
Github Copilot 实战: 从零开始用AI写一个OCR工具 (3)的更多相关文章
- Github Copilot 比在座各位更会写代码。jpg
之前大佬和我安利过 Copilot, 作为一个能用就行的践行者, 我一贯对这些东西都不太感兴趣. 就如我多年VS Code写各种编程语言, jetbrains 全家桶我都懒得搞~ 不过最近看到过Cha ...
- 如何手写一个js工具库?同时发布到npm上
自从工作以来,写项目的时候经常需要手写一些方法和引入一些js库 JS基础又十分重要,于是就萌生出自己创建一个JS工具库并发布到npm上的想法 于是就创建了一个名为learnjts的项目,在空余时间也写 ...
- 手写一个LRU工具类
LRU概述 LRU算法,即最近最少使用算法.其使用场景非常广泛,像我们日常用的手机的后台应用展示,软件的复制粘贴板等. 本文将基于算法思想手写一个具有LRU算法功能的Java工具类. 结构设计 在插入 ...
- vue 写一个聊天工具
<!DOCTYPE html> <html lang="en"> <head> <meta charset="UTF-8&quo ...
- 【java】【File】用File相关类写一个小工具,完成从指定目录下抽取指定文件并复制到新路径下完成重命名的功能
今日份代码: import com.alibaba.fastjson.JSON; import com.alibaba.fastjson.JSONObject; import java.io.*; i ...
- 2019-5-24-WPF-源代码-从零开始写一个-UI-框架
title author date CreateTime categories WPF 源代码 从零开始写一个 UI 框架 lindexi 2019-05-24 15:54:36 +0800 2018 ...
- java中定义一个CloneUtil 工具类
其实所有的java对象都可以具备克隆能力,只是因为在基础类Object中被设定成了一个保留方法(protected),要想真正拥有克隆的能力, 就需要实现Cloneable接口,重写clone方法.通 ...
- Python+Flask+Gunicorn 项目实战(一) 从零开始,写一个Markdown解析器 —— 初体验
(一)前言 在开始学习之前,你需要确保你对Python, JavaScript, HTML, Markdown语法有非常基础的了解.项目的源码你可以在 https://github.com/zhu-y ...
- 让 AI 为你写代码 - 体验 Github Copilot
前几天在群里看到有大神分享 Copoilot AI 写代码,看了几个截图有点不敢相信自己的眼睛.今天赶紧自己也来体验一下 Copoilot AI 写代码到底有多神奇. 申请 现在 Copoilot 还 ...
- [AST实战]从零开始写一个wepy转VUE的工具
为什么需要 wepy 转 VUE "转转二手"是我司用 wepy 开发的功能与 APP 相似度非常高的小程序,实现了大量的功能性页面,而新业务 H5 项目在开发过程中有时也经常需要 ...
随机推荐
- [解决方案]git pull : error: cannot lock ref 'refs/remotes/origin/*' (unable to update local ref)
错误 git pull 报错不能更新本地分支 错误分析 本地分支跟远程分支不匹配 导致更新失败 解决方案 备份自己修改的代码 .git\refs\remotes (文件路径)对应删除你报错的分支 gi ...
- css px em rem % vw vh vm 区别
前言 在传统项目开发中,我们只会用到 px.%.em 这几个单位长度,它们可以适用大部分项目的开发,并且拥有较好的兼容性. 而从 css3 开始,浏览器对逻辑单位的支持又提升了新的境界,增加了 rem ...
- MySQL 是否可以用 Docker 容器化?
容器 容器是为了解决 "在切换运行环境时,如何保证软件能够正常运行",容器是轻量级应用代码包,它包含在任何环境中运行所需的所有元素的软件包.容器可以虚拟化操作系统,包含依赖项,例如 ...
- 密码编码学与网络安全 原理与实践(第七版)William Stallings---读书笔记(1.1-1.5)
密码编码学与网络安全 原理与实践(第七版)William Stallings---读书笔记 第一部分 概览 第1章 计算机与网络安全概念 密码算法与协议又可分为4个主要领域: 对称加密 加密任意大小的 ...
- Joker 智能开发平台再推重磅新品,引领开发新潮流
自 Joker 智能开发平台的前端可视化版本惊艳亮相后,便迅速在行业内掀起热潮,其创新的理念与出色的性能,为开发者和企业打造了高效.便捷的开发新路径,备受瞩目与好评.如今,Joker 智能开发平台即将 ...
- 使用MCP C# SDK开发MCP Server + Client
大家好,我是Edison. 近日被MCP刷屏了,刚好看到张队发了一篇文章提到MCP的官方C# SDK发布了预览版,于是手痒痒尝了一下鲜,写了一个DEMO分享给大家. MCP是什么鬼? MCP,全称是& ...
- 如何开发 MCP 服务?保姆级教程!
最近这段时间有个 AI 相关的概念特别火,叫 MCP,全称模型上下文协议(Model Context Protocol).这是由 Anthropic 推出的一项开放标准,目标是为大型语言模型和 AI ...
- springboot+mongodb+jpa使用save()方法保存数据后id为0
最近做mongodb版本升级,springboot版本从1.4.0.RELEASE升级到1.5.10.RELEASE后出现jpa使用save()方法保存数据后id为0的问题. 解决: 以下为原代码,使 ...
- 基于大模型的 RAG 核心开发——详细介绍 DeepSeek R1 本地化部署流程
前言 自从 DeepSeek 发布后,对 AI 行业产生了巨大的影响,以 OpenAI.Google 为首的国际科技集团为之震惊,它的出现标志着全球AI竞争进入新阶段.从以往单纯的技术比拼转向效率.生 ...
- day11”函数“入门
函数 函数的作⽤ 函数的使⽤步骤 函数的参数作⽤ 函数的返回值作⽤ 函数的说明⽂档 函数嵌套 函数是组织好的,可重复使用的,用来实现单一,或相关联功能的代码段. 函数能提高应用的模块性,和代码的重复利 ...