Locust性能测试工具的安装及实际应用
一、安装Locust
安装Locust之前先安装的库:
gevent库:第三方库,gevent为python提供了比较完善的协程支持。使用gevent,可以获得极高的并发性能。
pip install gevent==1.1.2
flask库:Flask是一个使用 Python 编写的轻量级 Web 应用框架。
pip install flask==0.10.1
requests库:用python写过接口测试的朋友应该都不陌生,Requests 是用Python语言编写,基于 urllib,采用 Apache2 Licensed 开源协议的 HTTP 库。它比 urllib 更加方便,可以节约我们大量的工作,完全满足 HTTP 测试需求。
pip install requests==2.10.0
msgpack-python库:比JSON快10倍的序列化包。
pip install msgpack-python==0.4.2
six库:six 提供了一些简单的工具用来封装 Python 2 和 Python 3 之间的差异性。
pip install six==1.10.0
pyzmq库:Pyzmq是zeromq的Python绑定。
pip install pyzmq==15.2.0
安装库的过程中可能会遇到一些报错信息:
ReadTimeoutError: HTTPSConnectionPool(host=’pypi.python.org’, port=443): Read timed out.
解决方案:
更新pip版本到pip官网下载:https://pypi.python.org/simple/pip/
比如下载pip-9.0.1-py2.py3-none-any.whl
pip install pip-9.0.1-py2.py3-none-any.whl
如果还报错再执行:
pip –default-timeout=100 install -U pip
其他第三方库都安装完成后,接下来再安装locust:
pip install locustio
安装locustio库时可能会报错:
error:command ‘gcc’ failed with exit status 1
解决方案:yum install gcc python-devel
安装完成后,执行:locust–help
看到如下locust相关命令介绍,说明安装成功。
Usage: locust [options] [LocustClass [LocustClass2 … ]]
Options:
-h, –help show this help message and exit
-H HOST, –host=HOST Host to load test in the following format:
http://10.21.32.33
–web-host=WEB_HOST Host to bind the web interface to. Defaults to ” (all
interfaces)
-P PORT, –port=PORT, –web-port=PORT
Port on which to run web host
-f LOCUSTFILE, –locustfile=LOCUSTFILE
Python module file to import, e.g. ‘../other.py’.
Default: locustfile
–master Set locust to run in distributed mode with this
process as master
–slave Set locust to run in distributed mode with this
process as slave
–master-host=MASTER_HOST
Host or IP address of locust master for distributed
load testing. Only used when running with –slave.
Defaults to 127.0.0.1.
–master-port=MASTER_PORT
The port to connect to that is used by the locust
master for distributed load testing. Only used when
running with –slave. Defaults to 5557. Note that
slaves will also connect to the master node on this
port + 1.
–master-bind-host=MASTER_BIND_HOST
Interfaces (hostname, ip) that locust master should
bind to. Only used when running with –master.
Defaults to * (all available interfaces).
–master-bind-port=MASTER_BIND_PORT
Port that locust master should bind to. Only used when
running with –master. Defaults to 5557. Note that
Locust will also use this port + 1, so by default the
master node will bind to 5557 and 5558.
–no-web Disable the web interface, and instead start running
the test immediately. Requires -c and -r to be
specified.
-c NUM_CLIENTS, –clients=NUM_CLIENTS
Number of concurrent clients. Only used together with
–no-web
-r HATCH_RATE, –hatch-rate=HATCH_RATE
The rate per second in which clients are spawned. Only
used together with –no-web
-n NUM_REQUESTS, –num-request=NUM_REQUESTS
Number of requests to perform. Only used together with
–no-web
-L LOGLEVEL, –loglevel=LOGLEVEL
Choose between DEBUG/INFO/WARNING/ERROR/CRITICAL.
Default is INFO.
–logfile=LOGFILE Path to log file. If not set, log will go to
stdout/stderr
–print-stats Print stats in the console
–only-summary Only print the summary stats
-l, –list Show list of possible locust classes and exit
–show-task-ratio print table of the locust classes’ task execution
ratio
–show-task-ratio-json
print json data of the locust classes’ task execution
ratio
-V, –version show program’s version number and exit
二、使用Locust测试淘宝首页
 #locust_taobao.py

 #!/usr/bin/env python

 #-*-coding:utf-8-*-

 #author:@TT

 from locust import HttpLocust, TaskSet, task

 #定义用户行为

 class UserBehavior(TaskSet):

 @task

 def taobao_page(self): #定义一个方法访问淘宝首页

 self.client.get("/")

 class WebsiteUser(HttpLocust):

 task_set = UserBehavior

 min_wait = 3000 #用户等待时间下限

 max_wait = 5000 #用户等待时间上限
执行:
locust -f locust_taobao.py --host=https://www.taobao.com
提示:Starting web monitor at *.8089
Starting Locust 0.7.5
说明已经启动成功,浏览器输入:http://120.76.139.13:8089即可看到设置页面,并监控
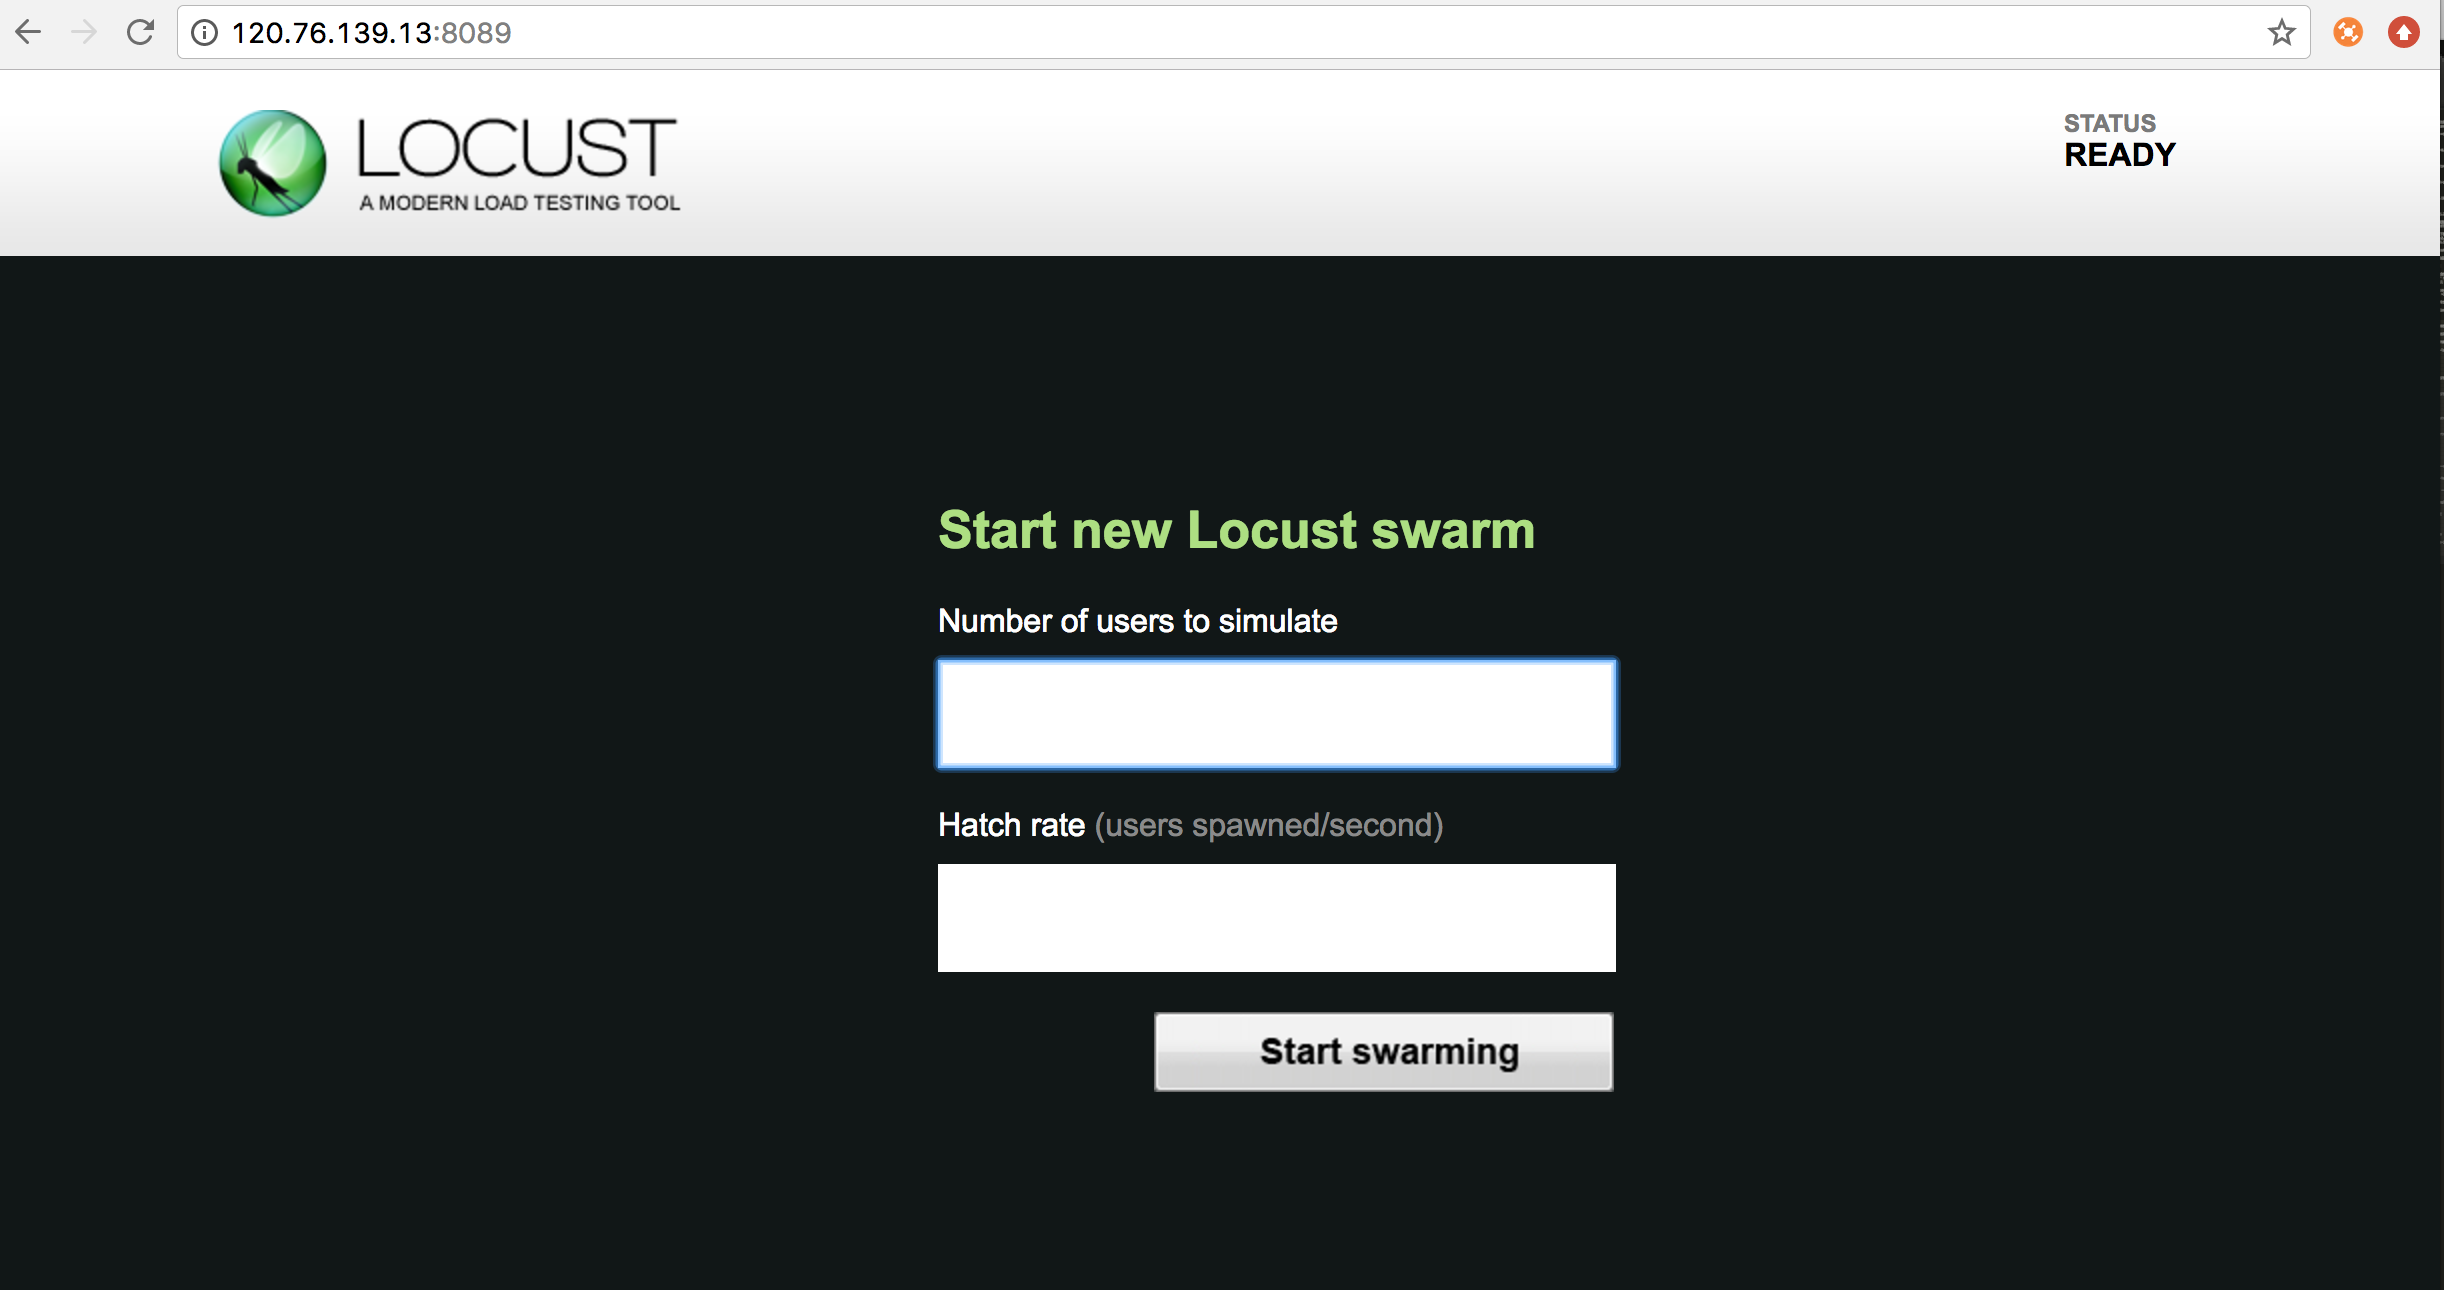

Number of users to simulate:设置需要模拟的用户数量,这次只是为了演示,设置为10;
Hatch rate:每秒需要启动的用户数量,这次只是为了演示,设置为2;
点击『start swarming』,开始了性能测试:
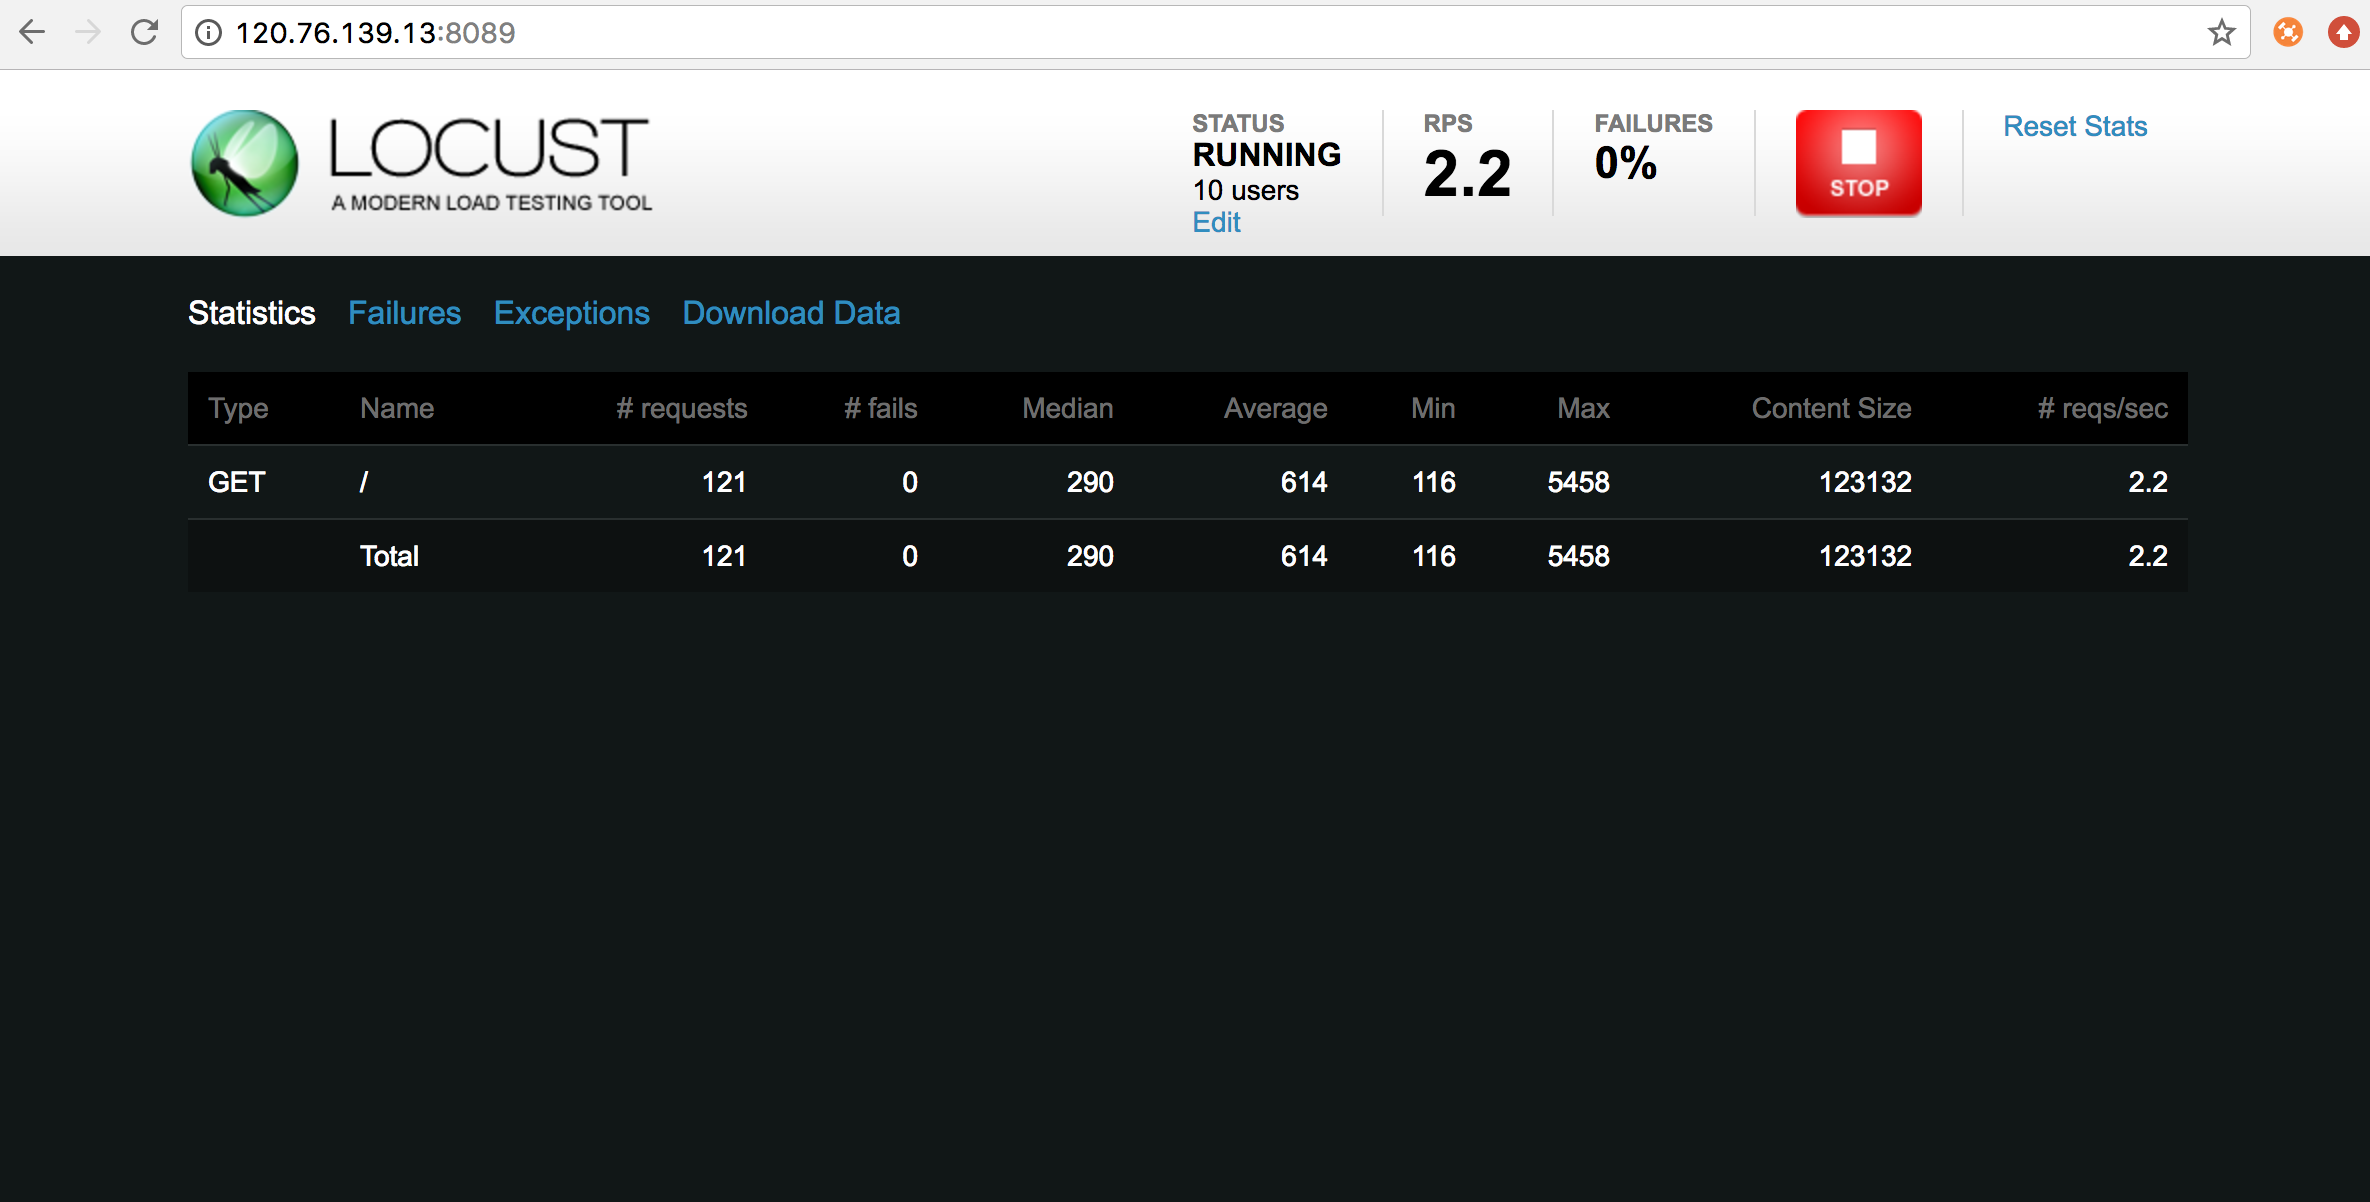
Type:请求的类型;
Name:请求的url或者自定义的统计分组名字;
requests:当前请求的数量;
fails:当前请求失败的数量;
Median:中间值,一半的服务器响应时间高于该值,而另一半的服务器响应时间低于该值(毫秒);
Average:所有请求的平均响应时间(毫秒);
Min:请求最小响应时间(毫秒);
Max:请求最大响应时间(毫秒);
Content Size:单个请求的大小(字节);
reqs/sec:每秒请求的个数;
今天就先整理到这里,如果按照以上内容操作,对Locust的安装和性能测试的执行有了大概的了解。后续会不断更新……
了解更多请关注微信公众号:测试架构师

Locust性能测试工具的安装及实际应用的更多相关文章
- Locust性能测试工具核心技术@task和@events
Tasks和Events是Locust性能测试工具的核心技术,有了它们,Locust才能称得上是一个性能工具. Tasks 从上篇文章知道,locustfile里面必须要有一个类,继承User类,当性 ...
- Locust 性能测试工具安装使用说明
1. 介绍 它是一个开源性能测试工具.使用 Python 代码来定义用户行为.用它可以模拟百万计的并发用户访问你的系统. 性能工具对比 LoadRunner 是非常有名的商业性能测试工具,功能 ...
- 性能测试工具 wrk 安装与使用
介绍 今天给大家介绍一款开源的性能测试工具 wrk,简单易用,没有Load Runner那么复杂,他和 apache benchmark(ab)同属于性能测试工具,但是比 ab 功能更加强大,并且可以 ...
- 云存储性能测试工具--COSBench安装
COSBench安装 Cosbench是Intel的开源云存储性能测试软件,COSBench目前已经广泛使用与云存储测试,并作为云存储的基准测试工具使用 1 环境 1.1 操作系统 COSBench可 ...
- 002_性能测试工具wrk安装与使用
介绍 今天给大家介绍一款开源的性能测试工具 wrk,简单易用,没有Load Runner那么复杂,他和 apache benchmark(ab)同属于性能测试工具,但是比 ab 功能更加强大,并且可以 ...
- HTTP性能测试工具wrk安装及使用
wrk 是一个很简单的 http 性能测试工具,没有Load Runner那么复杂,他和 apache benchmark(ab)同属于HTTP性能测试工具,但是比 ab 功能更加强大,并且可以支持l ...
- Mysql多线程性能测试工具sysbench 安装、使用和测试
From:http://www.cnblogs.com/zhoujinyi/archive/2013/04/19/3029134.html 摘要: sysbench是一个开源的.模块化的.跨 ...
- RGW/SWIFT对象存储性能测试工具--COSBench安装
Cosbench是Intel的开源云存储性能测试软件,COSBench目前已经广泛使用与云存储测试,并作为云存储的基准测试工具使用 https://github.com/intel-cloud/cos ...
- Locust性能测试1--简介安装及基本使用
1. Locust简介 Locust是易于使用的分布式用户负载测试工具,旨在对网站(或其他系统)进行负载测试,并弄清一个系统可以处理多少个并发用户,Locust翻译过来是蝗虫的意思,在测试期间,意在一 ...
随机推荐
- Swift组合逻辑
我们可以组合多个逻辑运算来表达一个复合逻辑: if enteredDoorCode && passedRetinaScan || hasDoorKey || knowsOverride ...
- ThreadLocal经典分页
package com.netease.live.admin.util; import com.netease.live.common.util.Constant; /** * * @author b ...
- iis部署wcf服务过程
一.在iis网站中添加wcf服务,一直添加到web.config目录即可 二.点击基本设置-->连接为-->特定用户.填写登入电脑的用户名和密码. 三.点击身份验证 四.控制面板,设置防火 ...
- 多个Tomcat 配置多个JDK
- html之结构化标记
1.什么是结构化标记 对布局使用的div 进行升级 , 根据页面的不同区域而提供的不同标签.作用与div几乎一致 专门用于搭建网站结构而用 2.结构标记详解 1.<header>元素 作用 ...
- PHP实现跨域解决方法
如果要实现跨域通过设置Access-Control-Allow-Origin来实现跨域. 例如:客户端的域名是client.runoob.com,而请求的域名是server.runoob.com. 如 ...
- 智联招聘 卓聘IM演进过程
1. 卓聘IM开发背景 智联卓聘是智联旗下高端人才招聘平台,成立快4年了,业务增涨每年以100%速度增涨,业务增涨快在开发和上线速度要求也比较高. 2016年6月提出IM开发需求,7月初上线,开发人 ...
- Ubuntu14.04安装有道词典
Ubuntu14.04安装有道词典之前要更新系统: sudo apt-get update sudo apt-get upgrade sudo apt-get dist-upgrade 在有道官网下载 ...
- Linux服务器学习(一)
一.首先连接服务器 下载一个windows下连接linux的ssh工具,我这里用的putty.一次填入HostName(主机名,可以是服务器域名也可以是对应的ip).Port(端口号默认为22).Co ...
- linux基础(五)
一.linux网络原理及基础设置 ifconfig 命令:显示所有正在启动的网卡的详细信息或设定系统中网卡的IP地址. [root@bogon ~]# ifconfig ens33: flags=41 ...