jsp选项卡导航实现——模板
效果
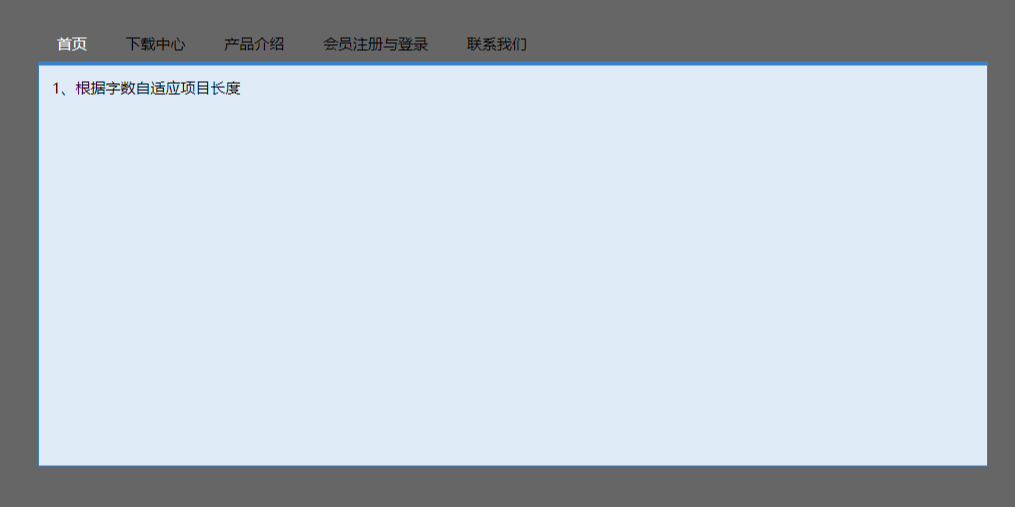
刚进来页面的样子
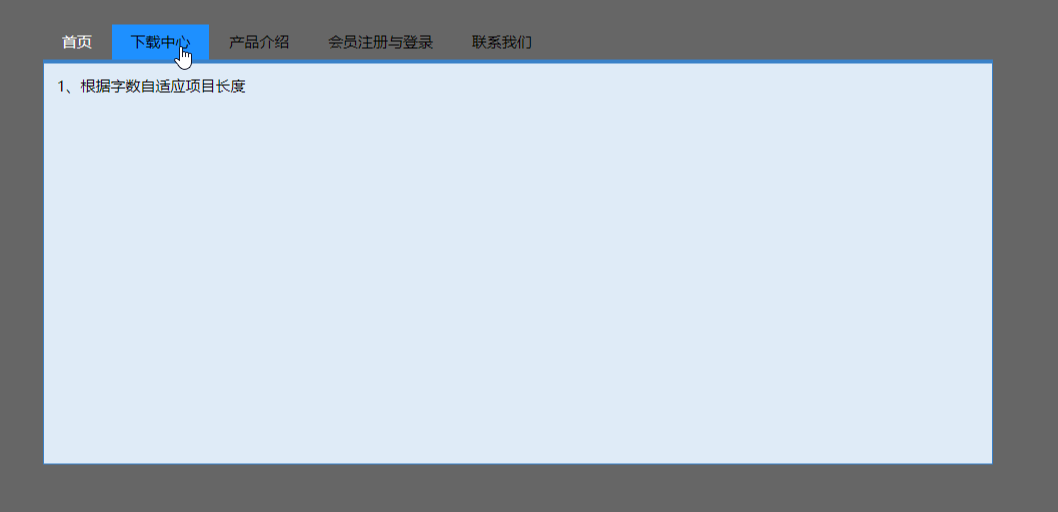
在第二个选项卡上方时
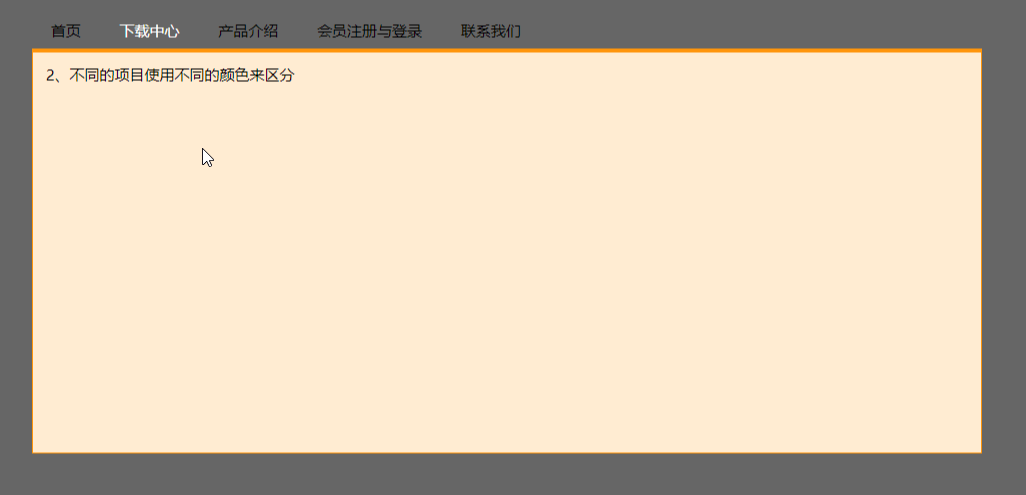
点击后

离开
同样第三个
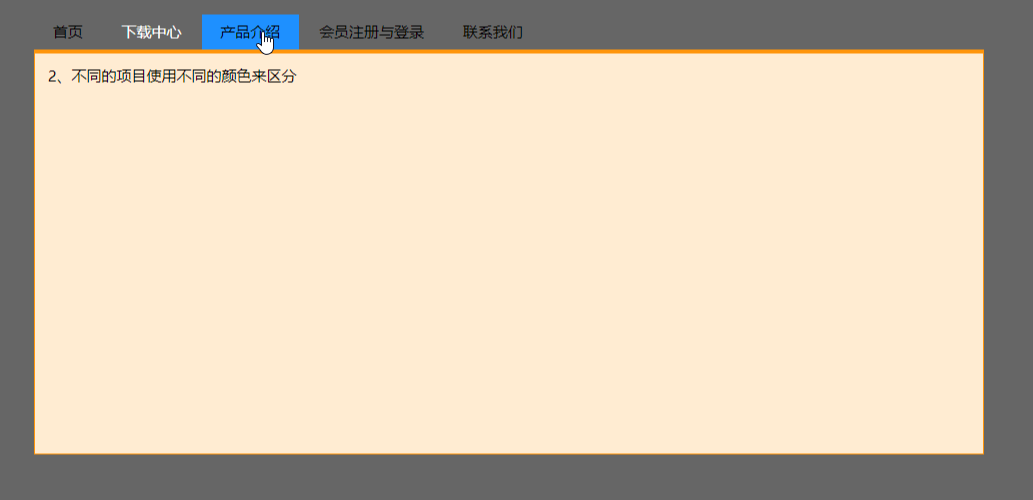
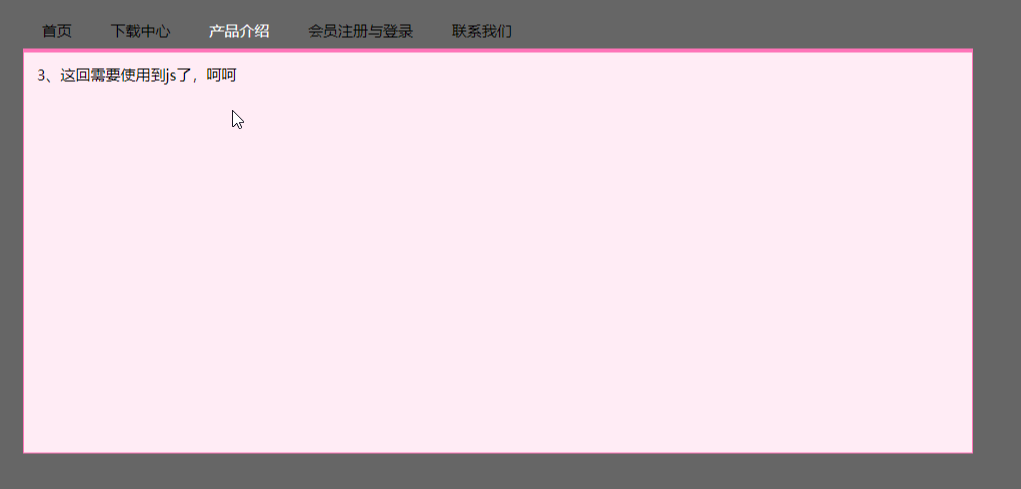
点击

移走鼠标
代码
 <%@ page contentType="text/html;charset=UTF-8" language="java" %>

 <head>

     <title>选项卡式导航</title>

     <style type="text/css">

         <!--

         * {

             margin: 0; padding:0

         }

         body {

             margin-top: 10px;

             margin-right: 10%;

             margin-bottom: 10px;

             margin-left: 10%;

             text-align: center;

             height: auto;

             width: auto;

             background-color: #666666;

             font-size: 12px;

             color: #000000;

         }

         #container {

             text-align: left;

             width: 760px;

             height: 400px;

             padding: 20px;

         }

         #container #title {

             height: 28px;

         }

         #container #title li {

             float: left;

             list-style-type: none;

             height: 28px;

             line-height: 28px;

             text-align: center;

             margin-right: 1px;

         }

         #container #title ul {

             height: 28px;

         }

         #container #title a {

             text-decoration: none;

             color: #000000;

             display: block;

             width: auto;

         }

         #container #title a span{

             display: block;

             padding: 0 15px 0 15px;

         }

         #container #title #tag1 a:hover {

             text-decoration: none;

             display: block;

             width: auto;

         }

         #container #title #tag1 a:hover span{

             display: block;

             background-color: dodgerblue;

             padding: 0 15px 0 15px;

         }

         #container #title #tag2 a:hover {

             text-decoration: none;

             display: block;

             width: auto;

         }

         #container #title #tag2 a:hover span{

             background-color: dodgerblue;

             display: block;

             padding: 0 15px 0 15px;

         }

         #container #title #tag3 a:hover {

             text-decoration: none;

             display: block;

             width: auto;

         }

         #container #title #tag3 a:hover span{

             background-color: dodgerblue;

             display: block;

             padding: 0 15px 0 15px;

         }

         #container #title #tag4 a:hover {

             text-decoration: none;

             display: block;

             width: auto;

         }

         #container #title #tag4 a:hover span{

             background-color: dodgerblue;

             display: block;

             padding: 0 15px 0 15px;

         }

         #container #title #tag5 a:hover {

             text-decoration: none;

             display: block;

             width: auto;

         }

         #container #title #tag5 a:hover span{

             background-color: dodgerblue;

             display: block;

             padding: 0 15px 0 15px;

         }

         #container #title .selectli1 {

             text-decoration: none;

             color: #ffffff;

             display: block;

             width: auto;

         }

         #container #title a .selectspan1 {

             display: block;

             padding: 0 15px 0 15px;

         }

         #container #title .selectli2 {

             text-decoration: none;

             color: #ffffff;

             display: block;

             width: auto;

         }

         #container #title a .selectspan2 {

             display: block;

             padding: 0 15px 0 15px;

         }

         #container #title .selectli3 {

             text-decoration: none;

             color: #ffffff;

             display: block;

             width: auto;

         }

         #container #title a .selectspan3 {

             display: block;

             padding: 0 15px 0 15px;

         }

         #container #title .selectli4 {

             text-decoration: none;

             color: #ffffff;

             display: block;

             width: auto;

         }

         #container #title a .selectspan4 {

             display: block;

             padding: 0 15px 0 15px;

         }

         #container #title .selectli5 {

             text-decoration: none;

             color: #ffffff;

             display: block;

             width: auto;

         }

         #container #title a .selectspan5 {

             display: block;

             padding: 0 15px 0 15px;

         }

         #container #content ul {margin: 10px;}

         #container #content li {margin: 5px; }

         #container #content li img {margin: 5px;display:block;}

         #container #content {

             height: 300px;

             padding: 10px;

         }

         .content1 {

             border-top-width: 3px;

             border-right-width: 1px;

             border-bottom-width: 1px;

             border-left-width: 1px;

             border-top-style: solid;

             border-right-style: solid;

             border-bottom-style: solid;

             border-left-style: solid;

             border-top-color: #3A81C8;

             border-right-color: #3A81C8;

             border-bottom-color: #3A81C8;

             border-left-color: #3A81C8;

             background-color: #DFEBF7;

         }

         .content2 {

             border-top-width: 3px;

             border-right-width: 1px;

             border-bottom-width: 1px;

             border-left-width: 1px;

             border-top-style: solid;

             border-right-style: solid;

             border-bottom-style: solid;

             border-left-style: solid;

             border-top-color: #ff950b;

             border-right-color: #ff950b;

             border-bottom-color: #ff950b;

             border-left-color: #ff950b;

             background-color: #FFECD2;

         }

         .content3 {

             height: 300px;

             padding: 10px;

             border-top-width: 3px;

             border-right-width: 1px;

             border-bottom-width: 1px;

             border-left-width: 1px;

             border-top-style: solid;

             border-right-style: solid;

             border-bottom-style: solid;

             border-left-style: solid;

             border-top-color: #FE74B8;

             border-right-color: #FE74B8;

             border-bottom-color: #FE74B8;

             border-left-color: #FE74B8;

             background-color: #FFECF5;

         }

         .content4 {

             height: 300px;

             padding: 10px;

             border-top-width: 3px;

             border-right-width: 1px;

             border-bottom-width: 1px;

             border-left-width: 1px;

             border-top-style: solid;

             border-right-style: solid;

             border-bottom-style: solid;

             border-left-style: solid;

             border-top-color: #00988B;

             border-right-color: #00988B;

             border-bottom-color: #00988B;

             border-left-color: #00988B;

             background-color: #E8FFFD;

         }

         .content5 {

             height: 300px;

             padding: 10px;

             border-top-width: 3px;

             border-right-width: 1px;

             border-bottom-width: 1px;

             border-left-width: 1px;

             border-top-style: solid;

             border-right-style: solid;

             border-bottom-style: solid;

             border-left-style: solid;

             border-top-color: #A8BC1F;

             border-right-color: #A8BC1F;

             border-bottom-color: #A8BC1F;

             border-left-color: #A8BC1F;

             background-color: #F7FAE2;

         }

         .hidecontent {display:none;}

         -->

     </style>

     <script language="javascript">

         function switchTag(tag,content)

         {

 //    alert(tag);

 //    alert(content);

             for(i=1; i < 6; i++)

             {

                 if ("tag"+i==tag)

                 {

                     document.getElementById(tag).getElementsByTagName("a")[0].className="selectli"+i;

                     document.getElementById(tag).getElementsByTagName("a")[0].getElementsByTagName("span")

                         [0].className="selectspan"+i;

                 }else{

                     document.getElementById("tag"+i).getElementsByTagName("a")[0].className="";

                     document.getElementById("tag"+i).getElementsByTagName("a")[0].getElementsByTagName("span")

                         [0].className="";

                 }

                 if ("content"+i==content)

                 {

                     document.getElementById(content).className="";

                 }else{

                     document.getElementById("content"+i).className="hidecontent";

                 }

                 document.getElementById("content").className=content;

             }

         }

     </script>

 </head>

 <body>

 <div id="container">

     <div id="title">

         <ul>

             <li id="tag1"><a href="#" onclick="switchTag('tag1','content1');this.blur();" class="selectli1"><span

                     class="selectspan1">首页</span></a></li>

             <li id="tag2"><a href="#" onclick="switchTag('tag2','content2');this.blur();"><span>下载中心</span></a></li>

             <li id="tag3"><a href="#" onclick="switchTag('tag3','content3');this.blur();"><span>产品介绍</span></a></li>

             <li id="tag4"><a href="#" onclick="switchTag('tag4','content4');this.blur();"><span>会员注册与登录</span></a></li>

             <li id="tag5"><a href="#" onclick="switchTag('tag5','content5');this.blur();"><span>联系我们</span></a></li>

         </ul>

     </div>

     <div id="content" class="content1">

         <div id="content1" >1、根据字数自适应项目长度</div>

         <div id="content2" class="hidecontent">2、不同的项目使用不同的颜色来区分</div>

         <div id="content3" class="hidecontent">3、这回需要使用到js了,呵呵</div>

         <div id="content4" class="hidecontent">4、背景图片只需要两个图片文件就足够,减少服务器负担</div>

         <div id="content5" class="hidecontent">5、这是使用到的两个图片</div>

     </div>

 </div>

 </body>

 </html>
jsp选项卡导航实现——模板的更多相关文章
- EasyMvc入门教程-基本控件说明(13)选项卡导航
选项卡Tab导航主要用于企业页面显示不同子类或者子页面的信息内容. 先来一个基本的使用例子:代码如下: @{ var data = new List<TabItem>() { new Ta ...
- 30个实用的jQuery选项卡/导航教程推荐
很多网站设计中都使用了选项卡(tabs),在制作选项卡时应用jQuery能够实现很多炫酷的过渡和动画效果.本文为你介绍30个实用的jQuery选项卡教程,希望对你有帮助. 1. Animated Ta ...
- springmvc 配置多视图,返回jsp,velocity,freeMarker,tiles(模板)等等
springmvc-servlet.xml配置 <!-- Velocity --> <bean id="velocityViewResolver" class = ...
- bootstrap 响应式导航条模板(含下拉菜单,弹出框)
<!DOCTYPE html> <html lang="en"> <head> <meta charset="UTF-8&quo ...
- jsp+struts2登录框架模板
一.建立一个名叫jsp_struts2的项目 二.导入jar包 如上图:jar包导入在WebContent/WEB-INF/lib下 三.建立一个LoginAction类 LoginAction类的s ...
- jsp+servlet登录框架模板
一.建立一个名叫jsp_servlet的工程 二.建立一个AcountBean类和CheckAccount类 1.AcountBean类包含登录名(username)和登录密码(password) p ...
- jsp动态导航栏
站点页面的导航栏是从数据库中生成出来的,所以在界面上展示导航栏时,要从数据库中读取出来,但不能每次显示一个页面都从数据库中读.这样就非常浪费性能.应该考虑把导航栏放到一个缓存中.如:session.a ...
- 在Eclipse中修改Jsp页面的新增模板
打开Eclipse的Preferences页面 路径: Window à Preferences 搜索"jsp",点击"Templates",选择要修改的Jsp ...
- myeclipse10 中修改html,servlet,jsp等的生成模板
1.进入myeclipse的安装目录 2.用减压软件,(如winrar)打开common\plugins\com.genuitec.eclipse.wizards_9.0.0.me2011080913 ...
随机推荐
- nginx日志配置(cookie,header,post等字段记录)
如果你对nginx日志格式,有这样那样的要求. 那么就看一下说明吧. $remote_addr The remote host $remote_user The authenticated user ...
- tornado调用ioloop TracebackFuture实现非堵塞的模块
转载http://xiaorui.cc/2014/11/26/tornado调用ioloop-tracebackfuture实现非堵塞的模块/ 当然实现的方法,还是存在点问题的, 但是最少流程是跑通了 ...
- 【MYSQL】主从常见问题运维
参见Mysql主从常见错误,http://hzcsky.blog.51cto.com/1560073/479476
- css图片上悬浮文字(丝带效果)实现
首先看效果 思路:1.去掉“丝带“菱角使用的是overflow: hidden; 2.通过z-index降低图片的优先级或者调高“丝带”优先级来实现覆盖效果(z-index需要写在有position的 ...
- Vim step by step
@1: VIM中非常迷人的功能: D------->从当前位置开始删除,直到当前行结束 cw------->修改游标所在的单词,修改范围从游标位置到单词结尾. 一个替换一个用r,一个替换多 ...
- SQL Server扩展属性的增、删、改、查
使用 sql 语句创建表时,可以使用系统存储过程 sp_addextendedproperty 给字段添加描述说明. sp_addextendedproperty 语法: sp_addextended ...
- JPush相关概念
JPush相关概念 连接极光服务器前提 在连接极光服务器之前需要先将APP进行注册,连接Server时需要用到下发的两个字段:AppKey:应用唯一标识.Master Secret:服务器秘钥,用于服 ...
- Gym - 101875I I Will Go (dfs序)
题意:N个人要参加一个局,每个人有自己的好朋友,如果他的好朋友来,他才有可能来.N个人的关系不够成环.Q次查询,问若x来了,y是否肯定来. 分析:若点y是x的祖先,则y肯定回来.一次dfs确定每个点覆 ...
- [Python]关于return逻辑判断和短路逻辑
定义一个return...and..函数: def res(): ' 返回结果: >>> print(res()) 1234 定义一个return...or..函数: def res ...
- 【android】 中文URL资源找不到的问题
在博客园安卓客户端时,遇到过中文资源找不到的问题 背景:在使用PICASSO的时候,遇到过中文路径加载失败.比如 https://images0.cnblogs.com/news_topic/携程.j ...