Centos7安装FastDFS
离线安装包准备:
将相关的安装包上传到 /usr/local 目录,安装包下载

并解压到当前目录

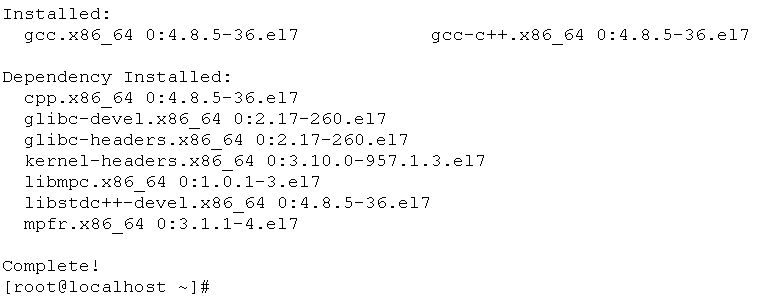
1.安装 gcc
yum install -y gcc gcc-c++
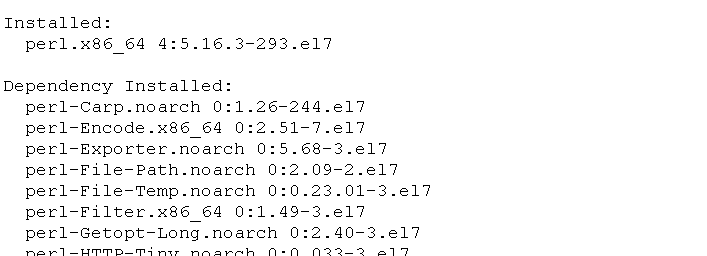
2.安装 perl
yum install -y perl
3.安装 libevent
yum install -y libevent

4.安装 libfastcommon
libfastcommon 没有 yum 源,通过上传的安装包进行编译与安装
cd /usr/local/libfastcommon-1.0.7/
./make.sh && ./make.sh install

libfastcommon 安装好后会在 /usr/lib64 目录下生成 libfastcommon.so 库文件

由于 FastDFS 程序引用 usr/lib 目录所以需要将 /usr/lib64 下的库文件拷贝至 /usr/lib 下
cp /usr/lib64/libfastcommon.so /usr/lib
5.安装 tracker
cd /usr/local/fastdfs-5.05/
./make.sh && ./make.sh install
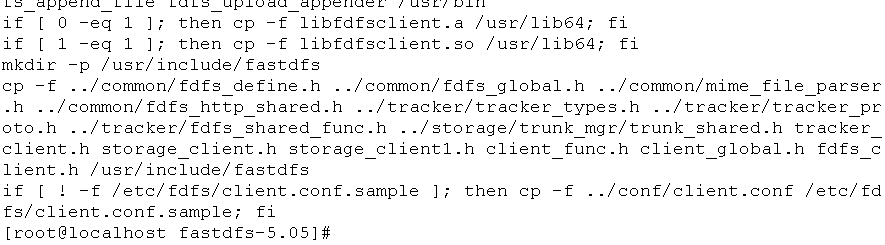
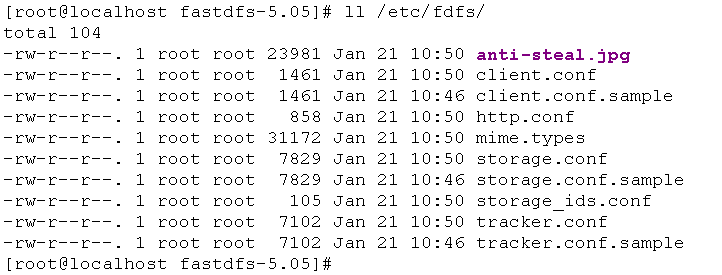
安装成功将安装目录下的 conf 下的文件拷贝到 /etc/fdfs/ 下
cp conf/* /etc/fdfs/
6.配置和启动 tracker
切换到 /etc/fdfs 目录下
cd /etc/fdfs
修改 tracker.conf
vi tracker.conf
base_path = /home/fastdfs
http.server_port = 80
创建 /home/fastdfs 目录
mkdir -p /home/fastdfs
启动 tracker
/usr/bin/fdfs_trackerd /etc/fdfs/tracker.conf restart
PS:启动成功后,在 /home/fastdfs/ 目录下生成两个目录, 一个是数据,一个是日志

7.配置和启动 storage
切换到 /etc/fdfs 目录下
cd /etc/fdfs
修改 tracker.conf
vi storage.conf
base_path = /home/fastdfs
store_path0 = /home/fdfs_storage
tracker_server = x.x.x.x:22122 (根据实际情况改)
http.server_port = 88
创建 /home/fdfs_storage 目录
mkdir -p /home/fdfs_storage
启动 storage
/usr/bin/fdfs_storaged /etc/fdfs/storage.conf restart
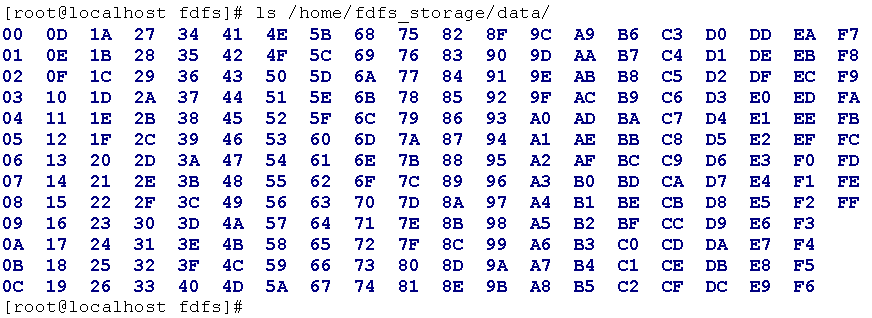
PS:启动成功后,在 /home/fdfs_storage/data 目录下生成以下显示目录
8.测试FastDFS上传文件
切换到 /etc/fdfs 目录下
cd /etc/fdfs
修改 client.conf
vi client.conf
base_path = /home/fastdfs
tracker_server = x.x.x.x:22122 (根据实际情况改)
拷贝一张图片 test.jpg 到Centos服务器上的 /tmp 目录下

进行上传测试
/usr/bin/fdfs_test /etc/fdfs/client.conf upload /tmp/test.jpg
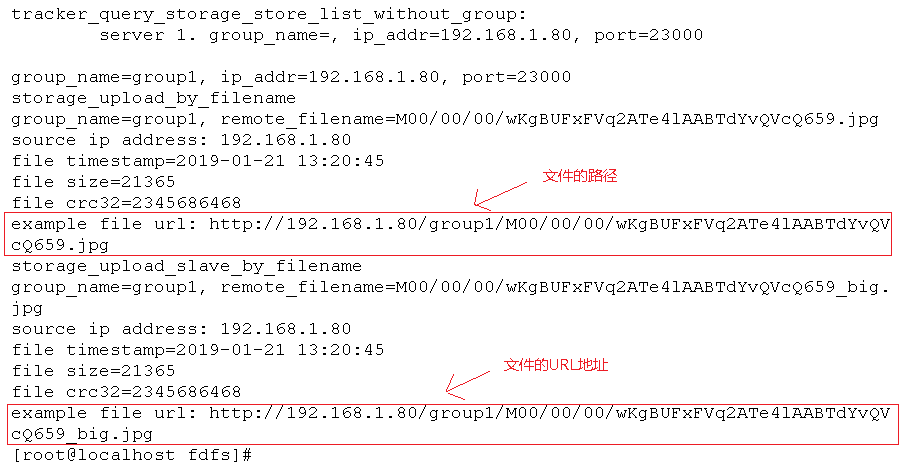
PS:由于现在还没有和nginx整合无法使用http下载
9.FastDFS 和Nginx整合
切换到 /usr/local/fastdfs-nginx-module/src 目录下
cd /usr/local/fastdfs-nginx-module/src/
修改config文件
vi config
将文件中的所有 /usr/local/ 路径改为 /usr/
复制当前目录下的 mod_fastdfs.conf 文件到 /etc/fdfs/ 目录下
cp mod_fastdfs.conf /etc/fdfs/
切换到 /etc/fdfs 目录,修改 mod_fastdfs.conf 文件
vi mod_fastdfs.conf
base_path=/home/fastdfs
tracker_server=x.x.x.x:22122(根据实际情况改)
url_have_group_name=true #url中包含group名称
store_path0=/home/fdfs_storage #指定文件存储路径(上面配置的store路径)
将 /usr/lib64 目录下的 libfdfsclient.so 文件拷贝至 /usr/lib 目录下
cp /usr/lib64/libfdfsclient.so /usr/lib
10.Nginx 的安装
安装nginx的依赖库:
yum install -y pcre pcre-devel
yum install -y zlib zlib-devel
yum install -y openssl openssl-devel
创建 /var/temp/nginx/client 目录
mkdir -p /var/temp/nginx/client
切换到 nginx 解压的目录
cd /usr/local/nginx-1.8.0/
执行以下配置命令:
./configure \
--prefix=/usr/local/nginx \
--pid-path=/var/run/nginx/nginx.pid \
--lock-path=/var/lock/nginx.lock \
--error-log-path=/var/log/nginx/error.log \
--http-log-path=/var/log/nginx/access.log \
--with-http_gzip_static_module \
--http-client-body-temp-path=/var/temp/nginx/client \
--http-proxy-temp-path=/var/temp/nginx/proxy \
--http-fastcgi-temp-path=/var/temp/nginx/fastcgi \
--http-uwsgi-temp-path=/var/temp/nginx/uwsgi \
--http-scgi-temp-path=/var/temp/nginx/scgi \
--add-module=/usr/local/fastdfs-nginx-module/src

编译并安装
make && make install
PS:安装成功后查看生成的目录

创建 /usr/local/nginx/logs 目录
mkdir /usr/local/nginx/logs
切换到 /usr/local/nginx/conf/ 目录
cd /usr/local/nginx/conf/
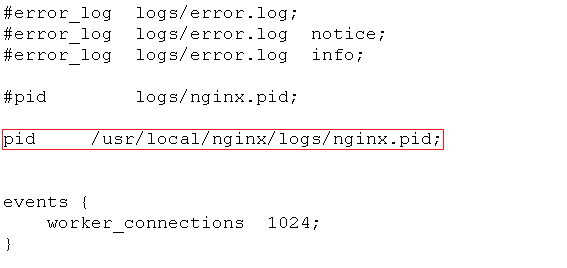
修改 nginx.conf 文件
vi nginx.conf

切换到 /usr/local/nginx/sbin/ 目录
cd /usr/local/nginx/sbin/
启动 nginx
./nginx

查看 nginx 进程

放通防火墙80(nginx)、22122(tracker)、23000(storage)端口
firewall-cmd --zone=public --add-port=80/tcp --permanent
firewall-cmd --zone=public --add-port=22122/tcp --permanent
firewall-cmd --zone=public --add-port=23000/tcp --permanent
firewall-cmd --reload
这时已经可以通过浏览器访问刚刚测试上传的图片 test.jpg!

11.FastDFS 和 Nginx 开机自启配置
编辑 /etc/rc.d/rc.local 文件,增加启动项
vi /etc/rc.d/rc.local
# fastdfs start
/usr/bin/fdfs_trackerd /etc/fdfs/tracker.conf restart
/usr/bin/fdfs_storaged /etc/fdfs/storage.conf restart
# nginx start
/usr/local/nginx/sbin/nginx
给rc.local 文件增加可执行的权限
chmod +x /etc/rc.d/rc.local
Centos7安装FastDFS的更多相关文章
- CentOS7 安装FastDFS分布式文件系统
CentOS7 安装FastDFS分布式文件系统 最近要用到fastDFS,所以自己研究了一下,在搭建FastDFS的过程中遇到过很多的问题,为了能帮忙到以后搭建FastDFS的同学,少走弯路,与大家 ...
- CentOS7 安装FastDFS单机版
1. 下载 FastDFS https://github.com/happyfish100/fastdfs/releases libfastcommon https://github.com/happ ...
- 阿里云服务器Centos7安装FastDFS(一)
安装步骤一 安装FastDFS需要安装:gcc.libevent.libfastcommon.FastDFS(包括tracker和storage) 安装gcc 判断是否安装了gcc gcc -V 如果 ...
- Centos7 单节点安装 FastDFS + FastDHT服务
Centos7 单节点安装 FastDFS + FastDHT服务 1.安装gcc(编译时需要) FastDFS是C语言开发,安装FastDFS需要先将官网下载的源码进行编译,编译依赖gcc环境,如果 ...
- Centos7 上安装FastDFS
Centos7 上安装 FastDFS 本文章摘抄于 风止鱼歇 博客地址:https://www.cnblogs.com/yufeng218/p/8111961.html 1.安装gcc(编译时需要 ...
- centos7.x 安装 fastDFS
环境准备 使用的系统软件 名称 说明 centos 7.x libfatscommon FastDFS分离出的一些公用函数包 FastDFS FastDFS本体 fastdfs-nginx-modul ...
- Centos7 上安装 FastDFS
1.安装gcc(编译时需要) FastDFS是C语言开发,安装FastDFS需要先将官网下载的源码进行编译,编译依赖gcc环境,如果没有gcc环境,需要安装gcc yum install -y gcc ...
- CentOS7搭建FastDFS V5.11分布式文件系统-第二篇
1.CentOS7 FastDFS搭建 前面已下载好了要用到的工具集,下面就可以开始安装了: 如果安装过程中出现问题,可以下载我提供的,当前测试可以通过的工具包: 点这里点这里 1.1 安装libfa ...
- 安装FastDFS+Nginx
安装FastDFS FastDFS开发者的GitHub地址为:https://github.com/happyfish100 打开上述链接,我们点击fastdfs–>release,发现最新版的 ...
随机推荐
- Qt之QSS(样式表语法)
http://blog.csdn.net/liang19890820/article/details/51691212 版权声明:进步始于交流,收获源于分享!纯正开源之美,有趣.好玩.靠谱...作者: ...
- Appium 如何模拟返回按键
from appium.webdriver import Remote driver.keyevent(4) python中点击返回键是这样写的 附录 keycode 电话键 KEYCODE_CALL ...
- Struts1.x 中处理乱码及通过标签显示数据
1.通过filter解决乱码问题 网页的请求到达之前,先要经过filter的处理: 提取数据出现乱码:request.setCharacterEncoding("UTF-8"); ...
- 基于CAS的SSO单点登录-实现ajax跨域访问的自动登录(也相当于超时重连)
先补课,以下网址可以把CAS环境搭起来. [JA-SIG CAS服务环境搭建]http://linliangyi2007.iteye.com/blog/165307 [JA-SIG CAS业务架构介绍 ...
- Linux--Bind服务搭建
Bind域名解析服务 服务功能:提供域名解析 构建主从域名服务器 1)环境部署 ip=192.168.1.50(主) ip=192.168.1.51(从) [root@localhost Packag ...
- C++ 数据库 char 转 wchar_t SQLWCHAR
C++中对数据库的操作感觉太复杂了,不如C#好使,但最近出于某些原因还是学习了一下C++下操作数据库的方法. 如果要想用C++实现对数据库的操作其实很简单,但是如果你需要动态的操作数据库(比如获得用户 ...
- SAP Fiori应用Footerbar区域按钮的高亮显示逻辑
如果您够细心,您或许会发现有的SAP Fiori应用的footerbar区域内的按钮有高亮显示,有的则没有. 如何自己分析这两种按钮的实现原理? 还是借助Chrome Development Tool ...
- Android(java)学习笔记5:线程的生命周期
1. 我们学习线程本质就是学习如何开始线程和终止线程.下面这个关于线程的生命周期图,要牢记: 新建状态:当程序使用new关键字创建了一个线程之后,该线程就处于新建状态.此时和其他Java对象一样,它仅 ...
- Android(java)学习笔记32:Android布局详解之一:FrameLayout
1. FrameLayout是最简单的布局了.所有放在布局里的控件,都按照层次堆叠在屏幕的左上角.后加进来的控件覆盖前面的控件. 在FrameLayout布局里,定义任何空间的位置相关的属性都毫无意义 ...
- BZOJ1123:[POI2008]BLO(双连通分量)
Description Byteotia城市有n个 towns m条双向roads. 每条 road 连接 两个不同的 towns ,没有重复的road. 所有towns连通. Input 输入n&l ...