Centos7安装FastDFS
离线安装包准备:
将相关的安装包上传到 /usr/local 目录,安装包下载

并解压到当前目录

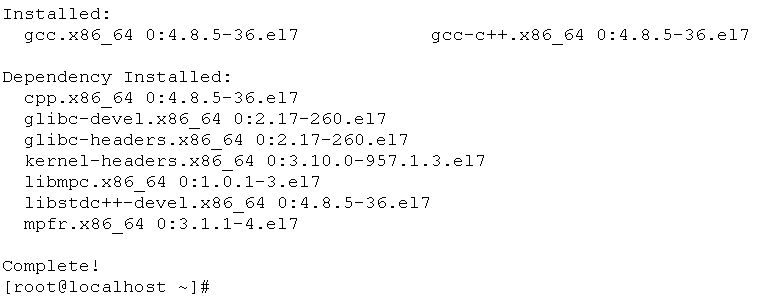
1.安装 gcc
yum install -y gcc gcc-c++
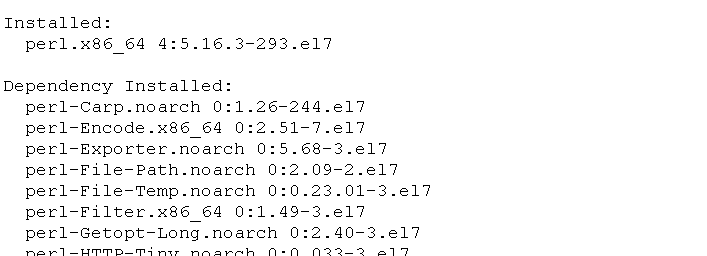
2.安装 perl
yum install -y perl
3.安装 libevent
yum install -y libevent

4.安装 libfastcommon
libfastcommon 没有 yum 源,通过上传的安装包进行编译与安装
cd /usr/local/libfastcommon-1.0.7/
./make.sh && ./make.sh install

libfastcommon 安装好后会在 /usr/lib64 目录下生成 libfastcommon.so 库文件

由于 FastDFS 程序引用 usr/lib 目录所以需要将 /usr/lib64 下的库文件拷贝至 /usr/lib 下
cp /usr/lib64/libfastcommon.so /usr/lib
5.安装 tracker
cd /usr/local/fastdfs-5.05/
./make.sh && ./make.sh install
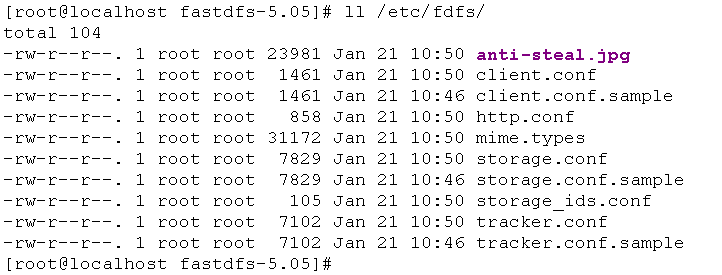
安装成功将安装目录下的 conf 下的文件拷贝到 /etc/fdfs/ 下
cp conf/* /etc/fdfs/
6.配置和启动 tracker
切换到 /etc/fdfs 目录下
cd /etc/fdfs
修改 tracker.conf
vi tracker.conf
base_path = /home/fastdfs
http.server_port = 80
创建 /home/fastdfs 目录
mkdir -p /home/fastdfs
启动 tracker
/usr/bin/fdfs_trackerd /etc/fdfs/tracker.conf restart
PS:启动成功后,在 /home/fastdfs/ 目录下生成两个目录, 一个是数据,一个是日志

7.配置和启动 storage
切换到 /etc/fdfs 目录下
cd /etc/fdfs
修改 tracker.conf
vi storage.conf
base_path = /home/fastdfs
store_path0 = /home/fdfs_storage
tracker_server = x.x.x.x:22122 (根据实际情况改)
http.server_port = 88
创建 /home/fdfs_storage 目录
mkdir -p /home/fdfs_storage
启动 storage
/usr/bin/fdfs_storaged /etc/fdfs/storage.conf restart
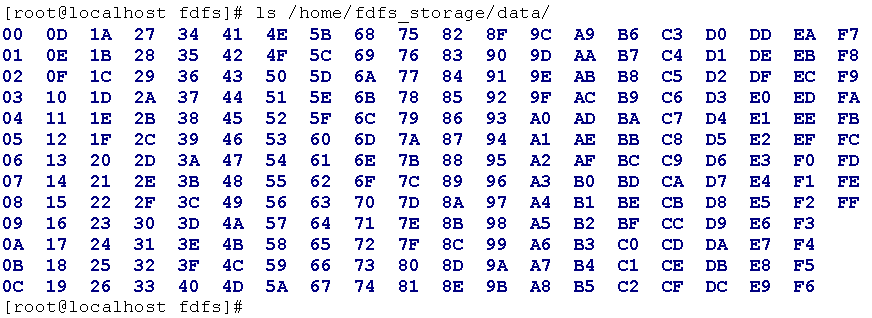
PS:启动成功后,在 /home/fdfs_storage/data 目录下生成以下显示目录
8.测试FastDFS上传文件
切换到 /etc/fdfs 目录下
cd /etc/fdfs
修改 client.conf
vi client.conf
base_path = /home/fastdfs
tracker_server = x.x.x.x:22122 (根据实际情况改)
拷贝一张图片 test.jpg 到Centos服务器上的 /tmp 目录下

进行上传测试
/usr/bin/fdfs_test /etc/fdfs/client.conf upload /tmp/test.jpg
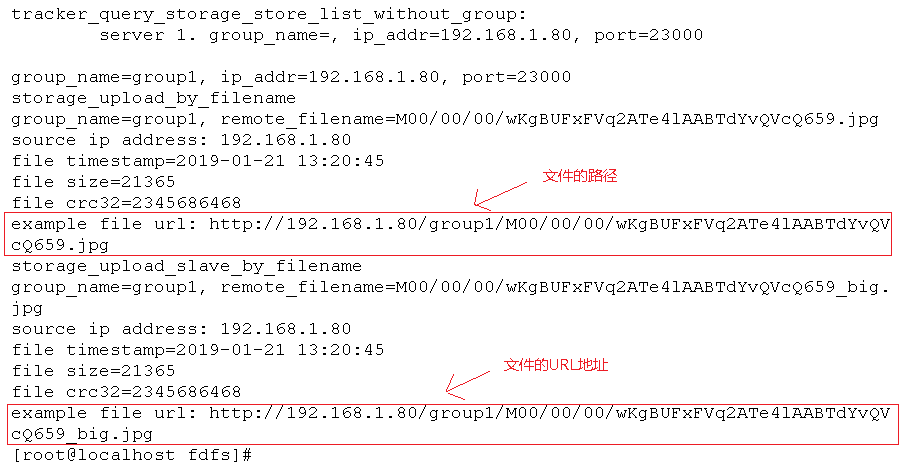
PS:由于现在还没有和nginx整合无法使用http下载
9.FastDFS 和Nginx整合
切换到 /usr/local/fastdfs-nginx-module/src 目录下
cd /usr/local/fastdfs-nginx-module/src/
修改config文件
vi config
将文件中的所有 /usr/local/ 路径改为 /usr/
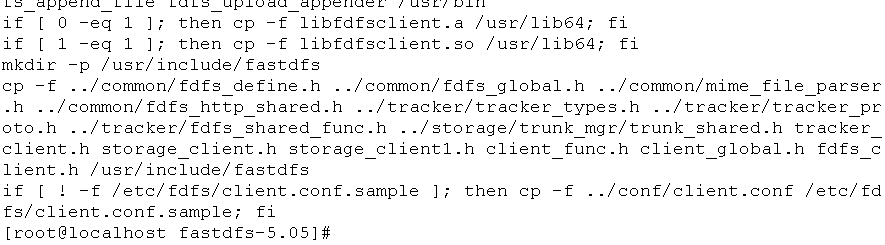
复制当前目录下的 mod_fastdfs.conf 文件到 /etc/fdfs/ 目录下
cp mod_fastdfs.conf /etc/fdfs/
切换到 /etc/fdfs 目录,修改 mod_fastdfs.conf 文件
vi mod_fastdfs.conf
base_path=/home/fastdfs
tracker_server=x.x.x.x:22122(根据实际情况改)
url_have_group_name=true #url中包含group名称
store_path0=/home/fdfs_storage #指定文件存储路径(上面配置的store路径)
将 /usr/lib64 目录下的 libfdfsclient.so 文件拷贝至 /usr/lib 目录下
cp /usr/lib64/libfdfsclient.so /usr/lib
10.Nginx 的安装
安装nginx的依赖库:
yum install -y pcre pcre-devel
yum install -y zlib zlib-devel
yum install -y openssl openssl-devel
创建 /var/temp/nginx/client 目录
mkdir -p /var/temp/nginx/client
切换到 nginx 解压的目录
cd /usr/local/nginx-1.8.0/
执行以下配置命令:
./configure \
--prefix=/usr/local/nginx \
--pid-path=/var/run/nginx/nginx.pid \
--lock-path=/var/lock/nginx.lock \
--error-log-path=/var/log/nginx/error.log \
--http-log-path=/var/log/nginx/access.log \
--with-http_gzip_static_module \
--http-client-body-temp-path=/var/temp/nginx/client \
--http-proxy-temp-path=/var/temp/nginx/proxy \
--http-fastcgi-temp-path=/var/temp/nginx/fastcgi \
--http-uwsgi-temp-path=/var/temp/nginx/uwsgi \
--http-scgi-temp-path=/var/temp/nginx/scgi \
--add-module=/usr/local/fastdfs-nginx-module/src

编译并安装
make && make install
PS:安装成功后查看生成的目录

创建 /usr/local/nginx/logs 目录
mkdir /usr/local/nginx/logs
切换到 /usr/local/nginx/conf/ 目录
cd /usr/local/nginx/conf/
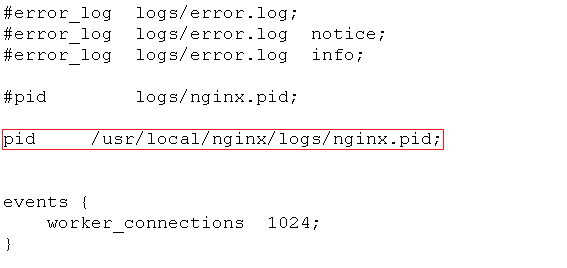
修改 nginx.conf 文件
vi nginx.conf

切换到 /usr/local/nginx/sbin/ 目录
cd /usr/local/nginx/sbin/
启动 nginx
./nginx

查看 nginx 进程

放通防火墙80(nginx)、22122(tracker)、23000(storage)端口
firewall-cmd --zone=public --add-port=80/tcp --permanent
firewall-cmd --zone=public --add-port=22122/tcp --permanent
firewall-cmd --zone=public --add-port=23000/tcp --permanent
firewall-cmd --reload
这时已经可以通过浏览器访问刚刚测试上传的图片 test.jpg!

11.FastDFS 和 Nginx 开机自启配置
编辑 /etc/rc.d/rc.local 文件,增加启动项
vi /etc/rc.d/rc.local
# fastdfs start
/usr/bin/fdfs_trackerd /etc/fdfs/tracker.conf restart
/usr/bin/fdfs_storaged /etc/fdfs/storage.conf restart
# nginx start
/usr/local/nginx/sbin/nginx
给rc.local 文件增加可执行的权限
chmod +x /etc/rc.d/rc.local
Centos7安装FastDFS的更多相关文章
- CentOS7 安装FastDFS分布式文件系统
CentOS7 安装FastDFS分布式文件系统 最近要用到fastDFS,所以自己研究了一下,在搭建FastDFS的过程中遇到过很多的问题,为了能帮忙到以后搭建FastDFS的同学,少走弯路,与大家 ...
- CentOS7 安装FastDFS单机版
1. 下载 FastDFS https://github.com/happyfish100/fastdfs/releases libfastcommon https://github.com/happ ...
- 阿里云服务器Centos7安装FastDFS(一)
安装步骤一 安装FastDFS需要安装:gcc.libevent.libfastcommon.FastDFS(包括tracker和storage) 安装gcc 判断是否安装了gcc gcc -V 如果 ...
- Centos7 单节点安装 FastDFS + FastDHT服务
Centos7 单节点安装 FastDFS + FastDHT服务 1.安装gcc(编译时需要) FastDFS是C语言开发,安装FastDFS需要先将官网下载的源码进行编译,编译依赖gcc环境,如果 ...
- Centos7 上安装FastDFS
Centos7 上安装 FastDFS 本文章摘抄于 风止鱼歇 博客地址:https://www.cnblogs.com/yufeng218/p/8111961.html 1.安装gcc(编译时需要 ...
- centos7.x 安装 fastDFS
环境准备 使用的系统软件 名称 说明 centos 7.x libfatscommon FastDFS分离出的一些公用函数包 FastDFS FastDFS本体 fastdfs-nginx-modul ...
- Centos7 上安装 FastDFS
1.安装gcc(编译时需要) FastDFS是C语言开发,安装FastDFS需要先将官网下载的源码进行编译,编译依赖gcc环境,如果没有gcc环境,需要安装gcc yum install -y gcc ...
- CentOS7搭建FastDFS V5.11分布式文件系统-第二篇
1.CentOS7 FastDFS搭建 前面已下载好了要用到的工具集,下面就可以开始安装了: 如果安装过程中出现问题,可以下载我提供的,当前测试可以通过的工具包: 点这里点这里 1.1 安装libfa ...
- 安装FastDFS+Nginx
安装FastDFS FastDFS开发者的GitHub地址为:https://github.com/happyfish100 打开上述链接,我们点击fastdfs–>release,发现最新版的 ...
随机推荐
- 3D开源推荐:3DWebExplorer
开源网址:https://github.com/irconde/3DWebExplorer 介绍:演示如何内嵌Google Earth 插件,开发面向公众的3D旅游展示平台
- Android layout 布局 属性详解
第一类:属性值 true或者 false android:layout_centerHrizontal 水平居中 android:layout_centerVertical ...
- CodeMirror教程,CodeMirrorAPI中文信息
<html> <head> <link rel="stylesheet" href="codemirror.css"> ...
- SQL Server ->> Move characters in string N position(s) forward/backward based on ASCII table(根据ASCII表的排列顺序将字符串内的数值往前或者后移N个位)
去年无聊的时候想到想玩一下根据ASCII表的排列顺序将字符串内的数值往前或者后移N个位,顺便看一下是T-SQL性能好还是用C#写CLR函数处理得快.结果是在50万行以下其实两者差距很小,当然这是在我的 ...
- 【luogu P3979 遥远的国度】 题解
题目链接:https://www.luogu.org/problemnew/show/P3979 除了换根操作都是裸的树剖 所以换根时考虑: 1.我查询的根等于换的根:无影响 2.我查询的根是换的根的 ...
- jstl 中substring,length等函数用法
引入jstl库:<%@ taglib prefix="fn" uri="http://java.sun.com/jsp/jstl/functions"%& ...
- MVC5 Attribute(特性)
AuthorizeAttribute:一般用来判断权限 ActionFilterAttribute:方法执行前后动作 OutputCacheAttribute:输出缓存设置 注:我们创建名称的时候请带 ...
- 在body中的AngularJS模块
<!DOCTYPE html><html><head><meta http-equiv="Content-Type" content=&q ...
- 关于ProjectServer调用PSI 报Error GeneralReadOnlyColumn (20005) - column TS_ACT_FINISH_DATE错的解决方案
TimesheetDataSet Table Actuals Row: TS_LINE_UID='f4b970f8-fb03-44d1-9997-cd31da42cb09' TS_ACT_START_ ...
- C++中的头文件(.h)和源文件(.cpp)都应该写什么?
头文件(.h):写定义和声明写类的声明(包括类里面的成员和方法的声明).函数原型.#define常数等,但是一般来说不写具体的实现.注意: 1.在写头文件的时候需要注意,在开头和结尾处必须按照如下样式 ...