005. gitlab安装
1. gitlab介绍
官方网站: www.gitlab.com
gitlab是一款使用ruby编写的代码版本管理系统,他可以通过web界面来管理代码.
2. gitlab安装
官方安装文档: https://about.gitlab.com/install/
建议: 在企业环境中,gitlab一定要尽可能使用一台独立的服务器进行管理.因为gitlab是用于存储代码的. 需要谨慎.
1. 安装gitlab

yum install -y curl policycoreutils-python openssh-server

systemctl enable sshd

systemctl start sshd

2. 启用postfix(官方文档写的安装.此步可以跳过.)

yum install postfix -y

systemctl enable postfix

systemctl start postfix

3.防火墙规则(开启防火墙才配置,没开防火墙不用配置.)

firewall-cmd --permanent --add-service=http

firewall-cmd --permanent --add-service=https

systemctl reload firewalld
2.1 使用gitlab包来安装.
gitlab安装包: https://packages.gitlab.com/gitlab/gitlab-ce
清华安装源: https://mirror.tuna.tsinghua.edu.cn/gitlab-ce/ [选择 yum版] 这里什么版本都有.
建议gitlab安装在一台独立服务器中.
#1. 依赖包安装
yum install curl policycoreutils openssh-server openssh-clients policycoreutils-python
#2. 下载gitlab包
https://mirrors.tuna.tsinghua.edu.cn/gitlab-ce/yum/el7/gitlab-ce-10.0.6-ce.0.el7.x86_64.rpm
上传到服务器
#3. 安装gitlab
rpm -ivh gitlab-ce-10.2.2-ce.0.el7.x86_64.rpm
[root@master tools]# rpm -ivh gitlab-ce-10.2.2-ce.0.el7.x86_64.rpm
warning: gitlab-ce-10.2.2-ce.0.el7.x86_64.rpm: Header V4 RSA/SHA1 Signature, key ID f27eab47: NOKEY
Preparing... ################################# [100%]
Updating / installing...
1:gitlab-ce-10.2.2-ce.0.el7 ################################# [100%]
It looks like GitLab has not been configured yet; skipping the upgrade script.
git安装完成.
#4. 配置文件:
ls /etc/gitlab/gitlab.rb
vim /etc/gitlab/gitlab.rb
修改:
external_url 'http://gitlab.example.com'
#网址改为 当前主机IP:
external_url 'http://10.0.0.63'
修改后必须执行重新配置:
命令:
gitlab-ctl reconfigure
出现:
Running handlers complete
Chef Client finished, 382/541 resources updated in 01 minutes 52 seconds
gitlab Reconfigured! ##代表配置成功了
#4. 启动gitlab:
[root@master tools]# gitlab-ctl status
run: gitaly: (pid 25917) 151s; run: log: (pid 25672) 178s
run: gitlab-monitor: (pid 25933) 150s; run: log: (pid 25775) 171s
run: gitlab-workhorse: (pid 25905) 151s; run: log: (pid 25571) 197s
run: logrotate: (pid 25609) 184s; run: log: (pid 25608) 184s
run: nginx: (pid 25591) 190s; run: log: (pid 25590) 190s
run: node-exporter: (pid 25720) 177s; run: log: (pid 25719) 177s
run: postgres-exporter: (pid 25962) 149s; run: log: (pid 25829) 163s
run: postgresql: (pid 25351) 241s; run: log: (pid 25350) 241s
run: prometheus: (pid 25948) 150s; run: log: (pid 25810) 164s
run: redis: (pid 25279) 247s; run: log: (pid 25278) 247s
run: redis-exporter: (pid 25790) 170s; run: log: (pid 25789) 170s
run: sidekiq: (pid 25554) 203s; run: log: (pid 25553) 203s
run: unicorn: (pid 25516) 205s; run: log: (pid 25515) 205s
#启动gitlab:
[root@master tools]# gitlab-ctl restart
ok: run: gitaly: (pid 26704) 0s
ok: run: gitlab-monitor: (pid 26715) 0s
ok: run: gitlab-workhorse: (pid 26724) 1s
ok: run: logrotate: (pid 26733) 0s
ok: run: nginx: (pid 26740) 1s
ok: run: node-exporter: (pid 26746) 0s
ok: run: postgres-exporter: (pid 26752) 1s
ok: run: postgresql: (pid 26761) 0s
ok: run: prometheus: (pid 26804) 0s
ok: run: redis: (pid 26813) 1s
ok: run: redis-exporter: (pid 26817) 0s
ok: run: sidekiq: (pid 26831) 0s
ok: run: unicorn: (pid 26840) 1s
#状态:
[root@master tools]# gitlab-ctl status
run: gitaly: (pid 26704) 43s; run: log: (pid 25672) 418s
run: gitlab-monitor: (pid 26715) 43s; run: log: (pid 25775) 411s
run: gitlab-workhorse: (pid 26724) 43s; run: log: (pid 25571) 437s
run: logrotate: (pid 26733) 42s; run: log: (pid 25608) 424s
run: nginx: (pid 26740) 42s; run: log: (pid 25590) 430s
run: node-exporter: (pid 26746) 41s; run: log: (pid 25719) 417s
run: postgres-exporter: (pid 26752) 41s; run: log: (pid 25829) 403s
run: postgresql: (pid 26761) 40s; run: log: (pid 25350) 481s
run: prometheus: (pid 26804) 40s; run: log: (pid 25810) 404s
run: redis: (pid 26813) 40s; run: log: (pid 25278) 487s
run: redis-exporter: (pid 26817) 39s; run: log: (pid 25789) 410s
run: sidekiq: (pid 26831) 37s; run: log: (pid 25553) 443s
run: unicorn: (pid 26855) 36s; run: log: (pid 25515) 445s
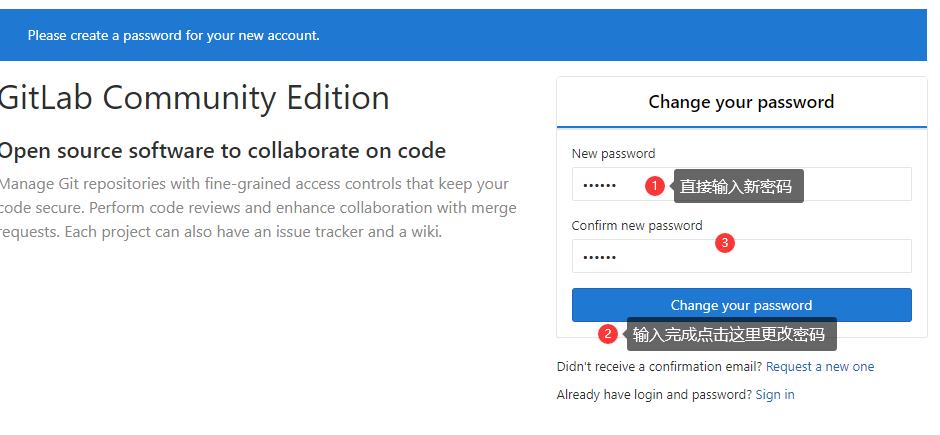
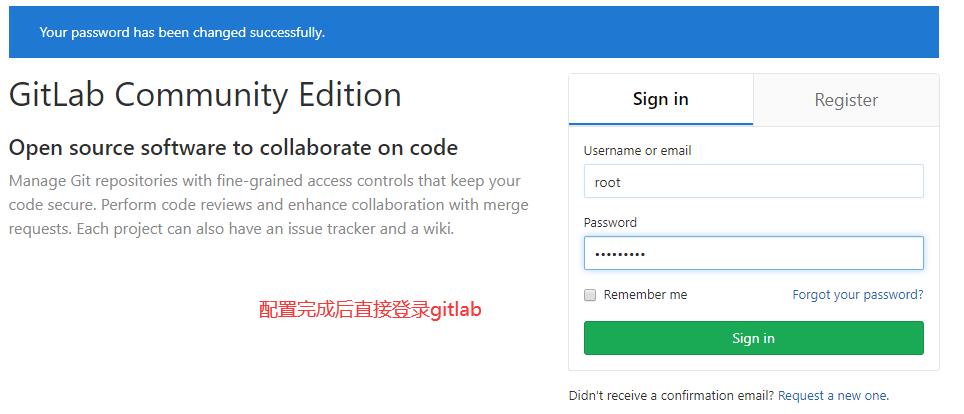
启动成功后,通过web浏览器进行访问:
启动gitlab访问结果:

启动后第一次进入gitlab会让你更改管理员密码[默认用户root]:
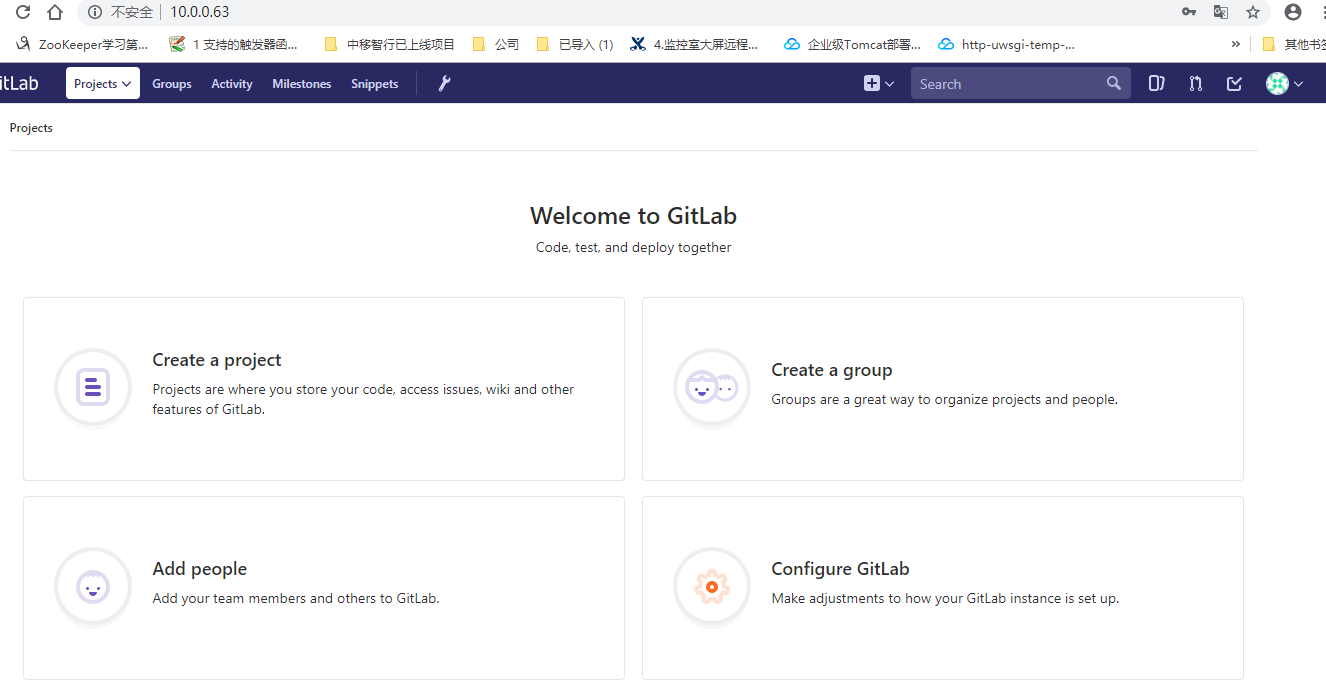
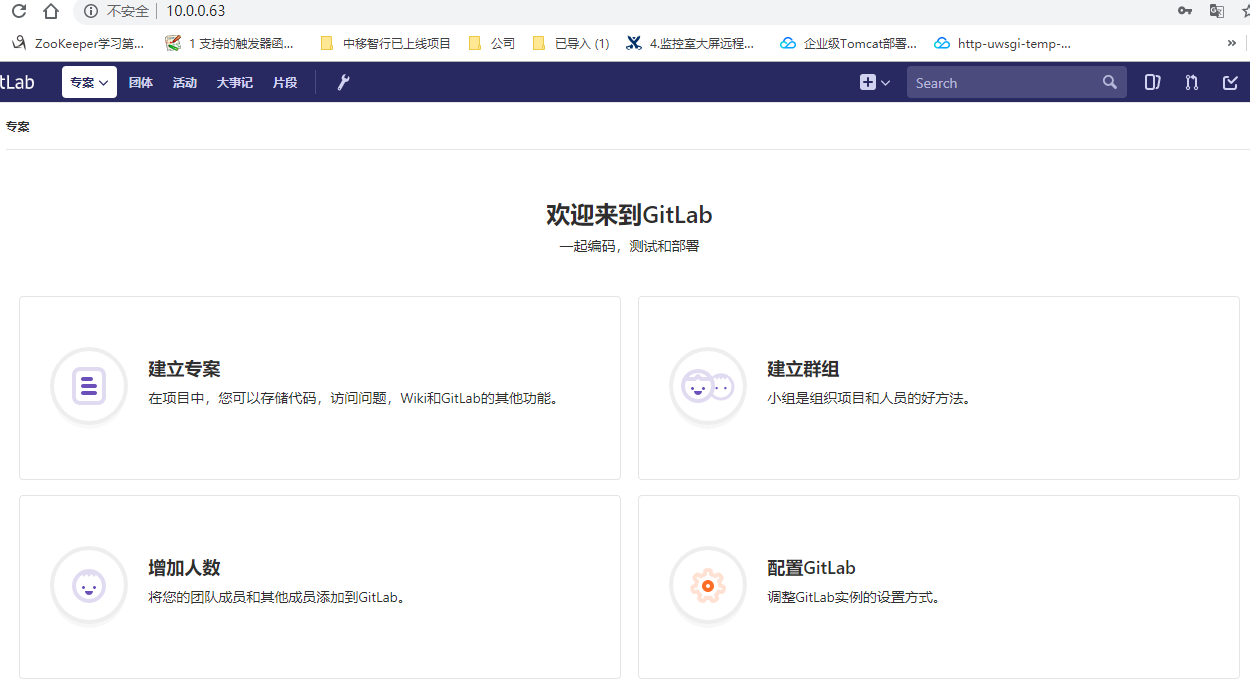
gitlab界面
相关软件包
gitlab-ce-10.2.2-ce.0.el7.x86_64.rpm
05.gitlab_01.gitlab介绍与gitlab安装.pdf
005. gitlab安装的更多相关文章
- GitLab - 安装并启动GitLab
1 - GitLab安装 1.1 信息确认 [Anliven@node102 ~]$ uname -a Linux node102 3.10.0-957.el7.x86_64 #1 SMP Thu N ...
- GitLab安装说明
GitLab,是一个使用 Ruby on Rails 开发的开源应用程序,与Github类似,能够浏览源代码,管理缺陷和注释,非常适合在团队内部使用. gitlab是基于Ruby on Rails的, ...
- Gitlab安装、汉化及使用
环境:centos 关闭防火墙和selinux [root@Gitlab ~]# setenforce [root@Gitlab ~]# service iptables stop && ...
- git\CentOS6.5中gitlab安装教程
一.Git 起源: Git是一个开源的分布式版本控制系统,用于敏捷高效地处理任何或小或大的项目. Git 是 Linus Torvalds 为了帮助管理 Linux 内核开发而开发的一个开放源码的版本 ...
- Ubuntu gitlab安装文档及邮件通知提醒配置
1.安装依赖包,运行命令 sudo apt-get install curl openssh-server ca-certificates postfix 2.由于gitlab官方源可能被“墙”,首先 ...
- gitlab安装随记
gitlab安装 配置yum源 sudo vim /etc/yum.repos.d/gitlab-ce.repo 按照网上别人的例子,修改为清华的源 [gitlab-ce] name=Gitlab C ...
- CentOS 7 环境下GitLab安装及基本配置
新实验室要求重新建设GitLab,对于我来讲,是第一次有机会当元老参与实验室的建设.下面分享我自己的实测经验: 1. 安装依赖软件并设置开机启动 yum install curlpolicycoreu ...
- GitLab安装及使用
GitLab是一个利用 Ruby on Rails 开发的开源应用程序,实现一个自托管的Git项目仓库,可通过Web界面进行访问公开的或者私人项目. GitLab拥有与Github类似的功能,能够浏览 ...
- gitlab之一: gitlab安装配置使用
参考: gitlab 安装和配置 gitlab下载地址: https://mirror.tuna.tsinghua.edu.cn/gitlab-ce/ 官方教程: https://about.gitl ...
- Gitlab安装以及汉化
Gitlab安装以及汉化 系统环境: CentOS 7.5 IP:192.168.1.2 关闭selinux.firewalld gitlab-ce-10.8.4 rpm包:下载地址 一.下载并安装g ...
随机推荐
- Causal Inference理论学习篇-Tree Based-Causal Forest
广义随机森林 了解causal forest之前,需要先了解其forest实现的载体:GENERALIZED RANDOM FORESTS[6](GRF) 其是随机森林的一种推广, 经典的随机森林只能 ...
- D365增加Model reference,解决does not designate a class or table编译错误问题
当我们导入基础数据时,需要创建一些基本的Emplyee信息,当引用到HcmHireNewWorkerContract和HcmWorkerTransition时,提示如下错误: 'HcmHireNewW ...
- 4.CSS层次选择器
1.后代选择器:在某个元素的后面 1 /*后代选择器*/ 2 body p{ 3 background: crimson; 4 } 2.子选择器:仅一代 1 /*子选择器*/ 2 body>p{ ...
- 19_非单文件名组件中VueComponent构造函数&重要的内置关系
总结: 关于VueComponent: 1.school组件本质上是一个名为VueComponent的构造函数,且不是程序员定义的,是Vue.extend生成的. 2.我们只需要写&l ...
- 力扣326(java)-3的幂(简单)
题目: 给定一个整数,写一个函数来判断它是否是 3 的幂次方.如果是,返回 true :否则,返回 false . 整数 n 是 3 的幂次方需满足:存在整数 x 使得 n == 3x 示例 1: 输 ...
- EventBridge 特性介绍|以 IaC 的方式使用 EventBridge
简介:本文将重点介绍 EventBridge 和 IaC 的重点概念和特性,然后演示如何应用 IaC 理念自动化部署 EventBridge 来使用这些概念和特性. 作者:王川(弗丁) 引言 Eve ...
- 入选 SIGMOD2021 的时间序列多周期检测通用框架 RobustPeriod 如何支撑阿里业务场景?
简介: 本文除了介绍RobustPeriod的核心技术亮点,还将重点解释如何将它构筑成服务来解决阿里云的业务痛点. 近日,由阿里云计算平台和阿里云达摩院合作的时序多周期检测相关论文RobustPeri ...
- 无缝融入 Kubernetes 生态 | 云原生网关支持 Ingress 资源
简介:Kubernetes 一贯的作风是通过定义标准来解决同一类问题,在解决集群对外流量管理的问题也不例外.Kubernetes 对集群入口点进行了进一步的统一抽象,提出了 3 种解决方案:Node ...
- dotnet 使用 CsWin32 库简化 Win32 函数调用逻辑
很多开发者,包括开发老司机们,在碰到需要调用 Win32 函数时,都有一个困扰,那就是我应该如何去调用.有两个主要的选项,第一就是自己写 PInvoke 代码,第二就是使用其他大佬给许多 Win32 ...
- jqGrid--设置单元格字体颜色
colModel: [ { name: '列名称', index: '列名称', width: 65, sortable: true, resizable: false, cellattr: addC ...