iOS开发之窥探UICollectionViewController(三) --使用UICollectionView自定义瀑布流
上篇博客的实例是自带的UICollectionViewDelegateFlowLayout布局基础上来做的Demo, 详情请看《iOS开发之窥探UICollectionViewController(二) --详解CollectionView各种回调》。UICollectionView之所以强大,是因为其具有自定义功能,这一自定义就不得了啦,自由度非常大,定制的高,所以功能也是灰常强大的。本篇博客就不使用自带的流式布局了,我们要自定义一个瀑布流。自定义的瀑布流可以配置其参数: 每个Cell的边距,共有多少列,Cell的最大以及最小高度是多少等。
一.先入为主
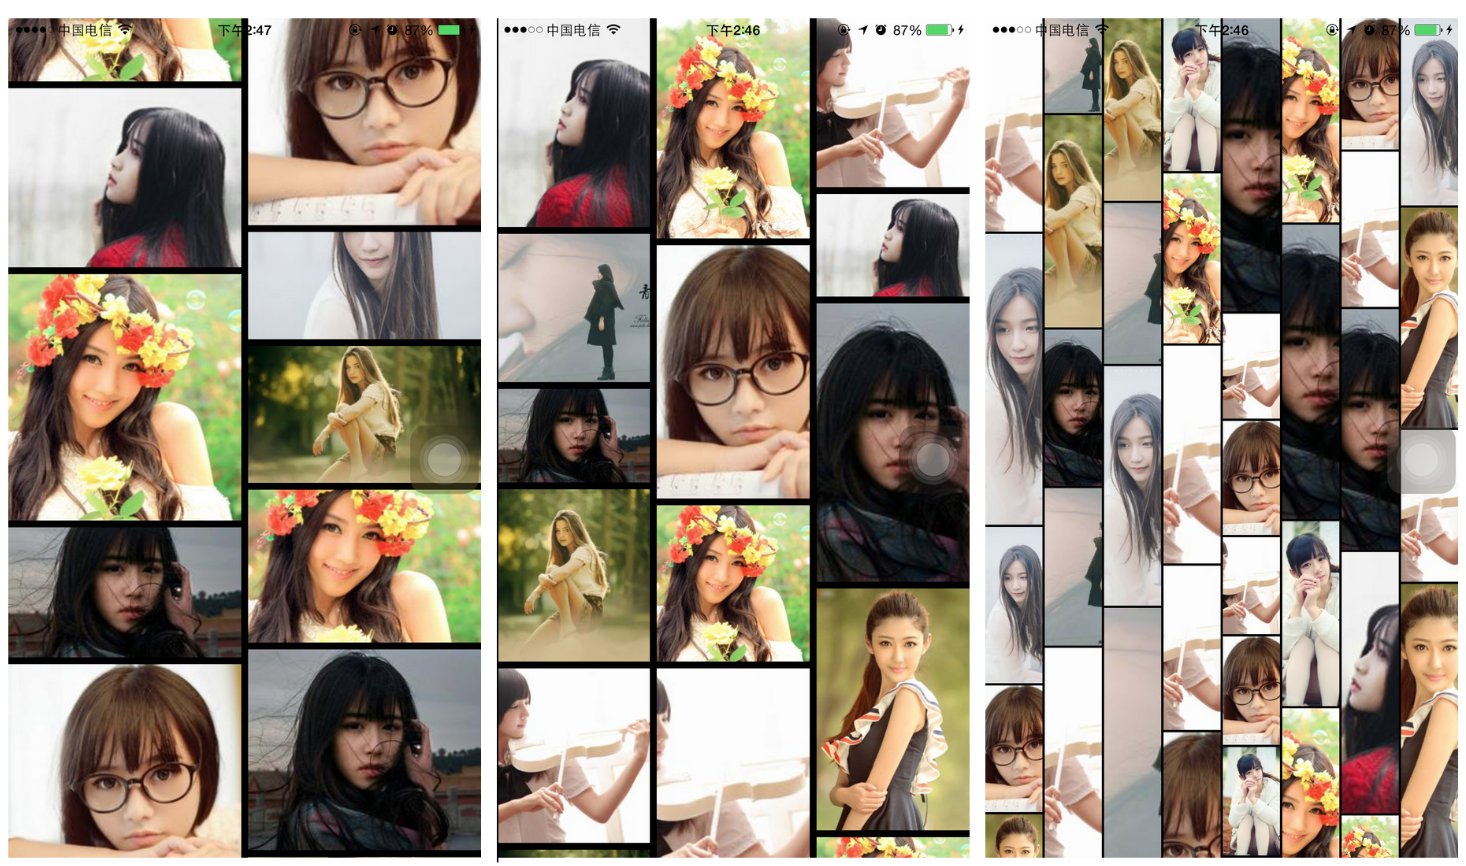
先来看一下不同配置参数下运行后的效果吧,每张截图的列数和Cell之间的边距都有所不同,瀑布流的列数依次为2,3,8。有密集恐惧证的童鞋就不要看这些运行效果图了,真的会看晕的。下面这些运行效果就是修改不同的配置参数来进行布局的。看图吧,关于瀑布流的效果就不啰嗦了。以下的效果就是使用自定义布局做的,接下来将会介绍一下其实现原理。
二. UICollectionViewLayout
在介绍上述效果实现原理之前,需要介绍一下UICollectionViewLayout。UICollectionView的自定义功能就是自己去实现UICollectionViewLayout的子类,然后重写相应的方法来实现Cell的布局,先介绍一下需要重写的方法,然后再此方法上进行应用实现上述瀑布流。好,废话少说,干活走起。
1.布局预加载函数
当布局首次被加载时会调用prepareLayout函数,见名知意,就是预先加载布局,在该方法中可以去初始化布局相关的数据。该方法类似于视图控制器的ViewDidLoad方法,稍后回用到该方法。
 // The collection view calls -prepareLayout once at its first layout as the first message to the layout instance.

 // The collection view calls -prepareLayout again after layout is invalidated and before requerying the layout information.

 // Subclasses should always call super if they override.

 - (void)prepareLayout;
2.内容滚动范围
下方是定义ContentSize的方法。该方法会返回CollectionView的大小,这个方法也是自定义布局中必须实现的方法。说白了,就是设置ScrollView的ContentSize,即滚动区域。
 // Subclasses must override this method and use it to return the width and height of the collection view’s content. These values represent the width and height of all the content, not just the content that is currently visible. The collection view uses this information to configure its own content size to facilitate scrolling.

 - (CGSize)collectionViewContentSize;
3.确定布局属性
下方四个方法是确定布局属性的,下方第一个方法返回一个数组,该数组中存放的是为每个Cell绑定的UICollectionViewLayoutAttributes属性,便于在下面第二个方法中去定制每个Cell的属性。第三个方法就是根据indexPath来获取Cell所绑定的layoutAtrributes, 然后去更改UICollectionViewLayoutAttributes对象的一些属性并返回,第四个是为Header View或者FooterView来定制其对应的UICollectionViewLayoutAttributes,然后返回。
 // UICollectionView calls these four methods to determine the layout information.

 // Implement -layoutAttributesForElementsInRect: to return layout attributes for for supplementary or decoration views, or to perform layout in an as-needed-on-screen fashion.

 // Additionally, all layout subclasses should implement -layoutAttributesForItemAtIndexPath: to return layout attributes instances on demand for specific index paths.

 // If the layout supports any supplementary or decoration view types, it should also implement the respective atIndexPath: methods for those types.

 - (NSArray *)layoutAttributesForElementsInRect:(CGRect)rect; // return an array layout attributes instances for all the views in the given rect

 - (UICollectionViewLayoutAttributes *)layoutAttributesForItemAtIndexPath:(NSIndexPath *)indexPath;

 - (UICollectionViewLayoutAttributes *)layoutAttributesForSupplementaryViewOfKind:(NSString *)elementKind atIndexPath:(NSIndexPath *)indexPath;

 - (UICollectionViewLayoutAttributes *)layoutAttributesForDecorationViewOfKind:(NSString*)elementKind atIndexPath:(NSIndexPath *)indexPath;
4.UICollectionViewLayoutAttributes
下方是UICollectionViewLayoutAttributes常用的属性,你可以在上面第二个方法中去为下方这些属性赋值,为Cell定制属于自己的Attributes。由下方的属性就对自定义布局的的强大,在本篇博客中只用到了下方的一个属性,那就是frame。
 @property (nonatomic) CGRect frame;

 @property (nonatomic) CGPoint center;

 @property (nonatomic) CGSize size;

 @property (nonatomic) CATransform3D transform3D;

 @property (nonatomic) CGRect bounds NS_AVAILABLE_IOS(7_0);

 @property (nonatomic) CGAffineTransform transform NS_AVAILABLE_IOS(7_0);

 @property (nonatomic) CGFloat alpha;

 @property (nonatomic) NSInteger zIndex; // default is 0

 @property (nonatomic, getter=isHidden) BOOL hidden; // As an optimization, UICollectionView might not create a view for items whose hidden attribute is YES
三. UICollectionViewLayout的应用
经过上面的简单介绍,想必对UICollectionViewLayout有一定的了解吧,UICollectionViewLayout中还有好多方法,以后用到的时候在给大家介绍。接下来要使用自定义布局来实现瀑布流。我们需要在UICollectionViewLayout的子类中实现相应的布局方法,因为UICollectionViewLayout是虚基类,是不能直接被实例化的,所以我们需要新建一个布局类,这个布局类继承自UICollectionViewLayout。然后去实现上述方法,给每个Cell定制不同的UICollectionViewLayoutAttributes。好了还是拿代码说话吧。
1.重写prepareLayout方法去初始化一些数据,该方法在CollectionView重新加载时只会调用一次,所以把一些参数的配置,计算每个Cell的宽度,每个Cell的高度等代码放在预处理函数中。在该函数中具体调用的函数如下所示:
 #pragma mark -- <UICollectionViewLayout>虚基类中重写的方法

 /**

  * 该方法是预加载layout, 只会被执行一次

  */

 - (void)prepareLayout{

     [super prepareLayout];

     [self initData];

     [self initCellWidth];

     [self initCellHeight];

 }
2.返回内容的范围,即为CollectionView设定ContentSize。ContentSize的Width就是屏幕的宽度,而ContentSize的高度是一列中最后一个Cell的Y坐标加上其自身高度的最大值。在此函数中会调用求CellY数组中的最大值。具体实现代码如下:
 /**

  * 该方法返回CollectionView的ContentSize的大小

  */

 - (CGSize)collectionViewContentSize{

     CGFloat height = [self maxCellYArrayWithArray:_cellYArray];

     return CGSizeMake(SCREEN_WIDTH,  height);

 }
3.下面的方法是为每个Cell去绑定一个UICollectionViewLayoutAttributes对象,并且以数组的形式返回,在我们的自定义瀑布流中,我们只自定义了Cell的frame,就可以实现我们的瀑布流,UICollectionViewLayoutAttributes的其他属性我们没有用到,由此可以看出自定义Cell布局功能的强大。
 /**

  * 该方法为每个Cell绑定一个Layout属性~

  */

 - (NSArray *)layoutAttributesForElementsInRect:(CGRect)rect

 {

     [self initCellYArray];

     NSMutableArray *array = [NSMutableArray array];

     //add cells

     for (int i=; i < _numberOfCellsInSections; i++)

     {

         NSIndexPath *indexPath = [NSIndexPath indexPathForItem:i inSection:];

         UICollectionViewLayoutAttributes *attributes = [self layoutAttributesForItemAtIndexPath:indexPath];

         [array addObject:attributes];

     }

     return array;

 }
4. 通过下述方法设定每个Cell的UICollectionViewLayoutAttributes对象的参数,为了实现瀑布流所以我们只需要设置每个Cell的frame即可。每个cell的frame的确定是以列来定的,有所在列的上个Cell的Y坐标来确定下个cell的位置。瀑布流实现关键点如下:
(1)Cell宽度计算:如果瀑布流的列数和Cell的Padding确定了,那么每个Cell的宽度再通过屏幕的宽度就可以计算出来了。
(2)Cell高度计算:通过随机数生成的高度
(3)Cell的X轴坐标计算:通过列数,和Padding,以及每个Cell的宽度很容易就可以计算出每个Cell的X坐标。
(4)Cell的Y轴坐标计算:通过Cell所在列的上一个Cell的Y轴坐标,Padding, 和 上一个Cell的高度就可以计算下一个Cell的Y坐标,并记录在Y坐标的数组中了。
/**

 * 该方法为每个Cell绑定一个Layout属性~

 */

- (UICollectionViewLayoutAttributes *)layoutAttributesForItemAtIndexPath:(NSIndexPath *)indexPath{

    UICollectionViewLayoutAttributes *attributes = [UICollectionViewLayoutAttributes layoutAttributesForCellWithIndexPath:indexPath];

    CGRect frame = CGRectZero;

    CGFloat cellHeight = [_cellHeightArray[indexPath.row] floatValue];

    NSInteger minYIndex = [self minCellYArrayWithArray:_cellYArray];

    CGFloat tempX = [_cellXArray[minYIndex] floatValue];

    CGFloat tempY = [_cellYArray[minYIndex] floatValue];

    frame = CGRectMake(tempX, tempY, _cellWidth, cellHeight);

    //更新相应的Y坐标

    _cellYArray[minYIndex] = @(tempY + cellHeight + _padding);

    //计算每个Cell的位置

    attributes.frame = frame;

    return attributes;

}
5. initData方法主要是对数据进行初始化,在本篇博客中为了先实现效果,我们暂且把数据给写死。下篇博客会在本篇博客中的基础上进行优化和改进,这些配置参数都会在Delegate中提供,便于灵活的去定制属于你自己的瀑布流。本篇博客中Demo的配置项先写死就OK了,还是那句话,下篇博客中会给出一些相应的代理,来定制我们的瀑布流。
/**

 * 初始化相关数据

 */

- (void) initData{

    _numberOfSections = [self.collectionView numberOfSections];

    _numberOfCellsInSections = [self.collectionView numberOfItemsInSection:];

    //通过回调获取列数

    _columnCount = ;

    _padding = ;

    _cellMinHeight = ;

    _cellMaxHeight = ;

}
6.下方的方法是根据Cell的列数来求出Cell的宽度。因为Cell的宽度都是一样的,每个Cell的间隔也是一定的。例如有5列Cell, 那么Cell中间的间隔就有4(5-1)个,那么每个Cell的宽度就是屏幕的宽度减去所有间隔的宽度,再除以列数就是Cell的宽度。如果没听我啰嗦明白的话,直接看代码吧,并不复杂。每个Cell的宽度和间隔确定了,那么每个Cell的X轴坐标也就确定了。代码如下:
 /**

  * 根据Cell的列数求出Cell的宽度

  */

 - (void) initCellWidth{

     //计算每个Cell的宽度

     _cellWidth = (SCREEN_WIDTH - (_columnCount -) * _padding) / _columnCount;

     //为每个Cell计算X坐标

     _cellXArray = [[NSMutableArray alloc] initWithCapacity:_columnCount];

     for (int i = ; i < _columnCount; i ++) {

         CGFloat tempX = i * (_cellWidth + _padding);

         [_cellXArray addObject:@(tempX)];

     }

 }
6. 根据Cell的最小高度和最大高度来利用随机数计算每个Cell的高度,把每个Cell的高度记录在数组中,便于Cell加载时使用。具体代码如下:
 /**

  * 随机生成Cell的高度

  */

 - (void) initCellHeight{

     //随机生成Cell的高度

     _cellHeightArray = [[NSMutableArray alloc] initWithCapacity:_numberOfCellsInSections];

     for (int i = ; i < _numberOfCellsInSections; i ++) {

         CGFloat cellHeight = arc4random() % (_cellMaxHeight - _cellMinHeight) + _cellMinHeight;

         [_cellHeightArray addObject:@(cellHeight)];

     }

 }
7.初始化Cell的Y轴坐标数组,因为是瀑布流,瀑布流的特点是每列中Cell的X轴坐标是相同的,我们只需要根据本列上一个Cell的Y轴坐标来确定本列中将要插入Cell的Y轴坐标,所有我们需要维护一个每列当前Cell的Y轴坐标数组。其初始化方法如下:
/**

 * 初始化每列Cell的Y轴坐标

 */

- (void) initCellYArray{

    _cellYArray = [[NSMutableArray alloc] initWithCapacity:_columnCount];

    for (int i = ; i < _columnCount; i ++) {

        [_cellYArray addObject:@()];

    }

}
8.下面的方法是求Cell的Y轴坐标数组的最大值,因为在Cell都加载完毕后,Cell数组中最大值就是CollectionView的ContentSize的Height的值。
 /**

  * 求CellY数组中的最大值并返回

  */

 - (CGFloat) maxCellYArrayWithArray: (NSMutableArray *) array{

     if (array.count == ) {

         return 0.0f;

     }

     CGFloat max = [array[] floatValue];

     for (NSNumber *number in array) {

         CGFloat temp = [number floatValue];

         if (max < temp) {

             max = temp;

         }

     }

     return max;

 }
9.下方代码是求CellY数组中的第一个最小值的索引,因为求出这个CellY数组中的第一个Cell最新值得索引就是Cell应该插入的列。
 /**

  * 求CellY数组中的最小值的索引

  */

 - (CGFloat) minCellYArrayWithArray: (NSMutableArray *) array{

     if (array.count == ) {

         return 0.0f;

     }

     NSInteger minIndex = ;

     CGFloat min = [array[] floatValue];

     for (int i = ; i < array.count; i ++) {

         CGFloat temp = [array[i] floatValue];

         if (min > temp) {

             min = temp;

             minIndex = i;

         }

     }

     return minIndex;

 }
自定义集合视图控制器布局第一阶段就先到这,下篇博客会在此基础上进一步开发。把上述写死的配置参数,通过Delegate提供,使其在UICollectionView可进行配置,其配置方式类似于UICollectionViewDelegateFlowLayout的代理方法。
上述代码gitHub分享地址:https://github.com/lizelu/CustomCollectionViewLayout
iOS开发之窥探UICollectionViewController(三) --使用UICollectionView自定义瀑布流的更多相关文章
- iOS开发之窥探UICollectionViewController(四) --一款功能强大的自定义瀑布流
在上一篇博客中<iOS开发之窥探UICollectionViewController(三) --使用UICollectionView自定义瀑布流>,自定义瀑布流的列数,Cell的外边距,C ...
- iOS开发之窥探UICollectionViewController(五) --一款炫酷的图片浏览组件
本篇博客应该算的上CollectionView的高级应用了,从iOS开发之窥探UICollectionViewController(一)到今天的(五),可谓是由浅入深的窥探了一下UICollectio ...
- iOS开发之窥探UICollectionViewController(一) -- Ready Your CollectionViewController
之前用CollectionViewController只是皮毛,一些iOS从入门到精通的书上也是泛泛而谈.这几天好好的搞了搞苹果的开发文档上CollectionViewController的内容,亲身 ...
- iOS开发之窥探UICollectionViewController(二) --详解CollectionView各种回调
UICollectionView的布局是可以自己定义的,在这篇博客中先在上篇博客的基础上进行扩充,我们先使用UICollectionViewFlowLayout,然后好好的介绍一下UICollecti ...
- iOS开发Swift篇—(三)字符串和数据类型
iOS开发Swift篇—(三)字符串和数据类型 一.字符串 字符串是String类型的数据,用双引号""包住文字内容 let website = "http://www ...
- iOS 开发问题集锦(三)
iOS 开发问题集锦(三) 介于群里大部分童鞋都是新手,为了大家能够更好的提问,并且提的问题能更好的得到回答,下面写几点提问时的注意事项: 1.认真对待你的问题,在提问题前有过认真的思考: 2.先在 ...
- iOS开发-UICollectionView实现瀑布流
关于瀑布流的实现网上有很多种解法,自定义控件,TableView+ScrollView,UICollectionView是iOS6发布之后用于展示集合视图,算起来已经发布三年左右了,不过知识点是不变的 ...
- Dynamic CRM 2013学习笔记(三十七)自定义审批流7 - 初始化(整套审批流下载、安装)
前面介绍了自定义审批流的配置.使用,这篇介绍下如何进行初始化. 一. 下载 从下面的地址下载整个审批流: http://yunpan.cn/cZ5Rdx5HCt3VF 下载完后,一共有三块内容: 二. ...
- Dynamic CRM 2013学习笔记(三十三)自定义审批流4 - 规则节点 -有分支的流程处理
上次介绍过节点的基本配置<Dynamic CRM 2013学习笔记(三十二)自定义审批流3 - 节点及实体配置>,这次介绍下规则节点,因为有时流程里会有一些分支.合并,这时就要用到规则节点 ...
随机推荐
- Qgis连接Oracle
CMake编译中选择编译Oracle一项以后,编译的qgis才会有连接Oracle数据库的功能. 编译qgis以后,可以通过添加矢量图层中选择Oracle数据库,或是添加Oracle空间图层,或是添加 ...
- 不用css3的响应式img(按比例缩小图片)
有时候自己为了控制图片的响应式,按比例缩小放大图片,如果解决这个问题,用js吧,很麻烦.也会损失很大的加载运行速度等:所以我们还是用css来解决这个问题,用css来强制按比例压缩图片的高度或宽度,看代 ...
- can't connect to mysql server on 'localhost'(10061)
在linux下安装Navicat,想说在windows下试一试phpmyadmin之外的mysql图形工具. 显示下载安装了mysql workbench,链接成功.然后又弄了一下输入法重启,想说试一 ...
- Java学习【1】
一.Java 简介 Java是由Sun Microsystems公司于1995年5月推出的Java面向对象程序设计语言和Java平台的总称. 2005年6月,SUN公司公开Java SE 6.Java ...
- Smart3D系列教程2之 《为什么三维重建效果这么差?——探探那些被忽略的拍照要求和技巧》
一.照片采集的实用概念 根据照片进行三维重建的过程中,有人没怎么遇到坑,有人被坑的不轻.可能是模型的纹理失真,模型的法线错了,模型会生成我们各种也想不到的结果,那么,是什么导致三维重建效果这么差的?是 ...
- CSS3总结
1.圆角效果 border-radius: 1px 1px 1px 1px; /* 四个半径值分别是左上角.右上角.右下角和左下角.顺时针 */ 右边半圆 div.right-circle{ hei ...
- sqlserver2008附加数据库时提示“无法为该请求检索数据。 (Microsoft.SqlServer.Management.Sdk.Sfc)”
解决方案: 右击SQL Server Management Studio以管理员身份运行,选择与脱机数据库时相同的登陆方式(win还是sa),进入后再附加就是ok了.
- Java 8 forEach简单例子
1. forEach and Map 1.1 通常这样遍历一个Map Map<String, Integer> items = new HashMap<>(); items.p ...
- 不能链接云服务器mysql
如果报host'' 不允许连接MySQL服务器 1130 错误的话如果你的3306端口打开了,也把user 里的host改为% 还是不行的话,请记得更改 站点域名设置,和你服务器相同,端口一致.
- WPF PlacementTarget技巧
<Window x:Class="WpfApplication1.Window1" xmlns="http://schemas.microsoft.com/winf ...