深入理解Aspnet Core之Identity(1)
最近学习asp.netcore 打算写出来和大家分享,我计划先写Identity部分,会从开始asp.netocre identity的简单实用开始,然后再去讲解主要的类和自定义这些类。
主题:asp.netcore Identity 的简单实用
创建项目:
使用asp.netcore 项目模版创建一个空(empty)项目,创建完成之后编辑.csproj文件,代码如下
<Project Sdk="Microsoft.NET.Sdk.Web">

  <PropertyGroup>

    <TargetFramework>netcoreapp2.0</TargetFramework>

  </PropertyGroup>

  <ItemGroup>

    <Folder Include="wwwroot\" />

  </ItemGroup>

<ItemGroup>

<PackageReference Include="Microsoft.AspNetCore.All" Version="2.0.0" /> <DotNetCliToolReference Include="Microsoft.EntityFrameworkCore.Tools.DotNet"

        Version="2.0.0" />

  </ItemGroup>

</Project>
增加了
<DotNetCliToolReference Include="Microsoft.EntityFrameworkCore.Tools.DotNet"
        Version="2.0.0" />

 这个行代码;
然后编辑 startup代码文件,增加mvc,和认证部分
public void ConfigureServices(IServiceCollection services)

{

            services.AddMvc();

}

        public void Configure(IApplicationBuilder app)

{

            app.UseStatusCodePages();

            app.UseDeveloperExceptionPage();

            app.UseStaticFiles();

            app.UseMvcWithDefaultRoute();

}
配置Identity
现在我们配置identity的信息,包括配置的修改,添加user类
1创建user类
user类代表了用户的账号信息,比如登陆名,密码,角色,email等信息,代码如下:
using Microsoft.AspNetCore.Identity;

namespace DemoUser.Models

{

    public class AppUser:IdentityUser

    {

    }

}
我们是继承了 identityuser这个类,这个类已经包含了基本的用户信息属性,比如 登陆名,密码 ,手机号等,该类的反编译之后信息如下:
// Decompiled with JetBrains decompiler

// Type: Microsoft.AspNetCore.Identity.IdentityUser`1

// Assembly: Microsoft.Extensions.Identity.Stores, Version=2.0.1.0, Culture=neutral, PublicKeyToken=adb9793829ddae60

// MVID: 7E04453E-9787-4C8F-ACD1-4ADA9BB7C88C

// Assembly location: /usr/local/share/dotnet/sdk/NuGetFallbackFolder/microsoft.extensions.identity.stores/2.0.1/lib/netstandard2.0/Microsoft.Extensions.Identity.Stores.dll

using System;

namespace Microsoft.AspNetCore.Identity

{

  /// <summary>Represents a user in the identity system</summary>

  /// <typeparam name="TKey">The type used for the primary key for the user.</typeparam>

  public class IdentityUser<TKey> where TKey : IEquatable<TKey>

  {

    /// <summary>

    /// Initializes a new instance of <see cref="T:Microsoft.AspNetCore.Identity.IdentityUser`1" />.

    /// </summary>

    public IdentityUser()

    {

    }

    /// <summary>

    /// Initializes a new instance of <see cref="T:Microsoft.AspNetCore.Identity.IdentityUser`1" />.

    /// </summary>

    /// <param name="userName">The user name.</param>

    public IdentityUser(string userName)

      : this()

    {

      this.UserName = userName;

    }

    /// <summary>Gets or sets the primary key for this user.</summary>

    public virtual TKey Id { get; set; }

    /// <summary>Gets or sets the user name for this user.</summary>

    public virtual string UserName { get; set; }

    /// <summary>Gets or sets the normalized user name for this user.</summary>

    public virtual string NormalizedUserName { get; set; }

    /// <summary>Gets or sets the email address for this user.</summary>

    public virtual string Email { get; set; }

    /// <summary>

    /// Gets or sets the normalized email address for this user.

    /// </summary>

    public virtual string NormalizedEmail { get; set; }

    /// <summary>

    /// Gets or sets a flag indicating if a user has confirmed their email address.

    /// </summary>

    /// <value>True if the email address has been confirmed, otherwise false.</value>

    public virtual bool EmailConfirmed { get; set; }

    /// <summary>

    /// Gets or sets a salted and hashed representation of the password for this user.

    /// </summary>

    public virtual string PasswordHash { get; set; }

    /// <summary>

    /// A random value that must change whenever a users credentials change (password changed, login removed)

    /// </summary>

    public virtual string SecurityStamp { get; set; }

    /// <summary>

    /// A random value that must change whenever a user is persisted to the store

    /// </summary>

    public virtual string ConcurrencyStamp { get; set; } = Guid.NewGuid().ToString();

    /// <summary>Gets or sets a telephone number for the user.</summary>

    public virtual string PhoneNumber { get; set; }

    /// <summary>

    /// Gets or sets a flag indicating if a user has confirmed their telephone address.

    /// </summary>

    /// <value>True if the telephone number has been confirmed, otherwise false.</value>

    public virtual bool PhoneNumberConfirmed { get; set; }

    /// <summary>

    /// Gets or sets a flag indicating if two factor authentication is enabled for this user.

    /// </summary>

    /// <value>True if 2fa is enabled, otherwise false.</value>

    public virtual bool TwoFactorEnabled { get; set; }

    /// <summary>

    /// Gets or sets the date and time, in UTC, when any user lockout ends.

    /// </summary>

    /// <remarks>A value in the past means the user is not locked out.</remarks>

    public virtual DateTimeOffset? LockoutEnd { get; set; }

    /// <summary>

    /// Gets or sets a flag indicating if the user could be locked out.

    /// </summary>

    /// <value>True if the user could be locked out, otherwise false.</value>

    public virtual bool LockoutEnabled { get; set; }

    /// <summary>

    /// Gets or sets the number of failed login attempts for the current user.

    /// </summary>

    public virtual int AccessFailedCount { get; set; }

    /// <summary>Returns the username for this user.</summary>

    public override string ToString()

    {

      return this.UserName;

    }

  }

}
这个类已经定义好了一些关于账户的属性,,假如我们觉得还需要添加自定义的属性比如 用户的地址,我们只需要在我们继承的类添加自定义的属性即可;
创建数据库上下文:
下面我们要创建一个数据上下文用于连接数据库,代码如下:
using Microsoft.AspNetCore.Identity.EntityFrameworkCore;

using Microsoft.EntityFrameworkCore;

namespace DemoUser.Models

{

    public class AppIdentityDbContext :IdentityDbContext<AppUser>

    {

        public AppIdentityDbContext(DbContextOptions<AppIdentityDbContext> options)

            : base(options) { }

    }

}
配置数据库连接字符串:
为了连接数据库我们要配置一个连接字符串,修改appsettings.json文件如下:
{

  "Data": {

    "AppStoreIdentity": {

      "ConnectionString": "Server=192.168.0.4;Database=IdentityUsers;User ID =SA; Password=!@#"

    }

  }

}
下面我们需要在startup类配置连接字符串到数据库上下文;
public void ConfigureServices(IServiceCollection services)

{

            services.AddDbContext<AppIdentityDbContext>(options =>

                options.UseSqlServer(

                    Configuration["Data:AppStoreIdentity:ConnectionString"]));

            services.AddIdentity<AppUser, IdentityRole>()

                .AddEntityFrameworkStores<AppIdentityDbContext>()

                .AddDefaultTokenProviders();

            services.AddMvc();

        }
创建数据库:
下面我们需要用EFCore去生成一个数据库:
打开控制台,定位到当前的项目,输入:
dotnet ef migrations add Initial


然后就会产生一个migrations文件夹,里面是我们要生成数据库的代码;
然后 在控制台输入:
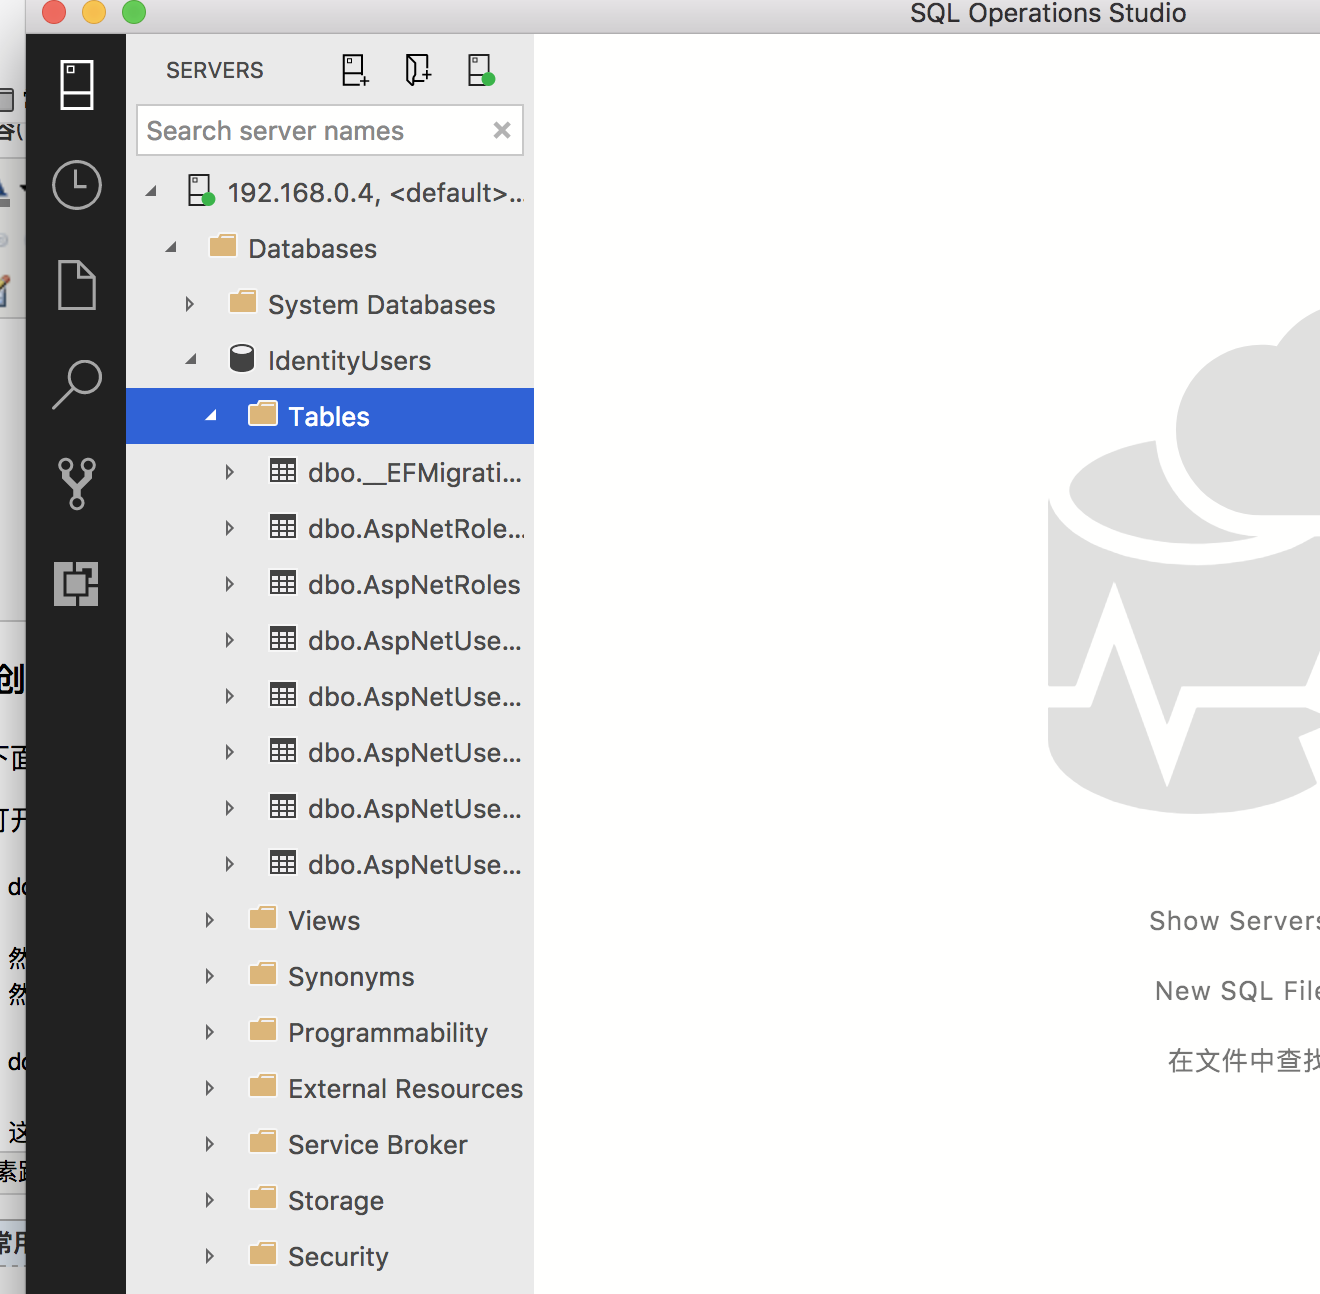
dotnet ef database update


这样我们的数据库就生成了
这里是我上传的github仓库地址:https://github.com/bluetianx/AspnetCoreExample
后续:
我会创建一个具有增删改查的账户管理界面
深入理解Aspnet Core之Identity(1)的更多相关文章
- 深入理解Aspnet Core之Identity(5)
主题 本篇我将会介绍验证用户的机制当账户被创建的时候,同样 这个过程主要有IUserValidator这个接口来实现的,和密码验证一样Identity同样也内置已经实现好的账户验证.账户验证的比较简单 ...
- 深入理解Aspnet Core之Identity(4)
主题 之前简单介绍了Asp.net core 的初步的使用,本篇我打算给大家介绍一下Identity的架构,让大家对Identity有一个总体的理解和认识. 简介 博客原文欢迎访问我的博客网站,地址是 ...
- 深入理解Aspnet Core之Identity(3)
主题 账户管理一个比较常见的功能就是密码强度策略,Identity已经内置了一个通用的可配置的策略,我们一般情况下可以直接拿来用即可.本篇我会介绍一些Identity内置的密码策略类:Password ...
- 深入理解Aspnet Core之Identity(2)
主题: 我将继续介绍Identity的账户简单管理,即是增删改查.我会只介绍增加和删除,修改功能代码我会上传到我的github上, 创建用户: 1.我在Model文件夹创建一个 CreateModel ...
- 初识AspNet Core中的标识Identity
AspNet Core中的标识Identity,是用于Web应用程序的成员身份验证系统. 最方便的引入办法是在创建MVC或Pages的Web应用时,直接选择相应的身份验证系统.如图: 如果选择的是“个 ...
- 如何基于asp.net core的Identity框架在mysql上作身份验证处理
首先了解这个概念,我一开始也是理解和掌握基本的概念,再去做程序的开发.Identity框架是微软自己提供,基于.net core平台,可拓展.轻量 级.面向多个数据库的身份验证框架.IdentityS ...
- ASP.NET Core 之 Identity 入门(三)
前言 在上一篇文章中,我们学习了 CookieAuthentication 中间件,本篇的话主要看一下 Identity 本身. 最早2005年 ASP.NET 2.0 的时候开始, Web 应用程序 ...
- [转]ASP.NET Core 之 Identity 入门(三)
本文转自:http://www.cnblogs.com/savorboard/p/aspnetcore-identity3.html 前言 在上一篇文章中,我们学习了 CookieAuthentica ...
- 关于 AspNet Core 的配置文件 与VS2017 安装
下面链接 是VS2017 安装EXE 我现在装过了就不去截图演示了,有哪位不理解的可以@我. 链接:https://pan.baidu.com/s/1hsjGuJq 密码:ug59 1.今天我给大家带 ...
随机推荐
- leetcode 196. Delete Duplicate Emails
# 慢,内连接delete p1 from Person p1, Person p2 where p1.Email=p2.Email and p1.Id>p2.Id delete from Pe ...
- swift和OC - 拆分数组 和 拆分字符串
1. 拆分数组 /// 根据 数组 截取 指定个数返回 多个数组的集合 func splitArray( array: [Date], withSubSize subSize: Int) -> ...
- apache中开启rewrite
1.在apache配置文件httpd.conf中找到如下行: #LoadModule rewrite_module modules/mod_rewrite.so 去掉该行前面的#号 2.在httpd. ...
- MySQL主从复制备份
前言 数据库实时备份的需求很常见,MySQL本身提供了 Replication 机制,摘译官方介绍如下: MySQL Replication 可以将一个主数据库中的数据同步到一个或多个从数据库中.并且 ...
- python编辑excel
转: http://www.cnblogs.com/lhj588/archive/2012/01/06/2314181.html
- 利用ks构建ISO中的一些坑
构建ISO的基本流程 1.获取rpm包源码 2.将源码增量编译成二进制包 3.编写ks的包列表决定ISO制作时需要从什么地方(二进制仓库repo)取哪些二进制包 4.通过createiso命令并指定k ...
- MapReduceV1作业生命周期图解以及与YARN基本对比
仿照<hadoop技术内幕:深入解析MapReduce架构设计与实现原理>中的原图,我用手绘制了一份类似的图-_- 4大部分:HDFS,Client,JobTracker,TaskTrac ...
- Codeforces 607A 动态规划
A. Chain Reaction time limit per test 2 seconds memory limit per test 256 megabytes input standard i ...
- 品味性能之道<十>:Oracle Hint
Hint 是Oracle 提供的一种SQL语法,它允许用户在SQL语句中插入相关的语法,从而影响SQL的执行方式. 因为Hint的特殊作用,所以对于开发人员不应该在代码中使用它,Hint 更像是Ora ...
- PS大神的作品,每张都是科幻大片!
相信大家在网上一定见过 各种PS的作品 但是要想成为“PS大神”, 不仅仅要会P图, 最关键的就是脑洞! 同样的马路破坏效果 在大神操作后变成了大片! 摩托车换成了骏马 这效果果然不一般! 这个绝对牛 ...