Solrcloud+tomcat+zookeeper
准备两台服务器,目录结构如下
| 主机名 | IP地址 | tomcat安装路径 | zookeeper安装路径 | solr安装路径 | java安装路径 |
| sht-sgmhadoopnn-01 | 172.16.101.55 | /usr/local/apache-tomcat-6.0.36 | /usr/local/contentplatform/zookeeper | /usr/local/contentplatform/solr/solr | /usr/java/jdk1.6.0_45 |
| sht-sgmhadoopnn-02 | 172.16.101.56 | /usr/local/apache-tomcat-6.0.36 | /usr/local/contentplatform/zookeeper | /usr/local/contentplatform/solr/solr | /usr/java/jdk1.6.0_45 |
软件准备
jdk
http://download.oracle.com/otn/java/jdk/6u45-b06/jdk-6u45-linux-x64.bin
zookeeper
http://archive.apache.org/dist/zookeeper/zookeeper-3.4.6/zookeeper-3.4.6.tar.gz
tomcat
http://archive.apache.org/dist/tomcat/tomcat-6/v6.0.36/bin/apache-tomcat-6.0.36.tar.gz
solr
https://archive.apache.org/dist/lucene/solr/4.4.0/solr-4.4.0.tgz
1.jdk安装
$ echo $JAVA_HOME

/usr/java/jdk1..0_45
2. zookeeper安装
$ wget http://archive.apache.org/dist/zookeeper/zookeeper-3.4.6/zookeeper-3.4.6.tar.gz

$ tar -zxf zookeeper-3.4..tar.gz

$ cd zookeeper-3.4.

$ mkdir data

$ echo  > data/myid

$ cd conf

$ cp zoo_sample.cfg zoo.cfg

$ cat zoo.cfg

tickTime=

initLimit=

syncLimit=

dataDir=/usr/local/contentplatform/zookeeper-3.4./data

clientPort=

server.=sht-sgmhadoopnn-::

server.=sht-sgmhadoopnn-::
将zookeeper目录复制到sht-sgmhadoopnn-02上并将myid值修改为2
$ rsync -az --progress /usr/local/contentplatform/zookeeper-3.4. tnuser@sht-sgmhadoopnn-:/usr/local/contentplatform/
分别启动两个节点的zookeeper
$ /usr/local/contentplatform/zookeeper-3.4./bin/zkServer.sh start
查看两节点的zookeeper角色
$ /usr/local/contentplatform/zookeeper-3.4./bin/zkServer.sh status

JMX enabled by default

Using config: /usr/local/contentplatform/zookeeper-3.4./bin/../conf/zoo.cfg

Mode: follower
$ /usr/local/contentplatform/zookeeper-3.4./bin/zkServer.sh status

JMX enabled by default

Using config: /usr/local/contentplatform/zookeeper-3.4./bin/../conf/zoo.cfg

Mode: leader
3.solr安装
$ wget https://archive.apache.org/dist/lucene/solr/4.4.0/solr-4.4.0.tgz

$ tar -zxf solr-4.4..tgz

$ mkdir solr

$ cp -r solr-4.4./example/* solr/
复制solr目录solr到sht-sgmhadoopnn-02上
$ rsync -az --progress /usr/local/contentplatform/solr tnuser@sht-sgmhadoopnn-:/usr/local/contentplatform/
4. tomcat安装
$ wget http://archive.apache.org/dist/tomcat/tomcat-6/v6.0.36/bin/apache-tomcat-6.0.36.tar.gz

$ tar -zxf apache-tomcat-6.0..tar.gz
5. 配置solr与tomcat
tomcat配置文件catalina.sh,添加zookeeper交互
JAVA_HOME=/usr/java/jdk1..0_45

JAVA_OPTS="$JAVA_OPTS -Xms1000M -Xmx1000M -Duser.language=en -Dsolr.solr.home=/usr/local/contentplatform/solr/solr -DhostContext=solr -Dbootstrap_conf=true -Dhostport=8983 -DzkHost=sht-sgmhadoopnn-01:9983,sht-sgmhadoopnn-01:9983 -DnumShards=2"

echo "Java Options: $JAVA_OPTS"
tomcat配置文件server.xml,修改solr访问端口
    <Connector port="8983" protocol="HTTP/1.1"

               connectionTimeout="20000"

               redirectPort="8443" />
将solr的war包复制到tomcat目录
$ unzip /usr/local/contentplatform/solr/webapps/solr.war -d /usr/local/apache-tomcat-6.0./webapps/solr
添加solr常用的jar包到tomcat
$ cp -r /usr/local/contentplatform/solr-4.4./dist/*.jar /usr/local/apache-tomcat-6.0.36/webapps/solr/WEB-INF/lib/

$ cp -r /usr/local/contentplatform/solr-4.4.0/contrib/velocity/lib/*.jar /usr/local/apache-tomcat-6.0.36/webapps/solr/WEB-INF/lib/

$ cp -r /usr/local/contentplatform/solr-4.4.0/contrib/extraction/lib/*.jar /usr/local/apache-tomcat-6.0.36/webapps/solr/WEB-INF/lib/

$ cp -r /usr/local/contentplatform/solr-4.4.0/example/lib/*.jar /usr/local/apache-tomcat-6.0.36/webapps/solr/WEB-INF/lib/

$ cp -r /usr/local/contentplatform/solr-4.4.0/example/lib/ext/*.jar /usr/local/apache-tomcat-6.0.36/webapps/solr/WEB-INF/lib/
下载常用的mysql、postgresql的jdbc包到tomcat
$ wget https://jdbc.postgresql.org/download/postgresql-42.2.6.jre6.jar

$ wget https://dev.mysql.com/get/Downloads/Connector-J/mysql-connector-java-5.1.48.tar.gz
修改solr/WEB-INF/web.xml,添加solr的home目录
    <env-entry>

       <env-entry-name>solr/home</env-entry-name>

       <env-entry-value>/usr/local/contentplatform/solr/solr</env-entry-value>

       <env-entry-type>java.lang.String</env-entry-type>

    </env-entry>
复制tomcat目录到sht-sgmhadoopnn-02上
$ rsync -az --progress /usr/local/apache-tomcat-6.0. tnuser@sht-sgmhadoopnn-:/usr/local/
启动tomcat
$ /usr/local/apache-tomcat-6.0./bin/catalina.sh start
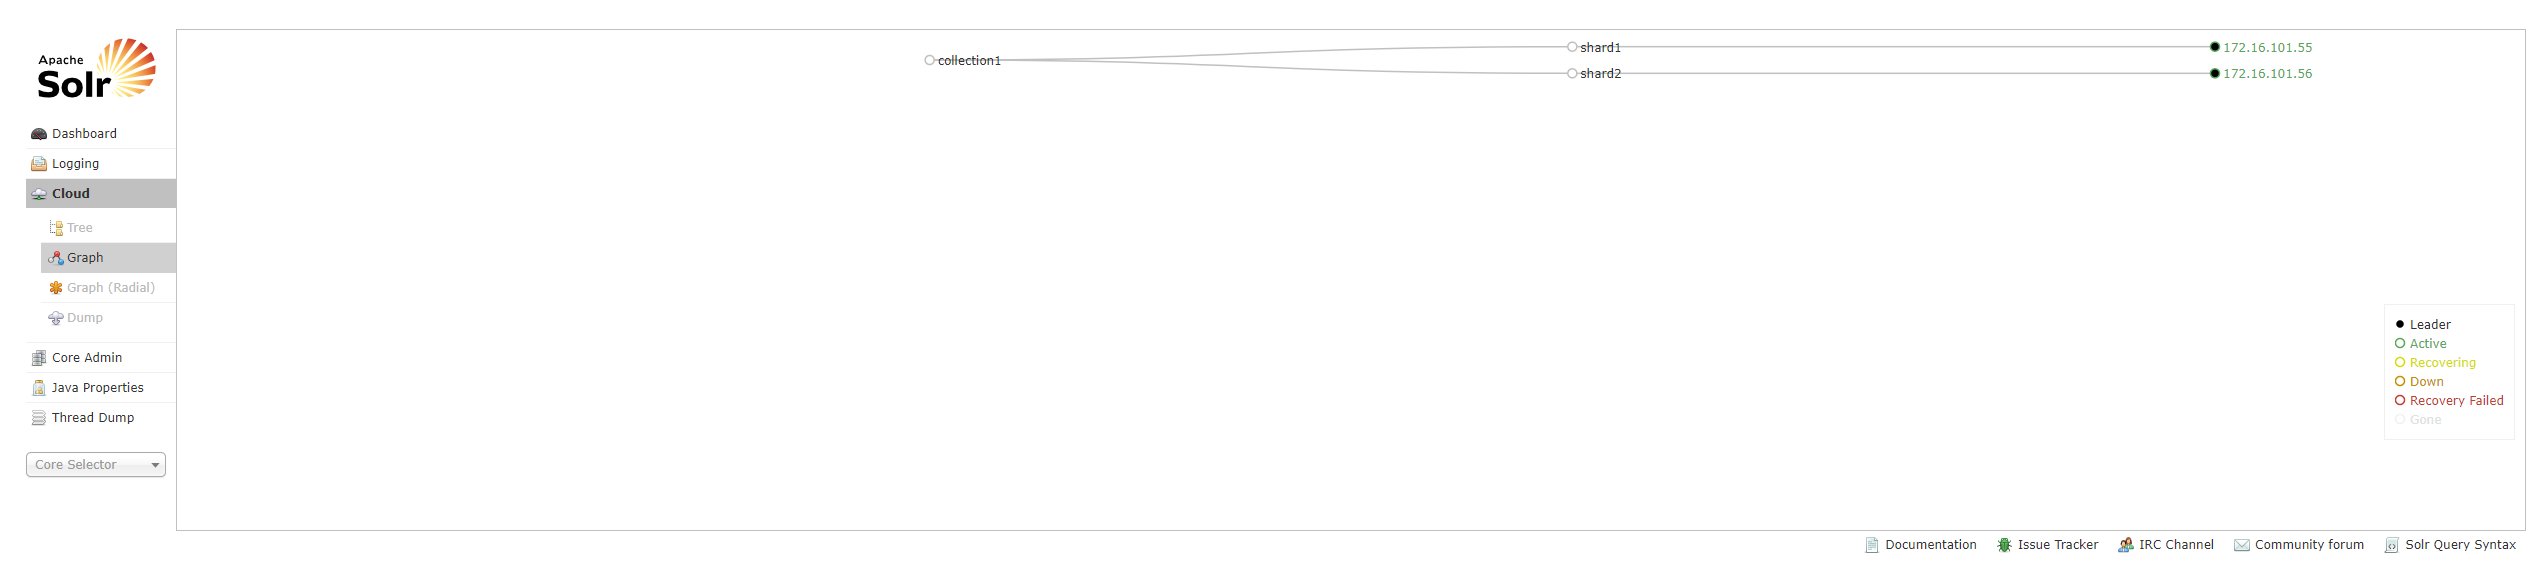
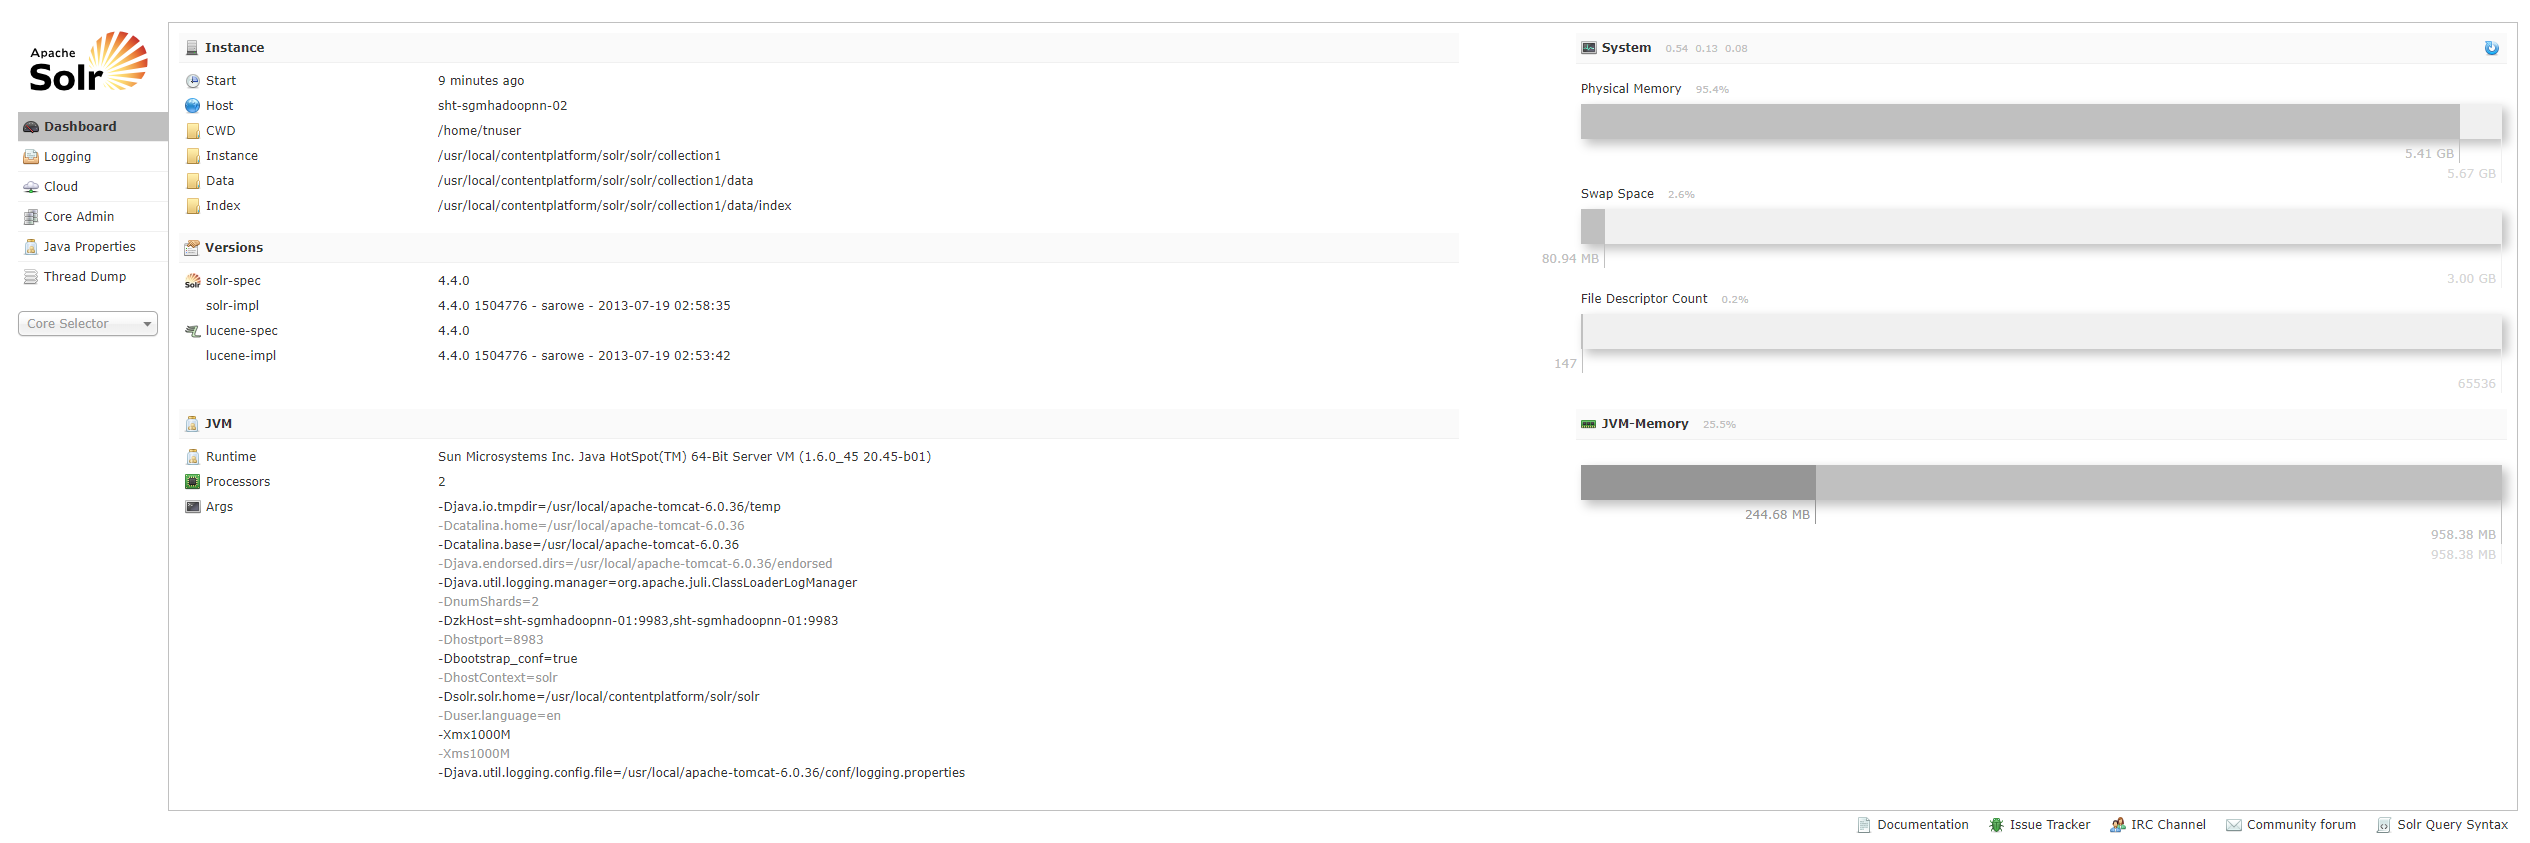
6. 验证solrcloud
http://172.16.101.55:8983/solr
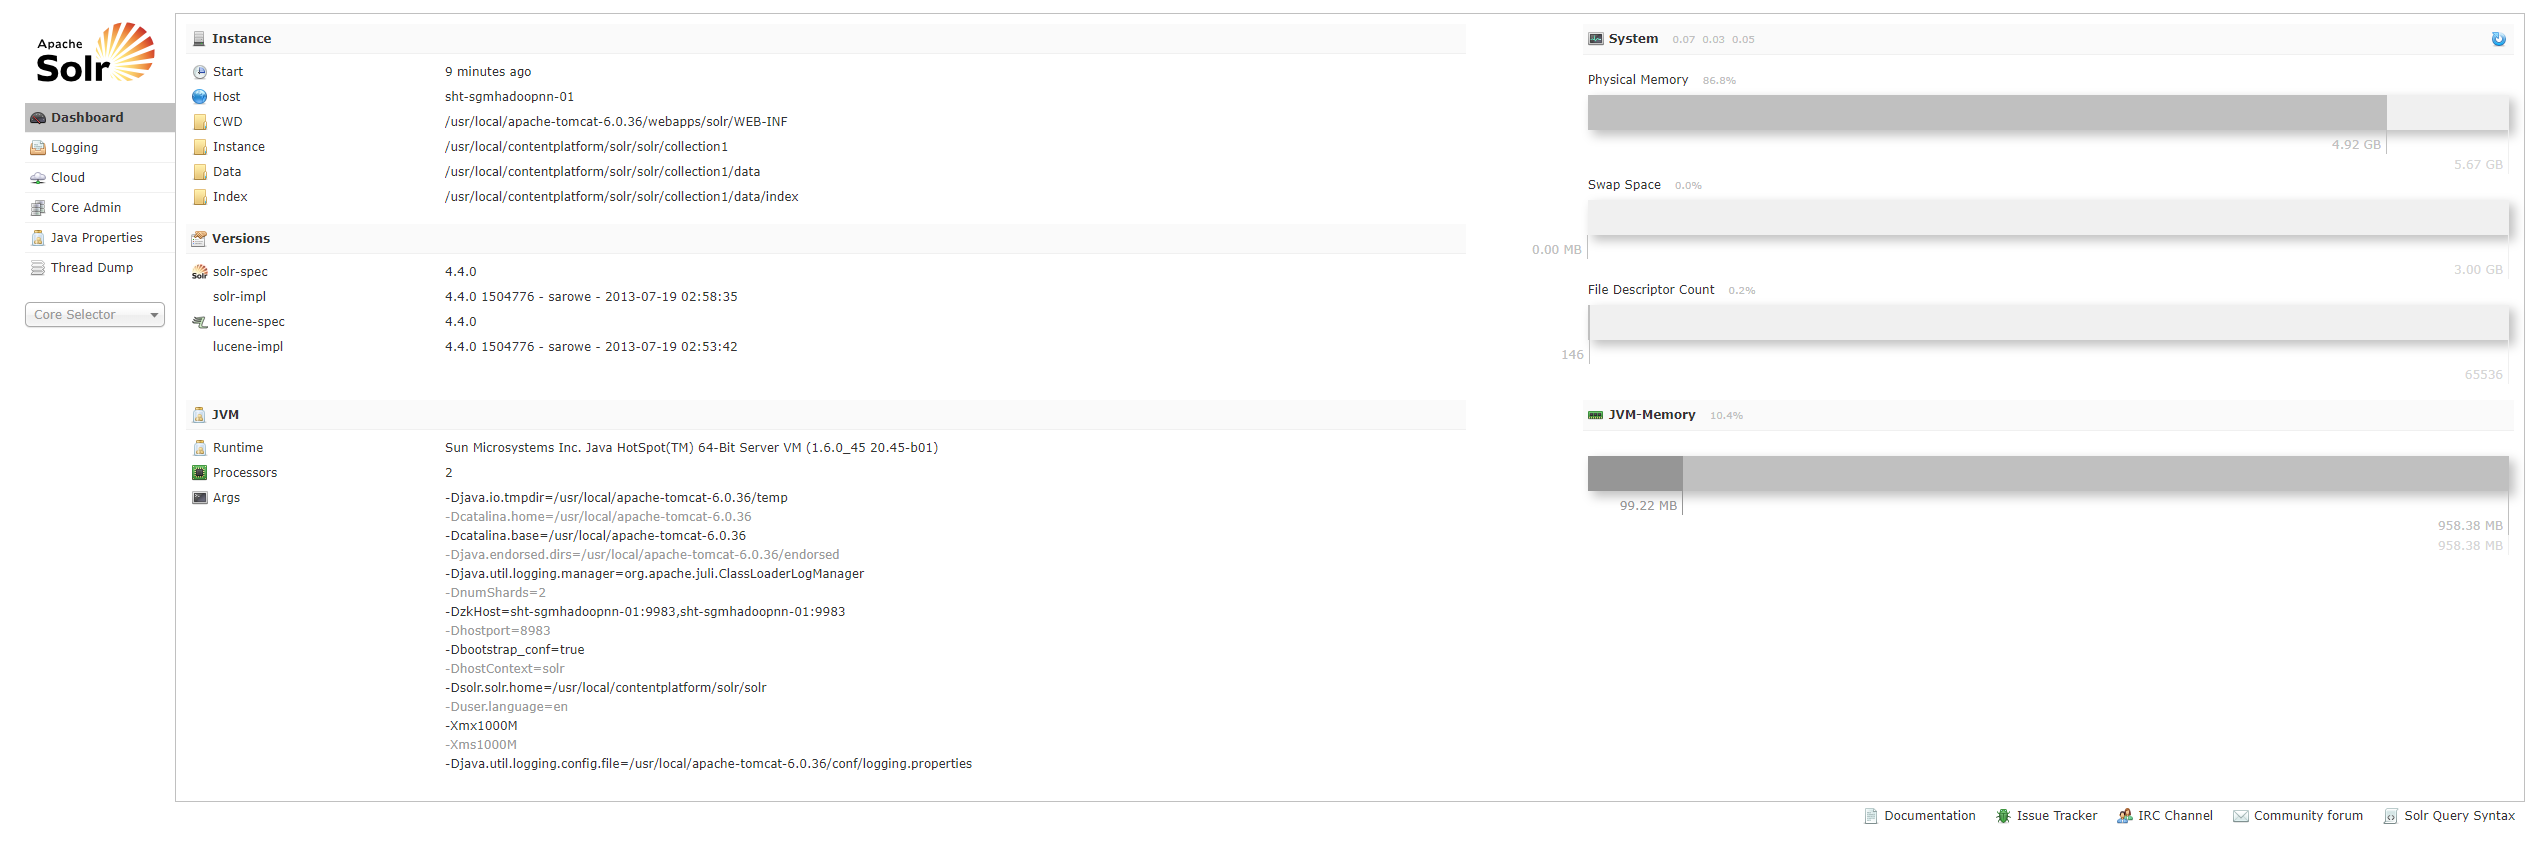
http://172.16.101.56:8983/solr/
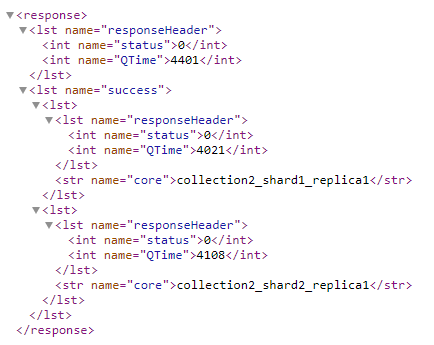
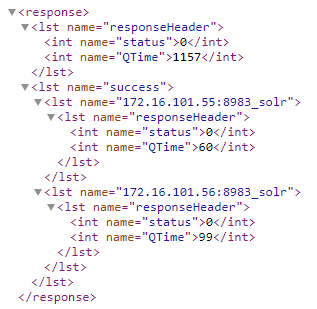
新建collection
http://172.16.101.55:8983/solr/admin/collections?action=CREATE&name=collection2&numShards=2
查看新建的collection

删除新建的collection
http://172.16.101.55:8983/solr/admin/collections?action=CREATE&name=content_datar&numShards=2&collection.configName=collection1
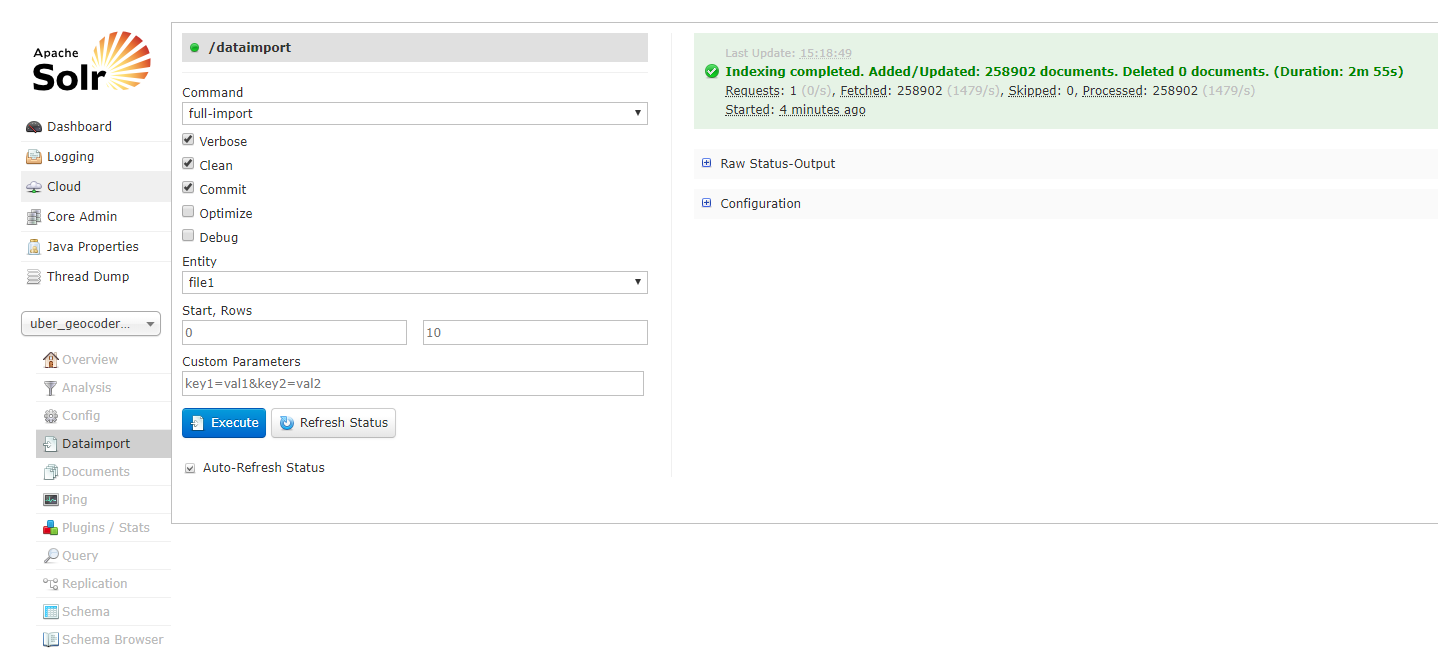
7. 将postgresql表导入到solrcloud
先查看postgresql表结构
uber_geocoder=# \d twn_addr_compact

Table "uber_geocoder_tw_15q3_v2.twn_addr_compact"

        Column        |     Type      | Modifiers

----------------------+---------------+-----------

 id                   | bigint        | not null

 door_range           | text[]        |

 address_points       | public.hstore |

 street_names         | public.hstore |

 country              | public.hstore |

 state                | public.hstore |

 county               | public.hstore |

 city                 | public.hstore |

 locality             | public.hstore |

 sub_locality         | public.hstore |

 neighbourhood        | public.hstore |

 postal_code          | text          |

 rich_postal_code     | text[]        |

 rich_postal_code_lat | text[]        |

 intersected_way_ids  | text          |

 hilbert_key          | bigint        |

 unidb_ids            | bigint[]      |

 md5                  | bigint        |

Indexes:

    "pk_twn_addr_compact" PRIMARY KEY, btree (id)

    "hilbert_uber_geocoder_tw_15q3_v2_twn_addr_compact" btree (hilbert_key)

uber_geocoder=# select count(*) from twn_addr_compact;

 count

--------

 258902

(1 row)
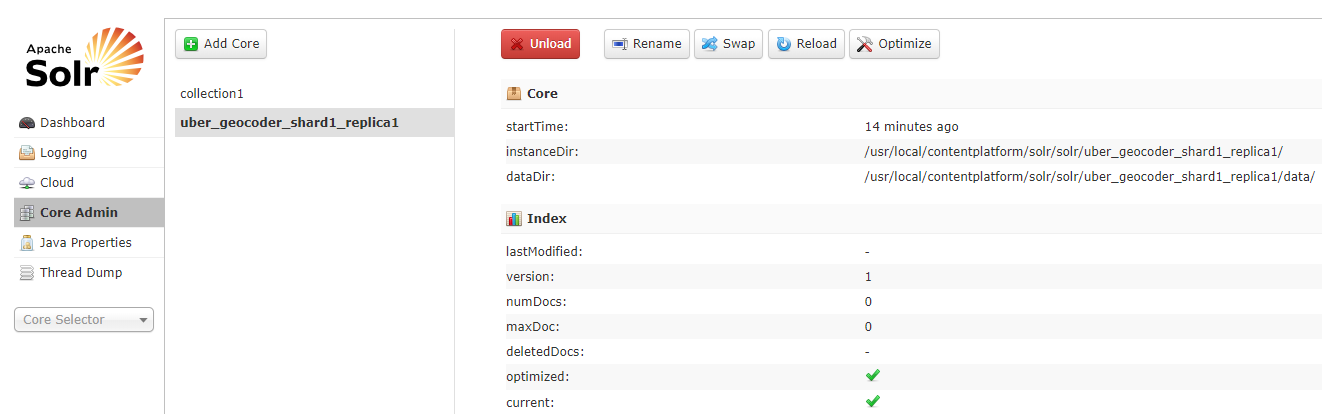
新建collection “uber_geocoder”
http://172.16.101.55:8983/solr/admin/collections?action=CREATE&name=uber_geocoder&numShards=2
sht-sgmhadoopnn-01查看
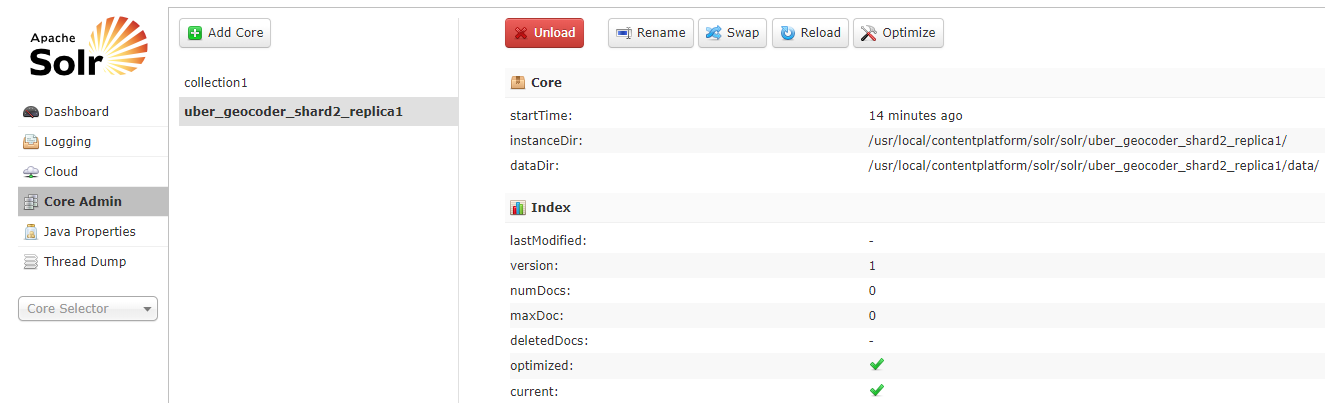
sht-sgmhadoopnn-02查看
将solr home的core collection1目录的conf复制到sht-sgmhadoopnn-01上新建的collection目录
$ cp -r /usr/local/contentplatform/solr/solr/collection1/conf /usr/local/contentplatform/solr/solr/uber_geocoder_shard1_replica1
修改solrconfig.xml文件添加如下
<requestHandler name="/dataimport" class="org.apache.solr.handler.dataimport.DataImportHandler">

    <lst name="defaults">

      <str name="config">data-config.xml</str>

    </lst>

  </requestHandler>
data-config.xml文件内容如下
<dataConfig>

    <dataSource name="source1" type="JdbcDataSource" driver="org.postgresql.Driver" url="jdbc:postgresql://172.16.101.66:5432/uber_geocoder" user="dbadmin" password="88888888" />

     <document>

      <entity name="file1" datasource="source1" query="SELECT * FROM uber_geocoder_tw_15q3_v2.twn_addr_compact">

        <field column="id" name="id" />

        <field column="door_range" name="door_range" />

        <field column="address_points" name="address_points" />

        <field column="street_names" name="street_names" />

        <field column="country" name="country" />

        <field column="state" name="state" />

        <field column="county" name="county" />

        <field column="city" name="city" />

        <field column="locality" name="locality" />

        <field column="sub_locality" name="sub_locality" />

        <field column="neighbourhood" name="neighbourhood" />

        <field column="postal_code" name="postal_code" />

        <field column="rich_postal_code" name="rich_postal_code" />

        <field column="rich_postal_code_lat" name="rich_postal_code_lat" />

        <field column="intersected_way_ids" name="intersected_way_ids" />

        <field column="hilbert_key" name="hilbert_key" />

        <field column="unidb_ids" name="unidb_ids" />

        <field column="md5" name="md5" />

      </entity>

     </document>

</dataConfig>
添加以下到schema.xml文件
   <field name="id" type="string" indexed="true" stored="true" required="true" multiValued="false" />

   <field name="door_range" type="text_general" indexed="true" stored="true"/>

   <field name="address_points" type="text_general" indexed="true" stored="true"/>

   <field name="street_names" type="text_general" indexed="true" stored="true"/>

   <field name="country" type="text_general" indexed="true" stored="true"/>

   <field name="state" type="text_general" indexed="true" stored="true"/>

   <field name="county" type="text_general" indexed="true" stored="true"/>

   <field name="city" type="text_general" indexed="true" stored="true"/>

   <field name="locality" type="text_general" indexed="true" stored="true"/>

   <field name="sub_locality" type="text_general" indexed="true" stored="true"/>

   <field name="neighbourhood" type="text_general" indexed="true" stored="true"/>

   <field name="postal_code" type="int" indexed="true" stored="true"/>

   <field name="rich_postal_code" type="text_general" indexed="true" stored="true"/>

   <field name="rich_postal_code_lat" type="text_general" indexed="true" stored="true"/>

   <field name="intersected_way_ids" type="text_general" indexed="true" stored="true"/>

   <field name="hilbert_key" type="string" indexed="true" stored="true"/>

   <field name="unidb_ids" type="text_general" indexed="true" stored="true"/>

   <field name="md5" type="text_general" indexed="true" stored="true"/>
将conf目录复制到sht-sgmhadoopnn-02,并重启两台机器的tomcat
$ rsync -az --progress conf tnuser@sht-sgmhadoopnn-:/usr/local/contentplatform/solr/solr/uber_geocoder_shard2_replica1/
Solrcloud+tomcat+zookeeper的更多相关文章
- solrCloud+tomcat+zookeeper集群配置
solrcolud安装solrCloud+tomcat+zookeeper部署 转载请出自出处:http://eksliang.iteye.com/blog/2107002 http://eksli ...
- solrCloud+tomcat+zookeeper配置
一.环境准备: Solr版本:4.7.0 下载地址:http://www.apache.org/dyn/closer.cgi/lucene/solr/4.7.0 Tomcat版本:6.0.39 下载地 ...
- JDK+Tomcat+Zookeeper+DubboAdmin安装教程
JDK+Tomcat+Zookeeper+DubboAdmin安装教程 1. 安装内容: JDK 1.8.131 Tomcat 7.0.77 Zookeeper 3.4.9 Dubbo admin 2 ...
- 修改SolrCloud在ZooKeeper中的配置文件操作记录
修改SolrCloud在ZooKeeper中的配置文件操作记录. 命令执行目录: /opt/solr-/server/scripts/cloud-scripts/ 1.下载配置文件 ./zkcli., ...
- CentOS下用Tomcat+Zookeeper+Nginx+Solr完美搭建SolrCloud平台(五)
六.修改 /etc/rc.d/rc.local 文件,设置开机自启动 1.nginx 主机的设置 [root@nginx 桌面]# vi /etc/rc.d/rc.local #!/bin/sh to ...
- Solrcloud,tomcat,外部zookeeper配置
- Solr+Tomcat+zookeeper部署实战
一 .安装solr 环境说明:centos 7.3,solr 6.6,zookeeper3.4,Tomcat8.5,jdk1.8 zookeeper的部署请参考:http://www.cnblogs. ...
- solrcloud编辑zookeeper上的配置文件的方法
solrcloud的配置文件是上传在zookeeper文件系统上的.这样就面临一个问题,每次需要修改配置文件,就没有只有之前本地单机solr那么简单,需要上传. 搭建solrcloud时候提交配置文件 ...
- 利用jenv安装maven, tomcat,zookeeper等
jenv有关的网站: http://jenv.io https://github.com/gcuisinier/jenv 1. 执行jenv安装 $ curl -L -s get.jenv.io | ...
随机推荐
- JavaScript 正则表达式——预定义类,边界,量词,贪婪模式,非贪婪模式,分组,前瞻
㈠预定义类 示例:匹配一个ab+数字+任意字符的字符串:ab\d. ㈡边界 正则表达式常用的边界匹配字符 ⑴示例1:第一个是没写单词边界 第二个是加上字符边界的效 ...
- CGI环境变量
所有的CGI程序都接收以下的环境变量,这些变量在CGI程序中发挥了重要的作用: 变量名 描述 CONTENT_TYPE 这个环境变量的值指示所传递来的信息的MIME类型.目前,环境变量CONTENT_ ...
- H5+JAVA的文件上传,断点续传
这里只写后端的代码,基本的思想就是,前端将文件分片,然后每次访问上传接口的时候,向后端传入参数:当前为第几块文件,和分片总数 下面直接贴代码吧,一些难懂的我大部分都加上注释了: 上传文件实体类: 看得 ...
- 剑指offer:把一个支付算转化为整数
1:首先,根据课本上的程序,是这样的: #include "stdafx.h" #include "iostream" using namespace std; ...
- js手写笔记
1.document.write(); 2.document.getElementById("").style.color="red";//sytle.font ...
- LeetCode117----填充同一层兄弟节点
给定一个二叉树 struct TreeLinkNode { TreeLinkNode *left; TreeLinkNode *right; TreeLinkNode *next; } 填充它的每个 ...
- python3笔记十:python数据类型-Tuple元组
一:学习内容 元组概念 元组创建.访问.删除 元组操作 元组方法 二:元组概念 1.本质:是一种有序集合 2.特点:与列表非常相似.一旦初始化就不能修改.使用小括号 三:元组创建 1.创建空元组 tu ...
- readyState xhr对象当前状态
var request=new XMLHttpRequest(); request.open("GET","get.php",true); request.se ...
- Spark学习(一)——Spark运行架构
基本概念 在具体讲解Spark运行架构之前,需要先了解几个重要的概念: RDD:是弹性分布式数据集(Resilient Distributed Dataset)的简称,是分布式内存的一个抽象概念,提供 ...
- SpringBoot启动加载yml配置文件出现编码格式错误
Caused by: org.yaml.snakeyaml.error.YAMLException: java.nio.charset.MalformedInputException: Input l ...