[转]SpringMVC单文件上传、多文件上传、文件列表显示、文件下载
一、新建一个Web工程,导入相关的包
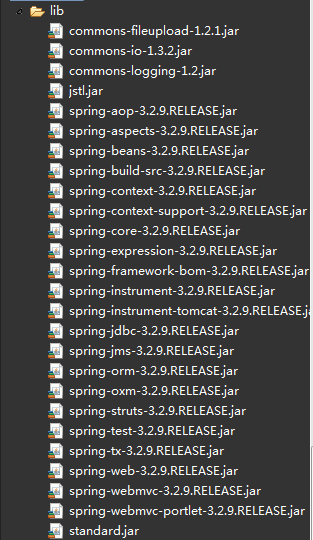
springmvc的包+commons-fileupload.jar+connom-io.jar+commons-logging,jar+jstl.jar+standard.jar
整个相关的包如下:
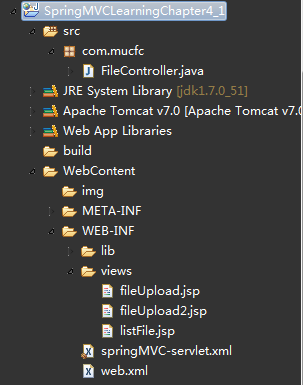
整个工程目录如下:
二、配置web.xml和SpringMVC文件
(1)web.xml
- <?xml version="1.0" encoding="UTF-8"?>
- <web-app xmlns:xsi="http://www.w3.org/2001/XMLSchema-instance"
- xmlns="http://java.sun.com/xml/ns/javaee" xmlns:web="http://java.sun.com/xml/ns/javaee/web-app_3_0.xsd"
- xsi:schemaLocation="http://java.sun.com/xml/ns/javaee http://java.sun.com/xml/ns/javaee/web-app_3_0.xsd"
- id="WebApp_ID" version="3.0">
- <!-- SpringMVC的前端控制器 -->
- <servlet>
- <servlet-name>MyDispatcher</servlet-name>
- <servlet-class>org.springframework.web.servlet.DispatcherServlet</servlet-class>
- <!-- 设置自己定义的控制器xml文件 -->
- <init-param>
- <param-name>contextConfigLocation</param-name>
- <param-value>/WEB-INF/springMVC-servlet.xml</param-value>
- </init-param>
- <load-on-startup>1</load-on-startup>
- </servlet>
- <!-- Spring MVC配置文件结束 -->
- <!-- 拦截设置 -->
- <servlet-mapping>
- <servlet-name>MyDispatcher</servlet-name>
- <!-- 由SpringMVC拦截所有请求 -->
- <url-pattern>/</url-pattern>
- </servlet-mapping>
- </web-app>
(2)springMVC-servlet.xml文件
- <beans xmlns="http://www.springframework.org/schema/beans"
- xmlns:context="http://www.springframework.org/schema/context"
- xmlns:util="http://www.springframework.org/schema/util"
- xmlns:xsi="http://www.w3.org/2001/XMLSchema-instance" xmlns:p="http://www.springframework.org/schema/p"
- xmlns:mvc="http://www.springframework.org/schema/mvc"
- xsi:schemaLocation="
- http://www.springframework.org/schema/util
- http://www.springframework.org/schema/util/spring-util-3.0.xsd
- http://www.springframework.org/schema/mvc
- http://www.springframework.org/schema/mvc/spring-mvc-3.0.xsd
- http://www.springframework.org/schema/beans
- http://www.springframework.org/schema/beans/spring-beans-3.0.xsd
- http://www.springframework.org/schema/mvc
- http://www.springframework.org/schema/mvc/spring-mvc-3.0.xsd
- http://www.springframework.org/schema/context
- http://www.springframework.org/schema/context/spring-context-3.0.xsd">
- <!-- 把标记了@Controller注解的类转换为bean -->
- <context:component-scan base-package="com.mucfc" />
- <!-- 对模型视图名称的解析,即在模型视图名称添加前后缀 -->
- <bean class="org.springframework.web.servlet.view.InternalResourceViewResolver"
- p:prefix="/WEB-INF/views/" p:suffix=".jsp"/>
- <!-- 上传文件的设置 ,maxUploadSize=-1,表示无穷大。uploadTempDir为上传的临时目录 -->
- <bean id="multipartResolver" class="org.springframework.web.multipart.commons.CommonsMultipartResolver"
- p:defaultEncoding="UTF-8"
- p:maxUploadSize="5400000"
- p:uploadTempDir="fileUpload/temp"
- />
- </beans>
三、单个文件上传
(1)控制器
- @Controller
- @RequestMapping("/file")
- public class FileController {
- @RequestMapping("/toFile")
- public String toFileUpload() {
- return "fileUpload";
- }
- @RequestMapping("/toFile2")
- public String toFileUpload2() {
- return "fileUpload2";
- }
- /**
- * 方法一上传文件
- */
- @RequestMapping("/onefile")
- public String oneFileUpload(
- @RequestParam("file") CommonsMultipartFile file,
- HttpServletRequest request, ModelMap model) {
- // 获得原始文件名
- String fileName = file.getOriginalFilename();
- System.out.println("原始文件名:" + fileName);
- // 新文件名
- String newFileName = UUID.randomUUID() + fileName;
- // 获得项目的路径
- ServletContext sc = request.getSession().getServletContext();
- // 上传位置
- String path = sc.getRealPath("/img") + "/"; // 设定文件保存的目录
- File f = new File(path);
- if (!f.exists())
- f.mkdirs();
- if (!file.isEmpty()) {
- try {
- FileOutputStream fos = new FileOutputStream(path + newFileName);
- InputStream in = file.getInputStream();
- int b = 0;
- while ((b = in.read()) != -1) {
- fos.write(b);
- }
- fos.close();
- in.close();
- } catch (Exception e) {
- e.printStackTrace();
- }
- }
- System.out.println("上传图片到:" + path + newFileName);
- // 保存文件地址,用于JSP页面回显
- model.addAttribute("fileUrl", path + newFileName);
- return "fileUpload";
- }
- /**
- * 方法二上传文件,一次一张
- */
- @RequestMapping("/onefile2")
- public String oneFileUpload2(HttpServletRequest request,
- HttpServletResponse response) throws Exception {
- CommonsMultipartResolver cmr = new CommonsMultipartResolver(
- request.getServletContext());
- if (cmr.isMultipart(request)) {
- MultipartHttpServletRequest mRequest = (MultipartHttpServletRequest) (request);
- Iterator<String> files = mRequest.getFileNames();
- while (files.hasNext()) {
- MultipartFile mFile = mRequest.getFile(files.next());
- if (mFile != null) {
- String fileName = UUID.randomUUID()
- + mFile.getOriginalFilename();
- String path = "d:/upload/" + fileName;
- File localFile = new File(path);
- mFile.transferTo(localFile);
- request.setAttribute("fileUrl", path);
- }
- }
- }
- return "fileUpload";
- }
- }
(2)JSP,这个页面是用来上传又用来显示上传后的图片的页面fileUpload.jsp
- <%@ page language="java" contentType="text/html; charset=UTF-8"
- pageEncoding="UTF-8"%>
- <%@ taglib prefix="form" uri="http://www.springframework.org/tags/form"%>
- <%
- String path = request.getContextPath();
- String basePath = request.getScheme() + "://"
- + request.getServerName() + ":" + request.getServerPort()
- + path + "/";
- %>
- <!DOCTYPE html PUBLIC "-//W3C//DTD HTML 4.01 Transitional//EN" "http://www.w3.org/TR/html4/loose.dtd">
- <html>
- <head>
- <title>用户上传图片页面</title>
- <base href="<%=basePath%>">
- <meta http-equiv="Content-Type" content="text/html; charset=UTF-8">
- </head>
- <body>
- <center>
- <form action="file/onefile"
- method="post" enctype="multipart/form-data">
- <input type="file" name="file" />
- <input type="submit" value="上 传" />
- </form>
- <h5>上传结果:</h5>
- <img alt="暂无图片" src="${fileUrl}" />
- </center>
- </body>
- </html>
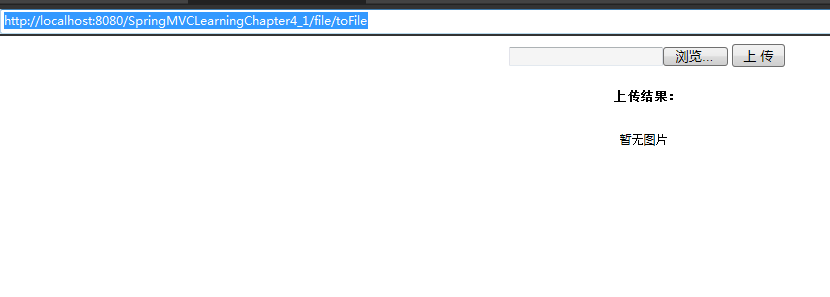
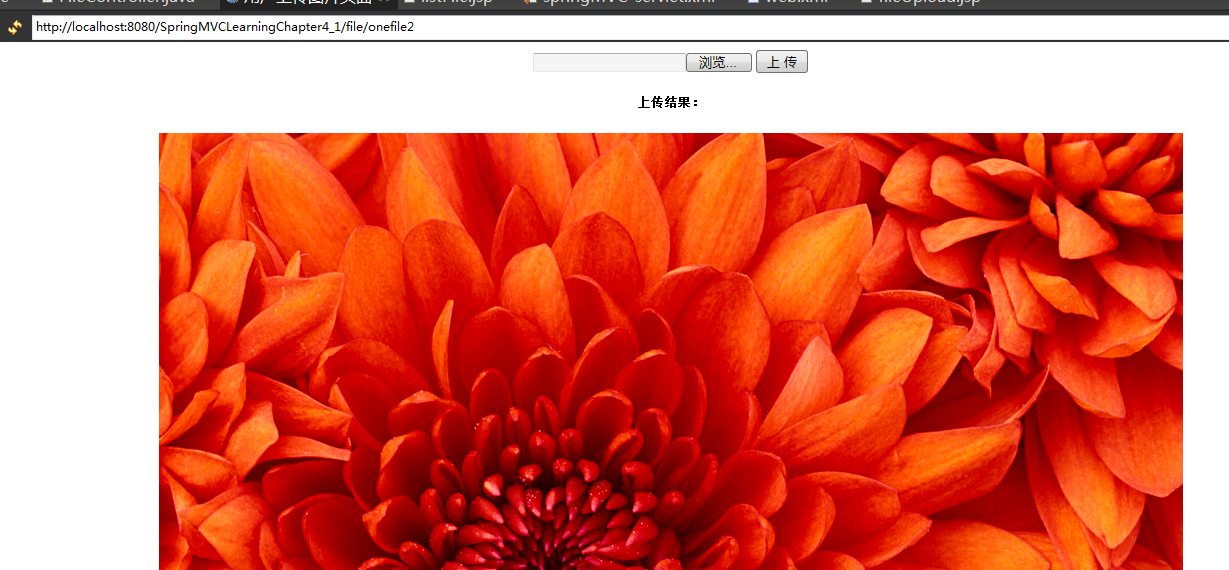
现在运行后来看看效果,输入:http://localhost:8080/SpringMVCLearningChapter4_1/file/toFile
控制台输出结果,选择图片后
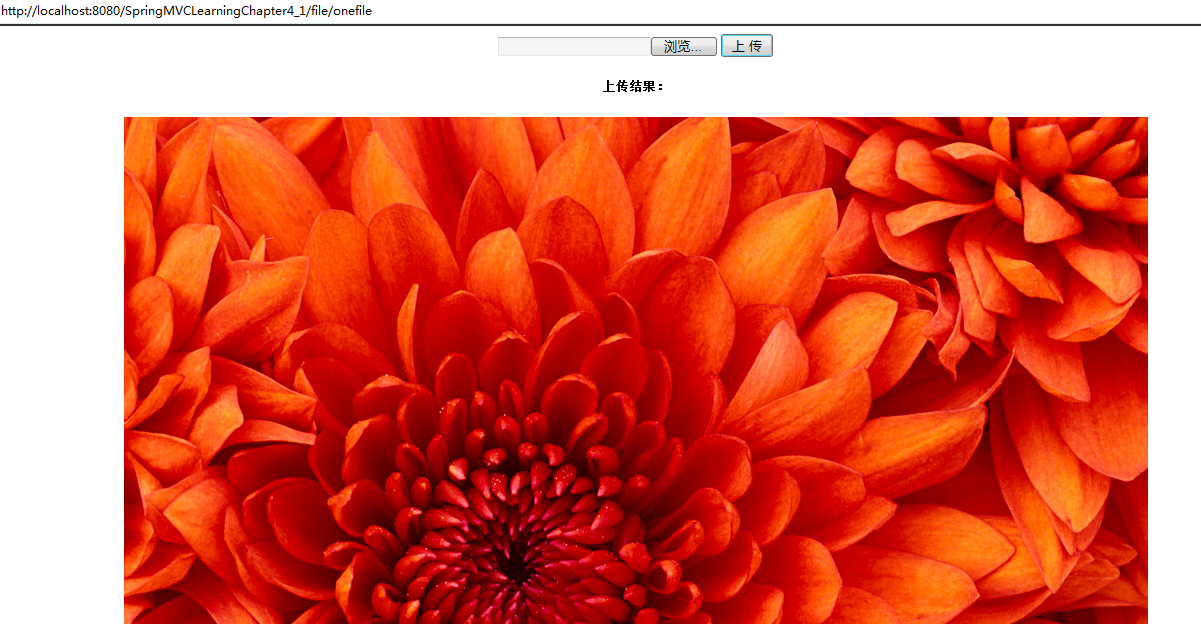
原始文件名:Chrysanthemum.jpg
上传图片到:E:\workspace\.metadata\.plugins\org.eclipse.wst.server.core\tmp0\wtpwebapps\SpringMVCLearningChapter4_1\img/4eafc28c-4baa-4018-ac06-c4a5aec88d6cChrysanthemum.jpg
图片已被上传,可以在JSP中显示出来
来看看服务器的路径:E:\workspace\.metadata\.plugins\org.eclipse.wst.server.core\tmp0\wtpwebapps\SpringMVCLearningChapter4_1\img
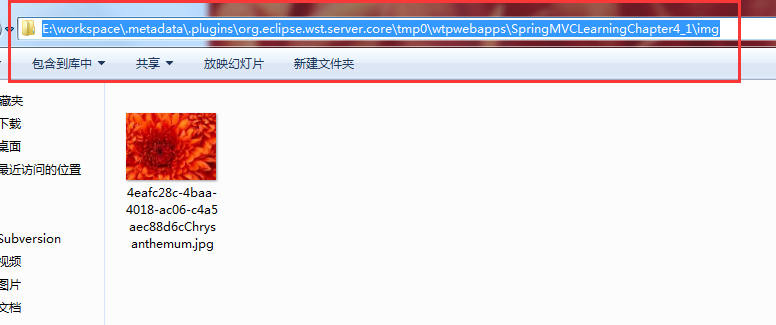
表明图片已经上传到服务器
方法二:
使用文件流的方式来上传
- /**
- * 方法二上传文件,一次一张
- */
- @RequestMapping("/onefile2")
- public String oneFileUpload2(HttpServletRequest request,
- HttpServletResponse response) throws Exception {
- CommonsMultipartResolver cmr = new CommonsMultipartResolver(
- request.getServletContext());
- if (cmr.isMultipart(request)) {
- MultipartHttpServletRequest mRequest = (MultipartHttpServletRequest) (request);
- Iterator<String> files = mRequest.getFileNames();
- while (files.hasNext()) {
- MultipartFile mFile = mRequest.getFile(files.next());
- if (mFile != null) {
- String fileName = UUID.randomUUID()
- + mFile.getOriginalFilename();
- String path = "d:/upload/" + fileName;
- File localFile = new File(path);
- mFile.transferTo(localFile);
- request.setAttribute("fileUrl", path);
- }
- }
- }
- return "fileUpload";
- }
把
- <center>
- <form action="file/onefile"
- method="post" enctype="multipart/form-data">
- <input type="file" name="file" />
- <input type="submit" value="上 传" />
- </form>
- <h5>上传结果:</h5>
- <img alt="暂无图片" src="${fileUrl}" />
- </center>
中的
<form action="file/onefile"改成
<form action="file/onefile2"输入:http://localhost:8080/SpringMVCLearningChapter4_1/file/toFile
方法二指定上传到了本地E盘的upload文件夹
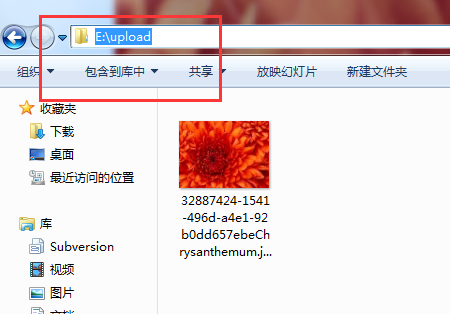
页面结果
四、多文件上传
(1)控制器
- @RequestMapping("/toFile2")
- public String toFileUpload2() {
- return "fileUpload2";
- }
- /**
- * 一次上传多张图片
- */
- @RequestMapping("/threeFile")
- public String threeFileUpload(
- @RequestParam("file") CommonsMultipartFile files[],
- HttpServletRequest request, ModelMap model) {
- List<String> list = new ArrayList<String>();
- // 获得项目的路径
- ServletContext sc = request.getSession().getServletContext();
- // 上传位置
- String path = sc.getRealPath("/img") + "/"; // 设定文件保存的目录
- File f = new File(path);
- if (!f.exists())
- f.mkdirs();
- for (int i = 0; i < files.length; i++) {
- // 获得原始文件名
- String fileName = files[i].getOriginalFilename();
- System.out.println("原始文件名:" + fileName);
- // 新文件名
- String newFileName = UUID.randomUUID() + fileName;
- if (!files[i].isEmpty()) {
- try {
- FileOutputStream fos = new FileOutputStream(path
- + newFileName);
- InputStream in = files[i].getInputStream();
- int b = 0;
- while ((b = in.read()) != -1) {
- fos.write(b);
- }
- fos.close();
- in.close();
- } catch (Exception e) {
- e.printStackTrace();
- }
- }
- System.out.println("上传图片到:" + path + newFileName);
- list.add(path + newFileName);
- }
- // 保存文件地址,用于JSP页面回显
- model.addAttribute("fileList", list);
- return "fileUpload2";
- }
其实就是在单文件上传的方法一中来修改的,只不过弄成了个循环
(2)JSP显示页面fileUpload2.jsp
- <%@ page language="java" import="java.util.*" contentType="text/html; charset=UTF-8"
- pageEncoding="UTF-8"%>
- <%@ taglib prefix="form" uri="http://www.springframework.org/tags/form"%>
- <%@ taglib uri="http://java.sun.com/jsp/jstl/core" prefix="c"%>
- <%
- String path = request.getContextPath();
- String basePath = request.getScheme() + "://"
- + request.getServerName() + ":" + request.getServerPort()
- + path + "/";
- %>
- <!DOCTYPE html PUBLIC "-//W3C//DTD HTML 4.01 Transitional//EN" "http://www.w3.org/TR/html4/loose.dtd">
- <html>
- <head>
- <title>用户上传图片页面</title>
- <base href="<%=basePath%>">
- <meta http-equiv="Content-Type" content="text/html; charset=UTF-8">
- </head>
- <body>
- <center>
- <form action="file/threeFile" method="post"
- enctype="multipart/form-data">
- <input type="file" name="file" /><br /> <input type="file"
- name="file" /><br /> <input type="file" name="file" /><br /> <input
- type="submit" value="上 传" />
- </form>
- <h5>上传结果:</h5>
- <c:forEach items="${fileList}" var="imagename">
- <img alt="暂无图片" src="${imagename}" /> <br/>
- </c:forEach>
- </center>
- </body>
- </html>
注意这里用了
</c:forEach>表单,需要jstl.jar+standard.jar
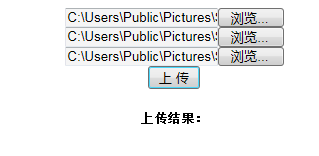
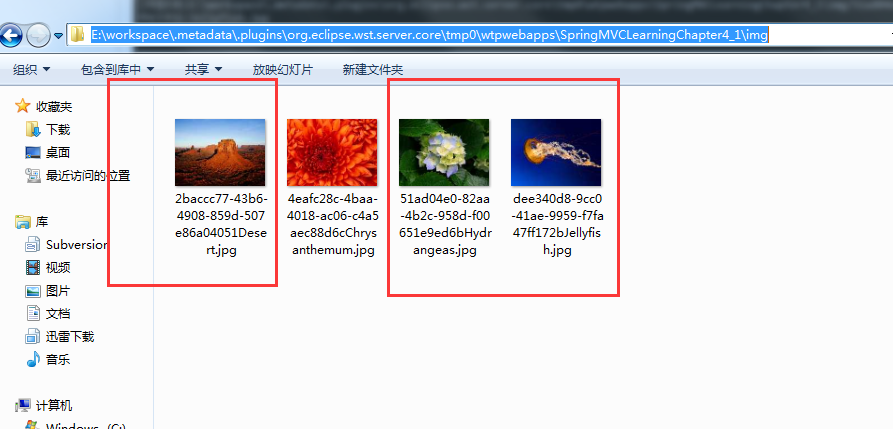
(3)运行后输入:http://localhost:8080/SpringMVCLearningChapter4_1/file/toFile2(注意上面是单文件没有后面的数字2)

选择图片,然后点上传
控制台输出结果:

图片不清看文字 吧:
原始文件名:Desert.jpg
上传图片到:E:\workspace\.metadata\.plugins\org.eclipse.wst.server.core\tmp0\wtpwebapps\SpringMVCLearningChapter4_1\img/2baccc77-43b6-4908-859d-507e86a04051Desert.jpg
原始文件名:Hydrangeas.jpg
上传图片到:E:\workspace\.metadata\.plugins\org.eclipse.wst.server.core\tmp0\wtpwebapps\SpringMVCLearningChapter4_1\img/51ad04e0-82aa-4b2c-958d-f00651e9ed6bHydrangeas.jpg
原始文件名:Jellyfish.jpg
上传图片到:E:\workspace\.metadata\.plugins\org.eclipse.wst.server.core\tmp0\wtpwebapps\SpringMVCLearningChapter4_1\img/dee340d8-9cc0-41ae-9959-f7fa47ff172bJellyfish.jpg
三张图片都可以显示出来了
来看看服务器,这就是刚刚上传的三张
五、上传文件列表显示
(1)控制器
- /**
- * 列出所有的图片
- */
- @RequestMapping("/listFile")
- public String listFile(HttpServletRequest request,
- HttpServletResponse response) {
- // 获取上传文件的目录
- ServletContext sc = request.getSession().getServletContext();
- // 上传位置
- String uploadFilePath = sc.getRealPath("/img") + "/"; // 设定文件保存的目录
- // 存储要下载的文件名
- Map<String, String> fileNameMap = new HashMap<String, String>();
- // 递归遍历filepath目录下的所有文件和目录,将文件的文件名存储到map集合中
- listfile(new File(uploadFilePath), fileNameMap);// File既可以代表一个文件也可以代表一个目录
- // 将Map集合发送到listfile.jsp页面进行显示
- request.setAttribute("fileNameMap", fileNameMap);
- return "listFile";
- }
(2)JSP文件listFile.jsp
- <%@ page language="java" import="java.util.*" pageEncoding="UTF-8"%>
- <%@taglib prefix="c" uri="http://java.sun.com/jsp/jstl/core" %>
- <!DOCTYPE HTML>
- <html>
- <head>
- <title>下载文件显示页面</title>
- </head>
- <body>
- <!-- 遍历Map集合 -->
- <c:forEach var="me" items="${fileNameMap}">
- <c:url value="/file/downFile" var="downurl">
- <c:param name="filename" value="${me.key}"></c:param>
- </c:url>
- ${me.value}<a href="${downurl}">下载</a>
- <br/>
- </c:forEach>
- </body>
- </html>
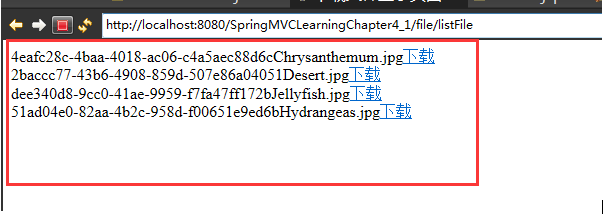
(3)运行后输入:http://localhost:8080/SpringMVCLearningChapter4_1/file/listFile
这些为刚刚上传到四张图片。
六、文件下载
(1)控制器
- @RequestMapping("/downFile")
- public void downFile(HttpServletRequest request,
- HttpServletResponse response) {
- System.out.println("1");
- // 得到要下载的文件名
- String fileName = request.getParameter("filename");
- System.out.println("2");
- try {
- fileName = new String(fileName.getBytes("iso8859-1"), "UTF-8");
- System.out.println("3");
- // 获取上传文件的目录
- ServletContext sc = request.getSession().getServletContext();
- System.out.println("4");
- // 上传位置
- String fileSaveRootPath = sc.getRealPath("/img");
- System.out.println(fileSaveRootPath + "\\" + fileName);
- // 得到要下载的文件
- File file = new File(fileSaveRootPath + "\\" + fileName);
- // 如果文件不存在
- if (!file.exists()) {
- request.setAttribute("message", "您要下载的资源已被删除!!");
- System.out.println("您要下载的资源已被删除!!");
- return;
- }
- // 处理文件名
- String realname = fileName.substring(fileName.indexOf("_") + 1);
- // 设置响应头,控制浏览器下载该文件
- response.setHeader("content-disposition", "attachment;filename="
- + URLEncoder.encode(realname, "UTF-8"));
- // 读取要下载的文件,保存到文件输入流
- FileInputStream in = new FileInputStream(fileSaveRootPath + "\\" + fileName);
- // 创建输出流
- OutputStream out = response.getOutputStream();
- // 创建缓冲区
- byte buffer[] = new byte[1024];
- int len = 0;
- // 循环将输入流中的内容读取到缓冲区当中
- while ((len = in.read(buffer)) > 0) {
- // 输出缓冲区的内容到浏览器,实现文件下载
- out.write(buffer, 0, len);
- }
- // 关闭文件输入流
- in.close();
- // 关闭输出流
- out.close();
- } catch (Exception e) {
- }
- }
这里就是通过文件流的方式来下载图片的。
然后就可以自己选择下载的地方了。
终于讲完了,花了大半天啊!
林炳文Evankaka原创作品。转载请注明出处http://blog.csdn.net/evankaka
[转]SpringMVC单文件上传、多文件上传、文件列表显示、文件下载的更多相关文章
- SpringMVC单文件上传、多文件上传、文件列表显示、文件下载(转)
林炳文Evankaka原创作品.转载请注明出处http://blog.csdn.net/evankaka 本文详细讲解了SpringMVC实例单文件上传.多文件上传.文件列表显示.文件下载. 本文工程 ...
- springmvc单文件上传
1.创建上传页面 <form action="first.do" method="post" enctype="multipart/form-d ...
- Springmvc+uploadify实现文件带进度条批量上传
网上看了很多关于文件上传的帖子,众口不一,感觉有点乱,最近正好公司的项目里用到JQuery的uploadify控件做文件上传,所以整理下头绪,搞篇文档出来,供亲们分享. Uploadify控件的主要优 ...
- 表单多文件上传样式美化 && 支持选中文件后删除相关项
开发中会经常涉及到文件上传的需求,根据业务不同的需求,有不同的文件上传情况. 有简单的单文件上传,有多文件上传,因浏览器原生的文件上传样式及功能的支持度不算太高,很多时候我们会对样式进行美化,对功能进 ...
- SpringMVC【参数绑定、数据回显、文件上传】
前言 本文主要讲解的知识点如下: 参数绑定 数据回显 文件上传 参数绑定 我们在Controller使用方法参数接收值,就是把web端的值给接收到Controller中处理,这个过程就叫做参数绑定.. ...
- ajax 提交所有表单内容及上传图片(文件),以及单独上传某个图片(文件)
我以演示上传图片为例子: java代码如下(前端童鞋可以直接跳过看下面的html及js): package com.vatuu.web.action; import java.io.File; imp ...
- spring boot:单文件上传/多文件上传/表单中多个文件域上传(spring boot 2.3.2)
一,表单中有多个文件域时如何实现说明和文件的对应? 1,说明和文件对应 文件上传页面中,如果有多个文件域又有多个相对应的文件说明时, 文件和说明如何对应? 我们在表单中给对应的file变量和text变 ...
- SpringBoot - 实现文件上传1(单文件上传、常用上传参数配置)
Spring Boot 对文件上传做了简化,基本做到了零配置,我们只需要在项目中添加 spring-boot-starter-web 依赖即可. 一.单文件上传 1,代码编写 (1)首先在 stati ...
- SpringMvc+jQuery 文件拖拽上传、选择上传
最近做了个简易的基于boostrap的文件上传功能,jsp版本的,后续会完善更多的功能,不过现在已经能用了,需要的小伙伴,直接引用下面的文件内容直接copy到自己的项目中就ok了,效果如图: file ...
随机推荐
- ASP.NET MVC同时支持web与webapi模式
原文地址:https://blog.csdn.net/laymat/article/details/65444701 我们在创建 web mvc项目时是不支持web api的接口方式访问的,所以我们需 ...
- 批量 1 insert into select 2 sqldataadapter.update 3 SELECT INTO FROM (要求目标表不存在) 4 AddRange(ef) 5 MySqlBulkLoader.Load() 6 BatchInsert 7 insert bulk
insert into a(col1,col2) select top 1 '1','2' from a union select top 1 '3','4' from a SELECT IN ...
- mysql快速移植表数据
使用select into outfile xxx , load data infile xxx 例如 : SELECT * into outfile '/tmp/out.txt' FROM `db ...
- Javscript调用iframe框架页面中函数的方法
Javscript调用iframe框架页面中函数的方法,可以实现iframe之间传值或修改值了, 访问iframe里面的函数: window.frames['CallCenter_iframe'].h ...
- 面试必备:HashMap源码解析(JDK8)
1 概述 本文将从几个常用方法下手,来阅读HashMap的源码. 按照从构造方法->常用API(增.删.改.查)的顺序来阅读源码,并会讲解阅读方法中涉及的一些变量的意义.了解HashMap的特点 ...
- iOS runtime执行时具体解释
什么是runtime? runtime直译就是执行时间,run(跑,执行) time(时间),网上大家都叫它执行时,它是一套比較底层的纯C语言API,属于一个C语言库,包括了非常多底层的C语言API, ...
- struts系列:返回json格式的响应
一.增加依赖库 // https://mvnrepository.com/artifact/org.apache.struts/struts2-json-plugin compile group: ' ...
- 【转载并整理】filter、servlet、interceptor、listener区别
参考文章:https://blog.csdn.net/u013087513/article/details/56835894 一.servlet servlet是一种运行服务器端的java应用程序,具 ...
- windows 中安装及使用 SSH Key
转自 简书技术博客:https://www.jianshu.com/p/a3b4f61d4747 联系管理员开通ssh功能: 重新创建环境: 下载工具包到本地机器wsCli 0.4 解压后,把相应的w ...
- java web项目中打开资源文件中文乱码
1 java web项目中经常使用多模块管理.在某一个模块中添加了一些资源文件.但不是启动项目.有时候需要在程序中读取资源文件内容,打包后放到容器中就不能正常运行了.需要将所有资源文件放到启动项目的 ...