Python有关模块学习记录
1 pandas numpy模块
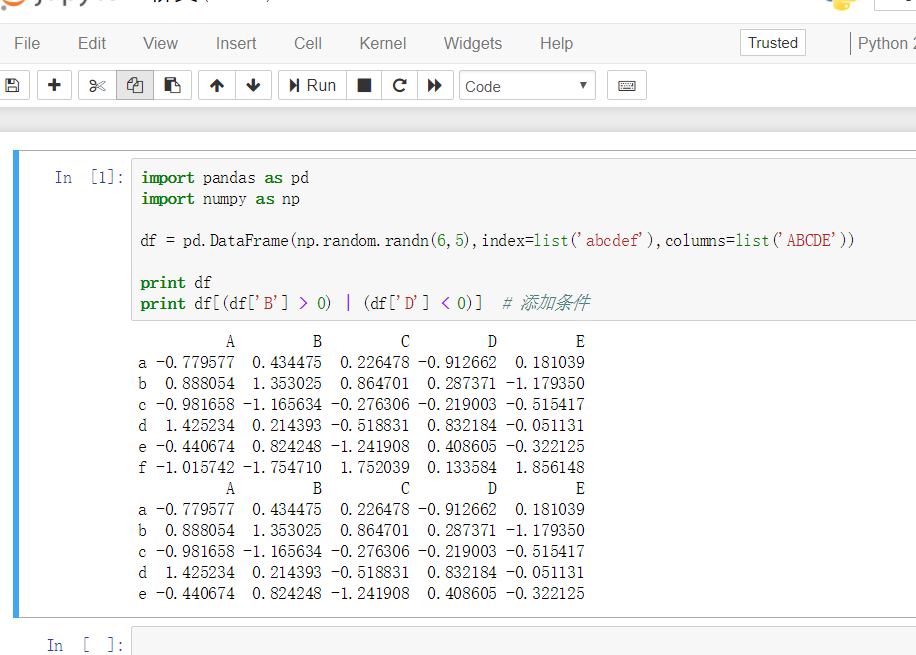
首先安装搭建好jupyter notebook,运行成功后的截图如下:
安装使用步骤(PS:确定Python安装路径和安装路径里面Scripts文件夹路径已经配置到环境变量中去,即pip所在路径已经配置到环境变量中去):
//以下说明是在Windows环境下

//安装

pip install jupyter notebook

//不出意外即可安装成功

//然后在Scripts文件夹里面即可看到安装后的jupyter notebook相关配置文件

在CMD中输入jupyter notebook即可在默认浏览器中打开jupyter notebook网页编辑页面
推荐资料:
2 peewee模块
使用peewee连接mysql数据库,进行增删查改操作语句示例。原文链接
增

单条增加

方法1

StudentsInfo.create(student_name='amos', student_no=880)

方法2

StudentsInfo.insert(student_name='lucy', student_no=881).execute()

等同于insert into student_info (student_name, student_no)  values ('lee',882)

多条增加

方法1

data_source = [

    {'student_name': 'lance', 'student_no': 883},

    {'student_name': 'john', 'student_no': 884},

    # ...

]

for data_dict in data_source:

StudentsInfo.create(**data_dict)

方法2(这个方法会快很多)

data_source = [

    {'student_name': 'jason', 'student_no': 886},

    {'student_name': 'tom', 'student_no': 887},

    # ...

]

with database.atomic():

    for data_dict in data_source:

        StudentsInfo.create(**data_dict)

方法3(最快的方法)

data_source = [

    {'student_name': 'hom', 'student_no': 888},

    {'student_name': 'baby', 'student_no': 889},

    # ...

]

with database.atomic():

StudentsInfo.insert_many(data_source).execute()

如果数据量太大或许你需要分开处理,比如一次处理100条:

data_source = [

    {'student_name': 'hom', 'student_no': 888},

    {'student_name': 'baby', 'student_no': 889},

    # ...

]

with database.atomic():

    for idx in range(0,len(data_source),100):

    StudentsInfo.insert_many(data_source[idx:idx+100]).execute()

删

单条删除

st = StudentsInfo.get(student_name='hom')

st.delete_instance()

等同于DELETE from student_info where student_name = 'hom'

多条删除

StudentsInfo.delete().where(StudentsInfo.student_no < 883).execute()

等同于DELETE from student_info where student_no < 883

改

方法1指定数据

StudentsInfo.update(student_no=890).where(StudentsInfo.student_name == 'baby').execute()

方法2依据原有数据自动更新

StudentsInfo.update(student_no=StudentsInfo.student_no + 1).where(StudentsInfo.student_name == 'baby').execute()

方法3 多字段更新

StudentsInfo.update(student_no=890,student_name='lady').where(StudentsInfo.student_name == 'baby').execute()

查

1. 一般查询

st1 = StudentsInfo.select()

查询所有的记录并获取他们

for i in st1:

    print i.student_no, i.student_name

2. 单条查询

st2 = StudentsInfo.get(StudentsInfo.student_no == 883)

print st2.student_no, st2.student_name

对比1和2个区别

先获取他们的类型

print type(st1) == > <class 'peewee.SelectQuery'>

Print type(st2) == > <class 'createDB.StudentsInfo'>

st1是’SelectQuery'类型需要使用for循环逐条获取,而st2本身就是一个实例的对象可以直接获取它的属性

3. 查询部分字段

st3 = StudentsInfo.select(StudentsInfo.student_no)

4. 有条件查询

st4 = StudentsInfo.select().where(StudentsInfo.student_no == 883)

5. 随机查询

需要先引入fn

from peewee import fn

st5 = StudentsInfo.select().order_by(fn.Random()).limit(2)

6. 排序查询

正序

st6 = StudentsInfo.select().order_by(StudentsInfo.student_no.asc())

反序

st6 = StudentsInfo.select().order_by(StudentsInfo.student_no.desc())

7. Not in组合查询

简单举例,现有学生信息表student_info学生姓名student_name和学号student_no,学生成绩表score_table学号student_no和分数score

st7 = StudentsInfo.select(StudentsInfo.student_no).where(StudentsInfo.student_no > 880)

sc = StudentsScore.select().where(StudentsScore.student_no.not_in(st7))

8. 模糊查询

比如想要查询学生名字包含’ba’的学生以及学号

%符号就相当于sql里的like

st8 = StudentsInfo.select().where(StudentsInfo.student_name % '%ba%')

for i in st8:

    print i.student_no,i.student_name

纯手打,多谢支持。
peewee连接mysql进行增删查改操作
Python有关模块学习记录的更多相关文章
- "利用python进行数据分析"学习记录01
"利用python进行数据分析"学习记录 --day01 08/02 与书相关的资料在 http://github.com/wesm/pydata-book pandas 的2名字 ...
- python - argparse 模块学习
python - argparse 模块学习 设置一个解析器 使用argparse的第一步就是创建一个解析器对象,并告诉它将会有些什么参数.那么当你的程序运行时,该解析器就可以用于处理命令行参数. 解 ...
- python paramiko模块学习分享
python paramiko模块学习分享 paramiko是用python语言写的一个模块,遵循SSH2协议,支持以加密和认证的方式,进行远程服务器的连接.paramiko支持Linux, Sola ...
- Python logging 模块学习
logging example Level When it's used Numeric value DEBUG Detailed information, typically of interest ...
- Python time模块学习
Python time模块提供了一些用于管理时间和日期的C库函数,由于它绑定到底层C实现,因此一些细节会基于具体的平台. 一.壁挂钟时间 1.time() time模块的核心函数time(),它返回纪 ...
- 【Python】模块学习之利用string模块造测试数据
背景 测试过程中需要一些随机数据,使用到了python中的string模块,记录一下 #! /usr/bin/python # coding:utf-8 """ @aut ...
- python logging模块学习(转)
前言 日志是非常重要的,最近有接触到这个,所以系统的看一下Python这个模块的用法.本文即为Logging模块的用法简介,主要参考文章为Python官方文档,链接见参考列表. 另外,Python的H ...
- python os模块学习
一.os模块概述 Python os模块包含普遍的操作系统功能.如果你希望你的程序能够与平台无关的话,这个模块是尤为重要的. 二.常用方法 1.os.name 输出字符串指示正在使用的平台.如果是wi ...
- python atexit模块学习
python atexit模块 只定义了一个register模块用于注册程序退出时的回调函数,我们可以在这个函数中做一下资源清理的操作 注:如果程序是非正常crash,或者通过os._exit()退出 ...
随机推荐
- java List转换为字符串并加入分隔符的一些方法总结
方法一: public String listToString(List list, char separator) { StringBuilder sb = new StringBuilder(); ...
- maven 阿里仓库
<settings xmlns="http://maven.apache.org/SETTINGS/1.0.0" xmlns:xsi="http://www.w3. ...
- Eclipse启动时提示fail to create the Java Virtual Machine问题的解决办法
是eclipse.ini文件的问题,打开eclipse安装目录下的eclipse.ini文件: 将其中的256m改为128m,512m改为256m,1024m改为512m即可 修改后如下: -star ...
- Intel的AVX2指令集解读
原文链接:http://blog.csdn.net/vbskj/article/details/38408213 在Intel Sandy Bridge微架构中,Intel引入了256位SIMD扩展A ...
- HTML JS 数据校验
用到了html字符串校验,这里记录一下. <html> <head> <script type="text/javascript"> funct ...
- 如何解决在Windows Server 2008 R2 上安装证书服务重启后出现 CertificationAuthority 91错误事件
很久都没写什么博客了,前一段时间学习2008 R2时,在自己的电脑上同时安装AD 和证书 往往会出现一个CertificationAuthority错误,如下: 产生问题的主要原因是: 证书服务器与D ...
- Libnids读书笔记 (转)
一.当日工作(或学习)内容及进展情况(以条目式陈述,必要时配图说明) Libnids读书笔记: Libnids(Library Network Intusion Detection System)网络 ...
- CSS的50个代码片段
1.css全局 html, body, div, span, applet, object, iframe, h1, h2, h3, h4, h5, h6, p, blockquote, pre, a ...
- impala-shell常用命令
1.查看相关内网IP: cat /etc/hosts 2.进入impala: impala-shell; 3.显示数据库,数据表 show databases: show tables; 4.查看表结 ...
- 大数据开发实战:MapReduce内部原理实践
下面结合具体的例子详述MapReduce的工作原理和过程. 以统计一个大文件中各个单词的出现次数为例来讲述,假设本文用到输入文件有以下两个: 文件1: big data offline data on ...