Spring(十):Spring配置Bean(三)Bean的作用域、使用外部属性文件
Bean的作用域:
支持四种配置,分别是singleton,prototype,request,session。

singleton
默认情况下在spring confinguration xml文件中的一个bean配置中,如果不指定scope属性,则这个scope默认值为singleton。
如何把一个bean配置为scope='singleton':
Person.java
package com.dx.beans.scope;

public class Person {

    private int id;

    private String name;

    public int getId() {

        return id;

    }

    public void setId(int id) {

        this.id = id;

    }

    public String getName() {

        return name;

    }

    public void setName(String name) {

        this.name = name;

    }

    public Person() {

        System.out.println("Person's Constructor...");

    }

    @Override

    public String toString() {

        return "Person [id=" + id + ", name=" + name + "]";

    }

}
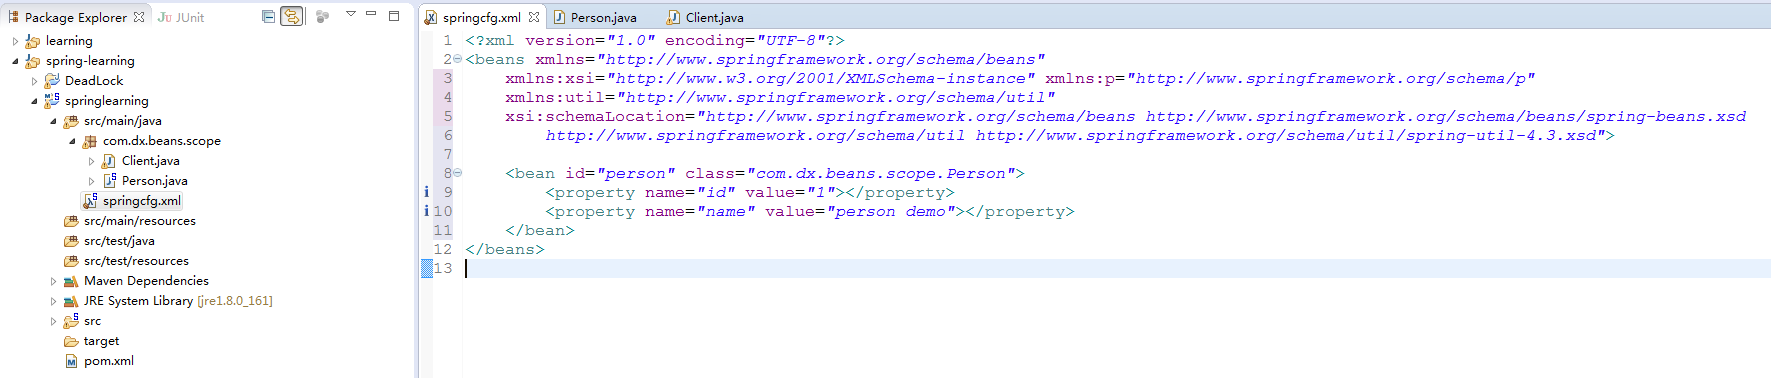
springcfg.xml
    <bean id="person" class="com.dx.beans.scope.Person" scope="singleton">

        <property name="id" value="1"></property>

        <property name="name" value="person demo"></property>

    </bean>
配置为singleton的bean将会在初始化Spring时,初始化该bean的类。
package com.dx.beans.scope;

import org.springframework.context.ApplicationContext;

import org.springframework.context.support.ClassPathXmlApplicationContext;

public class Client {

    public static void main(String[] args) {

        ApplicationContext cxt = new ClassPathXmlApplicationContext("springcfg.xml");

    }

}
打印信息为:
Person's Constructor...
而且在以后调用该bean时,不会再初始化给bean的类。
package com.dx.beans.scope;

import org.springframework.context.ApplicationContext;

import org.springframework.context.support.ClassPathXmlApplicationContext;

public class Client {

    public static void main(String[] args) {

        ApplicationContext cxt = new ClassPathXmlApplicationContext("springcfg.xml");

        Person person = (Person) cxt.getBean("person");

        Person person1 = (Person) cxt.getBean("person");

        System.out.println(person);

        System.out.println(person1);

    }

}
打印信息为:
Person's Constructor...

Person [id=1, name=person demo]

Person [id=1, name=person demo]
prototype
每次调用时,都会实例化一次bean的class。
spring configuration xml配置文件为:
<?xml version="1.0" encoding="UTF-8"?>

<beans xmlns="http://www.springframework.org/schema/beans"

    xmlns:xsi="http://www.w3.org/2001/XMLSchema-instance" xmlns:p="http://www.springframework.org/schema/p"

    xmlns:util="http://www.springframework.org/schema/util"

    xsi:schemaLocation="http://www.springframework.org/schema/beans http://www.springframework.org/schema/beans/spring-beans.xsd

        http://www.springframework.org/schema/util http://www.springframework.org/schema/util/spring-util-4.3.xsd">

    <bean id="person" class="com.dx.beans.scope.Person" scope="prototype">

        <property name="id" value="1"></property>

        <property name="name" value="person demo"></property>

    </bean>

</beans>
此时,客户端调用:
package com.dx.beans.scope;

import org.springframework.context.ApplicationContext;

import org.springframework.context.support.ClassPathXmlApplicationContext;

public class Client {

    public static void main(String[] args) {

        ApplicationContext cxt = new ClassPathXmlApplicationContext("springcfg.xml");

        Person person = (Person) cxt.getBean("person");

        System.out.println(person);

        Person person1 = (Person) cxt.getBean("person");

        System.out.println(person1);

    }

}
打印信息为:
Person's Constructor...

Person [id=1, name=person demo]

Person's Constructor...

Person [id=1, name=person demo]
web环境作用域 request,session
request,session应用在web环境作用域。
使用外部属性文件
1) 在配置文件里配置Bean时,有时需要在Bean的配置里混入系统部署的细节信息(例如:文件路径、数据源配置信息等),而这些部署细节实际上需要和Bean配置相分离。
2)Spring提供了一个PropertyPlaceholderConfigurer的BeanFactory后置处理器。这个处理器允许用户将Bean配置的部分内容外移到属性文件中,可以在Bean配置文件里使用形式为${var}的变量,PropertyPlaceholderConfigurer从属性文件里加载属性,并使用这些属性值来替换变量。
3)Spring还允许在属性文件中使用${propertyName},以实现属性之间的相互引用。
注册PropertyPlaceholderConfigurer
spring2.0时:
<bean class="org.springframework.beans.factory.config.PropertyPlaceholderConfigurer">

     <property name="location" value="classpath:jdbc.properties"></property >

</bean>
spring2.5之后:
可通过<context:property-placeholder>元素简化
--添加命名空间:<beans>中添加context Schema定义(xmlns:context="http://www.springframework.org/schema/context")
--在配置文件下加入配置:<context:property-placeholder location="classpath:db.properties"/>
需求:使用c3p0组件连接数据库,并把它注册到spring中。
使用外部文件之前:
pom.xml
<project xmlns="http://maven.apache.org/POM/4.0.0" xmlns:xsi="http://www.w3.org/2001/XMLSchema-instance"

    xsi:schemaLocation="http://maven.apache.org/POM/4.0.0 http://maven.apache.org/xsd/maven-4.0.0.xsd">

    <modelVersion>4.0.0</modelVersion>

    <groupId>com.dx</groupId>

    <artifactId>springlearning</artifactId>

    <version>0.0.1-SNAPSHOT</version>

    <name>demo Maven Webapp</name>

    <url>http://maven.apache.org</url>

    <repositories>

        <repository>

            <id>sonatype-nexus-snapshots</id>

            <name>Sonatype Nexus Snapshots</name>

            <url>http://maven.aliyun.com/nexus/content/groups/public</url>

            <releases>

                <enabled>false</enabled>

            </releases>

            <snapshots>

                <enabled>true</enabled>

            </snapshots>

        </repository>

    </repositories>

    <properties>

        <org.springframework.version>4.3.8.RELEASE</org.springframework.version>

    </properties>

    <dependencies>

        <!-- https://mvnrepository.com/artifact/commons-logging/commons-logging -->

        <dependency>

            <groupId>commons-logging</groupId>

            <artifactId>commons-logging</artifactId>

            <version>1.2</version>

        </dependency>

        <!-- https://mvnrepository.com/artifact/org.springframework/spring-core -->

        <dependency>

            <groupId>org.springframework</groupId>

            <artifactId>spring-core</artifactId>

            <version>${org.springframework.version}</version>

        </dependency>

        <!-- Expression Language (depends on spring-core) Define this if you use

            Spring Expression APIs (org.springframework.expression.*) -->

        <dependency>

            <groupId>org.springframework</groupId>

            <artifactId>spring-expression</artifactId>

            <version>${org.springframework.version}</version>

        </dependency>

        <!-- Bean Factory and JavaBeans utilities (depends on spring-core) Define

            this if you use Spring Bean APIs (org.springframework.beans.*) -->

        <dependency>

            <groupId>org.springframework</groupId>

            <artifactId>spring-beans</artifactId>

            <version>${org.springframework.version}</version>

        </dependency>

        <!-- Application Context (depends on spring-core, spring-expression, spring-aop,

            spring-beans) This is the central artifact for Spring's Dependency Injection

            Container and is generally always defined -->

        <dependency>

            <groupId>org.springframework</groupId>

            <artifactId>spring-context</artifactId>

            <version>${org.springframework.version}</version>

        </dependency>

        <!-- JDBC Data Access Library (depends on spring-core, spring-beans, spring-context,

            spring-tx) Define this if you use Spring's JdbcTemplate API (org.springframework.jdbc.*) -->

        <dependency>

            <groupId>org.springframework</groupId>

            <artifactId>spring-jdbc</artifactId>

            <version>${org.springframework.version}</version>

        </dependency>

        <dependency>

            <groupId>mysql</groupId>

            <artifactId>mysql-connector-java</artifactId>

            <version>5.1.36</version>

        </dependency>

        <!-- https://mvnrepository.com/artifact/c3p0/c3p0 -->

        <dependency>

            <groupId>c3p0</groupId>

            <artifactId>c3p0</artifactId>

            <version>0.9.1.2</version>

        </dependency>

    </dependencies>

    <build>

        <finalName>demo</finalName>

    </build>

</project>
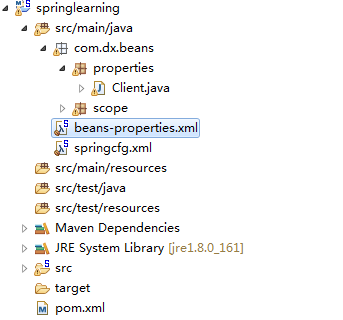
bean-properties.xml
<?xml version="1.0" encoding="UTF-8"?>

<beans xmlns="http://www.springframework.org/schema/beans"

    xmlns:xsi="http://www.w3.org/2001/XMLSchema-instance" xmlns:context="http://www.springframework.org/schema/context"

    xsi:schemaLocation="http://www.springframework.org/schema/beans http://www.springframework.org/schema/beans/spring-beans.xsd

        http://www.springframework.org/schema/context http://www.springframework.org/schema/context/spring-context-4.3.xsd">

    <bean id="dataSource" class="com.mchange.v2.c3p0.ComboPooledDataSource">

        <property name="user" value="root"></property>

        <property name="password" value="root"></property>

        <property name="jdbcUrl" value="jdbc:mysql://localhost:3306/dlog32"></property>

        <property name="driverClass" value="com.mysql.jdbc.Driver"></property>

    </bean>

</beans>
Client.java调用:
package com.dx.beans.properties;

import javax.sql.DataSource;

import org.springframework.context.ApplicationContext;

import org.springframework.context.support.ClassPathXmlApplicationContext;

public class Client {

    public static void main(String[] args) throws Exception {

        ApplicationContext cxt = new ClassPathXmlApplicationContext("beans-properties.xml");

        DataSource dataSource = (DataSource) cxt.getBean("dataSource");

        System.out.println(dataSource.getConnection());

    }

}
使用外部文件之后:
添加外部文件c3p0-db.properties
db.user=root

db.password=root

db.jdbcUrl=jdbc:mysql://localhost/dlog32

db.driverClass=com.mysql.jdbc.Driver
修改spring bean配置文件beans-properties.xml
<?xml version="1.0" encoding="UTF-8"?>

<beans xmlns="http://www.springframework.org/schema/beans"

    xmlns:xsi="http://www.w3.org/2001/XMLSchema-instance" xmlns:context="http://www.springframework.org/schema/context"

    xsi:schemaLocation="http://www.springframework.org/schema/beans http://www.springframework.org/schema/beans/spring-beans.xsd

        http://www.springframework.org/schema/context http://www.springframework.org/schema/context/spring-context-4.3.xsd">

    <!-- 导入外部文件 -->

    <context:property-placeholder location="classpath:c3p0-db.properties" />

    <bean id="dataSource" class="com.mchange.v2.c3p0.ComboPooledDataSource">

        <!-- 使用外部文件的配置信息替代配置项中的值 -->

        <property name="user" value="${db.user}"></property>

        <property name="password" value="${db.password}"></property>

        <property name="jdbcUrl" value="${db.jdbcUrl}"></property>

        <property name="driverClass" value="${db.driverClass}"></property>

    </bean>

</beans>
Spring(十):Spring配置Bean(三)Bean的作用域、使用外部属性文件的更多相关文章
- Spring - 配置Bean - 自动装配 关系 作用域 引用外部属性文件
1 Autowire自动装配1.1 使用:只需在<bean>中使用autowire元素<bean id="student" class="com.kej ...
- Spring4学习笔记 - 配置Bean - 自动装配 关系 作用域 引用外部属性文件
1 Autowire自动装配 1.1 使用:只需在<bean>中使用autowire元素 <bean id="student" class="com.k ...
- IoC容器-Bean管理XML方式(引入外部属性文件)
IoC操作Bean管理(引入外部属性文件) 1,直接配置数据库信息 (1)配置德鲁伊连接池 (2)引入德鲁伊连接池依赖jar包 2,通过引入外部属性文件配置数据库连接池 (1)创建外部属性文件,pro ...
- [原创]java WEB学习笔记99:Spring学习---Spring Bean配置:自动装配,配置bean之间的关系(继承/依赖),bean的作用域(singleton,prototype,web环境作用域),使用外部属性文件
本博客的目的:①总结自己的学习过程,相当于学习笔记 ②将自己的经验分享给大家,相互学习,互相交流,不可商用 内容难免出现问题,欢迎指正,交流,探讨,可以留言,也可以通过以下方式联系. 本人互联网技术爱 ...
- 使用外部属性文件配置Bean以及Bean的生命周期方法
1.使用外部属性文件配置Bean 在配置文件里配置 Bean 时, 有时需要在 Bean 的配置里混入系统部署的细节信息(例如: 文件路径, 数据源配置信息等). 而这些部署细节实际上需要和 Bean ...
- Spring 使用外部属性文件配置
1.Spring提供了一个PropertyPlaceholderConfigurer的BeanFactory后置处理器,这个处理器允许用户将Bean的配置的部分内容 移到属性文件中.可以在Bean配置 ...
- 十八 Spring的JDBC模板:引入外部属性文件
配置外部属性文件 配置文件里引入属性文件,两种方式 第一种: 第二种: 引入属性文件的值: 测试: <?xml version="1.0" encoding="UT ...
- spring 使用外部属性文件
一.PropertyPlaceholderConfigurer spring提供的PropertyPlaceholderConfigurer实现类能够使Bean在配置时引用外部属性文件. Proper ...
- Spring基础12——使用外部属性文件
1.使用外部属性文件 在配置文件里配置Bean时,有时需要在Bean的配置文件里引入系统部署的细节信息(例如:文件的路径.数据源配置信息等),而这些部署细节实际上需要和bean配置相分离,因为我们修改 ...
随机推荐
- 并发编程(二):全视角解析volatile
一.目录 1.引入话题-发散思考 2.volatile深度解析 3.解决volatile原子性问题 4.volatile应用场景 二.引入话题-发散思考 public class T1 { /*vol ...
- DevOps 解决方案 - 腾讯云
DevOps 解决方案 - 腾讯云 https://cloud.tencent.com/solution/devops?from=qcloudHpHeaderDevops
- JAVA泛型中的有界类型(extends super)(转)
JDK1.5中引入了泛型(Generic)机制.泛型的本质是参数化类型,也就是说所操作的数据类型被指定为一个参数.这种参数类型可以用在类.接口和方法的创建中,分别称为泛型类.泛型接口.泛型方法. Ja ...
- 使用Java进行串口SerialPort通讯
1.准备工作 在进行串口连接通讯前,必须保证你当前操作电脑上有可用且闲置的串口.因为一般的电脑上只有一个或者两个串口,如COM1或COM2,但大多数情况下,这些串口可能会被其他的程序或者 ...
- SimpleUpdater.NET
本类库+工具用于快速实现一个简单的自动更新程序,旨在快速简单地为现有的.Net应用程序添加上比较简单的自动更新功能. 本页包含以下内容 概述 整个自动升级工作的流程 更新包生成工具 发布更新包 为应用 ...
- React和Vue特性和书写差异
Vue均使用ES6语法,主要以单文件组件为例,写法上优先使用缩写. React使用TS语法. 生命周期 Vue React 入口&根实例 Vue const app = new Vue({ / ...
- linux 学习之路(学linux必看)
很多同学接触Linux不多,对Linux平台的开发更是一无所知. 而现在的趋势越来越表明,作为一个优秀的软件开发人员,或计算机IT行业从业人员, 掌握Linux是一种很重要的谋生资源与手段. 下来我将 ...
- vs2012\vs2013\vs2015碰到生成时报该错误:项目中不存在目标“GatherAllFilesToPublish”
手头一个vs2010升级到vs2012后,web项目发布到本地目录时项目报错:“该项目中不存在目标“GatherAllFilesToPublish”” 通过谷歌大神的帮助,找到了解决方法.共享之. 原 ...
- 在Windows Azure上创建ASP.NET MVC网站
本篇体验在Windows Azure上创建ASP.NET MVC网站. →登录到Windows Azure管理门户 →点击左下方的"新建" →点击"自定义创建" ...
- iOS 7.1 系统可以设置 button shapes,此功能可让按钮多一条下滑线
IniOS 7, Apple completely revamped the user interface to give it a fresh and modern look. One of the ...