Directx11学习笔记【四】 封装一个简单的Dx11DemoBase
根据前面两个笔记的内容,我们来封装一个简单的基类,方便以后的使用。 代码和前面类似,没有什么新的内容,直接看代码吧(由于代码上次都注释了,这次代码就没怎么写注释o(╯□╰)o) Dx11DemoBase.h
Dx11DemoBase.h
#pragma once

#include <d3d11.h>

#include <D3DX11.h>

#include <DxErr.h>

class Dx11DemoBase

{

public:

    Dx11DemoBase();

    virtual ~Dx11DemoBase();

    bool Initialize(HINSTANCE hInstance, HWND hWnd);

    void ShutDown();//释放内存

    virtual bool LoadContent();//载入具体的Demo自己的内容,如纹理,几何体,着色器

    virtual void UnLoadContent();//释放具体Demo中的内容

    virtual void Update(float dt) = ;

    virtual void Render() = ;

protected:

    HINSTANCE m_hInstance;

    HWND m_hWnd;

    D3D_DRIVER_TYPE m_driverType;

    D3D_FEATURE_LEVEL m_featureLevel;

    ID3D11Device* m_pd3dDevice;

    ID3D11DeviceContext* m_pImmediateContext;

    IDXGISwapChain* m_pSwapChain;

    ID3D11RenderTargetView* m_pRenderTargetView;

};
Dx11DemoBase.cpp
#include "Dx11DemoBase.h"

Dx11DemoBase::Dx11DemoBase() :m_driverType(D3D_DRIVER_TYPE_NULL), m_featureLevel(D3D_FEATURE_LEVEL_11_0),

m_pd3dDevice(NULL), m_pImmediateContext(NULL), m_pSwapChain(NULL), m_pRenderTargetView(NULL){}

Dx11DemoBase::~Dx11DemoBase()

{

    ShutDown();

}

bool Dx11DemoBase::LoadContent()

{

    return true;

}

void Dx11DemoBase::UnLoadContent()

{

}

void Dx11DemoBase::ShutDown()

{

    UnLoadContent();

    if (m_pRenderTargetView) m_pRenderTargetView->Release();

    if (m_pSwapChain) m_pSwapChain->Release();

    if (m_pd3dDevice) m_pd3dDevice->Release();

    if (m_pImmediateContext) m_pImmediateContext->Release();

    m_pRenderTargetView = NULL;

    m_pSwapChain = NULL;

    m_pd3dDevice = NULL;

    m_pImmediateContext = NULL;

}

//初始化

bool Dx11DemoBase::Initialize(HINSTANCE hInstance, HWND hWnd)

{

    HRESULT result;

    m_hInstance = hInstance;

    m_hWnd = hWnd;

    RECT rc;

    GetClientRect(m_hWnd, &rc);

    UINT width = rc.right - rc.left;

    UINT height = rc.bottom - rc.top;

    D3D_DRIVER_TYPE driverTypes[] =

    {

        D3D_DRIVER_TYPE_HARDWARE,

        D3D_DRIVER_TYPE_WARP,

        D3D_DRIVER_TYPE_REFERENCE

    };

    UINT numDriverTypes = ARRAYSIZE(driverTypes);

    D3D_FEATURE_LEVEL featureLevels[] =

    {

        D3D_FEATURE_LEVEL_11_0,

        D3D_FEATURE_LEVEL_10_1,

        D3D_FEATURE_LEVEL_10_0

    };

    UINT numFeatureLevels = ARRAYSIZE(featureLevels);

    DXGI_SWAP_CHAIN_DESC sd;

    ZeroMemory(&sd, sizeof(sd));

    sd.BufferCount = ;

    sd.BufferDesc.Width = width;

    sd.BufferDesc.Height = height;

    sd.BufferDesc.Format = DXGI_FORMAT_R8G8B8A8_UNORM;

    sd.BufferDesc.RefreshRate.Numerator = ;

    sd.BufferDesc.RefreshRate.Denominator = ;

    sd.BufferUsage = DXGI_USAGE_RENDER_TARGET_OUTPUT;

    sd.OutputWindow = m_hWnd;

    sd.SampleDesc.Count = ;

    sd.SampleDesc.Quality = ;

    sd.SwapEffect = DXGI_SWAP_EFFECT_DISCARD;

    sd.Windowed = true;

    UINT createDeviceFlags = ;

#ifdef _DEBUG

    createDeviceFlags |= D3D11_CREATE_DEVICE_DEBUG;

#endif

    for (UINT driverTypeIndex = ; driverTypeIndex < numDriverTypes; ++driverTypeIndex)

    {

        result = D3D11CreateDeviceAndSwapChain(

            NULL,

            driverTypes[driverTypeIndex],

            NULL,

            createDeviceFlags,

            featureLevels,

            numFeatureLevels,

            D3D11_SDK_VERSION,

            &sd,

            &m_pSwapChain,

            &m_pd3dDevice,

            &m_featureLevel,

            &m_pImmediateContext

            );

        if (SUCCEEDED(result))

        {

            m_driverType = driverTypes[driverTypeIndex];

            break;

        }

    }

    if (FAILED(result))

    {

        return result;

    }

    ID3D11Texture2D *pBackBuffer = NULL;

    result = m_pSwapChain->GetBuffer(, __uuidof(ID3D11Texture2D), (LPVOID*)&pBackBuffer);

    if (FAILED(result))

    {

        return result;

    }

    result = m_pd3dDevice->CreateRenderTargetView(pBackBuffer, NULL, &m_pRenderTargetView);

    if (pBackBuffer)

        pBackBuffer->Release();

    if (FAILED(result))

    {

        return result;

    }

    m_pImmediateContext->OMSetRenderTargets(, &m_pRenderTargetView, NULL);

    D3D11_VIEWPORT vp;

    vp.Height = static_cast<float>(width);//用c++的static_cast转换类型是个好习惯

    vp.Width = static_cast<float>(height);

    vp.MinDepth = 0.0f;

    vp.MaxDepth = 1.0f;

    vp.TopLeftX = 0.0f;

    vp.TopLeftY = 0.0f;

    m_pImmediateContext->RSSetViewports(, &vp);

    return LoadContent();

}
下面新建一个空白Demo类,这个类没有做什么特别的事,只是用d3d清除了屏幕而已,除了渲染函数,其他所有重写函数都是空的
BlankDemo.h
#pragma once

#include "Dx11DemoBase.h"

class BlankDemo : public Dx11DemoBase

{

public:

    BlankDemo();

    virtual ~BlankDemo();

    bool LoadContent();

    void UnLoadContent();

    void Update(float dt);

    void Render();

};
BlankDemo.cpp
#include "BlankDemo.h"

BlankDemo::BlankDemo()

{

}

BlankDemo::~BlankDemo()

{

}

bool BlankDemo::LoadContent()

{

    return true;

}

void BlankDemo::UnLoadContent()

{

}

void BlankDemo::Update(float dt)

{

}

void BlankDemo::Render()

{

    if (!m_pImmediateContext)

        m_pImmediateContext = NULL;

    float clearColors[] = { 0.0f, 0.0f, 0.5f, 1.0f };

    m_pImmediateContext->ClearRenderTargetView(m_pRenderTargetView, clearColors);

    m_pSwapChain->Present(, );

}
main.cpp
#include <windows.h>

#include <memory>

#include "BlankDemo.h"

LRESULT CALLBACK WndProc(HWND, UINT, WPARAM, LPARAM);

int WINAPI wWinMain(HINSTANCE hInstance, HINSTANCE hPrevInstance, LPWSTR lpCmdLine, int nShowCmd)

{

    WNDCLASSEX wcex;

    wcex.cbClsExtra = ;

    wcex.cbSize = sizeof(wcex);

    wcex.cbWndExtra = ;

    wcex.hbrBackground = (HBRUSH)(COLOR_WINDOW + );

    wcex.hCursor = LoadCursor(NULL,IDC_ARROW);

    wcex.hIcon = LoadIcon(NULL, IDI_WINLOGO);

    wcex.hIconSm = wcex.hIcon;

    wcex.hInstance = hInstance;

    wcex.lpfnWndProc = WndProc;

    wcex.lpszClassName = L"BlankDemo";

    wcex.lpszMenuName = L"BlankDemo";

    wcex.style = CS_HREDRAW | CS_VREDRAW;

    if (!RegisterClassEx(&wcex))

        return -;

    RECT rc = { , , ,  };

    AdjustWindowRect(&rc, WS_OVERLAPPEDWINDOW, false);

    HWND hwnd = CreateWindowEx(WS_EX_APPWINDOW, L"BlankDemo", L"BlankDemo", WS_OVERLAPPEDWINDOW, CW_USEDEFAULT,

        CW_USEDEFAULT, rc.right - rc.left, rc.bottom - rc.top, NULL, NULL, hInstance, NULL);

    if (!hwnd)

        return -;

    ShowWindow(hwnd, nShowCmd);

    std::auto_ptr<Dx11DemoBase> demo(new BlankDemo());//使用智能指针

    bool result = demo->Initialize(hInstance, hwnd);

    if (!result)

        return -;

    MSG msg;

    ZeroMemory(&msg, sizeof(msg));

    while (msg.message != WM_QUIT)

    {

        if (PeekMessage(&msg, NULL, , , PM_REMOVE))

        {

            TranslateMessage(&msg);

            DispatchMessage(&msg);

        }

        demo->Update(0.0f);

        demo->Render();

    }

    demo->ShutDown();

    return static_cast<int>(msg.wParam);

}

LRESULT CALLBACK WndProc(HWND hWnd, UINT message, WPARAM wParam, LPARAM lParam)

{

    PAINTSTRUCT paintStruct;

    HDC hDc;

    switch (message)

    {

    case WM_PAINT:

        hDc = BeginPaint(hWnd, &paintStruct);

        EndPaint(hWnd, &paintStruct);

        break;

    case WM_DESTROY:

        PostQuitMessage();

        break;

    default:

        return DefWindowProc(hWnd, message, wParam, lParam);

    }

    return ;

}
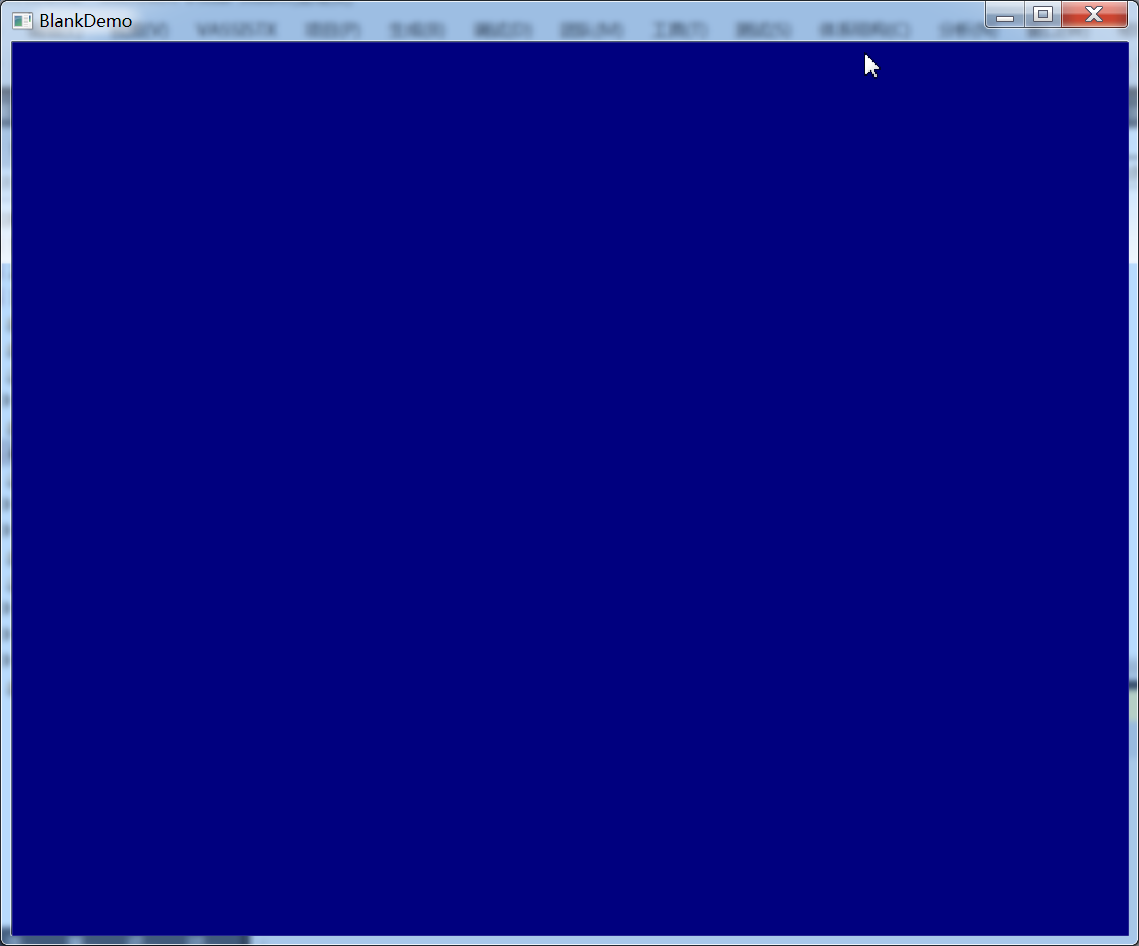
运行结果同上次相同
Directx11学习笔记【四】 封装一个简单的Dx11DemoBase的更多相关文章
- Linux系统学习笔记之 1 一个简单的shell程序
不看笔记,长时间不用自己都忘了,还是得经常看看笔记啊. 一个简单的shell程序 shell结构 1.#!指定执行脚本的shell 2.#注释行 3.命令和控制结构 创建shell程序的步骤 第一步: ...
- MiZ702学习笔记12——封装一个普通的VGA IP
还记得<MiZ702学习笔记(番外篇)--纯PL VGA驱动>这篇文章中,用verilog写了一个VGA驱动.我们今天要介绍的就是将这个工程打包成一个普通的IP,目的是为后面的一篇文章做个 ...
- 【opencv学习笔记五】一个简单程序:图像读取与显示
今天我们来学习一个最简单的程序,即从文件读取图像并且创建窗口显示该图像. 目录 [imread]图像读取 [namedWindow]创建window窗口 [imshow]图像显示 [imwrite]图 ...
- Django 学习笔记之六 建立一个简单的博客应用程序
最近在学习django时建立了一个简单的博客应用程序,现在把简单的步骤说一下.本人的用的版本是python 2.7.3和django 1.10.3,Windows10系统 1.首先通过命令建立项目和a ...
- [原创]java WEB学习笔记12:一个简单的serlet连接数据库实验
本博客为原创:综合 尚硅谷(http://www.atguigu.com)的系统教程(深表感谢)和 网络上的现有资源(博客,文档,图书等),资源的出处我会标明 本博客的目的:①总结自己的学习过程,相当 ...
- UNP学习笔记2——从一个简单的ECHO程序分析TCP客户/服务器之间的通信
1 概述 编写一个简单的ECHO(回复)程序来分析TCP客户和服务器之间的通信流程,要求如下: 客户从标准输入读入一行文本,并发送给服务器 服务器从网络输入读取这个文本,并回复给客户 客户从网络输入读 ...
- Ruby学习笔记2 : 一个简单的Ruby网站,搭建ruby环境
Ruby on Rails website 的基础是 请求-返回 循环. 首先是浏览器请求服务器, 第二步,Second, in our Rails application, the route ta ...
- 【Python学习笔记三】一个简单的python爬虫
这里写爬虫用的requests插件 1.一般那3.x版本的python安装后都带有相应的安装文件,目录在python安装目录的Scripts中,如下: 2.将scripts的目录配置到环境变量pa ...
- 【AngularJS学习笔记】封装一些简单的控件(封装成Html标签)
bootstrap有强大的指令系统,可以自定义一些属性,基本知识请移步:http://angularjs.cn/A00r http://www.cnblogs.com/lvdabao/p/33916 ...
随机推荐
- (ZT)LoadRunner9.0成功破解方法
LoadRunner9.0软件下载地址: http://www.3atesting.com/filedown/LR9Download.exe 破解所需文件 http://download.csdn.n ...
- zoj2314(有上下界的网络流)
传送门:Reactor Cooling 题意:给n个点,及m根pipe,每根pipe用来流躺液体的,单向的,每时每刻每根pipe流进来的物质要等于流出去的物质,要使得m条pipe组成一个循环体,里面流 ...
- hdu1151+poj2594(最小路径覆盖)
传送门:hdu1151 Air Raid 题意:在一个城镇,有m个路口,和n条路,这些路都是单向的,而且路不会形成环,现在要弄一些伞兵去巡查这个城镇,伞兵只能沿着路的方向走,问最少需要多少伞兵才能把所 ...
- Indiegogo: An International Crowdfunding Platform to Raise Money
Indiegogo: An International Crowdfunding Platform to Raise Money The world's funding platform. Fund ...
- Android_多媒体_SoundPool声音池使用
1.SoundPool概述 SoundPool就相当于一个简单的集合,可以将apk中的资源或者系统中的文件加载至内存中,使用了MediaPlayer服务区解码音频文件,用SoundPool可以播一些短 ...
- 在Sublime Text3中运行PHP代码
一.前言 最近由于工作需要要与第三方系统对接,另外由于文档中关于其中几个接口就只有很简单的描述,弄了半天都没有弄成功.跟第三方负责的人沟通后还是没有找到具体问题出在哪里,另外因为他们没有开发人员懂.n ...
- 高版本jQuery设置checkbox状态注意事项
jQuery 1.9 以后, 使用 .attr(“checked”, true) 或 attr(“checked”, “checked”) 将无法正确设置 checkbox的状态, 同样的, 使用 ...
- 算法8-4:Kruskal算法
Kruskal算法用于计算一个图的最小生成树.这个算法的过程例如以下: 依照边的权重从小到达进行排序 依次将每条边添加到最小生成树中,除非这条边会造成回路 实现思路 第一个步骤须要对边进行排序,排序方 ...
- Macosx Setdns
通过C语言接口在Mac App内部对系统的DNS配置进行改动. Mac OS X设置DNS代码 演示样例代码setDNS.c内容例如以下: #include <SystemConfigurati ...
- DESCryptoServiceProvider加密解密的简单使用例子
DES.cs using System; using System.Collections.Generic; using System.Linq; using System.Text; using S ...