
Nginx环境部署
下载Nginx
wget nginx.tar.gz http://nginx.org/download/nginx-1.17.1.tar.gz
解压源码
tar -zxvf nginx-1.17.1.tar.gz

然后进入目录编译安装

cd nginx-1.11.3

./configure --prefix=/usr/local/nginx \

--with-http_ssl_module --with-http_v2_module \

--with-http_stub_status_module --with-pcre
--with-http_stub_status_module:支持nginx状态查询
--with-http_ssl_module:支持https
--with-http_v2_module:支持google的spdy,想了解请百度spdy,这个必须有ssl的支持
--with-pcre:为了支持rewrite重写功能,必须制定pcre
最后输出如下内容,表示configure OK了。
如果没有error信息,就可以执行下边的安装了:

make  //确定你的服务器有安装make,若没有安装,请执行 yum install make

make install
安装prce(重定向支持)和openssl(https支持,如果不需要https可以不安装。)
yum -y install pcre*

yum -y install openssl*
Nginx配置文件详情
启动nginx

./usr/local/nginx/sbin/nginx

重启或关闭进程:

./usr/local/nginx/sbin/nginx -s reload

./usr/local/nginx/sbin/nginx -s stop
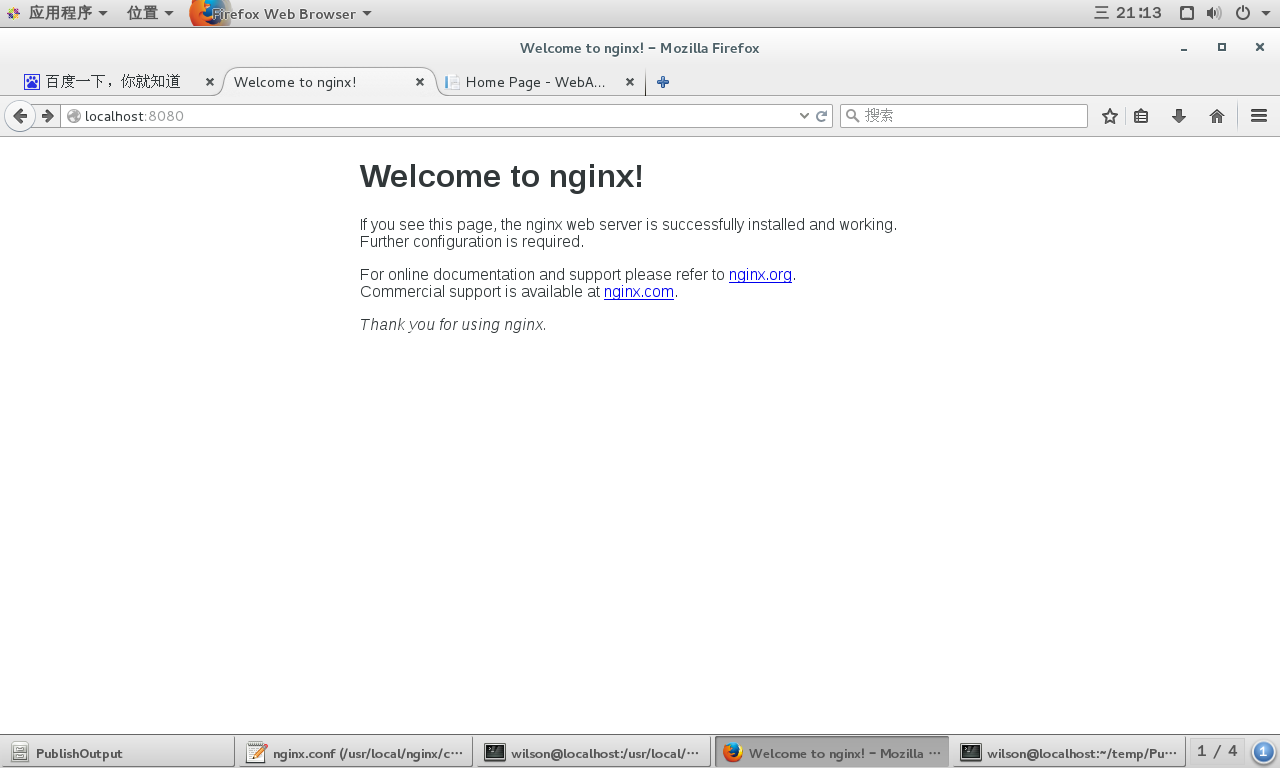
浏览器中输入http://localhost:80,效果如下
官方文档中的安装方法,设置源后直接安装,对于配置文件自动写入默认路径
1、设置安装源
To set up the yum repository for RHEL/CentOS, create the file named /etc/yum.repos.d/nginx.repo with the following contents:

[nginx]

name=nginx repo

baseurl=http://nginx.org/packages/OS/OSRELEASE/$basearch/

gpgcheck=0

enabled=1

Replace “OS” with “rhel” or “centos”, depending on the distribution used, and “OSRELEASE” with “5”, “6”, or “7”, for 5.x, 6.x, or 7.x versions, respectively.
具体文件内容为:
[nginx]

name=nginx repo

baseurl=http://nginx.org/packages/centos/7/$basearch/

gpgcheck=0

enabled=1
2、执行以下命令安装
sudo yum install nginx
3、启动、停止nginx服务
sudo nginx

sudo nginx -s stop
默认配置参数列表
Configure Arguments

Configure arguments common for nginx binaries from pre-built packages:

--prefix=/etc/nginx

--sbin-path=/usr/sbin/nginx

--conf-path=/etc/nginx/nginx.conf

--error-log-path=/var/log/nginx/error.log

--http-log-path=/var/log/nginx/access.log

--pid-path=/var/run/nginx.pid

--lock-path=/var/run/nginx.lock

--http-client-body-temp-path=/var/cache/nginx/client_temp

--http-proxy-temp-path=/var/cache/nginx/proxy_temp

--http-fastcgi-temp-path=/var/cache/nginx/fastcgi_temp

--http-uwsgi-temp-path=/var/cache/nginx/uwsgi_temp

--http-scgi-temp-path=/var/cache/nginx/scgi_temp

--user=nginx

--group=nginx

--with-http_ssl_module

--with-http_realip_module

--with-http_addition_module

--with-http_sub_module

--with-http_dav_module

--with-http_flv_module

--with-http_mp4_module

--with-http_gunzip_module

--with-http_gzip_static_module

--with-http_random_index_module

--with-http_secure_link_module

--with-http_stub_status_module

--with-http_auth_request_module

--with-threads

--with-stream

--with-stream_ssl_module

--with-http_slice_module

--with-mail

--with-mail_ssl_module

--with-file-aio

--with-http_v2_module

--with-ipv6
Nginx环境部署的更多相关文章
- CentOS+uwsgi+django+nginx 环境部署及分析
写在部署前 在线上部署django项目时,比较成熟的方案是:nginx + uWSGI + Django. nginx和Django 都比较熟悉了,uWSGI是什么呢?WSGI是一个协议,python ...
- centos7 nginx配置httpsCenos(6.6/7.1)下从源码安装Python+Django+uwsgi+nginx环境部署(二)
1.yum安装nginx 下载对应当前系统版本的nginx包(package) # wget http://nginx.org/packages/centos/7/noarch/RPMS/ngin ...
- 生产环境使用Nginx+uwsgi部署Django
在本地运行django应用相对来说还是挺方便的,使用自带的runserver启动即可.如果在生产环境部署django,就要多考虑一些问题了.比如静态文件处理,安全,效率等等 在网上找到了不错的部署的教 ...
- Django + Uwsgi + Nginx 的生产环境部署
使用runserver可以使我们的django项目很便捷的在本地运行起来,但这只能在局域网内访问,如果在生产环境部署django,就要多考虑一些问题了.比如静态文件处理,安全,效率等等,本篇文章总结归 ...
- 第四百零二节,Django+Xadmin打造上线标准的在线教育平台—生产环境部署,uwsgi安装和启动,nginx的安装与启动,uwsgi与nginx的配置文件+虚拟主机配置
第四百零二节,Django+Xadmin打造上线标准的在线教育平台—生产环境部署,uwsgi安装和启动,nginx的安装与启动,uwsgi与nginx的配置文件+虚拟主机配置 软件版本 uwsgi- ...
- keepalived+nginx+tomcat+redis集群环境部署
1.所需软件.jar包.配置文件下载:http://pan.baidu.com/s/1dFgntst 2.环境说明: centos6.5 64位 主节点:192.168.40.121 副节点:192 ...
- 学习项目部署Django+uwsgi+Nginx生产环境部署
绪论 项目生产环境部署,是很重的一个知识点.第一,Django自带的服务器很简陋,由于测试和开发环境尚可,无法用于生产环境,保障安全性和可靠性.以及性能.此外,学习部署方式,还有利于了解生产部署后的项 ...
- 在 CentOS 上部署 Nginx 环境
这里的案例主要通过虚拟机( vmware workstation (14) )的方式安装 Center OS 到本地环境 资源下载: vmware workstation / CentOS 本次 ...
- [部署开发环境]部署django的生成环境nginx+uwsgi+django
#教程 # ubuntu部署django项目 # 部署准备 - ubuntu操作系统 -- vagrant虚拟 - Nginx服务器 -- 安装在ubuntu的web服务器 - uWSGI应用协议服务 ...
随机推荐
- linux运维、架构之路-linux文件权限
一. R W X对应的数字及计算的方法 1.linux普通文件权限总结 ①r可读:表示具有读取.浏览文件内容(block)的权限 ②w可写:表示具有新增.修改文件内容的权限删除文件(修改文件名.)或创 ...
- 3,LinkedList
一,LinkedList简介 1,LinkedList 是一个继承于AbstractSequentialList的双向链表.它也可以被当作堆栈.队列或双端队列进行操作. 2,LinkedList 实现 ...
- 谈谈vue双向数据绑定问题
vue是MVVM模型,vueObserver 数据监听器,把一个普通的 JavaScript 对象传给 Vue 实例的 data 选项,Vue 将遍历此对象所有的属性,并使用Object.define ...
- BUUCTF | [CISCN2019 华北赛区 Day1 Web2]ikun
步骤: 找到lv6的购买出,修改折扣买lv6 :然后找到admin的登陆界面,JWT破解,登陆admin :点击一键成为大会员,利用python反序列化漏洞读取flag 解析: 这题师傅们的WP已经很 ...
- Yii 1.1 常规框架部署和配置
<?php //index.php //入口文件配置操作 // change the following paths if necessary $yii=dirname(__FILE__).'/ ...
- LintCode之两两交换链表中的节点
题目描述: 我的思路: 由题目描述可知,题目是要求将第一个与第二个节点,第三个与第四节点....进行交换,而进行交换时只用将节点的值进行交换即可.需要注意的是:当链表为null或者当链表只有一个节点时 ...
- 连接超时(connect timed out)和读取超时(Read timed out)
设置连接超时和读取超时方法: RequestConfig config=RequestConfig.custom() .setConnectTimeout(10000) // 设置连接超时时间 10秒 ...
- 16/8/23-jQuery子调用匿名函数
通过创建一个自调用匿名函数,创建一个特殊的函数作用域,该作用域中的代码不会和已有的同名函数.方法和变量以及第三方库冲突. 自调用匿名函数写法 方法一: (function(){ //... })(); ...
- linux crontab 执行任务(7秒执行)
创建的contab 文件中,每一行都代表一项任务,每行的每个字段代表一项设置.前五个字段是时间,第六个字段是要执行的命令 minute hour day month week co ...
- Java8数据流
流/Stream是在JAVA8中引入的一个抽象,可以处理类似SQL语句声明数据. 例如,考虑下面的SQL语句. SELECT max(salary),employee_id,employee_name ...