如何在 Qt Creator 中应用 one dark pro 主题
前言
Qt Creator 自带了几款主题,但是并不好看。在博客 《Qt Creator打造VScode one dark pro主题配色》 中给出了 one dark pro 主题的配置文件,但是效果并不好,所以这里给出改进后的主题文件(只针对代码部分)。
配置文件
在 D:\Qt\Tools\QtCreator\share\qtcreator\styles 中创建一个 onedark.xml 文件,然后在文件里面写入以下内容:
<?xml version="1.0" encoding="UTF-8"?>

<style-scheme version="1.0" name="One Dark">

  <style name="Text" foreground="#abb2bf" background="#282c34"/>

  <style name="Link" underlineStyle="SingleUnderline"/>

  <style name="Selection" background="#3e4451"/>

  <style name="LineNumber" foreground="#4b5363"/>

  <style name="SearchResult" background="#324365"/>

  <style name="SearchScope" background="#3e4451"/>

  <style name="Parentheses" background="#515a6b" />

  <style name="ParenthesesMismatch" foreground="#000000" background="#c678dd"/>

  <style name="AutoComplete" background="#3e4451"/>

  <style name="CurrentLine" background="#3a3f4b"/>

  <style name="CurrentLineNumber" foreground="#abb2bf" />

  <style name="Occurrences" background="#324365"/>

  <style name="Occurrences.Unused" underlineColor="#d19a66" underlineStyle="DashUnderline"/>

  <style name="Occurrences.Rename" background="#e06c75"/>

  <style name="Number" foreground="#d19a66"/>

  <style name="String" foreground="#98c379"/>

  <style name="Type" foreground="#61afef"/>

  <style name="Local" foreground="#e06c75" />

  <style name="Parameter" foreground="#e06c75" />

  <style name="Global" foreground="#e06c75" />

  <style name="Field" foreground="#e06c75"/>

  <style name="Static" foreground="#56b6c2" />

  <style name="VirtualMethod" foreground="#61afef" italic="true"/>

  <style name="Function" foreground="#61afef"/>

  <style name="Keyword" foreground="#c678dd"/>

  <style name="PrimitiveType" foreground="#c678dd"/>

  <style name="Type" foreground="#e5c07b" />

  <style name="Operator" foreground="#56b6c2" />

  <style name="Overloaded Operator" foreground="#c678dd"/>

  <style name="Punctuation"/>

  <style name="Preprocessor" foreground="#c678dd"/>

  <style name="Label" foreground="#e06c75" bold="true"/>

  <style name="Comment" foreground="#5c6370" italic="true"/>

  <style name="Doxygen.Comment" foreground="#5c6370" italic="true"/>

  <style name="Doxygen.Tag" foreground="#61afef"/>

  <style name="VisualWhitespace" foreground="#3c4049"/>

  <style name="QmlLocalId" foreground="#61afef"/>

  <style name="QmlExternalId"/>

  <style name="QmlTypeId" foreground="#61afef"/>

  <style name="QmlRootObjectProperty" foreground="#61afef"/>

  <style name="QmlScopeObjectProperty" foreground="#61afef"/>

  <style name="QmlExternalObjectProperty"/>

  <style name="JsScopeVar"/>

  <style name="JsImportVar" foreground="#d19a66"/>

  <style name="JsGlobalVar" foreground="#d19a66"/>

  <style name="QmlStateName" foreground="#61afef"/>

  <style name="Binding" foreground="#c678dd"/>

  <style name="DisabledCode" foreground="#5c6370"/>

  <style name="AddedLine" foreground="#98c379"/>

  <style name="RemovedLine" foreground="#e06c75"/>

  <style name="DiffFile" foreground="#61afef"/>

  <style name="DiffLocation" foreground="#d19a66"/>

  <style name="DiffFileLine" foreground="#000000" background="#e5c07b"/>

  <style name="DiffContextLine" foreground="#000000" background="#56b6c2"/>

  <style name="DiffSourceLine" foreground="#000000" background="#be5046"/>

  <style name="DiffSourceChar" foreground="#000000" background="#e06c75"/>

  <style name="DiffDestLine" foreground="#000000" background="#789353"/>

  <style name="DiffDestChar" foreground="#000000" background="#98c379"/>

  <style name="LogChangeLine" foreground="#e06c75"/>

  <style name="LogAuthorName" foreground="#61afef"/>

  <style name="LogCommitDate" foreground="#98c379"/>

  <style name="LogCommitHash" foreground="#e06c75"/>

  <style name="LogCommitSubject"/>

  <style name="LogDecoration" foreground="#c678dd"/>

  <style name="Warning" underlineColor="#d19a66" underlineStyle="SingleUnderline"/>

  <style name="WarningContext" underlineColor="#d19a66" underlineStyle="DotLine"/>

  <style name="Error" underlineColor="#e06c75" underlineStyle="SingleUnderline"/>

  <style name="ErrorContext" underlineColor="#e06c75" underlineStyle="DotLine"/>

  <style name="Declaration"/>

  <style name="FunctionDefinition"/>

  <style name="OutputArgument" italic="true"/>

  <style name="LastStyleSentinel"/>

</style-scheme>
然后在 Qt Creator 中的 工具 --> 选项 --> 文本编辑器 中将主题换成 One Dark 即可。重启之后就可以看到代码样式的变化了,至于 Qt Creator 界面的主题可以参照上述博客中的配置。
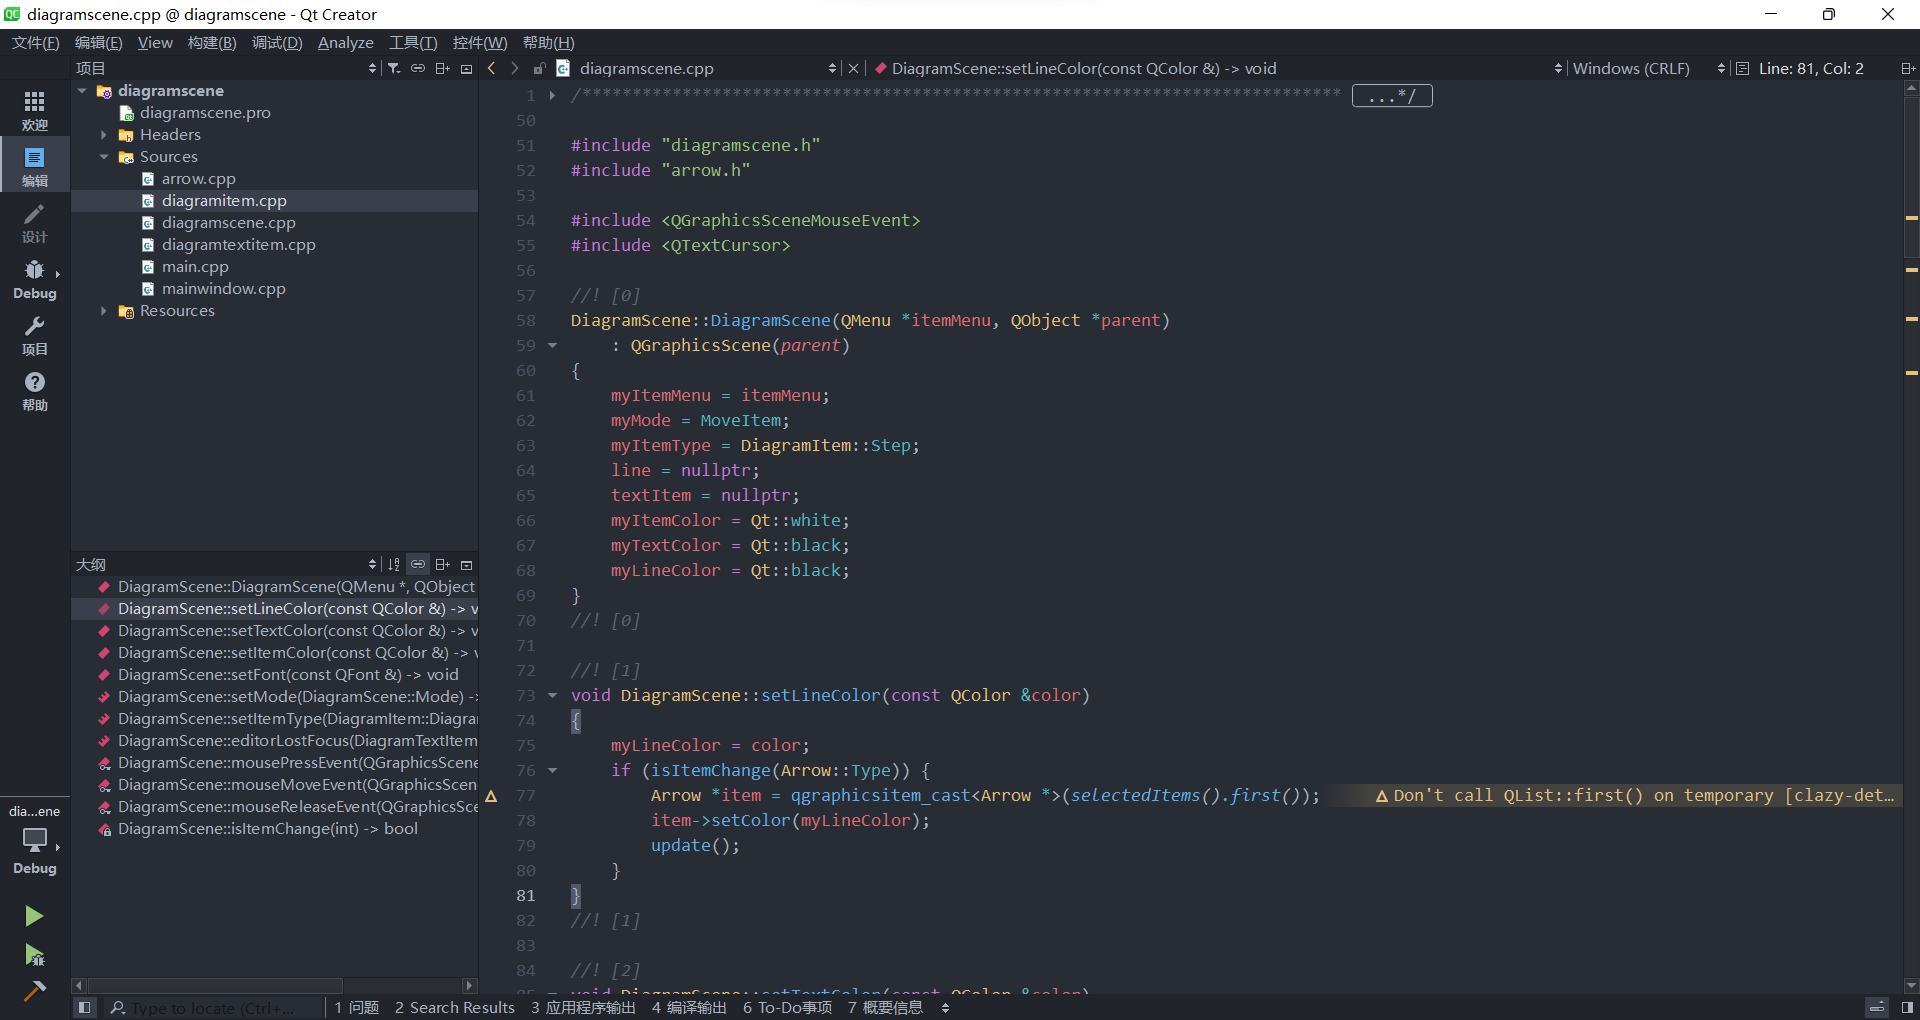
界面截图
配置完成之后的界面如下图所示,有 VS Code 的 one dark pro 的感觉了,当然代码编辑体验还是差了点,想要完全使用 VS Code 来开发 Qt 的话可以参见之前的博客 《如何在 VS Code 中搭建 Qt 开发环境》。
如何在 Qt Creator 中应用 one dark pro 主题的更多相关文章
- Qt Creator打造VScode one dark pro主题配色
1.缘由 我之前习惯使用 vscode 进行开发,对 vscode 的 one dark pro 主题情有独钟.无奈公司需要使用 Qt Creator 进行日常开发,只能暂时舍弃 vscode,采用曲 ...
- 如何在Qt Creator中导入图标资源
本文主要描述如何在Qt Creator中创建资源文件,并的打入导入图标文件. 查看图标资源文件时,可以在项目的工程文件上鼠标单击右键-Open With-资源编辑器,效果如下图所示: 在项目的工程文件 ...
- 如何在Qt Creator中创建pri文件,以及pri文件的说明
初学Qt的人可还不会接触到这个问题,但是一旦你开始编写某个较大项目的时候,这个问题就不可避免需要解决. 对于大神们来讲可能这是个很简单的问题,但是对于新手来说,想要搞清楚需要下很大功夫. 怎么创建pr ...
- 如何在Qt Creator中添加库文件和头文件目录
在使用QtCreator开发图像处理程序的时候想加入Opencv库来处理图形,添加头文件,需要编辑工程文件夹下的.pro文件在文件中添加以下内容,即可包含头文件的文件夹: INCLUDEPATH += ...
- Windows XP 下如何使用Qt Creator中的Git版本控制功能
原文地址:http://www.qtcn.org/bbs/simple/?t16960.html Qt Creator是针对Qt应用开发平台专门设计的IDE开发工具,集成了很多功能,分别有win ...
- Qt Creator中的3D绘图及动画教程(参照NeHe)
Qt Creator中的3D绘图及动画教程(参照NeHe) http://blog.csdn.net/cly116/article/details/47184729 刚刚学习了Qt Creator,发 ...
- 如何在Qt Creator 创建一个.pri文件
如何在Qt Creator 创建一个.pri文件 2013年10月09日 ⁄ 综合 ⁄ 共 254字 ⁄ 字号 小 中 大 ⁄ 评论关闭 这个问题很少人写,因为比较简单,但是让却让我花了好大功夫才 ...
- qt creator中使用qwt插件
前提:我用mingw编译的qwt. 将qwt插件集成到qt designer非常easy.仅仅要把qwt编译的qwt_designer_plugin.dll复制到C:\Qt\Qt5.3.1\5.3\m ...
- Qt在VS2013或Qt Creator 中的控制台输出方式设置
首先值得注意的是:在写程序的时候,项目保存路径不要涉及到中文,否则容易出错! 一.Qt在VS2013中的控制台输出方式: 注意:这里是而不是Qt Application. 然后直接点击finish即可 ...
随机推荐
- Counting Offspring(hdu3887)
Counting Offspring Time Limit: 15000/5000 MS (Java/Others) Memory Limit: 32768/32768 K (Java/Othe ...
- 【LeetCode】539. Minimum Time Difference 解题报告(Python)
作者: 负雪明烛 id: fuxuemingzhu 个人博客: http://fuxuemingzhu.me/ 题目地址:https://leetcode.com/problems/minimum-t ...
- Chapter 15 Outcome Regression and Propensity Scores
目录 15.1 Outcome regression 15.2 Propensity scores 15.3 Propensity stratification and standardization ...
- 三角网格上的寻路算法Part.2—A*算法
背景 继上一篇三角网格Dijkstra寻路算法之后,本篇将继续介绍一种更加智能,更具效率的寻路算法-A*算法,本文将首先介绍该算法的思想原理,再通过对比来说明二者之间的相同与不同之处,然后采用类似Di ...
- Linux密码文件介绍
1. 查看shadow文件内容```cat /etc/shadow```可以看到shadow文件内容,例如:```root:$1$Bg1H/4mz$X89TqH7tpi9dX1B9j5YsF.:148 ...
- mysql+heartbeat+drbd安装
环境: 系统 IP地址 主机名 软件包列表 centos6.5 192.168.200.101 server1 ...
- .NET 云原生架构师训练营(模板方法 && 建造者)--学习笔记
目录 模板方法 源码 建造者 模板方法 定义一个操作中的算法的骨架,而将一些步骤延迟到子类中,使得子类可以不改变一个算法的结构即可重定义该算法的某些特定步骤 源码 https://github.com ...
- Python_类型转换
列表与字符串互相转换 join方法将list转换为string _list = ["a", "b", "c"] # 以".&quo ...
- captcha_生成图片验证码并返回给前端展示
使用pip install captcha 安装模块 import random import string import os import io from captcha.image import ...
- CentOS 7 把已登录的用户断开
1. 查看登陆用户 [root@localhost ~]# w 18:29:30 up 377 days, 8:44, 4 users, load average: 0.05, 0.12, 0.09 ...