理解SynchronizationContext,如何在Winform里面跨线程访问UI控件
SynchronizationContext 类是一个基类,可提供不带同步的自由线程上下文。 此类实现的同步模型的目的是使公共语言运行库内部的异步/同步操作能够针对不同的异步模型采取正确的行为。此模型还简化了托管应用程序为在不同的同步环境下正常工作而必须遵循的一些要求。同步模型的提供程序可以扩展此类并为这些方法提供自己的实现。(来自MSDN)
简而言之就是允许一个线程和另外一个线程进行通讯,SynchronizationContext在通讯中充当传输者的角色。另外这里有个地方需要清楚的,不是每个线程都附加SynchronizationContext这个对象,只有UI线程是一直拥有的。
前戏
之前在winform里面使用多线程或者异步的时候为了避免“访问了不是本线程创建的控件”都是设置窗体的CheckForIllegalCrossThreadCalls为不检查线程冲突,或者检测控件的InvokeRequired?!是的,当然没问题。(解释下,InvokeRequired属性是每个Control对象都具有的属性,它会返回true和false,当是true的时候,表示它在另外一个线程上面,这是必须通过Invoke,BeginInvoke这些方法来调用更新UI对象的方法,当是false的时候,有两种情况,1:位于当前线程上面,可以通过直接去调用修改UI对象的方法,2:位于不同的线程上,不过控件或窗体的句柄不存在。对于句柄是否存在的判断,可以通过IsHandleCreated来获取,如果句柄不存在,是不能调用Invoke...这些方法的,这时候你必须等待句柄的创建)
曾经对异步委托的使用简直上瘾,一天不用就不舒服。结果最近发现SynchronizationContext类真是个好东西啊。可以在窗体里面进行一下封装可以避免使用InvokeRequired去检测UI控件状态的麻烦。这里分享一段测试过程。
曾经以为工作十几年,Winform没啥学头了。其实呵呵了,要想在某个小领域突破是很难的。要成为真正的专家是马虎不得的,真是要活到老学到老。
测试代码
public partial class Form1 : Form
{ SynchronizationContext sc = null;
public Form1()
{ InitializeComponent();
sc = SynchronizationContext.Current;
this.Load += Form1_Load;
} private void Form1_Load(object sender, EventArgs e)
{
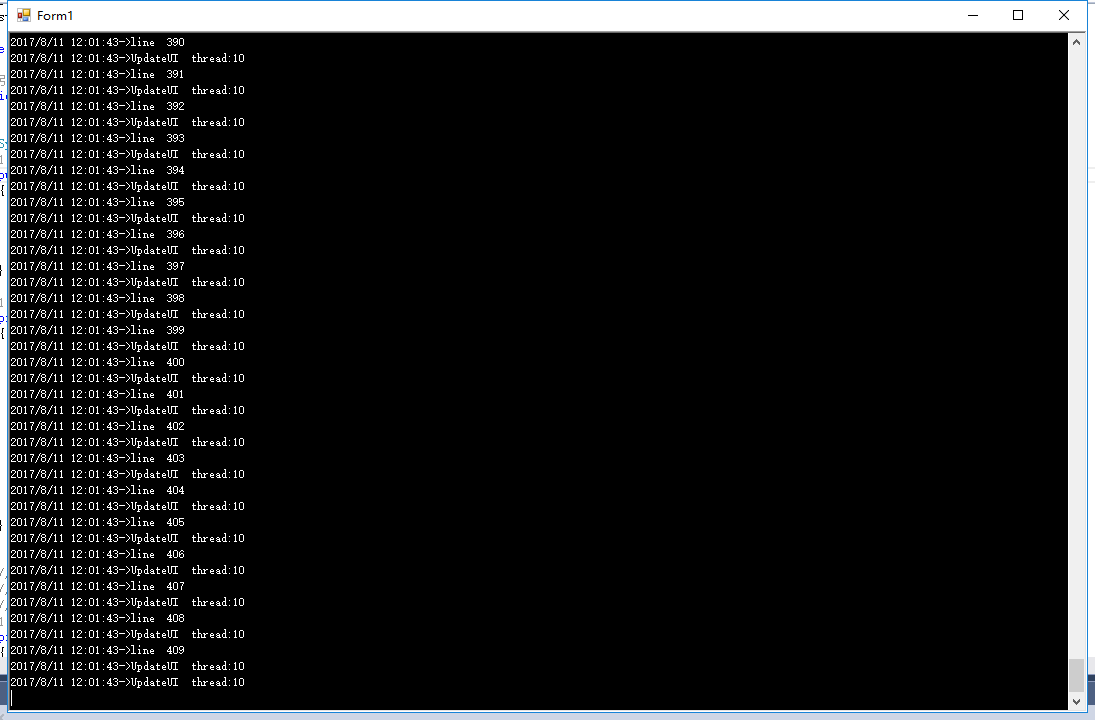
Thread thread = new Thread((object state) =>
{
int id = Thread.CurrentThread.ManagedThreadId; for (int i = 0; i < 1000; i++)
{
Thread.Sleep(10);
sc.Post(UpdateUI, "line " + i.ToString());
}
});
thread.Start();
} /// <summary>
/// This method is executed on the main UI thread.
/// </summary>
private void UpdateUI(object state)
{
int id = Thread.CurrentThread.ManagedThreadId;
SendLogMessage("UpdateUI thread:" + id);
string text = state as string;
SendLogMessage(text);
} /// <summary>
/// UI线程回调方法,访问控件刷新显示
/// </summary>
/// <param name="message">消息内容</param>
private void LogMessageBack(object message)
{
rbxMessageInfo.AppendText(DateTime.Now + "->" + message.ToString() + Environment.NewLine);
} /// <summary>
/// 交给UI线程去排队显示消息
/// </summary>
/// <param name="message"></param>
private void SendLogMessage(string message)
{
sc.Post(LogMessageBack, message);
}
}
大神对SynchronizationContext的封装
protected internal static System.AsyncCallback SyncCallback(System.AsyncCallback callback)

		{

			System.Threading.SynchronizationContext sc = System.Threading.SynchronizationContext.Current;

			if (sc == null)

			{

				return callback;

			}

			return delegate(System.IAsyncResult asyncResult)

			{

				sc.Post(delegate(object result)

				{

					callback((System.IAsyncResult)result);

				}, asyncResult);

			};

		}

		protected void DataAction(Action action)

		{

			try

			{

				action();

			}

			catch (System.Exception ex)

			{

				OperateLog.OpExcpLog(string.Format("[{0}][{1}]功能操作执行异常,异常原因:{2}", action.Method.GetType().FullName, action.Method.Name, ex.Message));

				System.Windows.Forms.MessageBox.Show(EESException.getException(ex).Message, "异常警告", System.Windows.Forms.MessageBoxButtons.OK, System.Windows.Forms.MessageBoxIcon.Hand);

			}

		}

		protected void BeginAction(MethodDelegate action, object obj, params object[] args)

		{

			EForm.AsyncRequest asyncRequest = new EForm.AsyncRequest(action, obj, args, System.Threading.SynchronizationContext.Current);

			this.inAsyncAction = null;

			this.OnBeginAction(asyncRequest);

			System.Threading.ThreadPool.QueueUserWorkItem(new System.Threading.WaitCallback(this.OnWaitCallback), asyncRequest);

		}

		protected void BeginAction(object proxy, string command, params object[] args)

		{

			MethodDelegate action = FastInvoke.CreateMethodDelegate(proxy.GetType().GetMethod(command));

			this.BeginAction(action, proxy, args);

		}

		protected void BeginActionWithToolTip(MethodDelegate action, object obj, string toolTip, params object[] args)

		{

			EForm.AsyncRequest asyncRequest = new EForm.AsyncRequest(action, obj, args, System.Threading.SynchronizationContext.Current, toolTip);

			this.inAsyncAction = null;

			this.OnBeginAction(asyncRequest);

			System.Threading.ThreadPool.QueueUserWorkItem(new System.Threading.WaitCallback(this.OnWaitCallback), asyncRequest);

		}

		protected void BeginActionWithToolTip(object proxy, string command, string toolTip, params object[] args)

		{

			MethodDelegate action = FastInvoke.CreateMethodDelegate(proxy.GetType().GetMethod(command));

			this.BeginAction(action, proxy, new object[]

			{

				toolTip,

				args

			});

		}

		protected virtual void OnBeginAction(EForm.AsyncRequest context)

		{

			if (this.waitingForm.Visible)

			{

				throw new EESException("后台正在执行,请稍候……");

			}

			this.waitingForm.Message = context.ToolTip;

			this.waitingForm.Show();

		}

		protected virtual void OnEndAction(EForm.AsyncResponse context)

		{

			this.waitingForm.Visible = false;

		}

		private void OnWaitCallback(object state)

		{

			EForm.AsyncRequest asyncRequest = (EForm.AsyncRequest)state;

			object result = null;

			System.Exception exception = null;

			try

			{

				result = asyncRequest.Method(asyncRequest.Obj, asyncRequest.Args);

			}

			catch (System.Exception ex)

			{

				exception = ex;

			}

			EForm.AsyncResponse state2 = new EForm.AsyncResponse(asyncRequest.Method, result, asyncRequest.Args, exception);

			System.Threading.SynchronizationContext context = asyncRequest.Context;

			if (context != null)

			{

				context.Post(new System.Threading.SendOrPostCallback(this.OnSendOrPostCallback), state2);

			}

		}

		private void OnSendOrPostCallback(object state)

		{

			EForm.AsyncResponse asyncResponse = (EForm.AsyncResponse)state;

			this.OnEndAction(asyncResponse);

			if (asyncResponse.Exception != null)

			{

				System.Windows.Forms.MessageBox.Show(EESException.getException(asyncResponse.Exception).Message);

				return;

			}

			this.OnActionComplete(asyncResponse);

		}

		protected virtual void OnActionComplete(EForm.AsyncResponse context)

		{

		}
这是摘录的项目里面基类窗体关于SynchronizationContext的封装,子类只要使用各种BeginAction就行了,然后在OnActionComplete里面处理访问UI控件的操作
理解SynchronizationContext,如何在Winform里面跨线程访问UI控件的更多相关文章
- 实现 winform 异步跨线程访问UI控件
在开发winform时经常会用到多线程防止界面出现假死现象,比如当你单击某个按钮时,需要执行很多代码,但是在执行过程中想实时的将当前执行的情况报告给用户,类型进度条或文本什么的. 这个时候很显然,如果 ...
- 跨线程访问UI控件时的Lambda表达式
工作中经常会用到跨线程访问UI控件的情况,由于.net本身机制,是不允许在非UI线程访问UI控件的,实际上跨线程访问UI控件还是 将访问UI的操作交给UI线程来处理的, 利用Control.Invok ...
- WPF / Win Form:多线程去修改或访问UI线程数据的方法( winform 跨线程访问UI控件 )
WPF:谈谈各种多线程去修改或访问UI线程数据的方法http://www.cnblogs.com/mgen/archive/2012/03/10/2389509.html 子线程非法访问UI线程的数据 ...
- 实现跨线程访问UI控件的3种方法
namespace 多线程 { public partial class Form2 : Form { public Form2() { InitializeComponent(); } privat ...
- (转).NET 4.5中使用Task.Run和Parallel.For()实现的C# Winform多线程任务及跨线程更新UI控件综合实例
http://2sharings.com/2014/net-4-5-task-run-parallel-for-winform-cross-multiple-threads-update-ui-dem ...
- Visual studio之C#跨线程调用UI控件
背景 当前串口通讯项目,多个线程需要同时利用richTextBoxMsg控件打印信息,直接调用会造成线程不安全,严重的时候会直接导致UI线程挂掉,因此本篇就跨线程调用UI控件做个记录. 正文 定义控件 ...
- C# Winform 跨线程更新UI控件常用方法汇总(多线程访问UI控件)
概述 C#Winform编程中,跨线程直接更新UI控件的做法是不正确的,会时常出现“线程间操作无效: 从不是创建控件的线程访问它”的异常.处理跨线程更新Winform UI控件常用的方法有4种:1. ...
- C# Winform 跨线程更新UI控件常用方法总结(转)
出处:http://www.tuicool.com/articles/FNzURb 概述 C#Winform编程中,跨线程直接更新UI控件的做法是不正确的,会时常出现“线程间操作无效: 从不是创建控件 ...
- 跨线程操作UI控件
写程序的时候经常会遇到跨线程访问控件的问题,看到不少人去设置Control.CheckForIllegalCrossThreadCalls = false;这句话是告诉编译器不要对跨线程访问作检查,可 ...
随机推荐
- 使用AOP记录应用调用链开销
最近系统出现了一次线上的性能问题,本来以为目前的QPS应该是不会出现任何问题的,结果微服务还是比较容易因为某个点的问题导致雪崩的...出了性能问题就要做分析,正统的思路是要不断进行压测用JProfil ...
- Chrome浏览器调试技巧
本文主要讲解针对chrome浏览器的调试方案,对于其他浏览器其实大同小异. 先来入门一点的 DOM元素调试 看上图: 以上图表明的1,2,3,4,5标记说明: 1,为移动设备模拟器,chorme现在是 ...
- 》》ajax加蒙版
在与后台交互时,用时过长.禁止页面操作等,有提示,增强页面体验: $.ajax({ type:'POST',url:url,data:obj,dataType:'json',beforeSend: f ...
- hdu1181 变形课(vector容器+dfs)
变形课 Time Limit: 2000/1000 MS (Java/Others) Memory Limit: 131072/65536 K (Java/Others) Total Submi ...
- x86内存映射
Contents 1 "Low" memory (< 1 MiB) 1.1 Overview 1.2 BIOS Data Area (BDA) 1.3 Extended BI ...
- nginx+redis缓存微信的token数据
上一篇文章我们讲了如何在负载均衡的项目中使用redis来缓存session数据,戳这里. 我们在项目的进展过程中,不仅需要缓存session数据,有时候还需要缓存一些别的数据,比如说,微信的acces ...
- MongoDB学习笔记(一)
最近有些时间,就抽空研究了一下MongoDB,我以前经常使用关系型数据库,如Oracle.MySQL,对MongoDB只是有些很肤浅的了解,最近下决心要好好研究一下,主要的参考书有两本:<Mon ...
- SoapUI模拟soap接口返回不同响应(通过groovy脚本)
一.创建soap项目,输入wsdl文件,然后生成SOAP Mock Service,再生成测试用例,然后新建新的响应 WSDL文件:MathUtil.wsdl <?xml version=&qu ...
- 修改文件系统属性chattr,查看文件系统属性lsattr
chattr chattr +i 文件或目录 , chattr +a 文件或目录,chattr -i 文件或目录,chattr -a 文件或目录,chattr =i 文件或目录,chattr =a 文 ...
- 【java】对象变成垃圾被垃圾回收器gc收回前执行的操作:Object类的protected void finalize() throws Throwable
package 对象被回收前执行的操作; class A{ @Override protected void finalize() throws Throwable { System.out.prin ...