Tensorflow 解决MNIST问题的重构程序
分为三个文件:mnist_inference.py:定义前向传播的过程以及神经网络中的参数,抽象成为一个独立的库函数;mnist_train.py:定义神经网络的训练过程,在此过程中,每个一段时间保存一次模型训练的中间结果;mnist_eval.py:定义测试过程。
mnist_inference.py:
#coding=utf8
import tensorflow as tf

#1. 定义神经网络结构相关的参数。

INPUT_NODE = 784
OUTPUT_NODE = 10
LAYER1_NODE = 500

#2. 通过tf.get_variable函数来获取变量。
def get_weight_variable(shape, regularizer):
    weights = tf.get_variable("weights", shape, initializer=tf.truncated_normal_initializer(stddev=0.1))
    if regularizer != None: tf.add_to_collection('losses', regularizer(weights))
    return weights

#3. 定义神经网络的前向传播过程。使用命名空间方式,不需要把所有的变量都作为变量传递到不同的函数中提高程序的可读性

def inference(input_tensor, regularizer):
    with tf.variable_scope('layer1'):

        weights = get_weight_variable([INPUT_NODE, LAYER1_NODE], regularizer)
        biases = tf.get_variable("biases", [LAYER1_NODE], initializer=tf.constant_initializer(0.0))
        layer1 = tf.nn.relu(tf.matmul(input_tensor, weights) + biases)

    with tf.variable_scope('layer2'):
        weights = get_weight_variable([LAYER1_NODE, OUTPUT_NODE], regularizer)
        biases = tf.get_variable("biases", [OUTPUT_NODE], initializer=tf.constant_initializer(0.0))
        layer2 = tf.matmul(layer1, weights) + biases

    return layer2
mnist_train.py:
#coding=utf8
import tensorflow as tf
from tensorflow.examples.tutorials.mnist import input_data
import mnist_inference
import os
#1. 定义神经网络结构相关的参数。
BATCH_SIZE = 100
LEARNING_RATE_BASE = 0.8
LEARNING_RATE_DECAY = 0.99
REGULARIZATION_RATE = 0.0001
TRAINING_STEPS = 30000
MOVING_AVERAGE_DECAY = 0.99
MODEL_SAVE_PATH="MNIST_model/"
MODEL_NAME="mnist_model"
#2. 定义训练过程。
def train(mnist):
# 定义输入输出placeholder。
x = tf.placeholder(tf.float32, [None, mnist_inference.INPUT_NODE], name='x-input')
y_ = tf.placeholder(tf.float32, [None, mnist_inference.OUTPUT_NODE], name='y-input')
regularizer = tf.contrib.layers.l2_regularizer(REGULARIZATION_RATE)
y = mnist_inference.inference(x, regularizer)
global_step = tf.Variable(0, trainable=False)
# 定义损失函数、学习率、滑动平均操作以及训练过程。
variable_averages = tf.train.ExponentialMovingAverage(MOVING_AVERAGE_DECAY, global_step)
variables_averages_op = variable_averages.apply(tf.trainable_variables())
cross_entropy = tf.nn.sparse_softmax_cross_entropy_with_logits(logits=y, labels=tf.argmax(y_, 1))
cross_entropy_mean = tf.reduce_mean(cross_entropy)
loss = cross_entropy_mean + tf.add_n(tf.get_collection('losses'))
learning_rate = tf.train.exponential_decay(
LEARNING_RATE_BASE,
global_step,
mnist.train.num_examples / BATCH_SIZE, LEARNING_RATE_DECAY,
staircase=True)
train_step = tf.train.GradientDescentOptimizer(learning_rate).minimize(loss, global_step=global_step)
with tf.control_dependencies([train_step, variables_averages_op]):
train_op = tf.no_op(name='train')
# 初始化TensorFlow持久化类。
saver = tf.train.Saver()
with tf.Session() as sess:
tf.global_variables_initializer().run()
for i in range(TRAINING_STEPS):
xs, ys = mnist.train.next_batch(BATCH_SIZE)
_, loss_value, step = sess.run([train_op, loss, global_step], feed_dict={x: xs, y_: ys})
if i % 1000 == 0:
print("After %d training step(s), loss on training batch is %g." % (step, loss_value))
saver.save(sess, os.path.join(MODEL_SAVE_PATH, MODEL_NAME), global_step=global_step)
def main(argv=None):
mnist = input_data.read_data_sets("MNIST_data", one_hot=True)
train(mnist)
if __name__ == '__main__':
main()
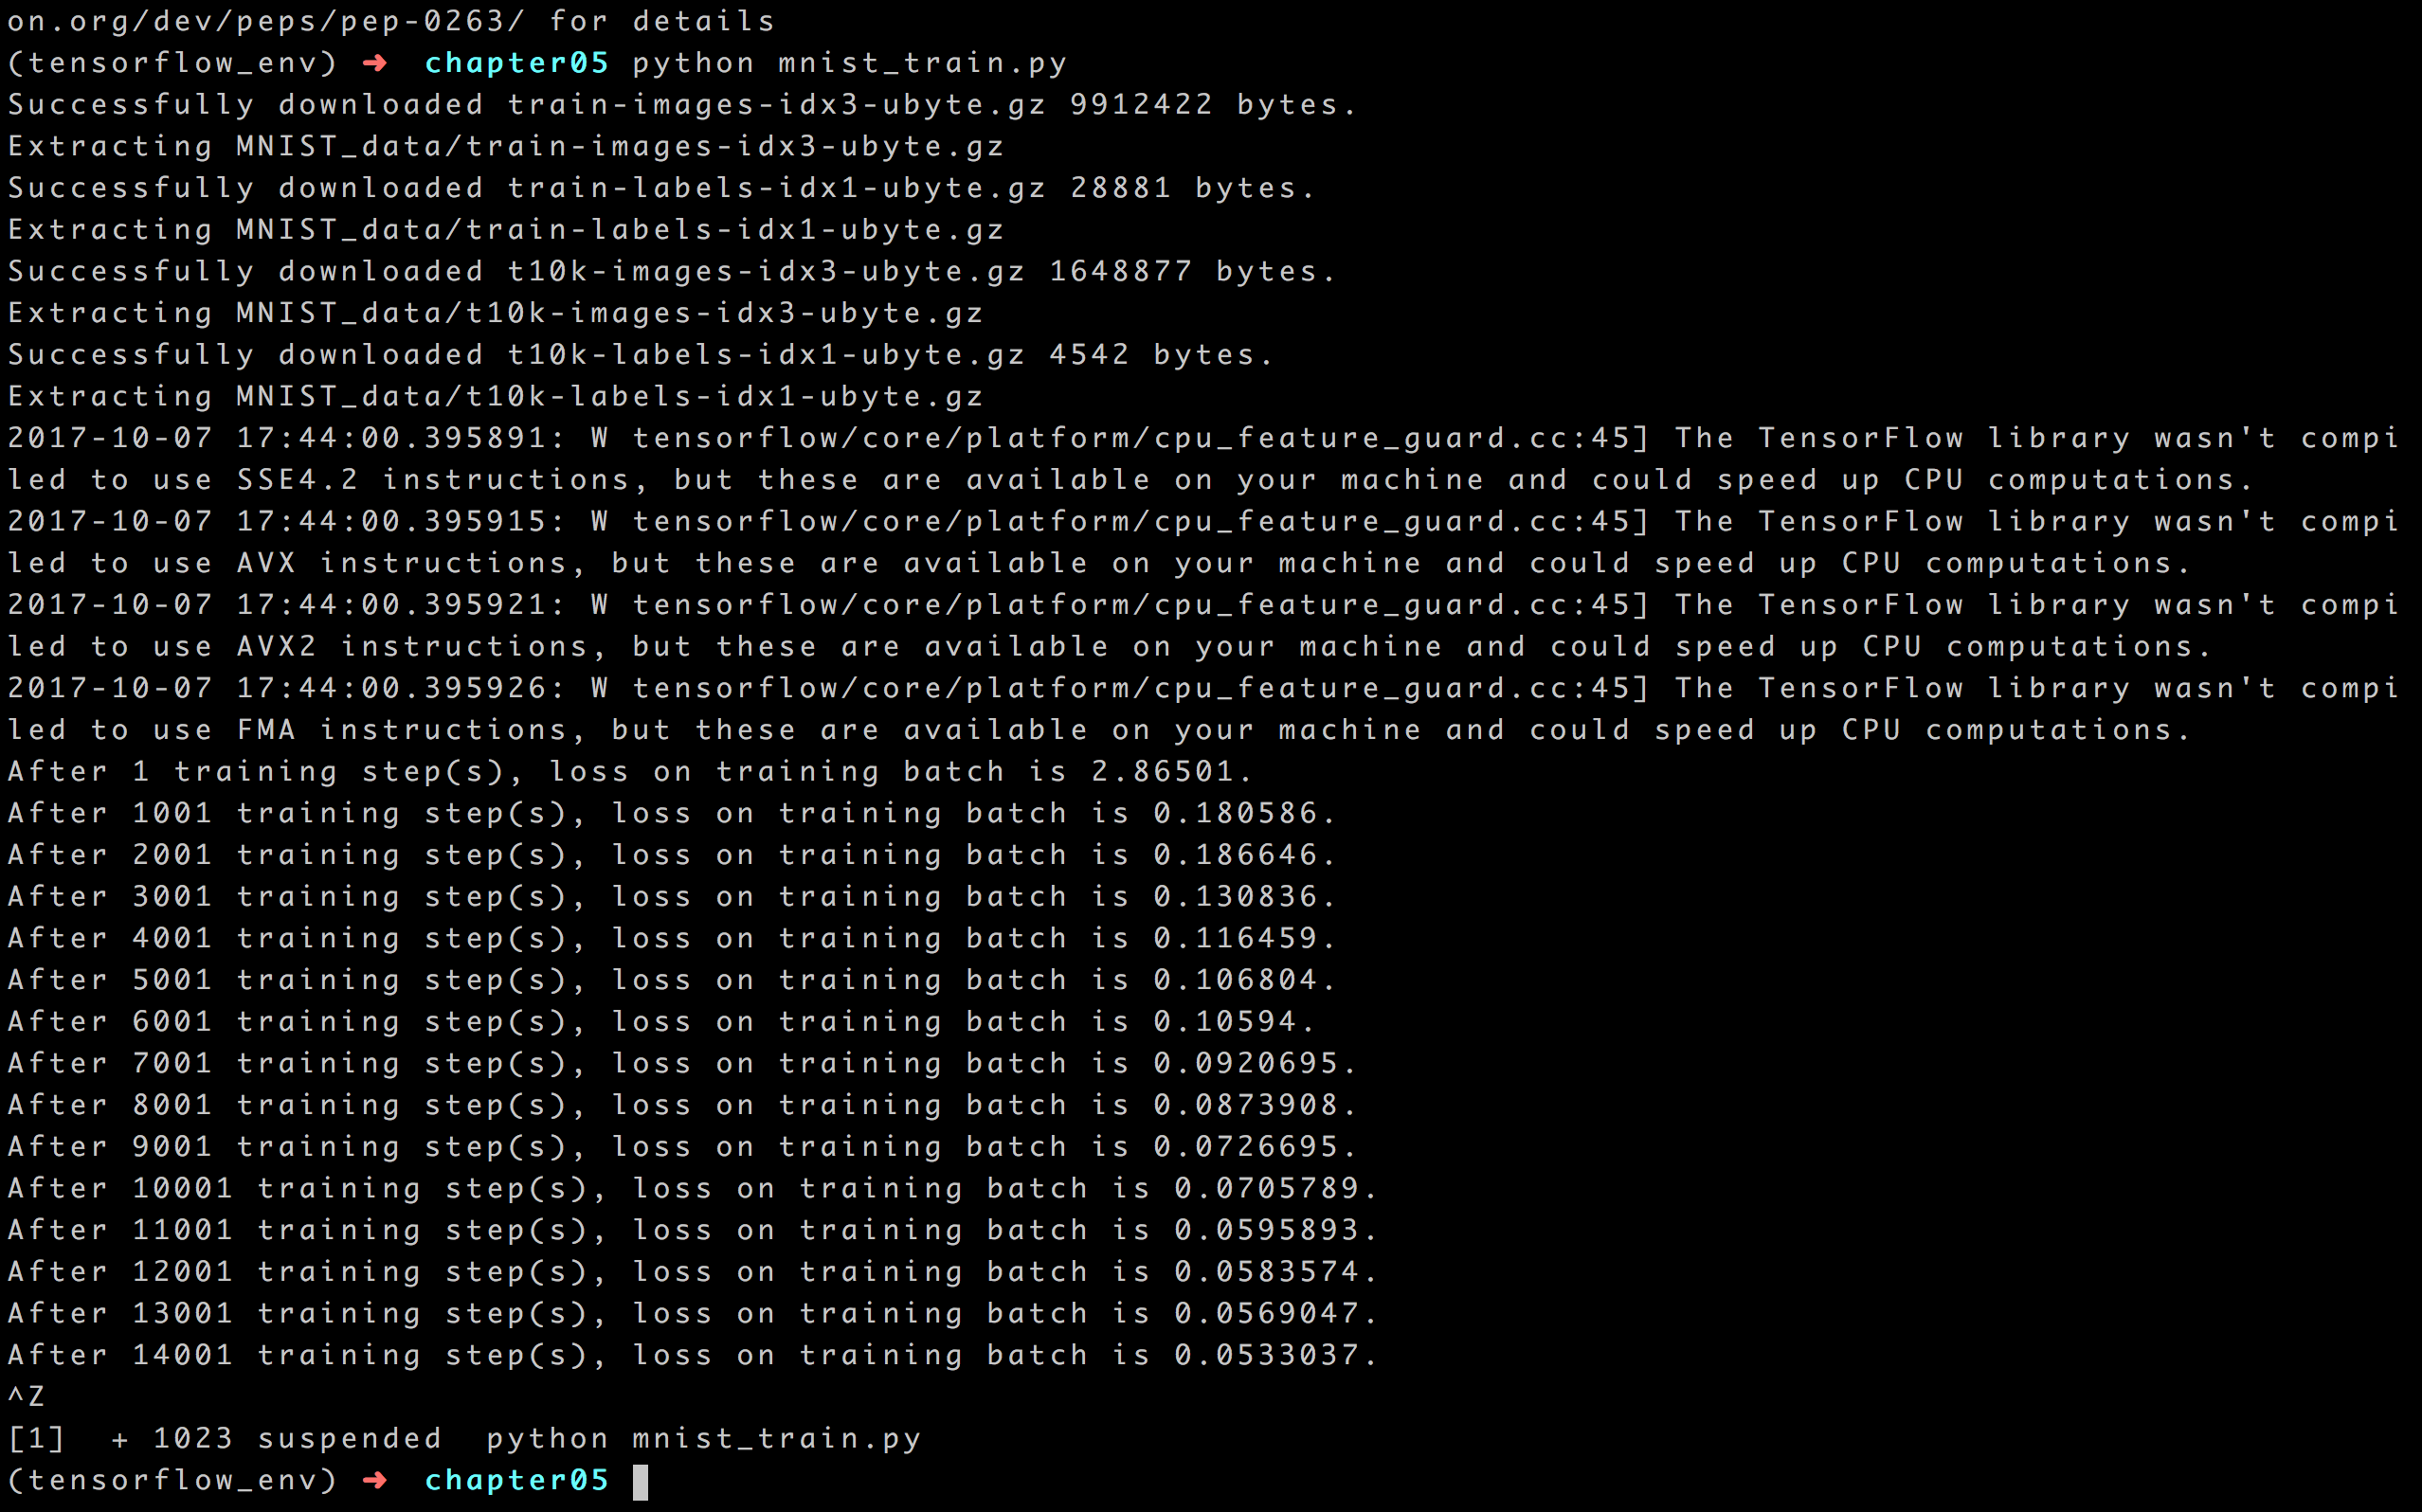
结果如下:
mnist_eval.py:
import time
import tensorflow as tf
from tensorflow.examples.tutorials.mnist import input_data
import mnist_inference
#coding=utf8
import mnist_train

#1. 每10秒加载一次最新的模型

# 加载的时间间隔。
EVAL_INTERVAL_SECS = 10

def evaluate(mnist):
    with tf.Graph().as_default() as g:
        x = tf.placeholder(tf.float32, [None, mnist_inference.INPUT_NODE], name='x-input')
        y_ = tf.placeholder(tf.float32, [None, mnist_inference.OUTPUT_NODE], name='y-input')
        validate_feed = {x: mnist.validation.images, y_: mnist.validation.labels}

        y = mnist_inference.inference(x, None)
        correct_prediction = tf.equal(tf.argmax(y, 1), tf.argmax(y_, 1))
        accuracy = tf.reduce_mean(tf.cast(correct_prediction, tf.float32))

        variable_averages = tf.train.ExponentialMovingAverage(mnist_train.MOVING_AVERAGE_DECAY)
        variables_to_restore = variable_averages.variables_to_restore()
        saver = tf.train.Saver(variables_to_restore)

        while True:
            with tf.Session() as sess:
                ckpt = tf.train.get_checkpoint_state(mnist_train.MODEL_SAVE_PATH)
                if ckpt and ckpt.model_checkpoint_path:
                    saver.restore(sess, ckpt.model_checkpoint_path)
                    global_step = ckpt.model_checkpoint_path.split('/')[-1].split('-')[-1]
                    accuracy_score = sess.run(accuracy, feed_dict=validate_feed)
                    print("After %s training step(s), validation accuracy = %g" % (global_step, accuracy_score))
                else:
                    print('No checkpoint file found')
                    return
            time.sleep(EVAL_INTERVAL_SECS)

def main(argv=None):
    mnist = input_data.read_data_sets("MNIST_data", one_hot=True)
    evaluate(mnist)

if __name__ == '__main__':
    main()
结果如下:

Tensorflow 解决MNIST问题的重构程序的更多相关文章
- 深入浅出TensorFlow(二):TensorFlow解决MNIST问题入门
2017年2月16日,Google正式对外发布Google TensorFlow 1.0版本,并保证本次的发布版本API接口完全满足生产环境稳定性要求.这是TensorFlow的一个重要里程碑,标志着 ...
- tensorflow学习笔记——使用TensorFlow操作MNIST数据(2)
tensorflow学习笔记——使用TensorFlow操作MNIST数据(1) 一:神经网络知识点整理 1.1,多层:使用多层权重,例如多层全连接方式 以下定义了三个隐藏层的全连接方式的神经网络样例 ...
- 一个简单的TensorFlow可视化MNIST数据集识别程序
下面是TensorFlow可视化MNIST数据集识别程序,可视化内容是,TensorFlow计算图,表(loss, 直方图, 标准差(stddev)) # -*- coding: utf-8 -*- ...
- 基于tensorflow的MNIST手写数字识别(二)--入门篇
http://www.jianshu.com/p/4195577585e6 基于tensorflow的MNIST手写字识别(一)--白话卷积神经网络模型 基于tensorflow的MNIST手写数字识 ...
- tensorflow学习笔记——使用TensorFlow操作MNIST数据(1)
续集请点击我:tensorflow学习笔记——使用TensorFlow操作MNIST数据(2) 本节开始学习使用tensorflow教程,当然从最简单的MNIST开始.这怎么说呢,就好比编程入门有He ...
- Android+TensorFlow+CNN+MNIST 手写数字识别实现
Android+TensorFlow+CNN+MNIST 手写数字识别实现 SkySeraph 2018 Email:skyseraph00#163.com 更多精彩请直接访问SkySeraph个人站 ...
- win10下通过Anaconda安装TensorFlow-GPU1.3版本,并配置pycharm运行Mnist手写识别程序
折腾了一天半终于装好了win10下的TensorFlow-GPU版,在这里做个记录. 准备安装包: visual studio 2015: Anaconda3-4.2.0-Windows-x86_64 ...
- Tensorflow之MNIST的最佳实践思路总结
Tensorflow之MNIST的最佳实践思路总结 在上两篇文章中已经总结出了深层神经网络常用方法和Tensorflow的最佳实践所需要的知识点,如果对这些基础不熟悉,可以返回去看一下.在< ...
- tensorflow处理mnist(二)
用卷积神经网络解决mnist的分类问题. 简单的例子 一行一行解释这个代码. 这个不是google官方的例子,但是很简洁,便于入门.tensorflow是先定义模型,最后赋值,计算.为了讨论问题方便, ...
随机推荐
- 打开XX.etl文件
1 复制你想打开的xx.etl文件到C:\Windows\System32下2 以管理员权限打开cmd, cd 到C:\ Windows\system32,该目录下会有个文件叫做tracerpt.ex ...
- HDU 2569 彼岸
彼岸 思路:动态规划.因为不能有连续三个不同的颜色,所以只要看最后三个就可以了. 设dp[n]为长度为n到达彼岸的方案数. ①当第n-2个颜色和第n-1个颜色相同时,第n个位置可以取任意一种颜色,dp ...
- php入门之数据类型
String(字符串), Integer(整型), Float(浮点型), Boolean(布尔型), Array(数组), Object(对象), NULL(空值),资源. 返回类型 getType ...
- 3-11 《Ruby元编程》第4章block块 3-12
第4章代码块blocks 基础知识 作用域:用代码块携带variables through scopes 通过传递block给instance_eval方法来控制作用域. 把block转换为Proc, ...
- codeforces 516c// Drazil and Park// Codeforces Round #292(Div. 1)
题意:一个圆环上有树,猴子上下其中一棵树,再沿着换跑,再上下另一棵树.给出一个区间,问最大的运动距离是. 给出区间大小dst,和数高数组arr. 设区间[x,y],a[x]=2*arr[x]+dst[ ...
- 49 DOM(2)
一.value属性: input ,select 标签 ,textarea 标签中有value属性, 获取他们属性值的方法,先获取该元素ele,然后ele.value得到value值. <!DO ...
- qxx 项目总结
一.账号池功能 1. 右边注释添加格式 private $client; // Jyeoo的接口 2. 将一些配置放到某个配置文件中,然后通过加载配置环境,来获取相关的变量 app()->con ...
- IOS UI-滚动视图(UIScrollView)
#import "ViewController.h" /* 1.UIScrollView控件是什么? (1)移动设备的屏幕⼤小是极其有限的,因此直接展示在⽤用户眼前的内容也相当有限 ...
- Mac安装fish shell
1.brew update 2.brew install fish 3.sudo vi /etc/shells 增加内容:/usr/local/bin/fish ##增加fish到shell环境变 ...
- javassist和jdk动态代理
先来一个InvocationHandler示例,InvocationHandler类的作用是:对原始对象的方法做一个拦截. package com.zhang; import java.lang.re ...