实验:基于http的yum源
实验:基于http的yum源
selinux,firewalld已经关闭‘,系统为CentOS7
repodata所在的目录就是yum源
下面介绍了如何把本地光盘通过httpd服务器变成yum源;多个源写到一个文件;把现有的rpm包创建成yum仓库;
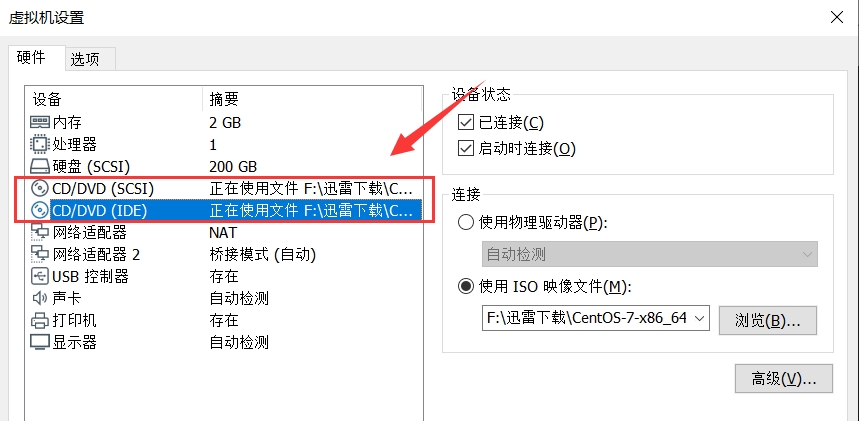
一、VMware插入两张光盘,6和7
二、手动触发系统的扫描机制
[root@centos7 html]# echo ' - - - ' > /sys/class/scsi_host/host0/scan

[root@centos7 html]# echo ' - - - ' > /sys/class/scsi_host/host1/scan

[root@centos7 html]# echo ' - - - ' > /sys/class/scsi_host/host2/scan

[root@centos7 html]# lsblk

NAME            MAJ:MIN RM  SIZE RO TYPE MOUNTPOINT

sda               8:0    0  200G  0 disk

├─sda1            8:1    0    1G  0 part /boot

├─sda2            8:2    0  100G  0 part /

├─sda3            8:3    0   50G  0 part /data

├─sda4            8:4    0    1K  0 part

└─sda5            8:5    0    4G  0 part

  └─centos-swap 253:0    0    4G  0 lvm  [SWAP]

sr0              11:0    1   10G  0 rom  /var/www/html/centos7/os/x86_64

sr1              11:1    1  3.7G  0 rom
三、yum安装httpd并启动
[root@centos7 html]# yum install httpd -y

[root@centos7 html]# systemctl start httpd
四、/var/www/html下面创建目录结构
[root@centos7 html]# cd /var/www/html/

[root@centos7 html]# mkdir centos{6,7}/os/x86_64 -p
五、分别挂载两张光盘到对应目录
[root@centos7 html]# mount /dev/sr0 /var/www/html/centos7/os/x86_64/

[root@centos7 html]# mount /dev/sr1 /var/www/html/centos6/os/x86_64/
六、网页访问测试
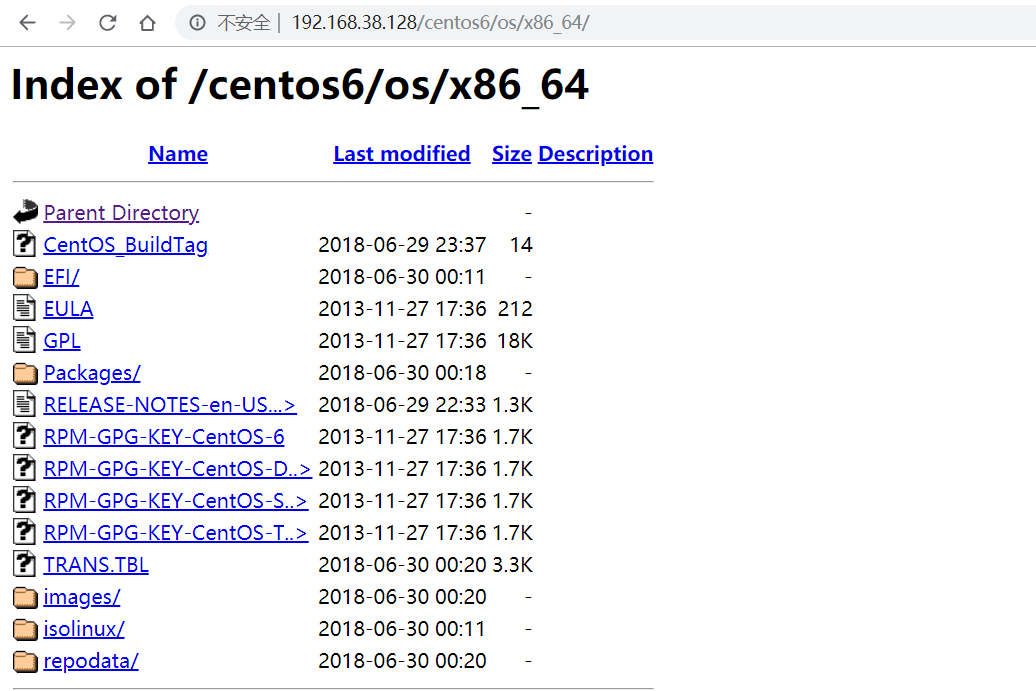
七、CentOS6测试
7.1、备份原来的repo文件
[root@qqq ~]# mkdir /etc/yum.repos.d/backup

[root@qqq ~]# mv /etc/yum.repos.d/*.repo /etc/yum.repos.d/backup

[root@qqq ~]# cat /etc/yum.repos.d/base.repo

[test]

name=test

baseurl=http://192.168.38.128/centos6/os/x86_64/

enabled=1

gpgcheck=0
7.2、装个包弯弯,没问题
[root@qqq ~]# yum install samba

Loaded plugins: fastestmirror, refresh-packagekit, security

Setting up Install Process

Loading mirror speeds from cached hostfile

Resolving Dependencies

--> Running transaction check

---> Package samba.x86_64 0:3.6.23-51.el6 will be installed

--> Finished Dependency Resolution

Dependencies Resolved

======================================================================================================================

 Package                  Arch                      Version                             Repository               Size

======================================================================================================================

Installing:

 samba                    x86_64                    3.6.23-51.el6                       test                    5.1 M

Transaction Summary

======================================================================================================================

Install       1 Package(s)

Total download size: 5.1 M

Installed size: 18 M

Is this ok [y/N]:
八、多个源写到一个文件
# CentOS7加入yum.txt文件,包含本地源和阿里源

[root@centos7 ~]# cat /var/www/html/yum.txt

http://192.168.38.128/centos6/os/x86_64/

https://mirrors.aliyun.com/centos/6/os/x86_64/

# CentOS6修改repo文件

[root@qqq ~]# cat /etc/yum.repos.d/base.repo

[test]

name=test

#baseurl=http://192.168.38.128/centos6/os/x86_64/

mirrorlist=http://192.168.38.128/yum.txt

enabled=1

gpgcheck=0
九、撞个包玩玩
[root@qqq ~]# yum install vsftpd

Loaded plugins: fastestmirror, refresh-packagekit, security

Setting up Install Process

Determining fastest mirrors

 * test: 192.168.38.128

test                                                                                           | 4.0 kB     00:00

test/primary_db                                                                                | 4.7 MB     00:00

Resolving Dependencies

--> Running transaction check

---> Package vsftpd.x86_64 0:2.2.2-24.el6 will be installed

--> Finished Dependency Resolution

Dependencies Resolved

======================================================================================================================

 Package                   Arch                      Version                            Repository               Size

======================================================================================================================

Installing:

 vsftpd                    x86_64                    2.2.2-24.el6                       test                    156 k

Transaction Summary

======================================================================================================================

Install       1 Package(s)

Total download size: 156 k

Installed size: 340 k

Is this ok [y/N]:
十、手动创建yum的repo源
10.1、传输这几个rpm文件
[root@centos7 html]# mkdir dnf

[root@centos7 html]# cd dnf

[root@centos7 dnf]# rz

z waiting to receive.**B0100000023be50

[root@centos7 dnf]# ls

dnf-0.6.4-2.sdl7.noarch.rpm       libcomps-0.1.8-3.el7.x86_64.rpm          python-dnf-0.6.4-2.sdl7.noarch.rpm

dnf-conf-0.6.4-2.sdl7.noarch.rpm  python2-libcomps-0.1.8-3.el7.x86_64.rpm
10.2、创建repo
[root@centos7 dnf]# createrepo .

Spawning worker 0 with 5 pkgs

Workers Finished

Saving Primary metadata

Saving file lists metadata

Saving other metadata

Generating sqlite DBs

Sqlite DBs complete

[root@centos7 dnf]# ls

dnf-0.6.4-2.sdl7.noarch.rpm       libcomps-0.1.8-3.el7.x86_64.rpm          python-dnf-0.6.4-2.sdl7.noarch.rpm

dnf-conf-0.6.4-2.sdl7.noarch.rpm  python2-libcomps-0.1.8-3.el7.x86_64.rpm  repodata
10.3、CentOS7配置repo配置文件
[root@centos7 dnf]# cat /etc/yum.repos.d/dnf.repo

[dnf]

name=dnf

baseurl=http://192.168.38.128/dnf/

enabled=1

gpgcheck=0
10.4、yum repolist
[root@centos7 dnf]# yum repolist dnf

Loaded plugins: fastestmirror, langpacks

Loading mirror speeds from cached hostfile

 * base: mirror.lzu.edu.cn

 * extras: mirror.jdcloud.com

 * updates: mirror.lzu.edu.cn

repo id                                                           repo name                                                     status

dnf                                                               dnf                                                           5
10.5 安装个dnf玩玩
# 可以yum install dnf

# 也可以如下

[root@centos7 dnf]# yum install *.rpm

# 此处给的包报错了,放弃这种方法,使用yum

[root@centos7 dnf]# yum install dnf
实验:基于http的yum源的更多相关文章
- centos6.4搭建基于ftp的yum源让本地局域网服务器使用
1. 挂载centos6.4 DVD镜像[root@centos64 ~]# mount /dev/cdrom /mnt 2. 安装vsftp软件,启动vsftpd服务,拷贝centos6.4 DVD ...
- 基于光盘配置yum源
#开启自动挂载服务 systemctl start autofs #设置开机自动挂载 systemctl enable autofs #光盘自动挂载路径/misc/cd “包含repoda ...
- centos6环境创建局域网http方式的yum源
环境: yum服务器:centos 6.3 :192.168.8.20 yum源客户端:centos6.5 使用的主要rpm包来自centos6.5光盘 yum源服务器端配置: 1. 首先需要检查一下 ...
- 【Linux】YUM源搭建
YUM是什么? YUM是什么 基于rpm但更胜于rpm的软件管理工具: YUM有服务端和客户端: 如果服务端和客户端在同一台机器,这是本地YUM: 如果服务端和客户端不在同一台机器,这是网络YUM. ...
- CentOS6.5创建yum源
昨天给布置个新的需求,做一个Yum仓库,要求是HTTP式的,在某个服务器上搭建个Yum仓库,能让其它的机器有了这个机器的.repo仓库文件后就可以从本地下载安装软件,以前都是下载后直接yum inst ...
- 创建本地yum源仓库
更新本地yum源 yum仓库服务端配置如下 : 1. 创建yum仓库目录 mkdir -p /data/yum_data/ cd /data/yum_data/ #可以上传rpm包到此目录,此目录下面 ...
- Hadoop生态圈-基于yum源的方式部署Cloudera Manager5.15.1
Hadoop生态圈-基于yum源的方式部署Cloudera Manager5.15.1 作者:尹正杰 版权声明:原创作品,谢绝转载!否则将追究法律责任. 我之前分享过关于离线方式部署Cloudera ...
- 基于本地iso 搭建的本地yum源 安装部署openldap
1,yum openldap-servers,openldap-clients 基于iso-cd1搭建的本地yum源(具体搭建参看ruige的repo本地快速搭建,在右边 找找看中输入repo key ...
- 基于FTP服务器搭建yum源
本例以CentOS6.8为试验对象,来搭建基于FTP服务器的yum源. 一.配置本地yum源 1.创建挂载目录/yum mkdir /yum 2.挂载镜像 mount -o loop CentOS- ...
随机推荐
- Bran的内核开发教程(bkerndev)-02 准备工作
准备工作 内核开发是编写代码以及调试各种系统组件的漫长过程.一开始这似乎是一个让人畏惧的任务,但是并不需要大量的工具集来编写自己的内核.这个内核开发教程主要涉及使用GRUB将内核加载到内存中.GR ...
- shark恒破解笔记3-EAX决定胜负
PEID查壳 od载入 输入假的注册码 查找出错字符串 往上查找是否有关键跳转和关键call 可以看到此处有个je跳转 实现了跳转,并且跳过了我们注册成功的地址 网上查找这个跳转的关键call,这个c ...
- CSS核心问题
本文将讲述 CSS 中最核心的几个概念,包括:盒模型.position.float等.这些是 CSS 的基础,也是最常用的几个属性,它们之间看似独立却又相辅相成.为了掌握它们,有必要写出来探讨一下,如 ...
- 如何定制 Spring Boot 的 Banner?
相信用过 Spring Boot 的朋友们一定在启动日志中见过类似如下的内容,比如在启动 Spring Boot 时,控制台默认会打印 Spring Boot Logo 以及版本信息,这是 Sprin ...
- Canonical 开源 MicroK8 | 云原生生态周报 Vol. 25
业界要闻 1.Canonical 开源 MicroK8 面向工作站和边缘/物联网的零运维 Kubernetes!MicroK8 是 Canonical 提供的一款功能强大的企业级 Kubernetes ...
- django-模板之自定义模板路径(一)
一般情况下我们的模板路径是位于app下的templates,我们可以根据实际情况自己定义模板的路径. 我们在与app的同级目录下建立一个templates,并在settings.py中进行路径配置. ...
- vueclass
<!DOCTYPE html> <html> <head> <meta charset="UTF-8"> <title> ...
- WordCloud安装
1,下载 https://www.lfd.uci.edu/~gohlke/pythonlibs/#wordcloud 2,安装 (window环境安装) 找的下载文件的路径 安装 1 pip inst ...
- 前端技术之:如何在Vue中使用clipboard.js复制服务端数据
第一步 创建点击对象页面元素,并绑定业务数据. <el-button type="text" size="mini" class="copy-b ...
- 在虚拟机中使用DHCP动态管理主机地址
小知识 DHCP协议服务能够自动化的管理局域网内的主机IP地址,有效的提升IP地址使用率,提高配置效率,减少管理与维护成本.简而言之,就是ip地址分配. *****五星重点 所需要的服务:dhcp 下 ...