
基于python的OpenCV图像1
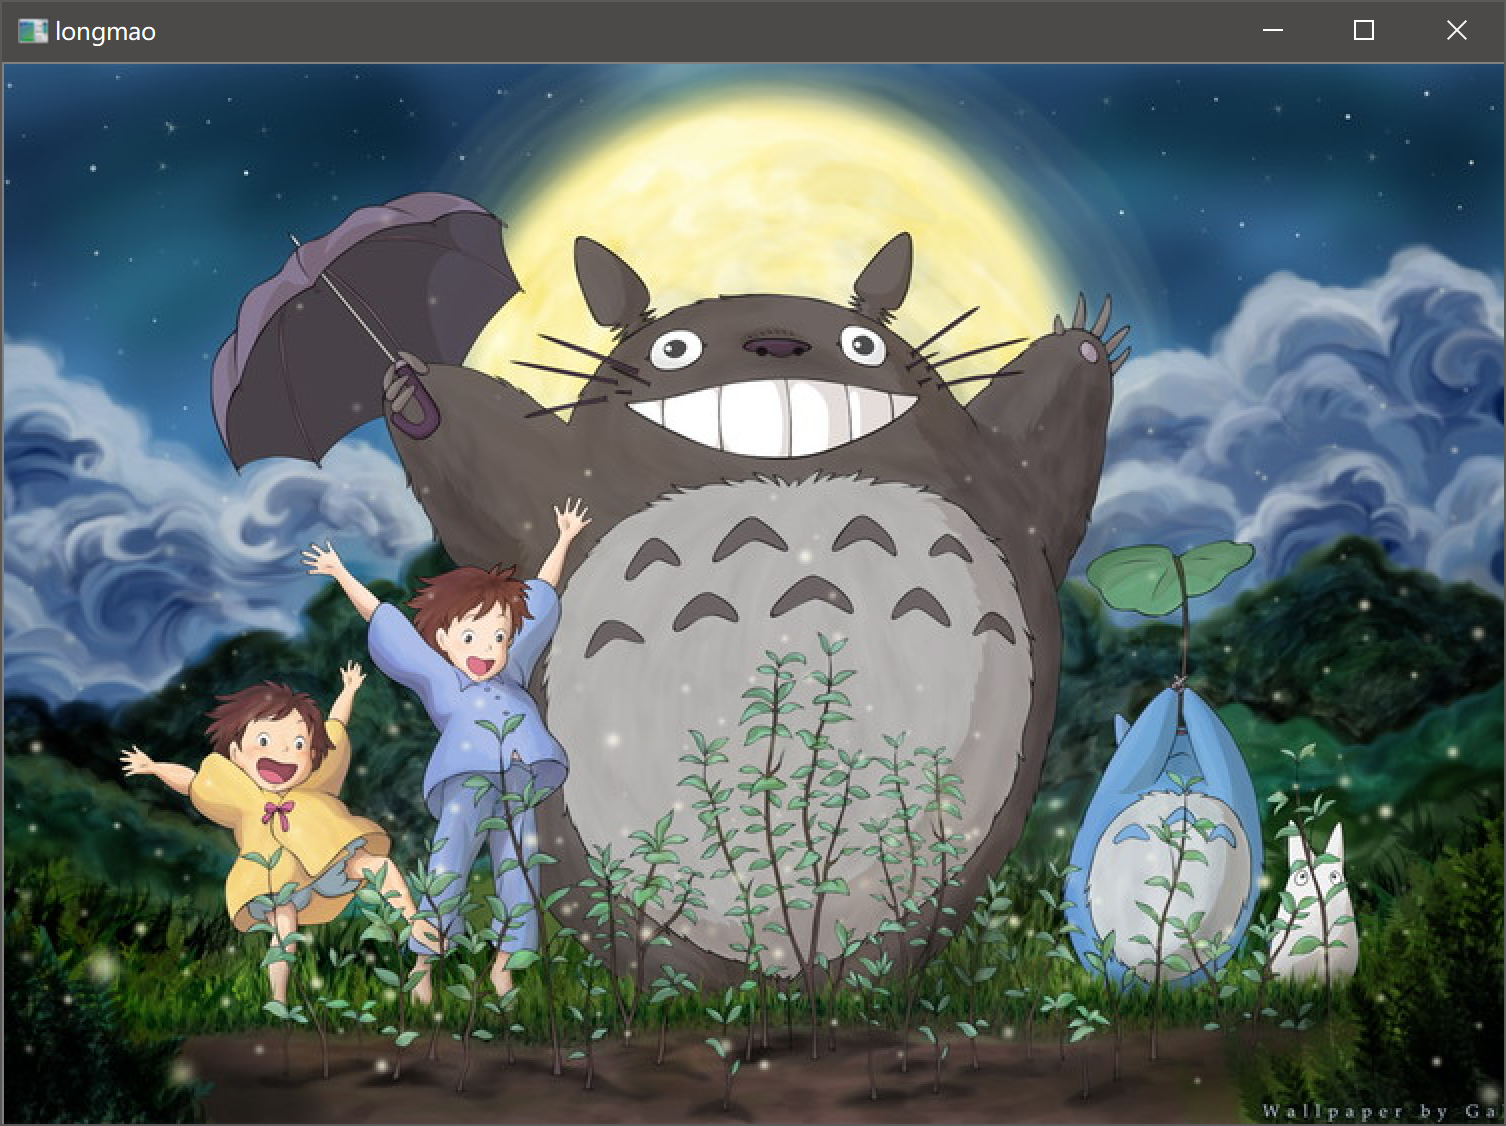
1. 读入图片并显示
import cv2

img = cv2.imread("longmao.jpg")

cv2.imshow("longmao", img)

cv2.waitKey(0) #等待按键,0表示永久等待

cv2.destroyAllWindows() #完成之后销毁窗体
2. RGB通道分离
基于numpy数组的方法
r = img[:, :, 2]

g = img[:, :, 1]

b = img[:, :, 0]
注意:OpenCV读取的顺序是BGR。
**基于OpenCV的RGB通道分离
b, g, r = cv2.split(img) #得到三个通道的值

b = cv2.split(img)[0]
3. RGB通道分离
img2 = cv2.merge([b, g, r])
4. 单像素处理
img[9, 9, 2] #通过数组索引的方式获取某个像素值,

#获取第10行,第10列(从0开始)的单独R颜色分量
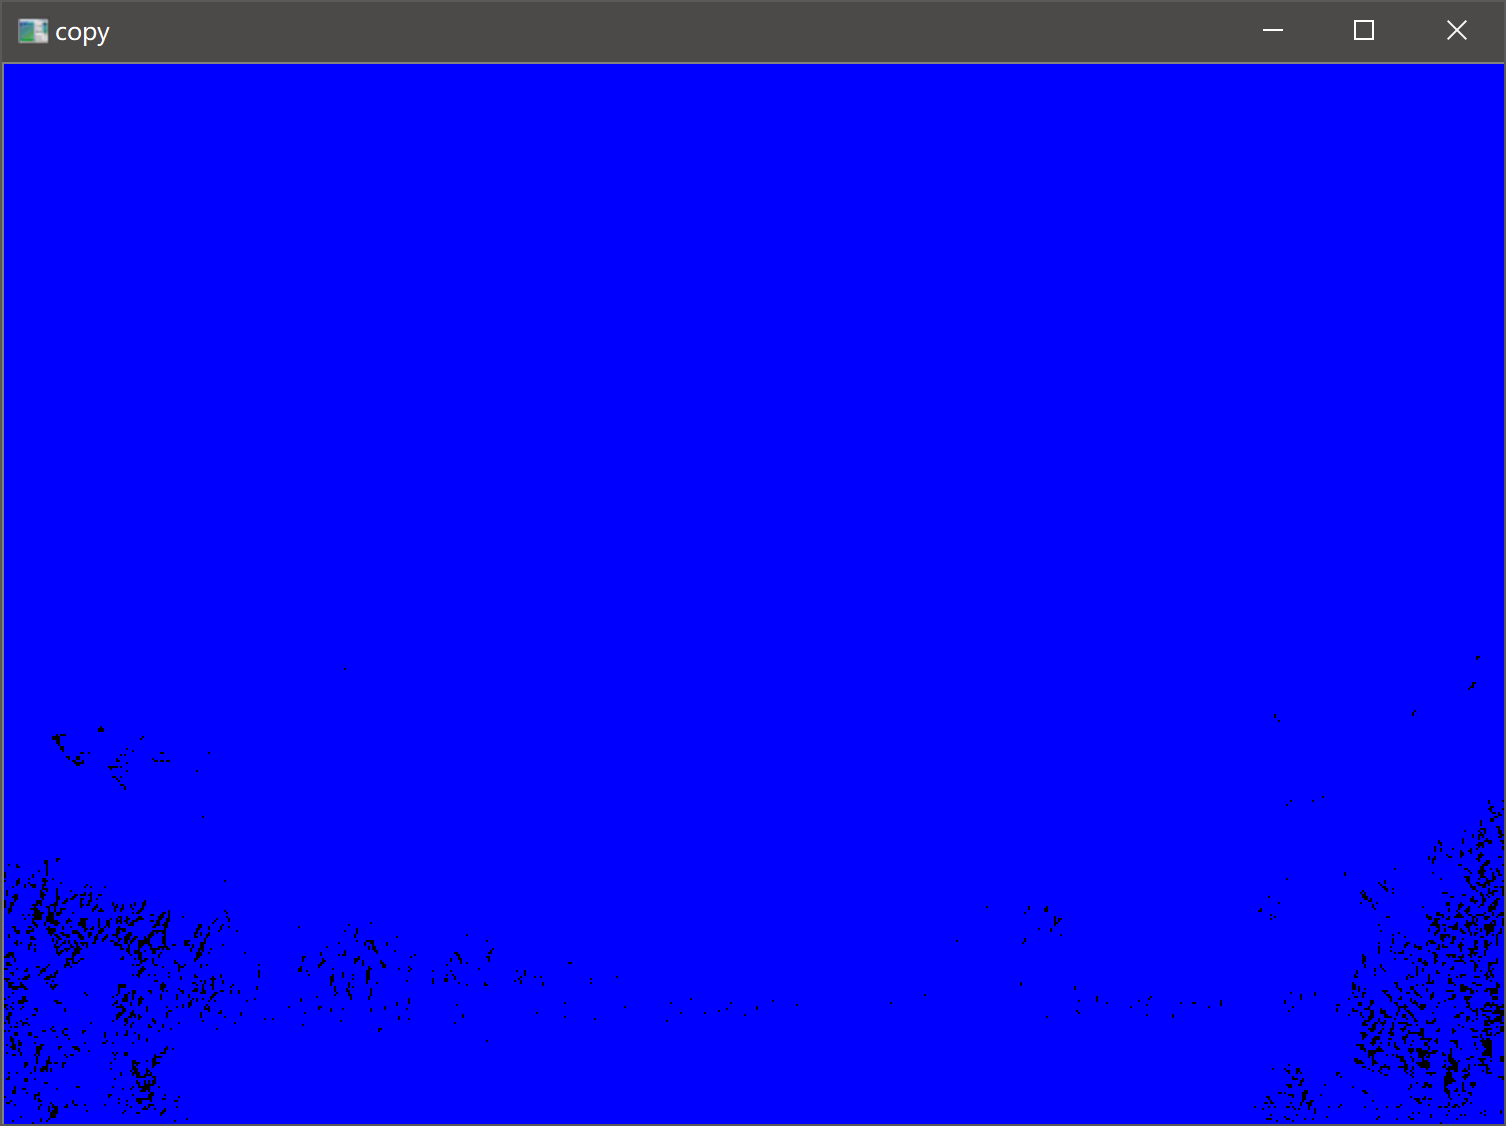
5. 遍历图像
img = cv2.imread("longmao.jpg")

img2 = np.zeros(img.shape)

for i in range(img.shape[0]):

	for j in range(img.shape[1]):

		img2[i, j, 0] = img[i, j, 0] #b分量

		#img2[i, j, 1] = img[i, j, 1] #g分量

		#img2[i, j, 2] = img[i, j, 3] #R分量

		#img2[i, j] = cv2.merge([img2[i, j, 0], img2[i, j, 1], img2[i, j, 2]])

cv2.imshow("copy", img2)

cv2.waitKey(0)

cv2.destroyAllWindows() #完成之后销毁窗体
图片的蓝色分量显示
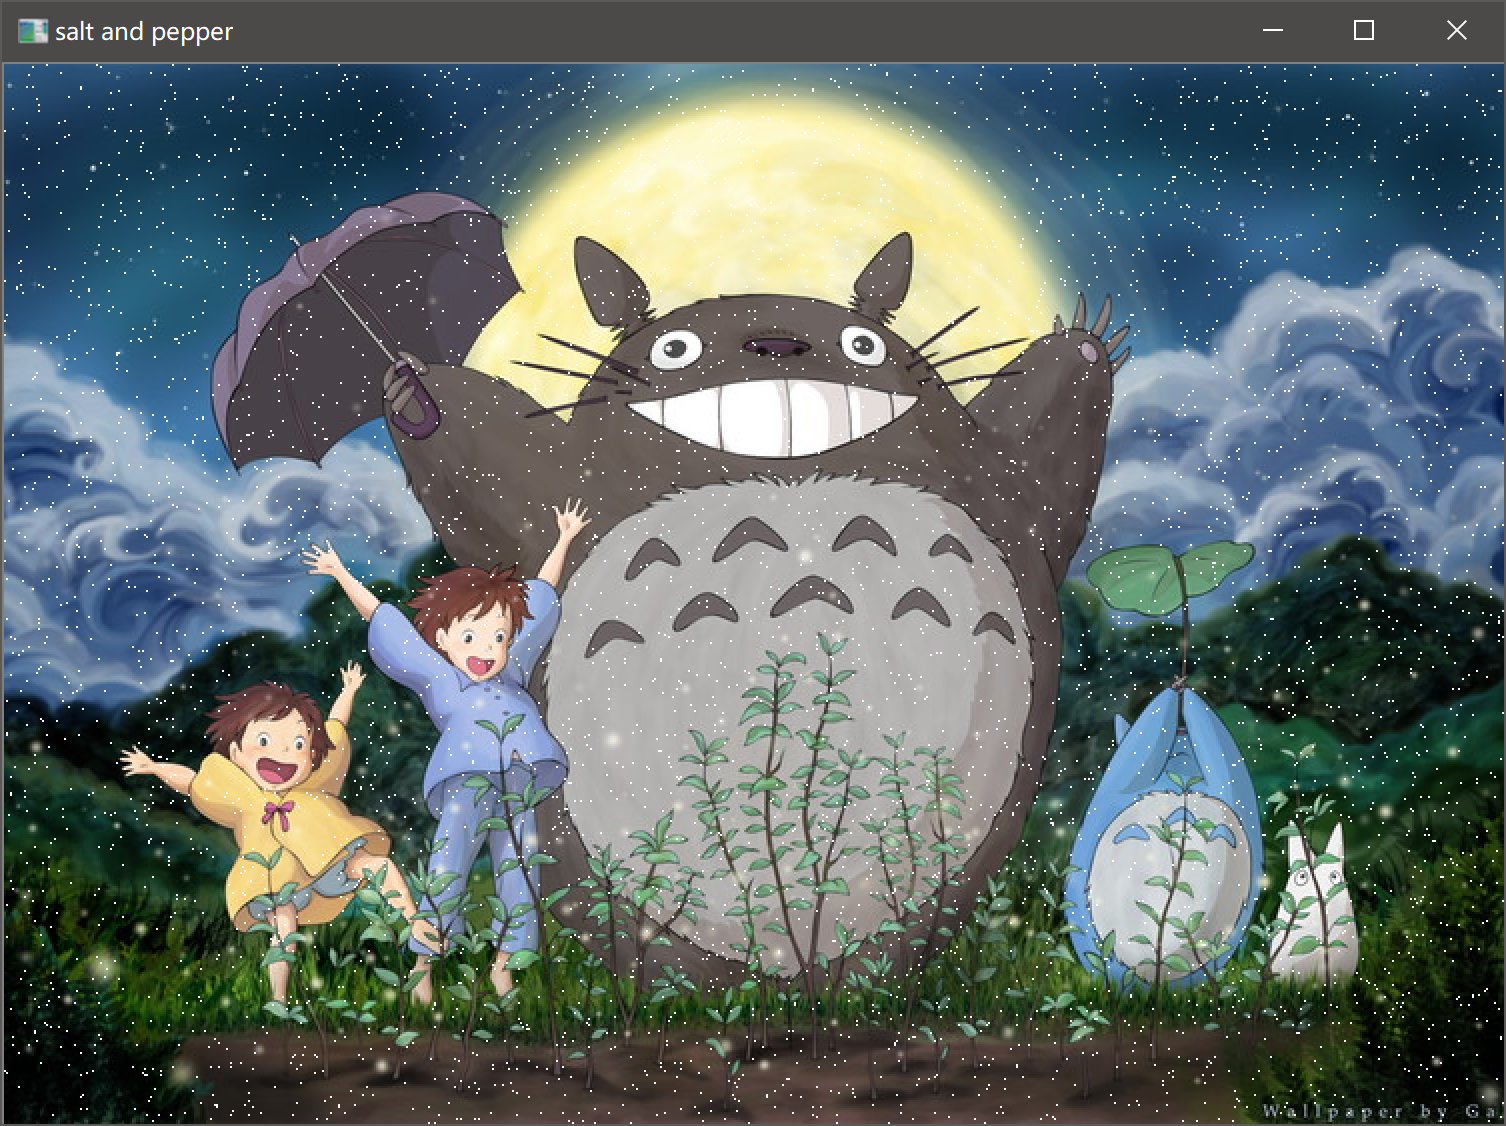
5. 给图片添加椒盐噪声
import numpy as np

import cv2

def addPepperAndSalt(img, n):

    img2 = img

    for i in range(n):

        x = int(np.random.random() * img.shape[0])

        y = int(np.random.random() * img.shape[1])

        img2[x, y, 0] = 255

        img2[x, y, 1] = 255

        img2[x, y, 2] = 255

    return img2

img = cv2.imread("longmao.jpg")

img2 = addPepperAndSalt(img, 5000)

cv2.imshow("salt and pepper", img2)

cv2.waitKey(0)

cv2.destroyAllWindows()
注:np.random.random():返回[0.0, 1)的随机数,默认是一个,括号里面可以选返回随机数的数量
6. 添加椒盐噪声进阶版
import cv2

import numpy as np

def peppersalt(img, n, m):

    """

    Add peppersalt to image

    :param img: the image you want to add noise

    :param n: the total number of noise (0 <= n <= width*height)

    :param m: different mode

    m=1:add only white noise in whole image

    m=2:add only black noise in whole image

    m=3:add black and white noise in whole image

    m=4:add gray scale noise range from 0 to 255

    m=5:add color noise in whole image,RGB is combined randomly with every channel ranges from 0 to 255

    :return: the processed image

    """

    img2 = img

    if m == 1:

        for i in range(n):

            x = int(np.random.random() * img.shape[0])

            y = int(np.random.random() * img.shape[1])

            img2[x, y, 0] = 255 #添加白色噪声

            img2[x, y, 1] = 255

            img2[x, y, 2] = 255

    elif m == 2:

        for i in range(n):

            x = int(np.random.random() * img.shape[0])

            y = int(np.random.random() * img.shape[1])

            img2[x, y, 0] = 0 #黑色

            img2[x, y, 1] = 0

            img2[x, y, 2] = 0

    elif m == 3:

        for i in range(n):

            x = int(np.random.random() * img.shape[0])

            y = int(np.random.random() * img.shape[1])

            flag = np.random.random() * 255 #随机添加白色或黑色

            if flag > 128:

                img2[x, y, 0] = 255

                img2[x, y, 1] = 255

                img2[x, y, 2] = 255

            else:

                img2[x, y, 0] = 0

                img2[x, y, 1] = 0

                img2[x, y, 2] = 0

    elif m == 4:

        for i in range(n):

            x = int(np.random.random() * img.shape[0])

            y = int(np.random.random() * img.shape[1])

            flag = int(np.random.random() * 255) #随机颜色

            img2[x, y, 0] = flag

            img2[x, y, 1] = flag

            img2[x, y, 2] = flag

    elif m == 5:

        for i in range(n):

            x = int(np.random.random() * img.shape[0])

            y = int(np.random.random() * img.shape[1])

            f1 = int(np.random.random() * 255) #彩色

            f2 = int(np.random.random() * 255)

            f3 = int(np.random.random() * 255)

            img2[x, y, 0] = f1

            img2[x, y, 1] = f2

            img2[x, y, 2] = f3

    return img2

if __name__ == "__main__":

	img = cv2.imread("longmao.jpg")

	img = peppersalt(img, 500, 5)

	cv2.imshow("salt and pepper", img)

	cv2.waitKey(0)

	cv2.destroyAllWindows()
7. 实现下雪demo
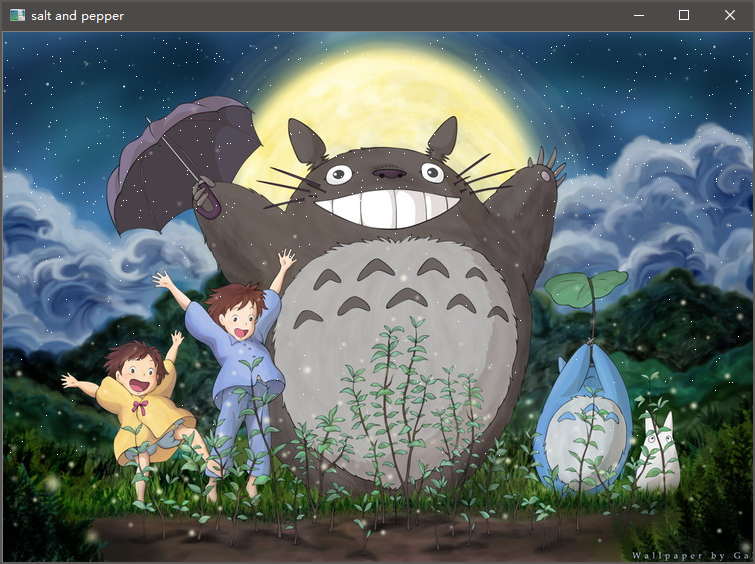
def snow2pic(img, n):

	"""

	:param img: input a rgb picture

	:param n: density of the snow

	:return: the pic with snow in the top

	"""

	#length, width = img.shape

	#top_length = length * 0.35

	for i in range(n):

		x = int(np.random.random() * img.shape[0] * 0.35)

		y = int(np.random.random() * img.shape[1])

		img[x, y, 0] = 255  # 添加白色噪声

		img[x, y, 1] = 255

		img[x, y, 2] = 255

	for i in range(200):

		x = int(np.random.random() * img.shape[0] * 0.8)

		y = int(np.random.random() * img.shape[1])

		img[x, y, 0] = 255  # 添加白色噪声

		img[x, y, 1] = 255

		img[x, y, 2] = 255

	return img

if __name__ == "__main__":

	img = cv2.imread("longmao.jpg")

	img = snow2pic(img, 400)

	cv2.imshow("salt and pepper", img)

	cv2.waitKey(0)

	cv2.destroyAllWindows()
基于python的OpenCV图像1的更多相关文章
- BugKu 2B+基于python的opencv的安装-------CTF 盲水印的套路
BugKu杂项-2B 下载图片后,binwalk下跑一跑,发现有个zip,分离. 值得一提的是,这个zip是伪加密的. 但是你在分离的时候,伪加密的图片也给你分离出来了.这两个图片2B和B2肉眼看起来 ...
- Python下opencv使用笔记(图像频域滤波与傅里叶变换)
Python下opencv使用笔记(图像频域滤波与傅里叶变换) 转载一只程序喵 最后发布于2018-04-06 19:07:26 阅读数 1654 收藏 展开 本文转载自 https://blog ...
- Python 图像处理 OpenCV (14):图像金字塔
前文传送门: 「Python 图像处理 OpenCV (1):入门」 「Python 图像处理 OpenCV (2):像素处理与 Numpy 操作以及 Matplotlib 显示图像」 「Python ...
- 搭建基于python +opencv+Beautifulsoup+Neurolab机器学习平台
搭建基于python +opencv+Beautifulsoup+Neurolab机器学习平台 By 子敬叔叔 最近在学习麦好的<机器学习实践指南案例应用解析第二版>,在安装学习环境的时候 ...
- Python下opencv使用笔记(一)(图像简单读取、显示与储存)
写在之前 从去年開始关注python这个软件,途中间间断断看与学过一些关于python的东西.感觉python确实是一个简单优美.easy上手的脚本编程语言,众多的第三方库使得python异常的强大. ...
- Python 图像处理 OpenCV (3):图像属性、图像感兴趣 ROI 区域及通道处理
前文传送门: 「Python 图像处理 OpenCV (1):入门」 「Python 图像处理 OpenCV (2):像素处理与 Numpy 操作以及 Matplotlib 显示图像」 图像属性 图像 ...
- Python 图像处理 OpenCV (4):图像算数运算以及修改颜色空间
前文传送门: 「Python 图像处理 OpenCV (1):入门」 「Python 图像处理 OpenCV (2):像素处理与 Numpy 操作以及 Matplotlib 显示图像」 「Python ...
- Python 图像处理 OpenCV (5):图像的几何变换
前文传送门: 「Python 图像处理 OpenCV (1):入门」 「Python 图像处理 OpenCV (2):像素处理与 Numpy 操作以及 Matplotlib 显示图像」 「Python ...
- Python 图像处理 OpenCV (6):图像的阈值处理
前文传送门: 「Python 图像处理 OpenCV (1):入门」 「Python 图像处理 OpenCV (2):像素处理与 Numpy 操作以及 Matplotlib 显示图像」 「Python ...
随机推荐
- android 自定义title
package com.xiangyu.su; import android.app.Activity; import android.os.Bundle; import android.view.V ...
- 为什么禁止在 foreach 循环里进行元素的 remove/add 操作
首先看下边一个例子,展示了正确的做法和错误的错发: 这是为什么呢,具体原因下面进行详细说明: 1.foreach循环(Foreach loop)是计算机编程语言中的一种控制流程语句,通常用来循环遍历数 ...
- android shape 怎么在底部画横线
使用layer-list可以,画了两层 1 2 3 4 5 6 7 8 9 <layer-list> <!-- This is the lin ...
- 团队-爬虫豆瓣top250项目-模块测试过程
模块测试: 项目托管平台地址:https://github.com/gengwenhao/GetTop250.git 模块测试:"获取250排名的全部电影信息"功能,测试方法:手动 ...
- linux_基本命令使用(后续更新)
安装文件上传下载快捷键 --> rz/sz yum -y install lrzsz 获取进程名.进程号以及用户ID netstat –nlpt 修改主机名(重启后永久生效)-->cent ...
- 移动端比较好用的滑动条 vue-slider-component
安装: npm install vue-slider-component <template> <div> <vue-slider v-model="value ...
- Python类——面向对象
一.有关面向对象的一些知识 面向过程:根据业务逻辑从上到下写垒代码 函数式:将某功能代码封装到函数中,日后便无需重复编写,仅调用函数即可 面向对象:对函数进行分类和封装,让开发“更快更好更强...” ...
- HTTP Status 404 – Not Found
一般都是配置中的问题,这次发现扫描controller时,自己的包是com.aaa.conlller,而springmvc.xml中扫描的是com.aaa.controller,,多写了一个l
- Educational Codeforces Round 58 (Rated for Div. 2) G 线性基
https://codeforces.com/contest/1101/problem/G 题意 一个有n个数字的数组a[],将区间分成尽可能多段,使得段之间的相互组合异或和不等于零 题解 根据线性基 ...
- TensorFlow学习笔记1
1.daocloud 拉取 docker镜像 docker pull daocloud.io/daocloud/tensorflow:latest 镜像位置: /Users/{YourUserName ...