Android 底部导航栏实现一 Fragment-replace
【效果】(这里下载的软件收费的试用有水印)

【推荐】这里推荐一个图标网http://iconfont.cn/。以上图标来自此图标网
【项目结构】

【步骤】
①创建布局文件,写底部导航栏
 <?xml version="1.0" encoding="utf-8"?>

 <LinearLayout xmlns:android="http://schemas.android.com/apk/res/android"

     xmlns:app="http://schemas.android.com/apk/res-auto"

     xmlns:tools="http://schemas.android.com/tools"

     android:layout_width="match_parent"

     android:layout_height="match_parent"

     tools:context=".MainActivity"

     android:orientation="vertical">

     <RelativeLayout

         android:id="@+id/rl_content"

         android:layout_width="match_parent"

         android:layout_height="0dp"

         android:layout_weight="1">

        <!--这里设置权重weight为1, 下面不设置权重。-->

         <!--意思是,剩余的位置全都是RelativeLayout的-->

     </RelativeLayout>

     <TextView

         android:layout_width="match_parent"

         android:layout_height="1dp"

         android:background="#797878"/>

     <LinearLayout

         android:layout_width="match_parent"

         android:layout_height="80dp"

         android:orientation="horizontal">

         <LinearLayout

             android:id="@+id/item1"

             android:layout_width="0dp"

             android:layout_weight="1"

             android:layout_height="match_parent"

             android:orientation="vertical">

             <ImageView

                 android:id="@+id/item1_iv"

                 android:layout_width="match_parent"

                 android:layout_height="0dp"

                 android:layout_weight="3"

                 android:layout_margin="3dp"

                 android:scaleType="fitCenter"

                 android:src="@drawable/wxb"

                 android:padding="1dp"/>

             <TextView

                 android:id="@+id/item1_tv"

                 android:text="女王"

                 android:textSize="16sp"

                 android:layout_width="match_parent"

                 android:layout_height="0dp"

                 android:layout_weight="1"

                 android:gravity="center"/>

         </LinearLayout>

         <LinearLayout

             android:id="@+id/item2"

             android:layout_width="0dp"

             android:layout_weight="1"

             android:layout_height="match_parent"

             android:orientation="vertical">

             <ImageView

                 android:id="@+id/item2_iv"

                 android:layout_width="match_parent"

                 android:layout_height="0dp"

                 android:layout_weight="3"

                 android:layout_margin="3dp"

                 android:scaleType="fitCenter"

                 android:src="@drawable/meizhuang"

                 android:padding="4dp"/>

             <TextView

                 android:id="@+id/item2_tv"

                 android:text="美妆"

                 android:textSize="16sp"

                 android:layout_width="match_parent"

                 android:layout_height="0dp"

                 android:layout_weight="1"

                 android:gravity="center"/>

         </LinearLayout>

         <LinearLayout

             android:id="@+id/item3"

             android:layout_width="0dp"

             android:layout_weight="1"

             android:layout_height="match_parent"

             android:orientation="vertical">

             <ImageView

                 android:id="@+id/item3_iv"

                 android:layout_width="match_parent"

                 android:layout_height="0dp"

                 android:layout_weight="3"

                 android:layout_margin="3dp"

                 android:scaleType="fitCenter"

                 android:src="@drawable/fuzhuang"

                 android:padding="5dp"/>

             <TextView

                 android:id="@+id/item3_tv"

                 android:text="衣帽"

                 android:textSize="16sp"

                 android:layout_width="match_parent"

                 android:layout_height="0dp"

                 android:layout_weight="1"

                 android:gravity="center" />

         </LinearLayout>

         <LinearLayout

             android:id="@+id/item4"

             android:layout_width="0dp"

             android:layout_weight="1"

             android:layout_height="match_parent"

             android:orientation="vertical">

             <ImageView

                 android:id="@+id/item4_iv"

                 android:layout_width="match_parent"

                 android:layout_height="0dp"

                 android:layout_weight="3"

                 android:layout_margin="3dp"

                 android:scaleType="fitCenter"

                 android:src="@drawable/xiebaopeishi"

                 android:padding="3dp"/>

             <TextView

                 android:id="@+id/item4_tv"

                 android:text="鞋包"

                 android:textSize="16sp"

                 android:layout_width="match_parent"

                 android:layout_height="0dp"

                 android:layout_weight="1"

                 android:gravity="center" />

         </LinearLayout>

     </LinearLayout>

 </LinearLayout>
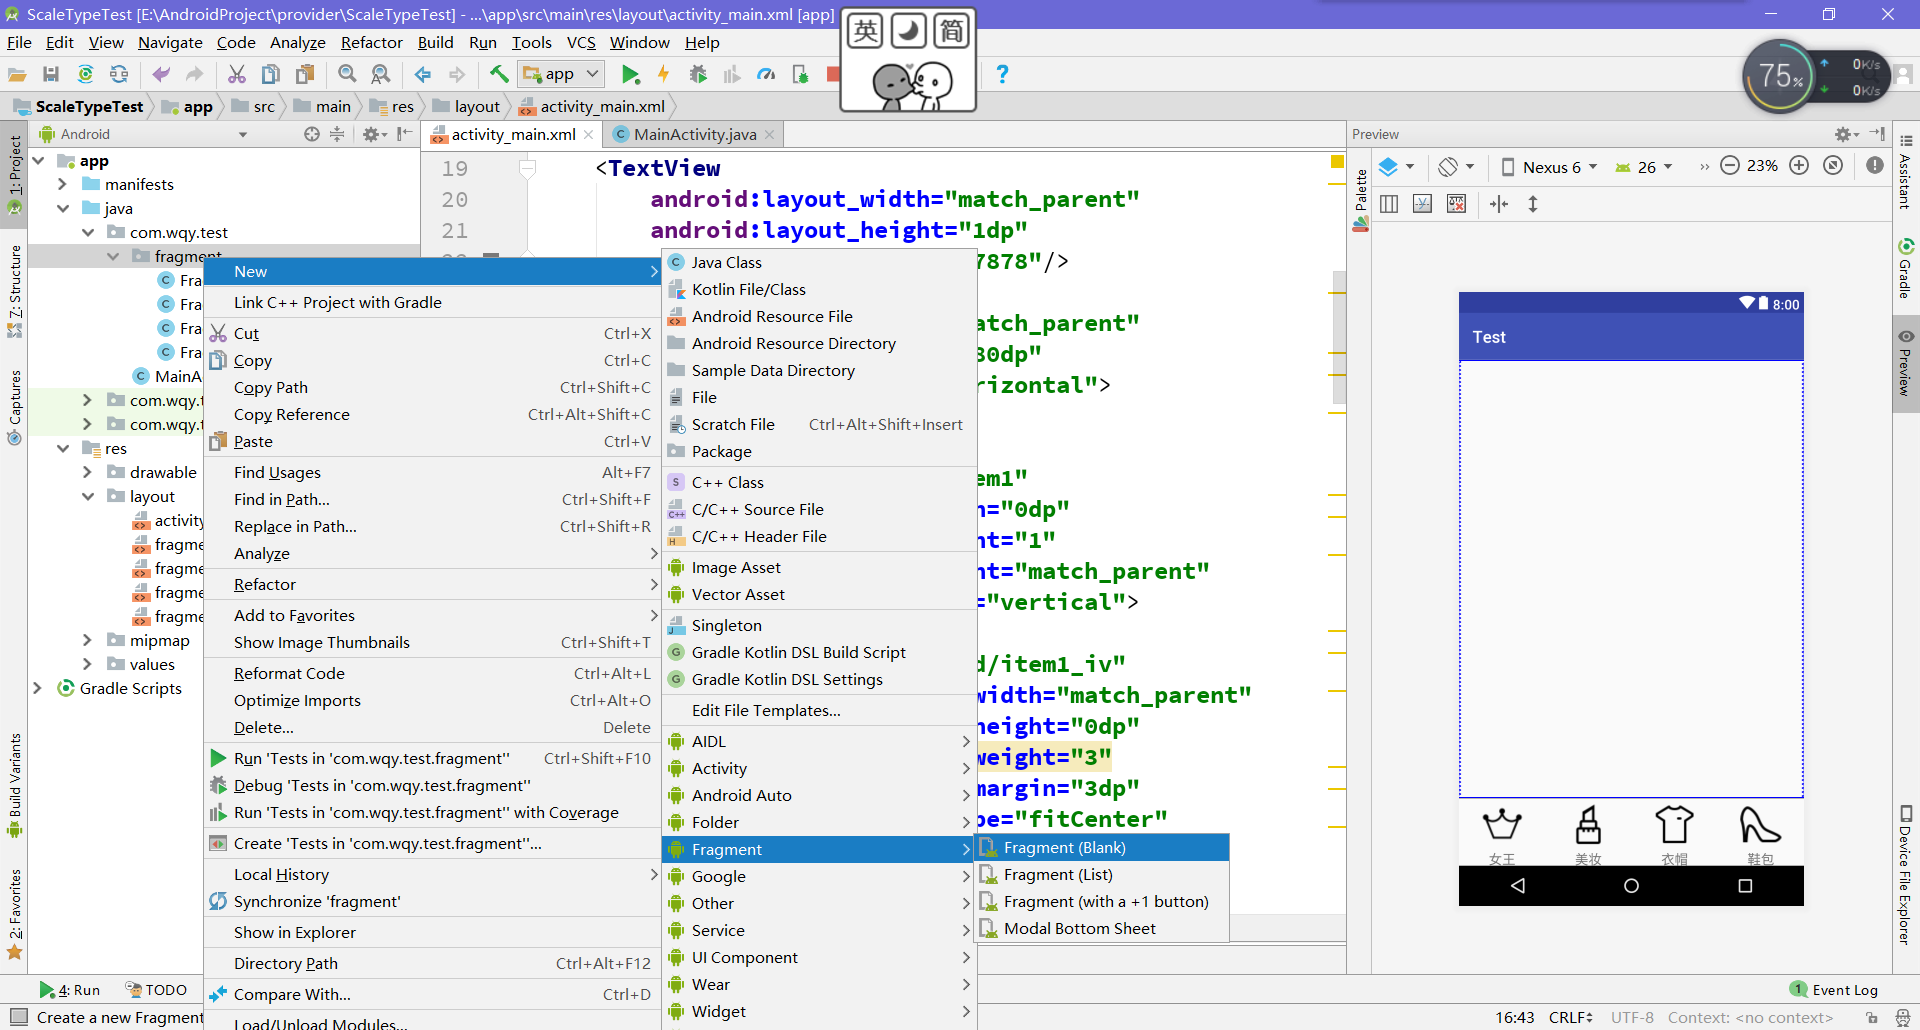
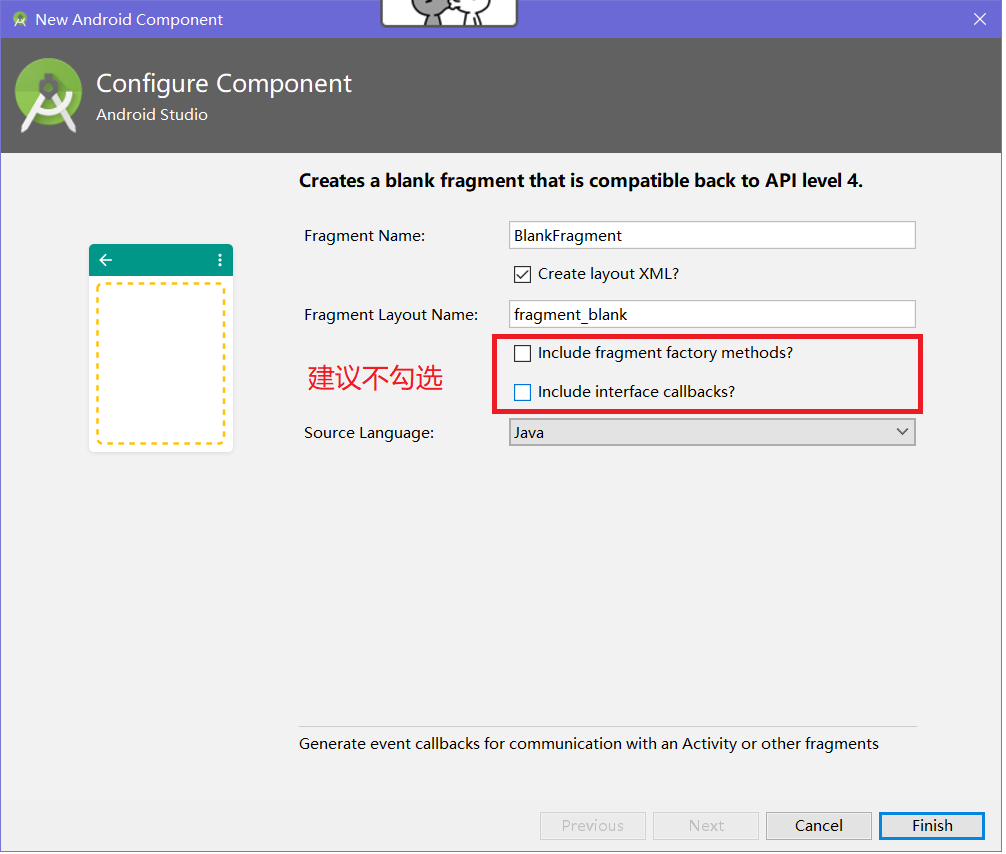
②定义Fragment
【提示】可以通过下图方式创建
 public class FragmentA extends Fragment {

     public FragmentA() {

         // Required empty public constructor

     }

     @Override

     public View onCreateView(LayoutInflater inflater, ViewGroup container,

                              Bundle savedInstanceState) {

         // Inflate the layout for this fragment

         return inflater.inflate(R.layout.fragment_a, container, false);

     }

 }
对于生成的Fragment不用作修改,对应的布局中设置一个背景颜色便于观察。
③MainActivity代码的编写
 public class MainActivity extends AppCompatActivity implements View.OnClickListener{

     private FragmentManager fragmentManager;

     private RelativeLayout rl_content;

     private ImageView item1_iv,item2_iv,item3_iv,item4_iv;

     private TextView item1_tv,item2_tv,item3_tv,item4_tv;

     private LinearLayout item1,item2,item3,item4;

     private ImageView[] ivs;

     private TextView[] tvs;

     @Override

     protected void onCreate(Bundle savedInstanceState) {

         super.onCreate(savedInstanceState);

         setContentView(R.layout.activity_main);

         initView();

         fragmentManager = getSupportFragmentManager();

         initListener();

     }

     private void initListener() {

         item1.setOnClickListener(this);

         item2.setOnClickListener(this);

         item3.setOnClickListener(this);

         item4.setOnClickListener(this);

     }

     private void initView() {

         rl_content = (RelativeLayout) findViewById(R.id.rl_content);

         item1_iv = (ImageView) findViewById(R.id.item1_iv);

         item1_tv = (TextView) findViewById(R.id.item1_tv);

         item1 = (LinearLayout) findViewById(R.id.item1);

         item2_iv = (ImageView) findViewById(R.id.item2_iv);

         item2_tv = (TextView) findViewById(R.id.item2_tv);

         item2 = (LinearLayout) findViewById(R.id.item2);

         item3_iv = (ImageView) findViewById(R.id.item3_iv);

         item3_tv = (TextView) findViewById(R.id.item3_tv);

         item3 = (LinearLayout) findViewById(R.id.item3);

         item4_iv = (ImageView) findViewById(R.id.item4_iv);

         item4_tv = (TextView) findViewById(R.id.item4_tv);

         item4 = (LinearLayout) findViewById(R.id.item4);

         ivs = new ImageView[]{item1_iv,item2_iv,item3_iv,item4_iv};

         tvs = new TextView[]{item1_tv,item2_tv,item3_tv,item4_tv};

     }

     @Override

     public void onClick(View view) {

         switch (view.getId()){

             case R.id.item1: {

                 FragmentTransaction transaction = fragmentManager.beginTransaction();//创建一个事务

                 transaction.replace(R.id.rl_content,new FragmentA());

                 transaction.commit();//事务一定要提交,replace才会有效

                 setCheck(0);//自定义方法

                 break;

             }

             case R.id.item2: {

                 FragmentTransaction transaction = fragmentManager.beginTransaction();

                 transaction.replace(R.id.rl_content,new FragmentB());

                 transaction.commit();

                 setCheck(1);

                 break;

             }

             case R.id.item3: {

                 FragmentTransaction transaction = fragmentManager.beginTransaction();

                 transaction.replace(R.id.rl_content,new FragmentC());

                 transaction.commit();

                 setCheck(2);

                 break;

             }

             case R.id.item4: {

                 FragmentTransaction transaction = fragmentManager.beginTransaction();

                 transaction.replace(R.id.rl_content,new FragmentD());

                 transaction.commit();

                 setCheck(3);

                 break;

             }

             default:break;

         }

     }

     public void setCheck(int itemId){

         //这个方法设置底部导航栏选中时的效果

         for (int i = 0; i < 4; i++) {

             ivs[i].setColorFilter(Color.parseColor("#0f0f0f"));

             tvs[i].setTextColor(Color.parseColor("#0f0f0f"));

         }

         ivs[itemId].setColorFilter(Color.GREEN);

         tvs[itemId].setTextColor(Color.GREEN);

     }

 }
【提示】①这里的点击事件是通过Activity实现Onclick接口的方式
②getSupportFragmentManager()是v4包中的,兼容效果好,如果用getFragmentManager()可能会崩掉
③FragmentManager只需要获取一次,但是事务FragmentTransaction要重新开启。最后事务一定要提交commit。
④方法setCheck是为了设置导航的被选中效果。
Android 底部导航栏实现一 Fragment-replace的更多相关文章
- Android底部导航栏——FrameLayout + RadioGroup
原创文章,转载请注明出处http://www.cnblogs.com/baipengzhan/p/6285881.html Android底部导航栏有多种实现方式,本文详细介绍FrameLayout ...
- AndroidStudio制作底部导航栏以及用Fragment实现切换功能
前言 大家好,给大家带来AndroidStudio制作底部导航栏以及用Fragment实现切换功能的概述,希望你们喜欢 学习目标 AndroidStudio制作底部导航栏以及用Fragment实现切换 ...
- Android底部导航栏创建——ViewPager + RadioGroup
原创文章,引用请注明出处:http://www.cnblogs.com/baipengzhan/p/6270201.html Android底部导航栏有多种实现方式,本文详解其中的ViewPager ...
- Android底部导航栏
Android底部导航栏 今天简单写了一个底部导航栏,封装了一个库,用法比较简单 效果图 Github地址:https://github.com/kongqw/KqwBottomNavigation ...
- android底部导航栏实现
第一种用radiobutton实现 https://wizardforcel.gitbooks.io/w3school-android/content/75.html 布局文件,使用radiogrou ...
- Android底部导航栏(可滑动)----TabLayout+viewPager
[TabLayout] ①TabLayout是选项卡,在屏幕空间有限的情况下,对不同的空间进行分组.属于android support design,更多的用于新闻上,如果放在底部也可做底部导航栏 ② ...
- android底部导航栏小结
android自带的有TabHost,但好像无法满足要求, 本文只记录使用 TabLayout + Fragment 和 android 自带的 BottomNavigationView + Fra ...
- Android 底部导航栏的xml
<?xml version="1.0" encoding="utf-8"?> <RelativeLayout xmlns:android=&q ...
- Android 五种方式实现Android底部导航栏
https://segmentfault.com/a/1190000007697941
随机推荐
- Ubuntu 18.04基本配置
允许WinSCP使用root连接 默认是不允许的,具体方法出自这里(传送门),修改ssh配置,在/etc/ssh下,修改sshd_config文件 PermitRootLogin yes 即可.默认不 ...
- springBoot(1)---springboot初步理解
springboot初步理解 在没有用SpringBoot之前,我们用spring和springMVC框架,但是你要做很多比如: (1)配置web.xml,加载spring和spring mvc 2) ...
- Python实现随机漫步
随机漫步生成是无规则的,是系统自行选择的结果.根据设定的规则自定生成,上下左右的方位,每次所经过的方向路径. 首先,创建一个RandomWalk()类和fill_walk()函数 random_wal ...
- [java核心篇02]__内部类
前言 其实我们在前面已经初步接触到内部类了,但是我们去对它的作用并不胜了解.只是简单的知道了类的定义也是可以嵌套的,定义在一个类里面的类就是内部类. class out{ private String ...
- leetcode — maximum-subarray
/** * * Source : https://oj.leetcode.com/problems/maximum-subarray/ * * Created by lverpeng on 2017/ ...
- 如何做活动页面的滚动动画?让用户体验MAX的demo在这里!
本文由云+社区发表 最近的一个活动页面需要做一个可以左右滑动的抽签效果,故通过用css的transform属性和js结合来模拟可以无限滚动的效果. 先上效果: demo地址:https://kiror ...
- python捕获Ctrl+C信号
我们希望当服务器接收到一个 SIGTERM 信号时能够自动关机,或者做一些善后的操作,以下是实现的方法 import signal # 自定义信号处理函数 def my_handler(signum, ...
- Java——构造方法和匿名对象
前言 在编写程序时不安全的初始化会导致程序发生发生重大错误.为了使程序可以被安全地初始化,C++引入了构造器(也可以成为构造方法)的概念,这是一个在创建对象时被自动调用的特殊方法.Java中也采用了构 ...
- SpringBoot学习(八)-->SpringBoot之过滤器、监听器
本文将直接使用@WebFilter和@WebListener的方式,完成一个Filter 和一个 Listener. 过滤器(Filter)和 监听器(Listener)的注册方法和 Servlet ...
- 第一册:lesson seventy one.
原文: He is awful. A:What's Ron Marston like , Pauline? B:He is awful.He telephoned me four times yest ...