利用Elasticsearch实现地理位置、城市搜索服务
最近用到一些简单的地理位置查询接口,基于当前定位获取用户所在位置信息(省市区),然后基于该信息查询当前区域的......提供服务。
然后就自己研究了下GIS,作为一个程序员。自己能不能实现这个功能呢?答案当然是可以。立即开干。
思路:找到数据,写入数据库,利用Elasticsearch强大的搜索能力和丰富发热GIS数据处理能力实现。
GIS相关专业信息参考(bd上找到,还算专业):程序员GIS入门|前后端都要懂一点的GIS知识
经过一番寻找,“功夫不负有心人”,在网上找到了锐多宝 数据,比较完整。下载下来,格式是shape格式。
第一步:下载数据,从锐多宝下载
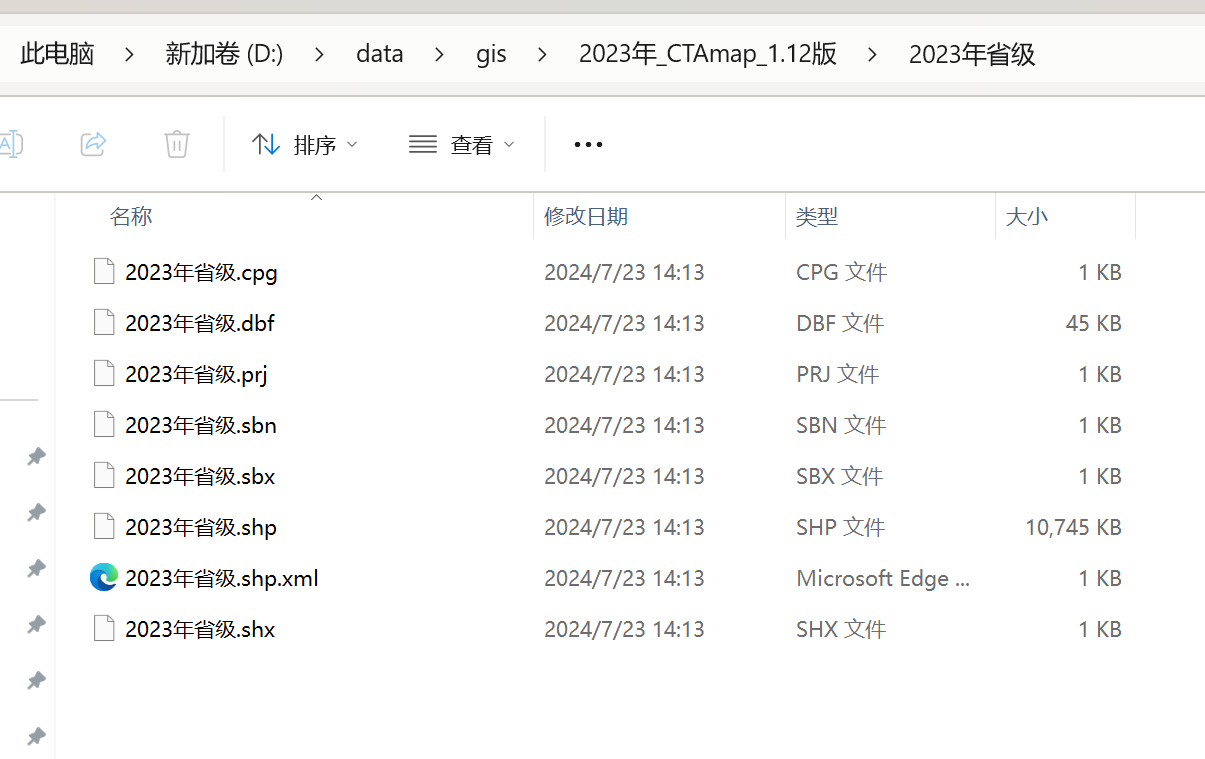
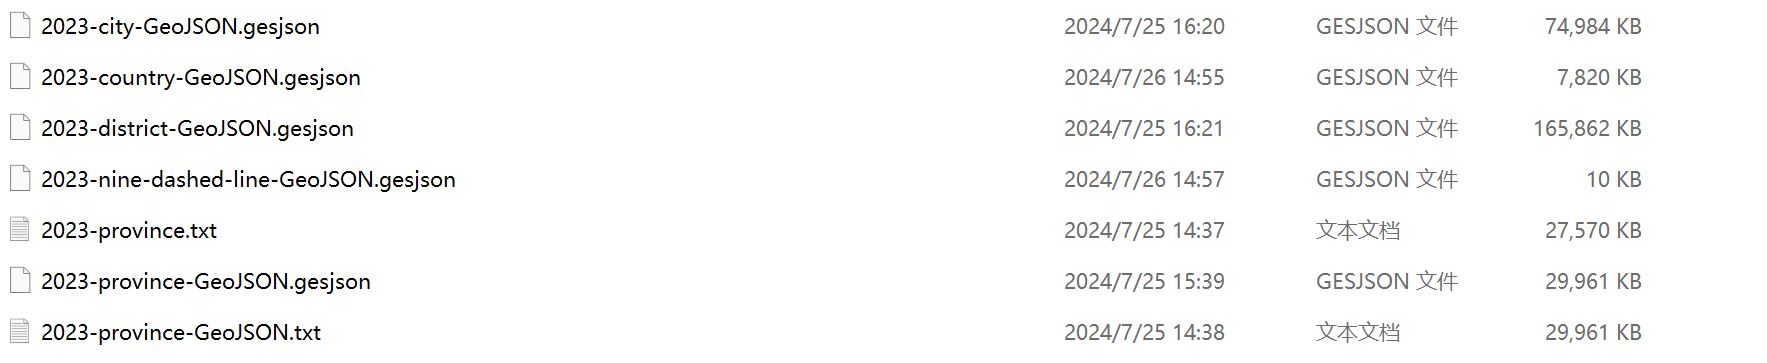
第二步:写python脚本预处理数据:ShapFile 转 GeoJSON,ES处理GeoJSON比较强
import geopandas as gpd

# 读取 Shapefile
shapefile_path = 'D:/data/gis/2023年_CTAmap_1.12版/2023年省级/2023年省级.shp'
gdf = gpd.read_file(shapefile_path)

# 检查 GeoDataFrame
print(gdf.head())

# 如果需要,可以对数据进行预处理,比如过滤、选择特定列等
# gdf = gdf[['column1', 'column2', 'geometry']]

# 将 GeoDataFrame 转换为标准的 Pandas DataFrame (如果需要的话)
df = gdf.drop('geometry', axis=1).join(gdf['geometry'].apply(lambda x: gpd.GeoSeries(x).to_json()))

# 将 Pandas DataFrame 导出为 JSON 文件
output_json_path = 'D:/data/gis/2023-province-GeoJSON.gesjson'
# df.to_json(output_json_path, orient='records')

# 如果你想保留 GeoJSON 格式,可以直接保存 GeoDataFrame
gdf.to_file(output_json_path, driver='GeoJSON')
第三步:利用Python脚本将GeoJSON写入Elasticsearch
from elasticsearch import Elasticsearch

from elasticsearch.helpers import bulk

import json

# 连接到 Elasticsearch

es = Elasticsearch("http://localhost:9200")

# 检查连接

if not es.ping():

    raise ValueError("Connection failed")

# 删除旧索引(如果存在)

if es.indices.exists(index="province2023_geoshape_index_001"):

    es.indices.delete(index="province2023_geoshape_index_001")

# 创建索引并定义 Mapping

mapping = {

    "mappings": {

        "properties": {

            "location": {

                "type": "geo_shape"

            },

            "name": {

                "type": "text"

            }

        }

    }

}

# 创建索引

es.indices.create(index="province2023_geoshape_index_001", body=mapping)

# 读取 GeoJSON 文件

with open("D:/data/gis/2023-province-GeoJSON.gesjson", "r", encoding="utf-8") as file:

    geojson_data = json.load(file)

# 提取 GeoJSON 特征集合

features = geojson_data.get("features", [])

# 准备数据以供导入

documents = []

for feature in features:

    doc = {

        "location": {

            "type": feature["geometry"]["type"],

            "coordinates": feature["geometry"]["coordinates"]

        }

    }

    if "properties" in feature:

        doc.update(feature["properties"])

    documents.append(doc)

# 定义批量大小

batch_size = 100  # 每次批量导入的数量

# 准备 actions

def generate_actions(documents):

    for doc in documents:

        yield {

            "_index": "province2023_geoshape_index_001",

            "_source": doc

        }

# 分批执行批量导入

for i in range(0, len(documents), batch_size):

    end = min(i + batch_size, len(documents))

    success, _ = bulk(es, generate_actions(documents[i:end]))

    print(f"Bulk {i}-{end} completed, {success} documents indexed.")

print("All data indexed.")
第四步:计算出每条数据的区域的中心点(扩展功能,原始数据只有polygon多边形数据)
from elasticsearch import Elasticsearch

from elasticsearch.helpers import bulk

import json

import ssl

# 连接到 Elasticsearch

es = Elasticsearch("http://localhost:9200")

# 检查连接

if not es.ping():

    raise ValueError("Connection failed")

# 删除旧索引(如果存在)

if es.indices.exists(index="province2023_centroid_geoshape_index_001"):

    es.indices.delete(index="province2023_centroid_geoshape_index_001")

# 创建索引并定义 Mapping

mapping = {

    "mappings": {

        "properties": {

            "location": {

                "type": "geo_shape"

            },

            "centroid": {  # 新增字段

                "type": "geo_point"

            },

            "name": {

                "type": "text"

            }

        }

    }

}

# 创建索引

es.indices.create(index="province2023_centroid_geoshape_index_001", body=mapping)

# 读取 GeoJSON 文件

with open("D:/data/gis/2023-province-GeoJSON.gesjson", "r", encoding="utf-8") as file:

    geojson_data = json.load(file)

# 提取 GeoJSON 特征集合

features = geojson_data.get("features", [])

def calculate_centroid(polygons):

    total_area = 0.0

    total_x = 0.0

    total_y = 0.0

    for polygon in polygons:

        # 现在 polygon 是一个包含多个坐标的列表

        centroid = calculate_simple_polygon_centroid(polygon)

        area = calculate_polygon_area(polygon)

        total_area += area

        total_x += centroid[0] * area

        total_y += centroid[1] * area

    if total_area == 0:

        # 如果总面积为零,则返回原点作为中心点

        return [0, 0]

    else:

        return [total_x / total_area, total_y / total_area]

# is_coordinates_list方法

# 以下结构返回True,polygon 是一个包含坐标列表的列表

# [

#     [[x1, y1], [x2, y2], [x3, y3], ...],

#     [[x1, y1], [x2, y2], [x3, y3], ...]  # 如果有内部孔洞

# ]

# 以下结构返回Fasle,包含单个坐标的列表

# [

#     [x1, y1],

#     [x2, y2],

#     [x3, y3],

#     ...

# ]

def is_coordinate(coord):

    return (

            isinstance(coord, (list, tuple)) and

            len(coord) == 2 and

            all(isinstance(c, (int, float)) for c in coord)

    )

def is_coordinates_list(coords):

    # 检查 coords 是否是一个包含坐标列表的列表

    if isinstance(coords, list):

        if all(isinstance(c, list) and all(is_coordinate(coord) for coord in c) for c in coords):

            return True

    return False

def calculate_simple_polygon_centroid(polygon):

    # 确定 polygon 的结构

    if is_coordinates_list(polygon):

        # polygon 是一个包含坐标列表的列表

        x_sum = sum(coord[0] for coord in polygon[0])

        y_sum = sum(coord[1] for coord in polygon[0])

        num_points = len(polygon[0])

    else:

        # print(False, polygon[0])

        # polygon 是一个包含多个坐标的列表

        x_sum = sum(coord[0] for coord in polygon)

        y_sum = sum(coord[1] for coord in polygon)

        num_points = len(polygon)

    # 计算平均坐标

    centroid_x = x_sum / num_points

    centroid_y = y_sum / num_points

    return [centroid_x, centroid_y]

def calculate_polygon_area(polygon):

    # 计算简单多边形的面积

    area = 0.0

    if is_coordinates_list(polygon):  # polygon 是一个包含坐标列表的列表

        num_points = len(polygon[0])

        for i in range(num_points):

            j = (i + 1) % num_points

            area += polygon[0][i][0] * polygon[0][j][1]

            area -= polygon[0][j][0] * polygon[0][i][1]

    else:  # polygon 是一个包含多个坐标的列表

        num_points = len(polygon)

        for i in range(num_points):

            j = (i + 1) % num_points

            area += polygon[i][0] * polygon[j][1]

            area -= polygon[j][0] * polygon[i][1]

    return abs(area) / 2.0

# 准备数据以供导入

documents = []

for feature in features:

    # 检查坐标是否在有效范围内

    coordinates = feature["geometry"]["coordinates"]

    centroid = calculate_centroid(coordinates)

    doc = {

        "location": {

            "type": feature["geometry"]["type"],

            "coordinates": coordinates

        },

        "centroid": centroid,  # 添加中心点

    }

    if "properties" in feature:

        doc.update(feature["properties"])

    documents.append(doc)

# 定义批量大小

batch_size = 100  # 每次批量导入的数量

# 准备 actions

def generate_actions(documents):

    for doc in documents:

        yield {

            "_index": "district2023_centroid_geoshape_index_001",

            "_source": doc

        }

# 分批执行批量导入

for i in range(0, len(documents), batch_size):

    end = min(i + batch_size, len(documents))

    success, errors = bulk(es, generate_actions(documents[i:end]))

    if errors:

        print(f"Bulk {i}-{end} completed, {success} documents indexed, but {len(errors)} documents failed.")

        for error in errors:

            print(error)

    else:

        print(f"Bulk {i}-{end} completed, {success} documents indexed.")

print("All data indexed.")
第五步:利用elasticsearch的pipeline和reindex能力预处理数据
# geo_centroid 聚合是一种高级聚合,它可以计算一组地理位置的中心点。在 Elasticsearch 中,这个功能属于高级特性,通常只在 X-Pack(现在称为 Elastic Security 和 Elastic Observability)的许可证中可用。

# 试用30天可以体验

POST /province2023_geoshape_index_001/_search

{

  "size": 0,

  "aggs": {

    "centroid": {

      "geo_centroid": {

        "field": "location"

      }

    }

  }

}

POST province2023_centroid_geoshape_index_001/_search

{

  "query": {

    "term": {

      "省.keyword": {

        "value": "陕西省"

      }

    }

  }

}

PUT _ingest/pipeline/copy_field_pipeline

{

  "description": "Copy the value of one field to another",

  "processors": [

    {

      "copy": {

        "from": "省",

        "to": "province_name"

      }

    }

  ]

}

GET province2023_centroid_geoshape_index_001/_mapping

GET province2023_centroid_geoshape_index_001/_mapping

PUT _ingest/pipeline/province_multiple_copy_fields_pipeline

{

  "description": "Copy multiple fields to new fields and rename fields to new fields",

  "processors": [

    {

      "set": {

        "field": "province_name",

        "value": "{{{省}}}"

      }

    },

    {

      "remove": {

        "field": "省"

      }

    },

    {

      "rename": {

        "field": "省级码",

        "target_field": "province_code"

      }

    },

    {

      "rename": {

        "field": "省类型",

        "target_field": "province_type"

      }

    },

    {

      "rename": {

        "field": "VAR_NAME",

        "target_field": "var_name"

      }

    },

    {

      "rename": {

        "field": "ENG_NAME",

        "target_field": "eng_name"

      }

    },

    {

      "rename": {

        "field": "FIRST_GID",

        "target_field": "first_gid"

      }

    },

    {

      "rename": {

        "field": "FIRST_TYPE",

        "target_field": "first_type"

      }

    }

  ]

}

GET province2023_centroid_geoshape_index_002/_count

GET province2023_centroid_geoshape_index_002/_mapping

DELETE province2023_centroid_geoshape_index_002

PUT province2023_centroid_geoshape_index_002

{

  "mappings": {

    "properties": {

      "eng_name": {

        "type": "text",

        "fields": {

          "keyword": {

            "type": "keyword",

            "ignore_above": 256

          }

        }

      },

      "first_gid": {

        "type": "text",

        "fields": {

          "keyword": {

            "type": "keyword",

            "ignore_above": 256

          }

        }

      },

      "first_type": {

        "type": "text",

        "fields": {

          "keyword": {

            "type": "keyword",

            "ignore_above": 256

          }

        }

      },

      "var_name": {

        "type": "text",

        "fields": {

          "keyword": {

            "type": "keyword",

            "ignore_above": 256

          }

        }

      },

      "centroid": {

        "type": "geo_point"

      },

      "location": {

        "type": "geo_shape"

      },

      "name": {

        "type": "text"

      },

      "year": {

        "type": "text",

        "fields": {

          "keyword": {

            "type": "keyword",

            "ignore_above": 256

          }

        }

      }

    }

  }

}

POST _reindex

{

  "source": {

    "index": "province2023_centroid_geoshape_index_001"

  },

  "dest": {

    "index": "province2023_centroid_geoshape_index_002",

    "pipeline": "province_multiple_copy_fields_pipeline"

  }

}

GET province2023_centroid_geoshape_index_002/_search
第六步:查询数据 geo_distance
# centroid字段的type是 geo_point,存储的经纬度形式是数组Geopoint as an array

# geo_bounding_box 可查找边框内的所有地理坐标点。

POST province2023_centroid_geoshape_index_002/_search

{

  "query": {

    "geo_bounding_box": {

      "centroid": {

        "top_left": {

          "lat": 42,

          "lon": -72

        },

        "bottom_right": {

          "lat": 40,

          "lon": -74

        }

      }

    }

  }

}

POST province2023_centroid_geoshape_index_002/_search

{

  "query": {

    "geo_distance": {

      "distance": 100,

      "centroid": {

        "lat": 40.09937484066758,

        "lon": 116.41960604340115

      }

    }

  }

}

POST province2023_centroid_geoshape_index_002/_search

{

  "query": {

    "bool": {

      "must": {

        "match": {

          "province_name":"xx市"

        }

      },

      "filter": {

        "geo_distance": {

          "distance": "2km",

          "centroid": {

            "lat": 40.09937484066758,

            "lon": 116.41960604340115

          }

        }

      }

    }

  }

}

POST province2023_centroid_geoshape_index_002/_search

{

  "query": {

    "bool": {

      "must": {

        "match": {

          "province_name":"xx市"

        }

      },

      "filter": {

        "geo_distance": {

          "distance": "200km",

          "location": {

            "lat": 40.09937484066758,

            "lon": 116.41960604340115

          }

        }

      }

    }

  }

}
利用Elasticsearch实现地理位置、城市搜索服务的更多相关文章
- ElasticSearch搜索服务技术
ElasticSearch 基于的lucene开发的搜索服务技术;天生支持分布式; Es的结构 gatway:存储层,所有的数据可以存储在本地(多个es节点形成分布式存储),hdfs输出位置,共享文件 ...
- ElasticSearch 2 (14) - 深入搜索系列之全文搜索
ElasticSearch 2 (14) - 深入搜索系列之全文搜索 摘要 在看过结构化搜索之后,我们看看怎样在全文字段中查找相关度最高的文档. 全文搜索两个最重要的方面是: 相关(relevance ...
- EasySwoole+ElasticSearch打造 高性能 小视频服务系统
EasySwoole+ElasticSearch打造高性能小视频服务 第1章 课程概述 第2章 EasySwoole框架快速上手 第3章 性能测试 第4章 玩转高性能消息队列服务 第5章 小视频服务平 ...
- 高德地图-搜索服务-POI搜索
高德地图-搜索服务-POI搜索 之前公司项目收货地址仿饿了么的收货地址,结果发现自己实现的关键字搜索和周边搜索,搜索到的poi列表跟饿了么的并不完全一样,后来考虑了下,应该是搜索的范围.类型之类的设置 ...
- 开放搜索服务OpenSearch
开放搜索服务系统架构:从系统.平台到开放服务 搜索是各类网站和数据类APP的标配功能.目前开发者一般基于开源搜索系统,例如ElasticSearch.Solr.Sphinx等自己搭建搜索服务,系统定制 ...
- 【高德地图API】从零开始学高德JS API(四)搜索服务——POI搜索|自动完成|输入提示|行政区域|交叉路口|自有数据检索
原文:[高德地图API]从零开始学高德JS API(四)搜索服务——POI搜索|自动完成|输入提示|行政区域|交叉路口|自有数据检索 摘要:地图服务,大家能想到哪些?POI搜素,输入提示,地址解析,公 ...
- 用ElasticSearch搭建自己的搜索和分析引擎
作者:robben,腾讯高级工程师 商业转载请联系腾讯WeTest获得授权,非商业转载请注明出处. 导语:互联网产品中的检索功能随处可见.当你的项目规模是百度大搜|商搜或者微信公众号搜索这种体量的时候 ...
- 从零搭建 ES 搜索服务(二)基础搜索
一.前言 上篇介绍了 ES 的基本概念及环境搭建,本篇将结合实际需求介绍整个实现过程及核心代码. 二.安装 ES ik 分析器插件 2.1 ik 分析器简介 GitHub 地址:https://git ...
- 从零搭建ES搜索服务(一)基本概念及环境搭建
一.前言 本系列文章最终目标是为了快速搭建一个简易可用的搜索服务.方案并不一定是最优,但实现难度较低. 二.背景 近期公司在重构老系统,需求是要求知识库支持全文检索. 我们知道普通的数据库 like ...
- 【LBS】基于地理位置的搜索之微信 附近的人 简单实现
缘由 本周技术群有一个同学说我们该怎么实现 由近到远的基于地理位置的搜索,我创业做电商的系统做过类似这样的服务,我把我们以前的操作给大家分享下 什么是LBS LBS 全称是 Location Bas ...
随机推荐
- 音视频学习-exceeded mem limit: ActiveHard 50 MB (fatal)
一.现象 ReplayKit2 适配中 UPLOAD进程被系统杀掉 日志中显示原因:exceeded mem limit: ActiveHard 50 MB (fatal) 二.内存占用分析 1)系统 ...
- 震惊!docker镜像还有这些知识你都知道吗
震惊!docker镜像还有这些知识你都知道吗? 镜像搜索 语法 [root@hmm docker-hello]# docker search -h Flag shorthand -h has been ...
- 主成分分析(PCA)介绍
目录 计算过程 投影分量计算 假设你有一家理发店,已经记录了过去一年中所有顾客的头发长度和发型偏好的数据.现在你想从这些数据中提取一些主要的信息,比如顾客最常选择的发型类型,以及不同发型之间的相关性等 ...
- Nacos 源码环境搭建
最近在学习nacos,通过调式源码查看服务注册和发现流程和原理,本地部署naos源码需要一定的步骤,本文主要做nacos源码部署. nacos版本:2.1.1 下载源码 从github上下载源码到本地 ...
- react props-type
对于组件来说,props是外部传入的,无法保证组件使用者传入什么格式的数据,简单来说就是组件调用者可能不知道组件封装着需要什么样的数据,如果传入的数据不对,可能会导致程序异常,所以必须要对于props ...
- CF1016D
problem & blog 构造题. 把从 \((1,1)\) 到 \((n - 1,m - 1)\) 的所有数变成 \(0\),这样从第 \(1\) 行到第 \(n - 1\) 行的最后一 ...
- The sultion of P4959
problem & blog 首先我们看到 \(x,y\) 有可能为负数,所以我们先把它旋转到第一象限. 然后我们发现如果 \(x_a \ge x_b\) 且 \(y_a \ge y_b\) ...
- 你唯一需要的是“Wide Events”,而非“Metrics、Logs、Traces”
Charity Majors 的这句话可能是对科技行业当前可观察性状态的最好总结--完全的.大规模的混乱.大家都很困惑.什么是 trace?什么是 span?一行日志就是一个 span 吗?如果我有日 ...
- 解决 Error running ‘Application‘: Command line is too long.
一.项目场景:运行刚拉取下来的项目代码,出现下面问题描述的错误提示. 二.问题描述Error running 'Application': Command line is too long. Shor ...
- npm ERR! code EPERM npm ERR! syscall open npm ERR! path C:\Program Files\nodejs\node_cache\_cacache\
报错信息 让人摸不着头脑的报错 解决方式 简单粗暴 直接删文件 方法1:需要删除npmrc文件. 强调:不是nodejs安装目录npm模块下的那个npmrc文件 而是在C:\Users{账户}\下的. ...