
1、第一个SpringMVC程序
1、创建如下项目结构

2、在src下的com.springmvc下创建User.java
 package com.springmvc;

 public class User {

     private String uname;

     public String getUname() {

         return uname;

     }

     public void setUname(String uname) {

         this.uname = uname;

     }

     @Override

     public String toString() {

         return "User [uname=" + uname + "]";

     }

 }
User.java
3、在src下的com.springmvc下创建MVCController.java
 package com.springmvc;

 import java.io.IOException;

 import javax.servlet.http.HttpServletRequest;

 import javax.servlet.http.HttpServletResponse;

 import org.springframework.stereotype.Controller;

 import org.springframework.web.bind.annotation.RequestMapping;

 /**

  * @Controller 标注控制类,负责注册一个bean到spring上下文中

  * @RequestMapping 注解为控制器指定可以处理哪些 URL 请求

  * http://MVCController/hello

  *

  */

 @Controller

 public class MVCController {

     /*所有方法的return 返回的是页面视图的名称*/

     //1.自动匹配参数

     @RequestMapping("/hello.do")

     public String hello(HttpServletRequest request,HttpServletResponse response) throws IOException{

         //跳转页面

         return "/index.jsp";

     }

     //2.自动匹配参数,传递一个参数

     @RequestMapping("/login.do")

     public void login(HttpServletResponse response,String uname) throws IOException{

         //login的页面,uname是表单的name属性名

         System.out.println("登录通过String参数接用户名:"+uname);

         //跳转方式1:

             response.sendRedirect("index.jsp");

     }

     //2.自动匹配参数

     @RequestMapping("/register.do")

     public void test(HttpServletResponse response,User user) throws IOException{

         //register页面的name属性名只要和User类的属性名保持一致,这里参数拿对象接就好,

         //这里register页面的name属性名中不用写user.属性名,不能像stuts2注入对象一样

         System.out.println("登录通过User对象参数接用户名:"+user);

         //跳转方式1:

         response.sendRedirect("index.jsp");

     }

 }
MVCController.java
4、在WebRoot下的WEB-INF下创建springmvc-servlet.xml
 <?xml version="1.0" encoding="UTF-8"?>

 <beans xmlns="http://www.springframework.org/schema/beans"

 xmlns:aop="http://www.springframework.org/schema/aop"

 xmlns:context="http://www.springframework.org/schema/context"

 xmlns:tx="http://www.springframework.org/schema/tx"

 xmlns:mvc="http://www.springframework.org/schema/mvc"

 xmlns:xsi="http://www.w3.org/2001/XMLSchema-instance"

 xsi:schemaLocation="http://www.springframework.org/schema/beans

 http://www.springframework.org/schema/beans/spring-beans.xsd

 http://www.springframework.org/schema/aop

 http://www.springframework.org/schema/aop/spring-aop.xsd

 http://www.springframework.org/schema/context

 http://www.springframework.org/schema/context/spring-context.xsd

 http://www.springframework.org/schema/tx

 http://www.springframework.org/schema/tx/spring-tx.xsd

 http://www.springframework.org/schema/mvc

 http://www.springframework.org/schema/mvc/spring-mvc.xsd ">

   <!--  1.配置要自动扫描的包 -->

   <context:component-scan base-package="com.springmvc"/>

   <!-- 2.支持spingmmvc注解,自动匹配 -->

   <mvc:annotation-driven/>

   <!-- 3.如果当前请求为“/”时,则转发到“mvc/hello” 也就是默认首启项的设置,web.xml欢迎页面节点可以啥也不写-->

   <!-- <mvc:view-controller path="/" view-name="forward:/mvc/hello"/> -->

 </beans>
springmvc-servlet.xml
5、编辑WebRoot下的WEB-INF下的web.xml
 <?xml version="1.0" encoding="UTF-8"?>

 <web-app version="2.5"

     xmlns="http://java.sun.com/xml/ns/javaee"

     xmlns:xsi="http://www.w3.org/2001/XMLSchema-instance"

     xsi:schemaLocation="http://java.sun.com/xml/ns/javaee

     http://java.sun.com/xml/ns/javaee/web-app_2_5.xsd">

     <!-- SpringMVC的配置 -->

     <servlet>

       <servlet-name>springmvc</servlet-name>

       <!-- DispatcherServlet是前置控制器,配置在web.xml文件中的。拦截匹配的请求,

       Servlet拦截匹配规则要自已定义,把拦截下来的请求,依据相应的规则分发到目标Controller来处理, -->

       <servlet-class>org.springframework.web.servlet.DispatcherServlet</servlet-class>

     </servlet>

     <servlet-mapping>

       <servlet-name>springmvc</servlet-name>

       <url-pattern>*.do</url-pattern>

     </servlet-mapping>

     <welcome-file-list>

       <welcome-file></welcome-file>

     </welcome-file-list>

 </web-app>
web.xml
6、在WebRoot下创建login.jsp
 <%@ page language="java" import="java.util.*" pageEncoding="ISO-8859-1"%>

 <%

 String path = request.getContextPath();

 String basePath = request.getScheme()+"://"+request.getServerName()+":"+request.getServerPort()+path+"/";

 %>

 <!DOCTYPE HTML PUBLIC "-//W3C//DTD HTML 4.01 Transitional//EN">

 <html>

   <head>

     <base href="<%=basePath%>">

     <title>My JSP 'index.jsp' starting page</title>

     <meta http-equiv="pragma" content="no-cache">

     <meta http-equiv="cache-control" content="no-cache">

     <meta http-equiv="expires" content="0">

     <meta http-equiv="keywords" content="keyword1,keyword2,keyword3">

     <meta http-equiv="description" content="This is my page">

     <!--

     <link rel="stylesheet" type="text/css" href="styles.css">

     -->

   </head>

   <body>

      <form action="login.do" method="post">

        user:<input type="text" name="uname"/>

        <input type="submit" value="ok"/>

      </form>

   </body>

 </html>
login.jsp
7、在WebRoot下创建register.jsp
 <%@ page language="java" import="java.util.*" pageEncoding="ISO-8859-1"%>

 <%

 String path = request.getContextPath();

 String basePath = request.getScheme()+"://"+request.getServerName()+":"+request.getServerPort()+path+"/";

 %>

 <!DOCTYPE HTML PUBLIC "-//W3C//DTD HTML 4.01 Transitional//EN">

 <html>

   <head>

     <base href="<%=basePath%>">

     <title>My JSP 'index.jsp' starting page</title>

     <meta http-equiv="pragma" content="no-cache">

     <meta http-equiv="cache-control" content="no-cache">

     <meta http-equiv="expires" content="0">

     <meta http-equiv="keywords" content="keyword1,keyword2,keyword3">

     <meta http-equiv="description" content="This is my page">

     <!--

     <link rel="stylesheet" type="text/css" href="styles.css">

     -->

   </head>

   <body>

      <form action="register.do" method="post">

        user:<input type="text" name="uname"/>

        <input type="submit" value="ok"/>

      </form>

   </body>

 </html>
register.jsp
8、在WebRoot下创建index.jsp
 <%@ page language="java" import="java.util.*" pageEncoding="UTF-8"%>

 <%

 String path = request.getContextPath();

 String basePath = request.getScheme()+"://"+request.getServerName()+":"+request.getServerPort()+path+"/";

 %>

 <!DOCTYPE HTML PUBLIC "-//W3C//DTD HTML 4.01 Transitional//EN">

 <html>

   <head>

     <base href="<%=basePath%>">

     <title>My JSP 'login.jsp' starting page</title>

     <meta http-equiv="pragma" content="no-cache">

     <meta http-equiv="cache-control" content="no-cache">

     <meta http-equiv="expires" content="0">

     <meta http-equiv="keywords" content="keyword1,keyword2,keyword3">

     <meta http-equiv="description" content="This is my page">

     <!--

     <link rel="stylesheet" type="text/css" href="styles.css">

     -->

   </head>

   <body>

      操作成功!

   </body>

 </html>
index.jsp
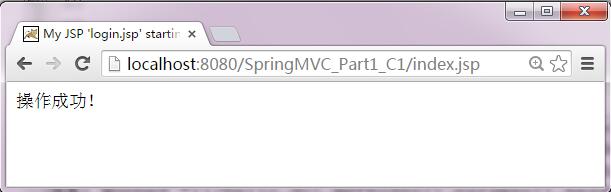
9、运行效果如下
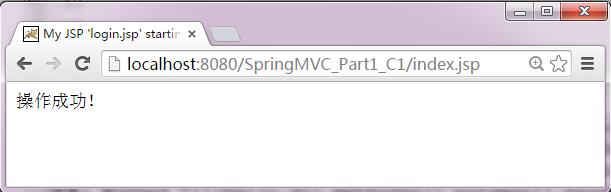
(1)直接通过浏览器访问hello.do

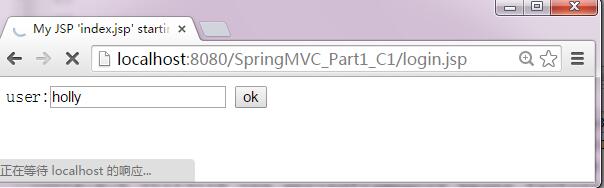
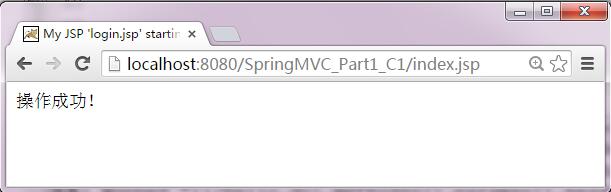
(2)登录时,后台用String参数名接值
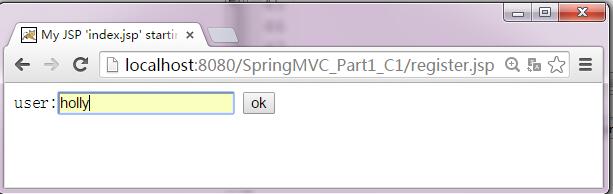
(3)注册时,后台用User对象参数接值
1、第一个SpringMVC程序的更多相关文章
- 手把手教你优雅的编写第一个SpringMVC程序
可能之前写的文章走进SpringMVC世界,从SpringMVC入门到SpringMVC架构中的第一个springMVC入门程序讲解的不是那么优雅.细致.精巧,因此特地写这篇稍微优雅.细致.精巧一些的 ...
- SpringMVC_001 第一个SpringMVC程序
今天我们来学习第一个SpringMVC程序 一.配置开发方式 (1)首先建立一个SpringMVC web程序 (2)导入jar包 (3)建立UserController.java package ...
- SpringMVC-02 第一个SpringMVC程序
SpringMVC-02 第一个SpringMVC程序 第一个SpringMVC程序 配置版 新建一个Moudle , springmvc-02-hello,确定依赖导入进去了 1.配置web.xml ...
- 第一个SpringMVC程序 (配置版)
通过配置版本的MVC程序,可以了解到MVC的底层原理,实际开发我们用的是注解版的! 1.新建一个普通Maven的项目,然后添加web的支持 2.导入相关的SpringMVC的依赖 3.配置web.xm ...
- SpringMVC学习02(我的第一个SpringMVC程序)
2.Hello,SpringMVC 2.1 配置版 1.新建一个Moudle , springmvc-02-hello , 添加web的支持! 2.确定导入了SpringMVC 的依赖! 3.配置we ...
- 第一个SpringMVC程序 (注解版)
1.新建一个web项目 2.导入相关jar包 3.编写web.xml , 注册DispatcherServlet <?xml version="1.0" encoding=& ...
- 第一个SpringMVC程序(最简单的)
注册中央调度器,这个中央调度器就是org.springframework.web.servlet.DispatcherServlet这个类(web.xml servlet-name节点的名字,必须 ...
- 第一个SpringMVC程序
1.创建工程 2.导入依赖 3.编写配置文件(web.xml) 配置了SpringMVC的入口: 4.SpringMVC的配置文件 路径:默认情况下,在目录下找这个文件:/WEB-INF/{servl ...
- 建立一个简单的SpringMVC程序
首先,所建立的程序是一个web程序,所以在web.xml文件中进行如下的配置: 1 2 3 4 5 6 7 8 9 10 11 12 13 14 15 16 17 18 19 20 21 22 23 ...
随机推荐
- svn服务器搭建-SuSE Linux Enterprise Server 11 SP3
svn存储版本数据也有2种方式: 1.bdb: 2.fsfs. 因为BDB方式在服务器中断时,有可能锁住数据(搞ldap时就深受其害,没法根治),所以还是FSFS方式更安全一点,我也选择这种方式. ...
- 程序启动的目录不一样.ajax请求的地址跳转会出现的问题
程序启动的目录不一样.ajax请求的地址跳转会出现的问题启动 frontend/web/启动 frontend/ $.ajax({ url:"<?php echo Yii::$app- ...
- 关于Python的文件IO
使用Open函数, 第一个参数为文件名, 例如"C:\abc.txt",这里要注意的是r"C:\abc.txt". 第二个参数为文件的操作方式, 这里着重探讨写 ...
- Arch安装KDE5
plasma desktop Install the plasma-meta meta-package or the plasma group. Alternatively, for a more m ...
- mysql的联合,连接,子查询
- JTree单击事件
import javax.swing.*; import javax.swing.tree.*; import java.awt.FlowLayout; import java.awt.GridLay ...
- db2 备份还原
一.导入导出 ixf: db2 export to /tmp/xxx.csv of ixf lobs to . xml to . modified by codepage=1208 "sel ...
- 递归——CPS(三)
JScript不是天然支持CPS,但是可以写一个分发引擎使得能工作在CPS风格下.一般只有一个活动的continuation,所以可以定义规则:JScript CPS 函数允许有返回,但是它们做的最后 ...
- ActiveMQ in Action(6) - Features
关键字: activemq 2.6 Features ActiveMQ包含了很多功能强大的特性,下面简要介绍其中的几个.2.6.1 Exclusive Consumer Queue中的消息 ...
- redisTemplate keys方法 为空
我遇到的原因是spring.xml配置有问题,应该为: <bean id="redisTemplate" class="org.springframework.da ...