如何下载 Nginx (windows 版本)并且简单的使用
官网地址:http://nginx.org/
进到官网
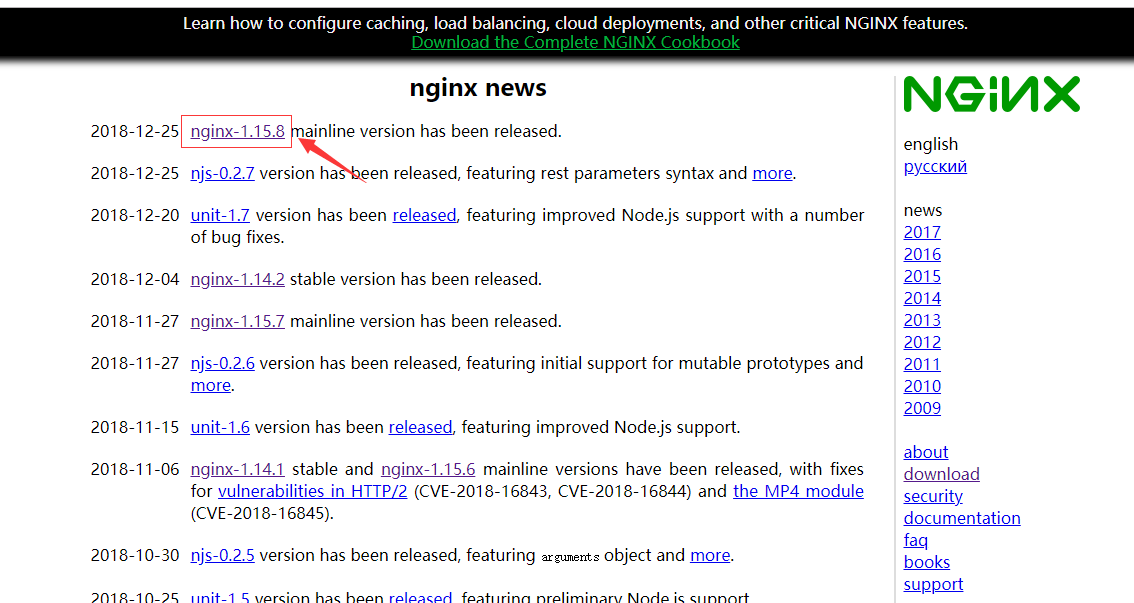
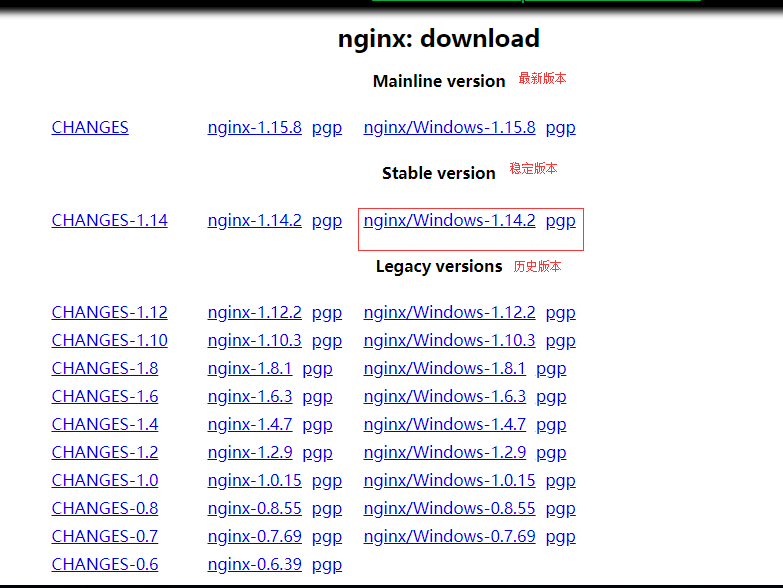
我这里下载的是 稳定版的 windows版本。
开始我们的简单测试
步骤一:找到nginx的压缩包,(随意找个地方)解压
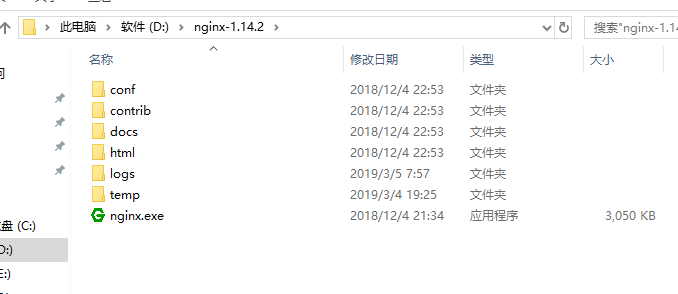
步骤二:进入conf文件夹
步骤三:在F盘中 新建一个test.html 文件 (这里是方便测试) !!!!! ----> 静态资源
步骤四:修改nginx.conf文件
nginx.conf 文件 修改如下

步骤五:进行访问从而找到静态资源
1、找到nginx的安装目录 然后 cmd 直接进入命令行窗口
2、start nginx (启动 Nginx )
3、进行访问我们刚刚弄的test.html 静态资源
4、结果如下:
浏览器输入 localhost:80/test.html
可直接获取访问到的资源

步骤六:访问后端API
1、找到一个前后端分离的项目(比较好演示而已),只需后端项目的Tomcat启动就好了
2、比如我的后端项目配置如下
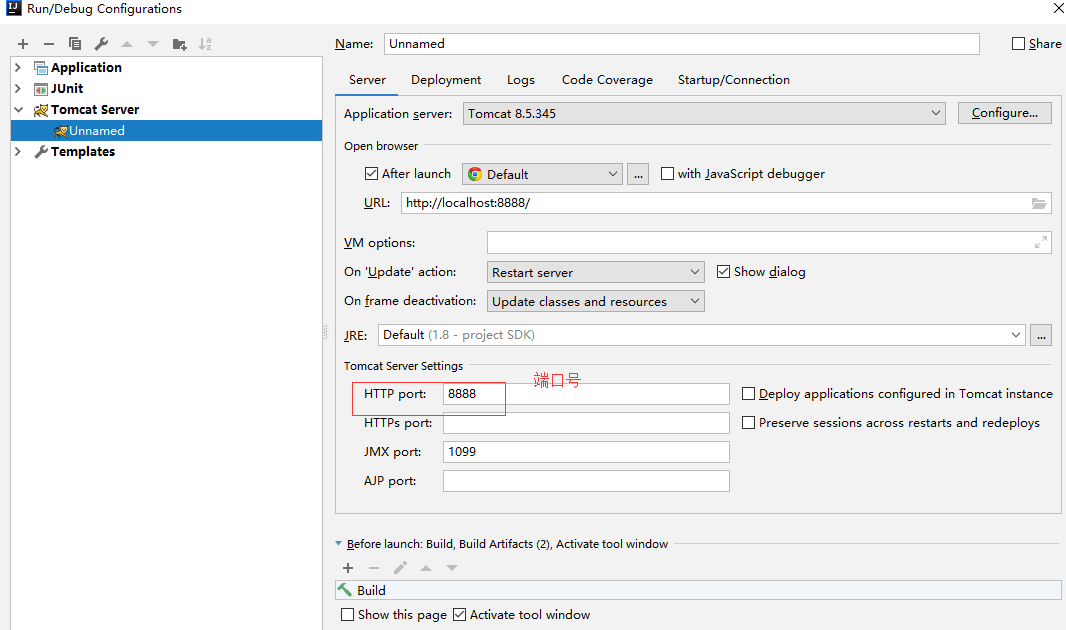
3、然后 启动 项目 (我这里使用的是 idea)
4、修改 nginx.conf 文件
加一段语法

proxy_pass http://server:port /; ---> 后端Tomcat访问的真实地址
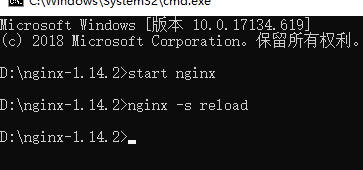
5、修改完成后、保存 ,来到 cmd命令窗口
输入 nginx -s reload
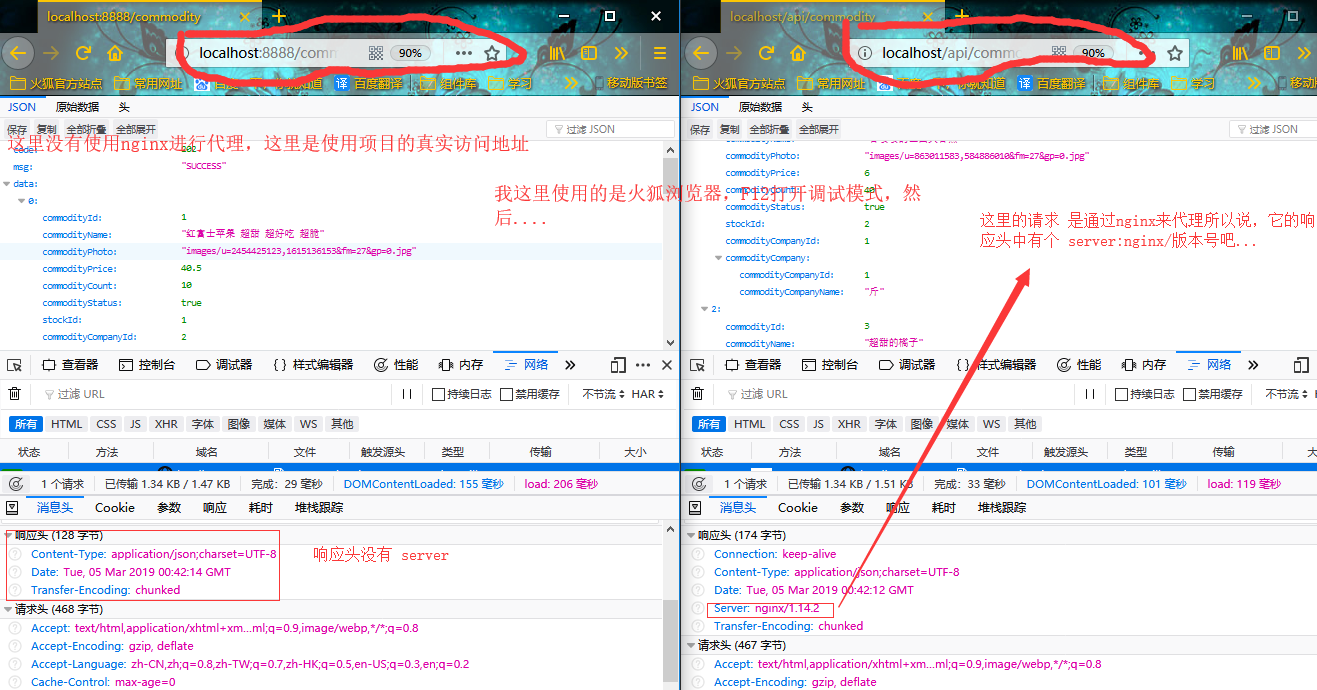
进行访问结果如下:

那怎么看 我的请求是否被nginx代理了呢?
很简单的
如图:
本次演示 nginx.conf 文件完整配置如下:
|
1
2
3
4
5
6
7
8
9
10
11
12
13
14
15
16
17
18
19
20
21
22
23
24
25
26
27
28
29
30
31
32
33
34
35
36
37
38
39
40
41
42
43
44
45
46
47
48
49
50
51
52
53
54
55
56
57
58
59
60
61
62
63
64
65
66
67
68
69
70
71
72
73
74
75
76
77
78
79
80
81
82
83
84
85
86
87
88
89
90
91
92
93
94
95
96
97
98
99
100
101
102
103
104
105
106
107
108
109
110
111
112
113
114
115
116
117
118
119
120
121
122
123
124
125
126
127
128
129
130
131
132
133
134
135
|
#user nobody;worker_processes 1;#工作进程的个数,可以配置多个#error_log logs/error.log;#error_log logs/error.log notice;#error_log logs/error.log info;#pid logs/nginx.pid;events { worker_connections 1024;#单个进程最大连接数(最大连接数 = 连接数 * 进程数)}http { include mime.types;#文件扩展名与文件类型映射表 default_type application/octet-stream;#默认文件类型 #log_format main '$remote_addr - $remote_user [$time_local] "$request" ' # '$status $body_bytes_sent "$http_referer" ' # '"$http_user_agent" "$http_x_forwarded_for"'; #access_log logs/access.log main; #开启高效文件传输模式,sendfile指令指定nginx是否调用sendfile函数来输出文件 #对于普通应用设为 on,如果用来进行下载等应用磁盘IO重负载应用,可设置为off #以平衡磁盘与网络I/O处理速度,降低系统的负载 #注意:如果图片显示不正常把这个改成off sendfile on; #tcp_nopush on; #keepalive_timeout 0; #长连接超时时间,单位是秒 keepalive_timeout 65; #启用Gizp压缩 #gzip on; #当前的Nginx的配置 server { #监听80端口,可以改成其他端口 listen 80; server_name localhost;#当前服务的域名 #charset koi8-r; #access_log logs/host.access.log main; #访问页面 location /{ root F:/;#根目录 index test.html; } #访问Tomcat API location /api { #proxy_set_header Host $host; #proxy_set_header X-Real-IP $remote_addr; #proxy_set_header X-Forwarded-For $proxy_add_x_forwarded_for; proxy_pass http://192.168.6.184:8888/; } #error_page 404 /404.html; # redirect server error pages to the static page /50x.html # error_page 500 502 503 504 /50x.html; location = /50x.html { root html; } # proxy the PHP scripts to Apache listening on 127.0.0.1:80 # #location ~ \.php$ { # proxy_pass http://127.0.0.1; #} # pass the PHP scripts to FastCGI server listening on 127.0.0.1:9000 # #location ~ \.php$ { # root html; # fastcgi_pass 127.0.0.1:9000; # fastcgi_index index.php; # fastcgi_param SCRIPT_FILENAME /scripts$fastcgi_script_name; # include fastcgi_params; #} # deny access to .htaccess files, if Apache's document root # concurs with nginx's one # #location ~ /\.ht { # deny all; #} } # another virtual host using mix of IP-, name-, and port-based configuration # #server { # listen 8000; # listen somename:8080; # server_name somename alias another.alias; # location / { # root html; # index index.html index.htm; # } #} # HTTPS server # #server { # listen 443 ssl; # server_name localhost; # ssl_certificate cert.pem; # ssl_certificate_key cert.key; # ssl_session_cache shared:SSL:1m; # ssl_session_timeout 5m; # ssl_ciphers HIGH:!aNULL:!MD5; # ssl_prefer_server_ciphers on; # location / { # root html; # index index.html index.htm; # } #}} |
如何下载 Nginx (windows 版本)并且简单的使用的更多相关文章
- nginx windows版本 1024限制
Windows版本因为文件访问句柄数被限制为1024了,当访问量大时就会无法响应. 会有如下错误提示:maximum number of descriptors supported by select ...
- 如何下载Nginx(Windows) 并且简单使用
官网地址:http://nginx.org/ 进入官网后点击: 推荐下载的是稳定版: 现在开始简单的使用: 一.打开下载文件的目录解压后打开文件 二.在其他盘新建一个test.html,静态资源,用来 ...
- windows版本redis下载安装
官方网站:http://redis.io/ 官方下载:http://redis.io/download 可以根据需要下载不同版本 在官方下载网页中有一个window版本的说明,说redis官方没有wi ...
- nginx Win下实现简单的负载均衡(1)nginx搭建部署
快速目录: 一.nginx Win下实现简单的负载均衡(1)nginx搭建部署 二.nginx Win下实现简单的负载均衡(2)站点共享Session 三.nginx Win下实现简单的负载均衡(3) ...
- nginx+php 在windows下的简单配置安装
开始前的准备 PHP安装包下载:http://windows.php.net/downloads/releases/php-5.5.14-Win32-VC11-x86.zip Nginx 下载地址:h ...
- BesLyric 全新版本下载 ( windows \ mac \ linux )
导读 BesLyric , 一款专门制作 网易云音乐 LRC 滚动歌词的软件! 搜索.下载.制作 歌词更方便! 很荣幸地,自 beslyric 2017 年开发推出以来,得到了很多云村村民的肯定,现在 ...
- windows下Nginx与tomcat组合简单使用
文章版权由作者李晓晖和博客园共有,若转载请于明显处标明出处:http://www.cnblogs.com/naaoveGIS/ 1.背景 项目中瓦片资源越来越多,如果提高瓦片的访问效率是一个需要解决的 ...
- 用.netcore写一个简单redis驱动,调试windows版本的redis.平且给set和get命令添加参数.
1. 下载windows版本的redis 2.开发环境vs2017 新建一个 .net core控制台. private static Socket socket = new Socket(Addr ...
- windows版本免安装redis, nginx, zookeeper
redis官网:https://redis.io/ windows版本免安装redis下载链接:https://github.com/MSOpenTech/redis/releases nginx官网 ...
随机推荐
- BZOJ 1834 Luogu P2604 [ZJOI2010]网络扩容 (最小费用最大流)
题目连接: (luogu) https://www.luogu.org/problemnew/show/P2604 (bzoj) https://www.lydsy.com/JudgeOnline/p ...
- noip模拟赛 密码
题目描述 YJC把核弹发射密码忘掉了……其实是密码被加密了,但是YJC不会解密.密码由n个数字组成,第i个数字被加密成了如下形式:第k小的满足(2^L)|(P-1)且P为质数的P.YJC希望你能帮他算 ...
- 解决使用myeclipse电脑卡的问题
1. 原因:myeclipse会自动更新,因此会占用大量内存 2. 解决方法: (1)window->Perferences->General->Startup and Shutdo ...
- mysqlhighavailability
http://mysqlhighavailability.com/getting-started-with-mysql-group-replication/
- internalsviewer
https://intview2.codeplex.com/ https://internalsviewer.codeplex.com/releases/view/21139
- C/C++ Threads): Creating worker threads that will be listening to jobs and executing them concurrently when wanted
Suppose we have two workers. Each worker has an id of 0 and 1. Also suppose that we have jobs arrivi ...
- Android:Unable to resolve target ‘android-8’问题解决
在学习过程中,下载别人写过的代码,导入到eclipse,报错: Unable to resolve target 'android-8' 问题是项目版本号问题. 解决方法例如以下: 右击项目:Prop ...
- spark sql读hbase
项目背景 spark sql读hbase据说官网如今在写,但还没稳定,所以我基于hbase-rdd这个项目进行了一个封装,当中会区分是否为2进制,假设是就在配置文件里指定为#b,如long#b,还实用 ...
- HDFS02
读取流程 写流程 ============SecondaryNameNode============ Namenode的一个快照 周期性的备份namenode 记录namenode中的metadata ...
- Selenium-一个用于Web应用程序测试的工具
Selenium.pptx