selenium爬虫后上传数据库。
一、准备工作
1.1安装软件
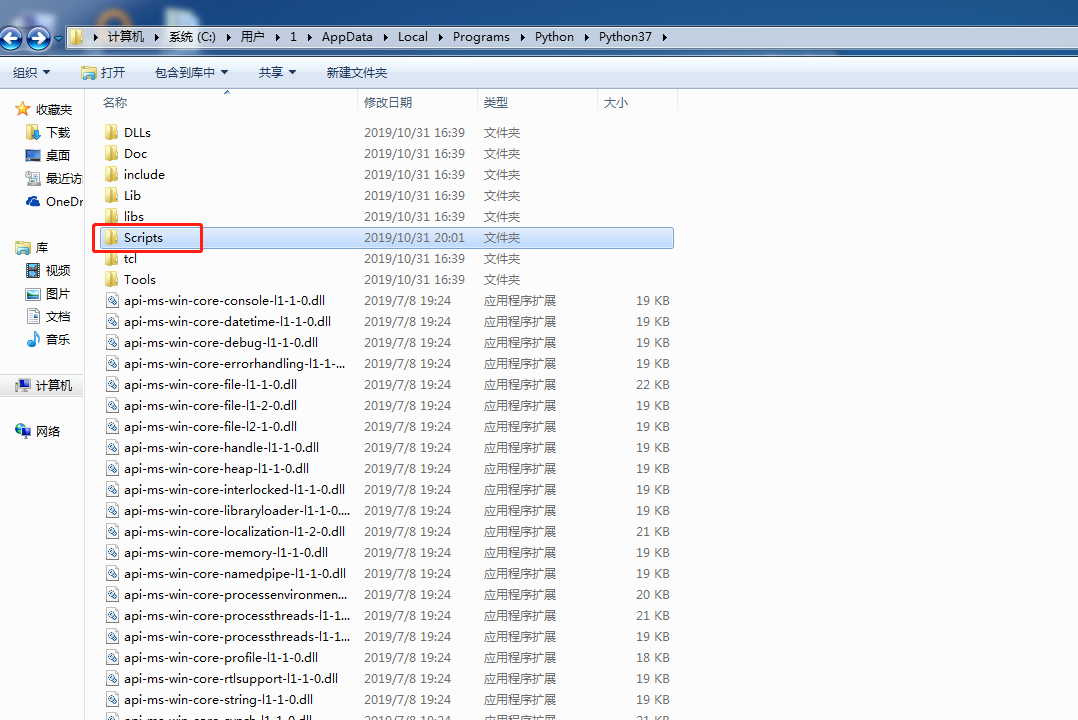
安装python、安装谷歌浏览器、将chromedriver.exe放到指定位置。
放到Scripts文件夹中。我这边的路径为:C:\Users\1\AppData\Local\Programs\Python\Python37\Scripts
1.2用到的python库。
用到的python的库有:time,datetiem,os,selenium,pandas,pymysql,logging,twisted
将pymysql进行处理。形成一个自己的包。
# encoding:utf-8

import pymysql.cursors

class MysqlOperation(object):

    def __init__(self, config):

        self.connection = pymysql.connect(host=config['mysql_host'],

                                          port=config['mysql_port'],

                                          user=config['mysql_user'],

                                          # pymysql直接连接是passwd,用连接池连接是password

                                          passwd=config['mysql_passwd'],

                                          db=config['mysql_db'],

                                          charset='utf8',

                                          cursorclass=pymysql.cursors.DictCursor

                                          )

    def read_sql(self, sql):

        with self.connection.cursor() as cursor:

            try:

                cursor.execute(sql)

                result = cursor.fetchall()

                return result

            except Exception as e:

                self.connection.rollback()  # 回滚

                print('事务失败', e)

    def insert_sql(self, sql):

        with self.connection.cursor() as cursor:

            try:

                cursor.execute(sql)

                self.connection.commit()

            except Exception as e:

                self.connection.rollback()

                print('事务失败', e)

    def update_sql(self, sql):

        # sql_update ="update user set username = '%s' where id = %d"

        with self.connection.cursor() as cursor:

            try:

                cursor.execute(sql)  # 像sql语句传递参数

                # 提交

                self.connection.commit()

            except Exception as e:

                # 错误回滚

                self.connection.rollback()

    def delect_sql(self, sql_delete):

        with self.connection.cursor() as cursor:

            try:

                cursor.execute(sql_delete)  # 像sql语句传递参数

                # 提交

                self.connection.commit()

            except Exception as e:

                # 错误回滚

                self.connection.rollback()

    def read_one(self, sql):

        with self.connection.cursor() as cursor:

            try:

                cursor.execute(sql)

                result = cursor.fetchone()

                return result

            except Exception as e:

                self.connection.rollback()  # 回滚

                print('事务失败', e)

    def reConnect(self):

        try:

            self.connection.ping()

        except:

            self.connection()
二、书写代码
2.1通用代码
from selenium import webdriver

from selenium.webdriver.chrome.options import Options

from selenium.webdriver.common.by import By

from selenium.webdriver.support import expected_conditions as EC

from selenium.webdriver.support.wait import WebDriverWait

from selenium.webdriver.common.keys import Keys

import time

import datetime

import os

import pandas as pd

from sqlConnect import MysqlOperation

import math

# 配置浏览器

options = Options()

download_path = r"E:\splider\pk"

options.add_experimental_option("prefs", {

    "download.default_directory": download_path,

    "download.prompt_for_download": False,

    "download.directory_upgrade": True,

    "safebrowsing.enabled": True

})

# 配置数据库

config = {'mysql_host': '',

          'mysql_port': ,

          'mysql_user': '',

          'mysql_passwd': '',

          'mysql_db': ''

          }

mysql=MysqlOperation(config=config)

# 防错清空

file_list = os.listdir(download_path)

for file in file_list:

    file_path = download_path + '\\' + file

    if os.path.exists(file_path):

        os.remove(file_path)

print('#Cleared')

# 将百分数转化为小数

def judge_percent(x):

    if isinstance(x, str):

        if '%' in x:

            return round(float(x[:-1]) / 100, 2)

        else:

            return x

    else:

        return x

def rename(download_path, start_time, end_time, province='all_country'):

    # 下载文件重命名

    number = 0

    original_file_path = 'old_name'

    rename_file_path = 'new_name'

    while not os.path.exists(original_file_path) and number < 5:

        time.sleep(10)

        number = number + 1

    os.rename(original_file_path, rename_file_path)

    print("完成重命名")
说明:
配置浏览器的目的是更改下载路径:download_path便是自定义的下载路径。
配置数据库的是为了连接数据库。
放错清空的目的是担心文件夹里面的数据对下载的数据形成干扰。我这是全部清空,也可以指定文件清空。
下载之后的文件进行重命名,是为了将汉字转化为英文。
2.2 selenium模拟下载。
我用的的定位是XPATH。
bro = webdriver.Chrome(options=options)

bro.implicitly_wait(10)   # 隐式等待10s

time.sleep(10)            # 等待10s
有时因为网速等原因,XPATH加载较慢。所以这时候就需要等待。
a = bro.find_element_by_xpath('')

a.click()

a.clear()

a.send_keys('输入文字')

a.send_keys(Keys.ENTER)  # 模拟按下enter键
爬虫的时候有时需要填入文字。但是填入文字之后又需要点击或者按enter。
这是需要用selenium模拟enter操作。
2.2重命名
下载之后用进行重名。
2.3操作数据库。
下载数据之后。需要将数据上传到数据库。
上传之前,记得删除。比如,下载的数据是1-5号的数据。需要先把数据库中1-5号的数据删除,在上传。
上传的时候如果数据量少,可以一次上传。
如果数据量比较大,可以分批次上传。
selenium爬虫后上传数据库。的更多相关文章
- 关于php加密库加密数据上传数据库或解密出错的问题
php加密拓展库随着php版本的更新,函数的使用方法有所改变,所以加密模式推荐使用ecb,其中加密算法19种,加密模式8种,通过这种方式加密后的数据上传数据库后提取出来进行解密会发现结果是乱码,我认为 ...
- web自动化之selenium(三)文件上传
1.上传标签为input #若上传文件的标签为<input>可以直接定位标签,然后send_keys(文件路径)可以直接上传 2.利用第三方软件Autoit上传 1.下载Autoit:ht ...
- 简单的 Android 拍照并显示以及获取路径后上传
简单的 Android 拍照并显示以及获取路径后上传 Activity 中的代码,我只贴出重要的事件部分代码 public void doPhoto(View view) { destoryBimap ...
- 使用ajax上传图片,支持图片即时浏览,支持js图片压缩后上传给服务器
使用ajax上传图片,支持图片即时浏览,支持js图片压缩后上传给服务器 ajax上传主要使用了 var reader = new FileReader() 此方法 js图片压缩主要是利用canvas进 ...
- C# 防止content-type修改后上传恶意文件
以图片为例子.在上传图片的时候,使用Fiddler抓取 通过js判断文件类型是不安全的,所以通过后台来判断,代码如下: ) { HttpPostedFile file0 = Request.Files ...
- 将IMAGE转为PDF后上传
using iTextSharp.text; using iTextSharp.text.pdf; /// <summary> /// 将IMAGE转为PDF后上传 /// </su ...
- mui开发app之cropper裁剪后上传头像的实现
在大多数app项目中,都需要对用户头像的上传,之前做web开发的时候,我主要是通过input type=file的标签实现的,上传后,使用php对图片进行裁剪,这种方式比较传统简单. 此次app开发中 ...
- selenium+python-autoit文件上传
前言 关于非input文件上传,点上传按钮后,这个弹出的windows的控件了,已经跳出三界之外了,不属于selenium的管辖范围(selenium不是万能的,只能操作web上元素).autoit工 ...
- selenium之 文件上传所有方法整理总结【转】
本文转自:https://blog.csdn.net/huilan_same/article/details/52439546 文件上传是所有UI自动化测试都要面对的一个头疼问题,今天博主在这里给大家 ...
随机推荐
- Git入门学习和使用
#开篇废话 开篇废话又回来了,离开博客算是有一年了,之间曾经痛下很多次决心,继续写博客,后来都失败了,前年为了申请个CSDN专家,每天发博客,那个高产的状态,现在已然不行了,时过境迁,当时为了吃口饱饭 ...
- Android 内存 - 获取单个应用内存限制
方法一: adb shell getprop | grep dalvik.vm.heapgrowthlimit [dalvik.vm.heapgrowthlimit]: [64m] 方法二: Acti ...
- 已知源目录路径sourceFilePath,此目录下还有多级子目录和多个文本文件(*.txt)。尝试编写一个方法,将此目录下所有的文件拷贝至另一个目录targetFilePath,并其中的文本文件修改成SQL文件(*.SQL)。
public void copyFile(String oldPath, String newPath) throws IOException { (new File(newPath)).mkdirs ...
- weblogic性能调优
1.设置java参数: a) 编辑Weblogic Server启动脚本文件: /user_projects/domains/Domain_jgbs/bin/startWebLogic.sh /use ...
- Java-GC 垃圾收集算法
程序计数器.虚拟机栈.本地方法栈随线程而生,随线程而灭. 栈帧随着方法的开始而入栈,随着方法的结束而出栈. 这几个区域的内存分配和回收都具有确定性,在这几个区域内不需要过多考虑回收的问题,因为方法结束 ...
- win10搜索框突然不能使用了
备忘: win10搜索不出来了,使用以下方法恢复了,备忘下 1,首先打开任务管理器 重新启动wservice服务 2.发现这时候搜索依然不能使用 然后重新启动explorer.exe (1)右键关闭该 ...
- HashMap 的实现原理解析(转载)
HashMap 概述 HashMap 是基于哈希表的 Map 接口的非同步实现.此实现提供所有可选的映射操作,并允许使用 null 值和 null 键.此类不保证映射的顺序,特别是它不保证该顺序恒久不 ...
- Using Android monkeyrunner from Eclipse, both in Windows and Linux!
This time I want to use English to make this article useful for all others in the world:) As you kno ...
- 在Excel工作表单元格中引用当前工作表名称
在Excel工作表单元格中引用当前工作表名称 有多份Excel表格表头标题都为"××学校第1次拉练考试××班成绩表",由于工作表结构都是一样的,所以我每次都是复制工作表然后编辑修改 ...
- Selenium下Chrome配置
地址:https://peter.sh/experiments/chromium-command-line-switches/ chrome_options.add_argument('--headl ...