前言
    一款不错的代码质量管理工具Sonar
前期准备
    软件下载
    硬件环境(在官方参考文档有提出硬件规格,如下只是测试环境)
            磁盘 ->16G
            内存 ->2G
            CPU -> 2core
    软件环境
            OS -> Red Hat Enterprise 6.5
            DB -> Mysql 5.7
            Sonar -> SonarQube 6.7.1 (LTS *)
            IP -> 192.168.1.59
            Host -> t-xi-sonar01
系统初始化
        关闭selinux和防火墙
           [root@t-xi-sonar01 ~]# vi /etc/selinux/config
               SELINUX=disabled
           [root@t-xi-sonar01 ~]# chkconfig  iptables off&&chkconfig  ip6tables off&&service iptables stop&&service ip6tables stop
      [root@t-xi-sonar01 ~]# vi /etc/hosts

            192.168.1.59 t-xi-sonar01
        配置Yum源,我这里配置了web站点,所以指定了http地址.
          [root@t-xi-sonar01 ~]# cat /etc/yum.repos.d/rhel-source.repo
[rhel-source]
name=Red Hat Enterprise Linux $releasever - $basearch - Source
enabled=1
gpgcheck=0
 
  也可以使用ios镜像进行配置yum源
 [root@t-xi-orc01 ~]# mount -o loop /u01/rhel-server-6.5-x86_64-dvd.iso /u01/http/redhat6.5
 [root@t-xi-orc01 ~]# cat /etc/yum.repos.d/rhel-source.repo
 [Server]
 name=Red Hat Enterprise Linux $releasever - $basearch - Server
 baseurl=file:///u01/http/redhat6.5/Server
 enabled=1
 gpgcheck=0
 gpgkey=file:///etc/pki/rpm-gpg/RPM-GPG-KEY-redhat-release
        
        系统内核优化(参考文档中有)

 [root@t-xi-sonar01 ~]# vi /etc/sysctl.conf
#add sonar
vm.max_map_count =
fs.file-max = [root@t-xi-sonar01 ~]# vi /etc/security/limits.conf
#add sonar
sonarqube - nofile
sonarqube - nproc sysctl -w vm.max_map_count=
sysctl -w fs.file-max=
ulimit -n
ulimit -u

安装Mysql数据库

      首先移除原有mysql-libs-5.1.71-1.el6.x86_64包,但它依赖postfix。
      [root@t-xi-sonar01 ~]# yum remove postfix
      [root@t-xi-sonar01 ~]# rpm -e mysql-libs-5.1.71-1.el6.x86_64
      安装下载的Mysql 5.7
      [root@t-xi-sonar01 ~]#
        rpm -ivh mysql-community-client-5.7.20-1.el6.x86_64.rpm
        rpm -ivh mysql-community-common-5.7.20-1.el6.x86_64.rpm
        rpm -ivh mysql-community-devel-5.7.20-1.el6.x86_64.rpm
        rpm -ivh mysql-community-embedded-5.7.20-1.el6.x86_64.rpm
        rpm -ivh mysql-community-embedded-devel-5.7.20-1.el6.x86_64.rpm
        rpm -ivh mysql-community-libs-5.7.20-1.el6.x86_64.rpm
        rpm -ivh mysql-community-libs-compat-5.7.20-1.el6.x86_64.rpm
        rpm -ivh mysql-community-server-5.7.20-1.el6.x86_64.rpm

  注意将原来移除的包重新安装
        yum install postfix  crontabs
            优化Mysql数据库参数     
[root@t-xi-sonar01 ~]# vi /etc/my.cnf
query_cache_size=8M
innodb_buffer_pool_size=1152M
innodb_log_file_size=256M
innodb_log_buffer_size=4M
innodb_flush_log_at_trx_commit=
innodb_thread_concurrency=
innodb_flush_method=O_DIRECT
transaction-isolation=READ-COMMITTED
thread_cache_size=
slow_query_log=on
slow-query-log-file=mysqld-slow.log
long_query_time=
explicit_defaults_for_timestamp=true
skip-character-set-client-handshake
collation-server=utf8_unicode_ci
character-set-server=utf8

  启动数据库,此时数据库会生成临时密码

            [root@t-xi-sonar01 ~]# service mysqld start
           启动时要随时关注mysql数据库产生的日志记录
            [root@t-xi-sonar01 ~]# tail -f  /var/log/mysqld.log
           查看临时密码
            [root@t-xi-sonar01 ~]#grep 'temporary password' /var/log/mysqld.log
                2017-12-26T10:37:57.842981Z 1 [Note] A temporary password is generated for root@localhost: cSj&aPfkS60w
            登陆并且更新密码
            [root@t-xi-sonar01 ~]#mysql -uroot -p
            mysql>ALTER USER 'root'@'localhost' IDENTIFIED BY '******';
            mysql>FLUSH PRIVILEGES;
            将mysql数据库设定为自启动
            [root@t-xi-sonar01 ~]# chkconfig mysqld on
            
    创建Sonar账户和数据库
            [root@t-xi-sonar01 ~]#useradd sonar
            [root@t-xi-sonar01 ~]#passwrd sonar
 
            [root@t-xi-sonar01 ~]#mysql -uroot -p
            mysql>create user 'sonar'@'localhost' identified by 'sonar';
            mysql>CREATE DATABASE sonar
                          DEFAULT CHARACTER SET utf8
                          DEFAULT COLLATE utf8_general_ci;
            mysql>GRANT ALL PRIVILEGES ON sonar.* TO 'sonar'@'localhost';
            mysql>FLUSH PRIVILEGES;
 
    安装Sonar软件
            [root@t-xi-sonar01 ~]# unzip sonarqube-6.7.1.zip
            [root@t-xi-sonar01 ~]# mv sonarqube-6.7.1 /etc/sonarqube
            [root@t-xi-sonar01 ~]# chown -R sonar.sonar /etc/sonarqube
                注意:sonarqube后面启动 ./sonar.sh start时不能使用root账户,es.log报错信息
                 2017.12.27 13:59:30 ERROR es[][o.e.b.Bootstrap] Exception java.lang.RuntimeException: can not run elasticsearch as root
  切换到Sonar账户
            [sonar@t-xi-sonar01 sonarqube]$
            [root@t-xi-sonar01 sonarqube]# su - sonar
            [sonar@t-xi-sonar01 ~]$ cd /etc/sonarqube/
        查看/etc/sonarqube目录树(主要的三个,可以查看参考文档)

bin ->软件运行目录
conf -> 软件配置目录
COPYING
data
elasticsearch
extensions
lib
logs ->软件运行日志目录
temp
web

配置软件参数

                    [sonar@t-xi-sonar01 sonarqube]$ cat conf/sonar.properties|grep -v '^#'|grep -v '^$'|grep -v '=$'
      

sonar.jdbc.username=sonar
sonar.jdbc.password=sonar
sonar.jdbc.url=jdbc:mysql://localhost:3306/sonar?useUnicode=true&characterEncoding=utf8&rewriteBatchedStatements=true&useConfigs=maxPerformance&useSSL=false
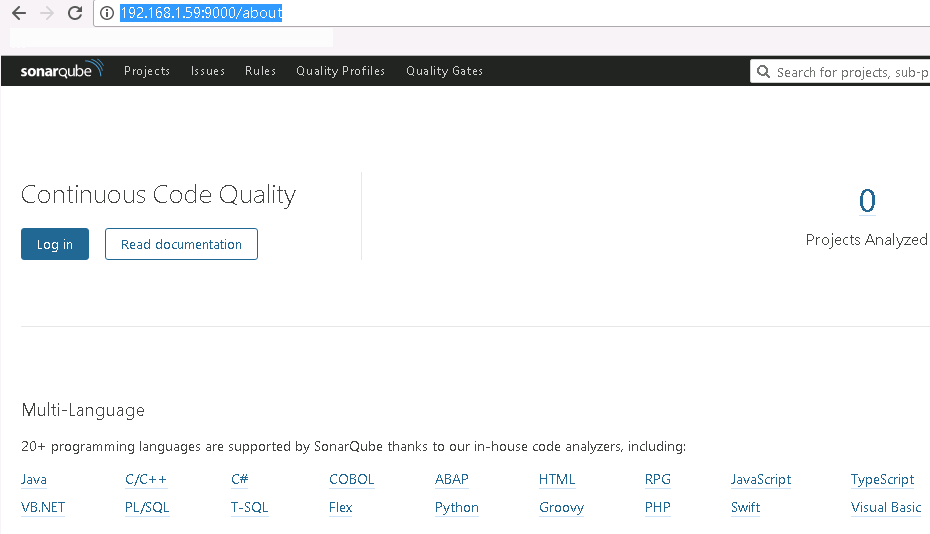
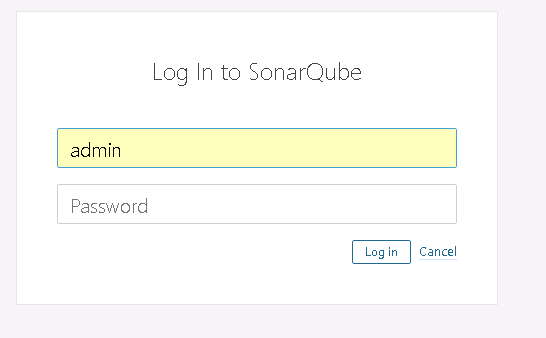
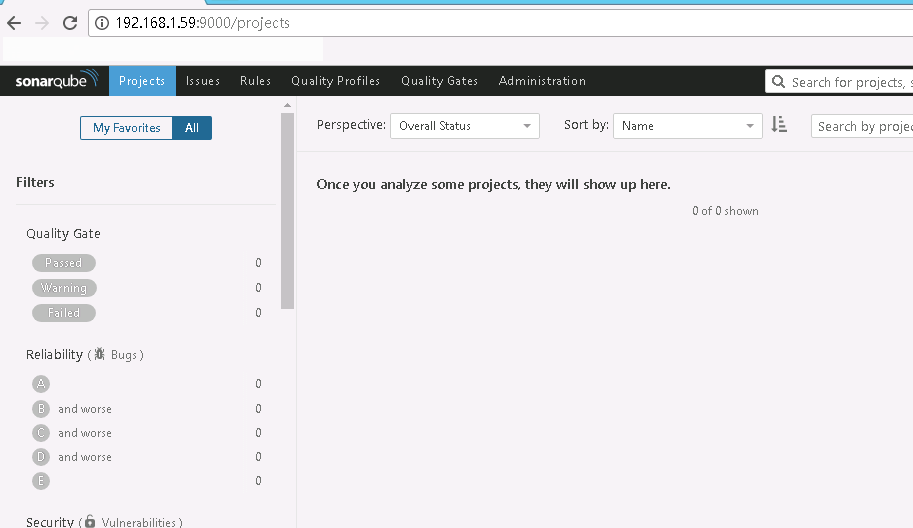
                            注意Sonar Web访问默认地址为9000,账户admin/admin
 
                     启动Sonar软件 
                               [sonar@t-xi-sonar01 sonarqube]$ bin/linux-x86-64/sonar.sh start
                               注意查看logs/es.log 和logs/sonar.log两个日志文件
         [sonar@t-xi-sonar01 sonarqube]$ less logs/es.log
                         [sonar@t-xi-sonar01 sonarqube]$ less logs/sonar.log
            访问Sonar
                http://192.168.1.59:9000


  前期配置Sonar完成,后续完善中文字符和Jekins的整合
 
参考网址:


Sonar安装-Linux[20171227]的更多相关文章

  1. findbug、p3c、checkstyle、sonar安装使用

    idea插件安装方式: Preferences—>Plugins—>查找插件—>Install Preferences—>Plugins—>Install plug fr ...

  2. 在VMware上安装Linux(CentOS)

    1. 新建虚拟机 2. 新建虚拟机向导 3. 创建虚拟空白光盘 4. 安装Linux系统对应的CentOS版 5. 虚拟机命名和定位磁盘位置 6. 处理器配置,看自己是否是双核.多核 7. 设置内存为 ...

  3. 安装 Linux 时碰到的硬盘分区的陷阱及应对

    硬盘分区的陷阱及应对 之所以想到写这篇,是因为本人在折腾 Linux 系统的过程中,有多次掉入硬盘分区的陷阱的经历.最近几天,再一次掉入坑中,折腾了两天才从坑中爬出来.经过多方查询资料,终于弄明白了硬 ...

  4. Win7上安装Linux双系统

    今天帮同学在Win7上安装Linux,感觉一篇教程很不错,mark一下 原地址:Win7下U盘安装Ubuntu14.04双系统步骤详解 一.前期准备 1.大于2G的U盘一个(我的系统盘制作完成后大约占 ...

  5. 安装linux操作系统

    安装双操作系统; 1 0. 介绍: 1 1 实验环境: 2 2. 实验准备: 2 3.开始安装: 2 1 制作U盘启动工具: 2 2.安装LinuxOS. 3 2.1在windowOS中划分60G空间 ...

  6. 使用ISO文件安装Linux

    一. 准备知识 1. ISO文件 我们普遍使用的ISO文件是指包含着整个CD-ROM(ISO-9660 文件系统)内容的 映象, 是整个碟片从0扇区到最后一个扇区的完整复制,经常被用来在网络上传输 对 ...

  7. VMware下安装Linux系统,ORACLE软件,DBCA建库

    操作系统安装   在vmware下安装Linux (OEL5.6),用于数据库服务器 1.打开vmware,选择"创建新的虚拟机"       2.选择自定义安装   3.选择虚拟 ...

  8. Linux:Vmware安装linux虚拟机,桥接方式配置静态IP后重启网卡,提示:Error,some other host already uses address 10.252.252.21...

    问题: Vmware安装linux虚拟机,桥接方式配置静态IP后重启网卡,提示:Error,some other host already uses address 10.252.252.21... ...

  9. 虚拟机上安装Linux操作系统

    很久之前就知道虚拟机这个东西,也都在虚拟机上安装过Windows的操作系统和Linux的操作系统,但是一直都没有去做笔记. 最近还是比较有时间,就移除了前两天刚刚安装的Linux系统,重新安装一次,做 ...

随机推荐

  1. Spring课程 Spring入门篇 4-5 Spring bean装配之基于java的容器注解说明--@Bean

    1 解析 2.1 @bean注解定义 2.2 @bean注解的使用 2 代码演练 2.1 @bean的应用不带name 2.2 @bean的应用带name   2.3 @bean注解调用initMet ...

  2. JDBC实现动态查询

    一 概述 1.什么是动态查询? 从多个查询条件中随机选择若干个组合成一个DQL语句进行查询,这一过程叫做动态查询. 2.动态查询的难点 可供选择的查询条件多,组合情况多,难以一一列举. 3.最终查询语 ...

  3. Android中的Service与进程间通信(IPC)详解

    Service 什么是Service 在后台长期运行的没有界面的组件.其他组件可以启动Service让他在后台运行,或者绑定Service与它进行交互,甚至实现进程间通信(IPC).例如,可以让服务在 ...

  4. solidity语言7

    单位和全局变量 Ether Units: wei, finney, szabo, ether Time Units: 1 == 1 seconds 1 minutes == 60 seconds 1 ...

  5. Windows 2012R2远程桌面服务简介

    一.远程桌面服务概述 远程桌面服务加快并扩展了到任何设备的桌面和应用程序部署,在帮助保护关键知识产权的安全的同时提高了工作人员的工作效率,简化了法规遵从性. 远程桌面服务启用虚拟机基础结构 (VDI) ...

  6. Linux --Mysql数据库搭建

    Mysql数据库 安装 准备: [root@localhost /]# rpm -e mysql --nodeps 将rpm方式安装的mysql卸载   [root@localhost /]# gro ...

  7. asp.net超过字数限制用省略号...表示

    显示8个字,多于8个字, 用...表示           <asp:Repeater runat="server" ID="MsgLists">  ...

  8. IOS 远程推送通知(UIRemoteNotification)

    ●  什么是远程推送通知 ●  顾名思义,就是从远程服务器推送给客户端的通知(需要联网) ●  远程推送服务,又称为APNs(Apple Push Notification Services) ●   ...

  9. UVa 1606 - Amphiphilic Carbon Molecules

    链接: https://uva.onlinejudge.org/index.php?option=com_onlinejudge&Itemid=8&page=show_problem& ...

  10. Northwind数据库不能在SQL Server 2012上创建

    附加mdf文件不出意料会提示数据库格式无法兼容,试着通过脚本来创建,会有以下错误提示: Could not find stored procedure 'sp_dboption'. 原因是SQL Se ...