ExtJs 6.0+快速入门,ext-bootstrap.js文件的分析,各版本API下载(一)
ExtAPI 下载地址如下,包含各个版本
http://docs.sencha.com/misc/guides/offline_docs.html
1.使用工具HBuilder
2.java 版本 8.0
3.extjs 版本 6.2.0
注意顺序
<!--
描述:引入主题样式文件
-->
<link rel="stylesheet" type="text/css" href="extjs\build\classic\theme-gray\resources\theme-gray-all.css"/>
<!--
描述:引入控制主题的js脚本
-->
<script src="extjs\build\classic\theme-gray\theme-gray.js" type="text/javascript" charset="utf-8"></script>
<!--
描述:引入ExtBootstrap文件,这个文件会默认加载
build->ext-all-debug.js
-->
<script src="extjs/ext-bootstrap.js" type="text/javascript" charset="utf-8"></script>
<!--
描述:引入I18N 国际化文件
-->
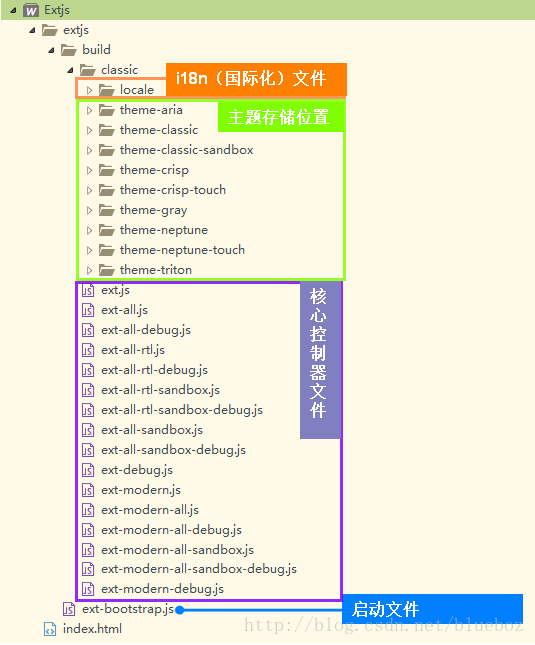
<script src="extjs/build/classic/locale/locale-zh_CN.js" type="text/javascript" charset="utf-8"></script>项目包结构
书写js代码绘制helloWorld项目
<script type="text/javascript">
Ext.onReady(function(){
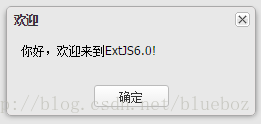
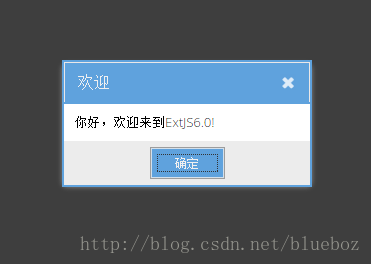
Ext.MessageBox.alert("欢迎","你好,欢迎来到ExtJS6.0!");
});
</script>效果图
主题
更换其他主题的方法
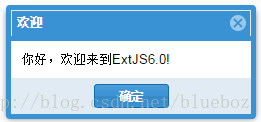
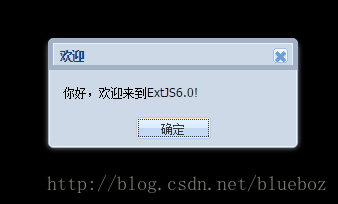
theme-neptune主题
使用方法
<link rel="stylesheet" type="text/css" href="extjs\build\classic\theme-neptune\resources\theme-neptune-all.css"/>效果图
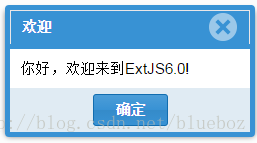
theme-neptune-touch主题
使用方法
<link rel="stylesheet" type="text/css" href="extjs\build\classic\theme-neptune-touch\resources\theme-neptune-touch-all.css"/>效果图
theme-triton主题
使用方法
<link rel="stylesheet" type="text/css" href="extjs\build\classic\theme-triton\resources\theme-triton-all.css"/>效果图
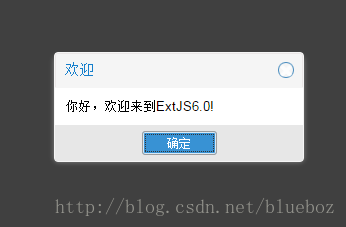
theme-gray主题
使用方法
<link rel="stylesheet" type="text/css" href="extjs\build\classic\theme-gray\resources\theme-gray-all.css"/>效果图
theme-crisp主题
使用方法
<link rel="stylesheet" type="text/css" href="extjs\build\classic\theme-crisp\resources\theme-crisp-all.css"/>效果图
theme-aria主题
使用方法
<link rel="stylesheet" type="text/css" href="extjs\build\classic\theme-aria\resources\theme-aria-all.css"/>效果图

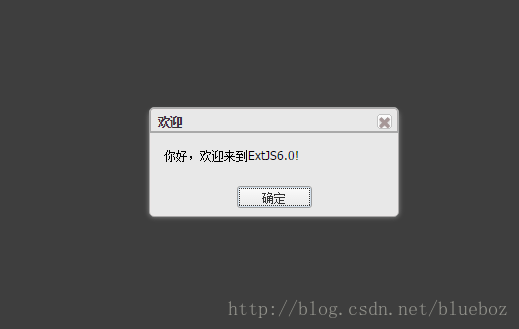
theme-classic
使用方法
<link rel="stylesheet" type="text/css" href="extjs\build\classic\theme-classic\resources\theme-classic-all.css"/>效果图
ext-bootstrap.js
这个文件源码如下
/**

 * Load the library located at the same path with this file

 * 此文件会默认自动加载ext-all-debug.js文件

 * 1.当主机名是localhost

 * 2.当主机名是ipv4地址

 * 3.协议是file协议

 * 4.带有debug参数的

 * 例如(http://foo/test.html?debug)

 *

 * 1.如果在url后加nodebug即可加载ext-all.js文件

 * 例如(http://foo/test.html?nodebug)

 */

(function() {

    var scripts = document.getElementsByTagName('script'),

        localhostTests = [

            /^localhost$/,

            /\b(25[0-5]|2[0-4][0-9]|[01]?[0-9][0-9]?)\.(25[0-5]|2[0-4][0-9]|[01]?[0-9][0-9]?)\.(25[0-5]|2[0-4][0-9]|[01]?[0-9][0-9]?)\.(25[0-5]|2[0-4][0-9]|[01]?[0-9][0-9]?)(:\d{1,5})?\b/ // IP v4

        ],

        host = window.location.hostname,

        isDevelopment = null,

        queryString = window.location.search,

        test, path, i, ln, scriptSrc, match;

    for (i = 0, ln = scripts.length; i < ln; i++) {

        scriptSrc = scripts[i].src;

        match = scriptSrc.match(/ext-bootstrap\.js$/);

        if (match) {

            /**

             * use a path without the ext-bootstrap.js file on it. http://path/to/ext/ext-bootstrap.js will become

             * http://path/to/ext/

             */

            path = scriptSrc.substring(0, scriptSrc.length - match[0].length);

            break;

        }

    }

    if (isDevelopment === null) {

        for (i = 0, ln = localhostTests.length; i < ln; i++) {

            test = localhostTests[i];

            if (host.search(test) !== -1) {

                //host is localhost or an IP address

                isDevelopment = true;

                break;

            }

        }

    }

    if (isDevelopment === null && window.location.protocol === 'file:') {

        isDevelopment = true;

    }

    if (!isDevelopment && queryString.match('(\\?|&)debug') !== null) {

        //debug is present in the query string

        isDevelopment = true;

    } else if (isDevelopment && queryString.match('(\\?|&)nodebug') !== null) {

        //nodebug is present in the query string

        isDevelopment = false;

    }

    document.write('<script type="text/javascript" charset="UTF-8" src="' +

        path + 'build/ext-all' + (isDevelopment ? '-debug' : '') + '.js"></script>');

})();
ExtJs 6.0+快速入门,ext-bootstrap.js文件的分析,各版本API下载(一)的更多相关文章
- ExtJs 6.0+快速入门,ext-bootstrap.js文件的分析,各版本API下载
ExtJS6.0+快速入门+API下载地址 ExtAPI 下载地址如下,包含各个版本 http://docs.sencha.com/misc/guides/offline_docs.html 1.使用 ...
- ExtJS 4.2 教程-02:bootstrap.js 工作方式
转载自起飞网,原文地址:http://www.qeefee.com/extjs-course-2-bootstrap-js ExtJS 4.2 教程-01:Hello ExtJS ExtJS 4.2 ...
- python3.5+django2.0快速入门(二)
昨天写了python3.5+django2.0快速入门(一)今天将讲解配置数据库,创建模型,还有admin的后台管理. 配置数据库 我们打开mysite/mysite/settings.py这个文件. ...
- python3.5+django2.0快速入门(一)
因为这篇教程需要用到anaconda的一些操作,如果还不懂anaconda的操作的同学可以看下这篇文章python 入门学习之anaconda篇. 创建python3+的开发环境 直接在终端输入:co ...
- TensorFlow 2.0 快速入门指南 | iBooker·ApacheCN
原文:TensorFlow 2.0 Quick Start Guide 协议:CC BY-NC-SA 4.0 自豪地采用谷歌翻译 不要担心自己的形象,只关心如何实现目标.--<原则>,生活 ...
- bootstrap.js 文件使用指南
介绍 使用 Bootstrap v3.3.7 时,需要引入三个脚本文件. https://maxcdn.bootstrapcdn.com/bootstrap/3.3.7/css/bootstrap.m ...
- vue cli3.0 封装组件全局引入js文件并发布到npm
首先用 vue create创建一个项目 当前的项目目录是这样的: 首先需要创建一个 packages 目录,用来存放组件 然后将 src 目录改为 examples 用作示例 二.修改配置 启动项目 ...
- extjs 4.0.7 Desktop 替换claaes.js
最近在学习Extjs 发现Demo 中有个Desktop的于是就尝试学习一下.结果发现怎么改都没效果后来偶然发现 默认采用的是classes.js 为压缩后的js 引入已经修改后的分开的js瞬间 一切 ...
- Thinkphp5.0快速入门笔记(2)
学习来源与说明 https://www.kancloud.cn/thinkphp/thinkphp5_quickstart 测试与部署均在windows10下进行学习. 示例建立新的模块和控制器 在a ...
随机推荐
- django2.0集成xadmin0.6报错集锦
1.django2.0把from django.core.urlresolvers修改成了django.urls 报错如下: 1 2 3 File "D:\Envs\django-xad ...
- java-基础-【二】内部类与静态内部类
一.说明 java允许我们在一个类里面定义静态类.比如内部类(nested class).把nested class封闭起来的类叫外部类.在java中,我们不能用static修饰顶级类(top lev ...
- windoes下一台电脑是无线/USB上网,如何将另一台电脑通过一拖一上网
https://wenku.baidu.com/view/0c95830bbb68a98271fefa6e.html 一台电脑是无线上网,如何将另一台电脑通过一拖一上网有时候,在没有路由器的情况下,只 ...
- VS2010/MFC编程入门之二十二(常用控件:按钮控件Button、Radio Button和Check Box)
言归正传,鸡啄米上一节中讲了编辑框的用法,本节继续讲解常用控件--按钮控件的使用. 按钮控件简介 按钮控件包括命令按钮(Button).单选按钮(Radio Button)和复选框(Check Box ...
- hdu5139
这题需要我们计算 这个 因为n<10000000空间过大 那么我们可以计算出 当n可以被10整除的时候我们就将n/10记录下来当我们要查询的时候去暴力计算他们与整十之间的数去暴力去做就好了 这个 ...
- tomcat jdbc pool
文中内容主要转自:http://www.open-open.com/lib/view/open1327478028639.html http://www.open-open.com/lib/view/ ...
- DB杂记
1. mybatits 批量插入: <insert id="insertColumnitem2"> INSERT INTO REPORT_COLUMNITEM (COL ...
- Tomcat环境变量设置
tomcat环境变量配置 CATALINA_HOME:D:\server\apache-tomcat-8.5.32 //安装目录 CATALINA_BASE:D:\server\ap ...
- springcloud10---feign-with-hystrix_factory
package com.itmuch.cloud; import org.springframework.boot.SpringApplication; import org.springframew ...
- 20145319 《网络渗透》MSF基础应用
20145319 <网络渗透>MSF基础应用 一 实验链接 渗透实验一:MS08_067渗透实验 渗透实验二:MS11_050渗透实验 渗透实验三:Adobe阅读器渗透实验 渗透实验四:M ...