Github项目备份与更新
需求
假如现在想对使用到的一些Github上的开源组件进行备份,采用自建Gitlab服务器的方式进行备份保存,并且组件需定时保持与Github更新。
总体步骤
组件备份- 整体步骤如下:

    a.搭建gitlab服务器,参考CentOS7 搭建gitlab服务器

    b.登录账户,创建一个group,如kdv-opensource(方便统一管理,不创建也一样)

    c.在kdv-opensource组里需创建相应的repo,可设置访问权限为public。不过不手动创建,则gitlab默认创建为private。

    d.脚本执行git clone --mirror github-url,克隆镜像
       或git remote update,进行更新

    e.添加要推送到远端repo 的git地址
    git remote add gitlab gitlab-url

    f.推送到gitlab服务器上

        git push gitlab --all

        git push gitlab --tags

    g.python脚本加入crontab定期执行即可
搭建Gitlab服务器
如前所述,略。
创建group
登录账户,菜单栏选择Groups,右侧New group,填写组名即描述信息即可。如创建一个kdv-opensource组:
创建项目repo
需要在kdv-opensource组内创建好所有要备份组件项目,且名字需与Github上开源项目名字保持一致(为了方便),可设定访问权限为public,如下:

如果不显示创建repo,则创建的项目repo默认为private。
脚本功能
我们使用python实现一个脚本从Github上镜像克隆(git clone --mirror)相应的项目和镜像更新(git remote update)。
python可以直接调用系统命令,使用os.system(command),即可执行相应的命令。当然,操作系统需预先安装git及一些软件才能使用。
修改配置文件
前面一步的git clone --mirror下载好相应的github repo,需导入到我们自建的Gitlab服务器中,这样就需要修改推送的git 地址,即pushurl,仅需修改git项目下相应的配置文件。
git remote add gitlab git@ip:kdv-opensource/repo-name.git
ip为gitlab服务的相应ip地址,kdv-opensource为分组名,如果不分组则为用户名,粗体gitlab为分支名。
推送到gitlab服务器上
我们知道,如果要进行push操作是需要进行鉴权的,也即需要输入账户密码,而在脚本执行过程中无法一一手工输入密码。有两种方法可以解决这个问题:
方法一
在pushurl地址中指定username:password,如下:
pushurl = 'http://username:password@ip:port/kdv-opensource/{repo}.git'
方法二
通过SSH登录,更为方便和安全,也是现在比较流行的方式。(推荐)
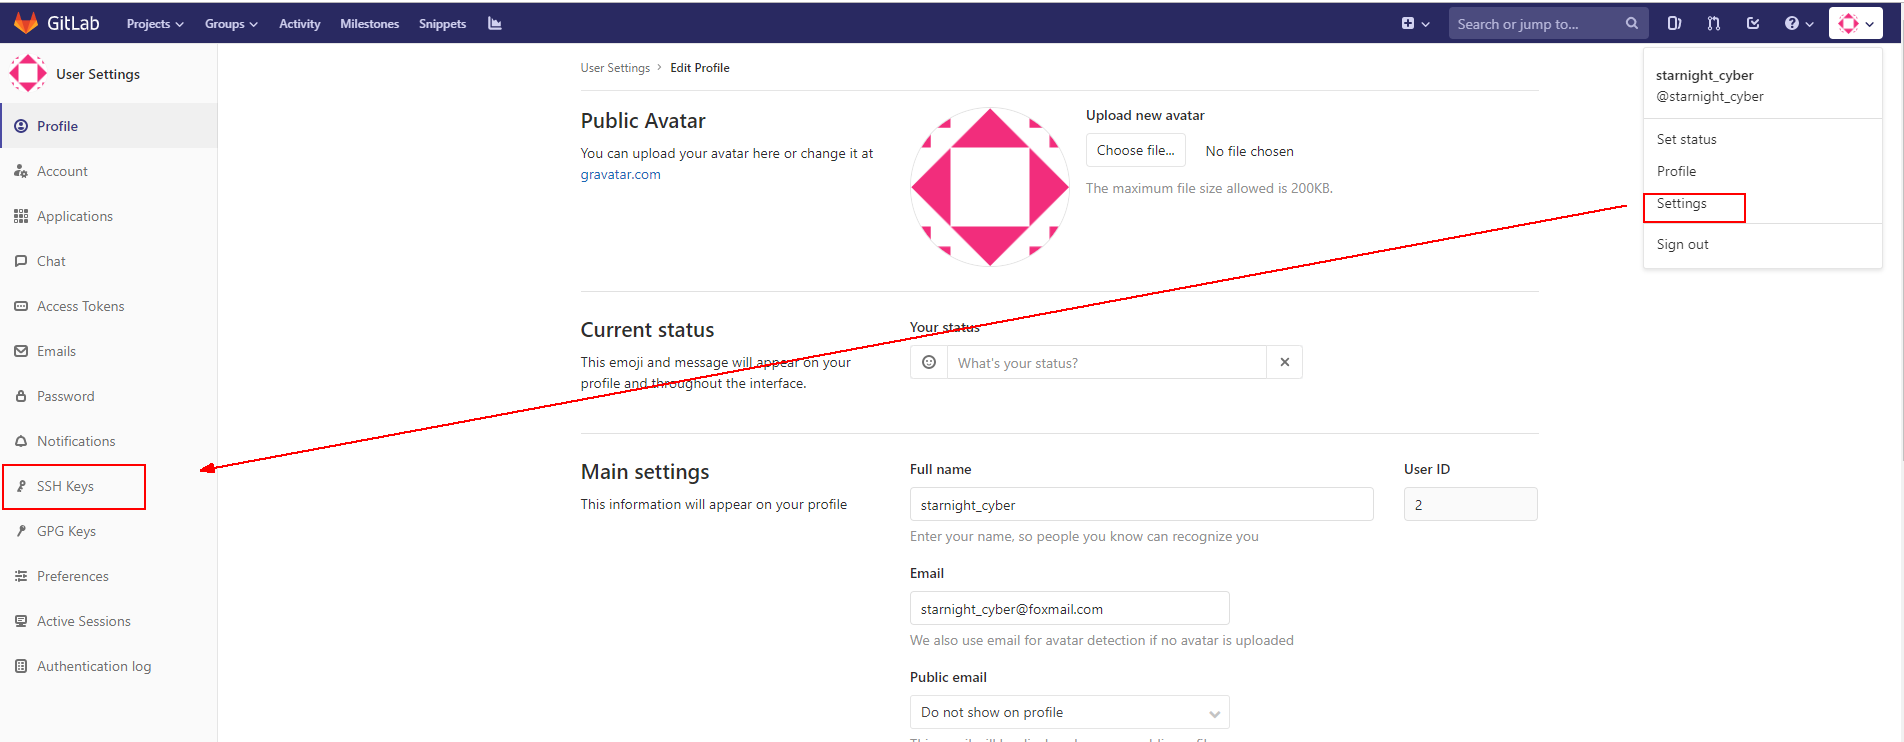
导入本机生成的ssh公钥即可,公钥可通过ssh-keygen生成(默认即可),因此需要先安装SSH。
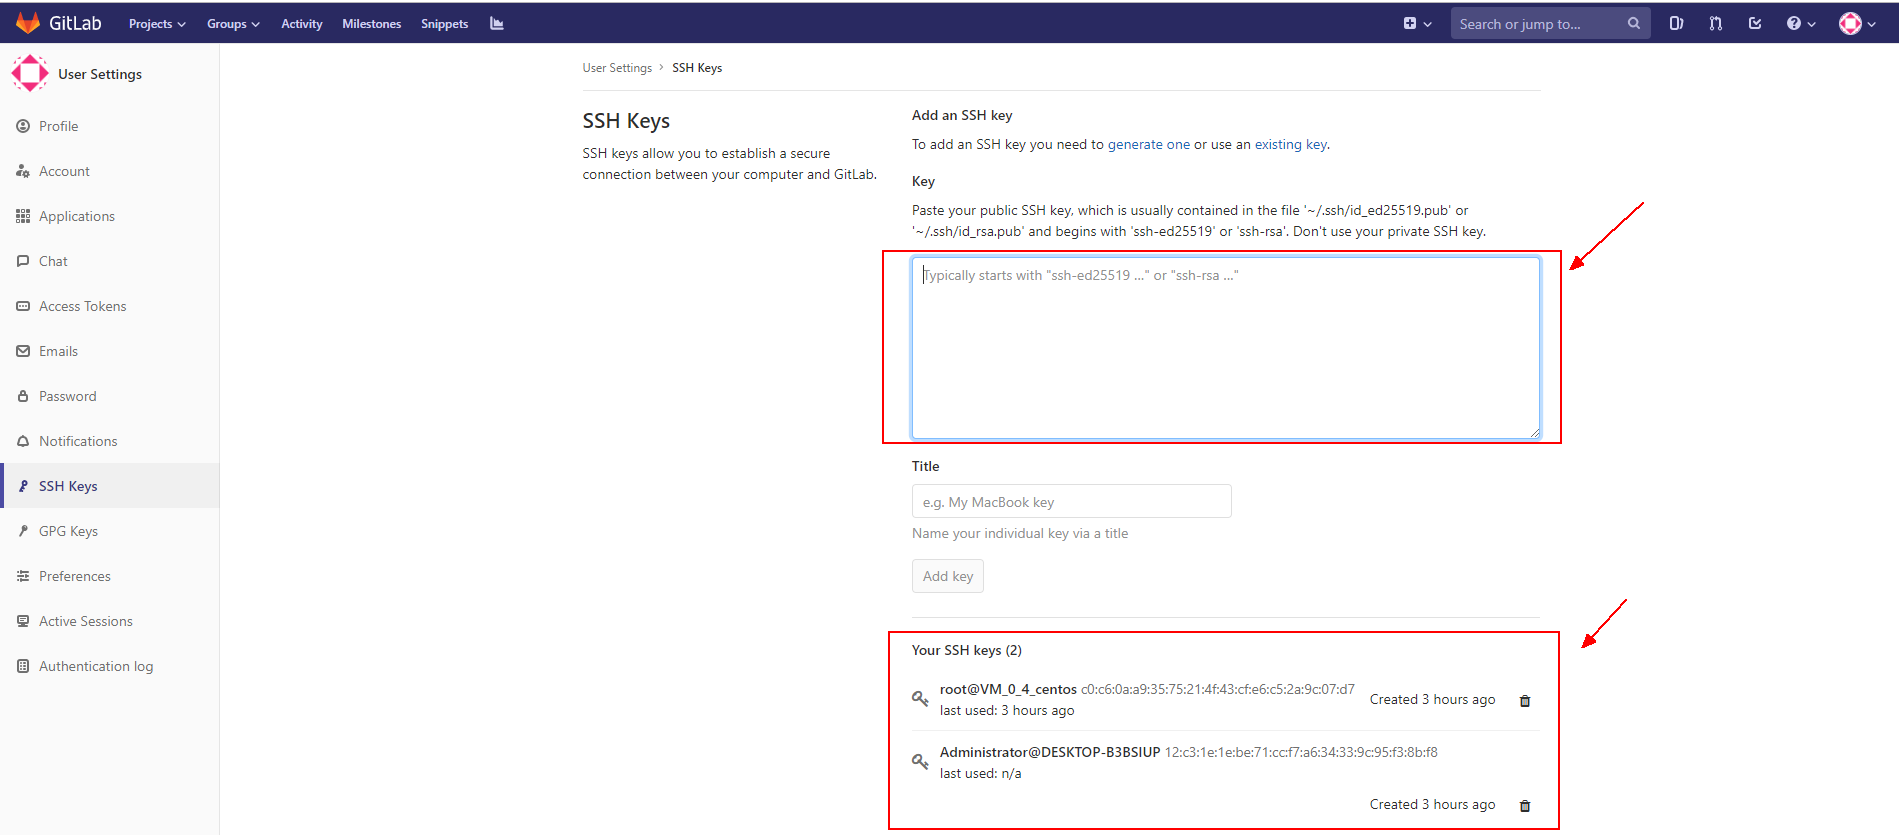
这样,在脚本执行过程中就能自动地向gitlab服务器上推送repo内容。
定期更新
在linux下可将脚本加入到crontab列表,使之定期自动执行即可。
实现脚本
组件列表sample
文件以“项目名,github地址”的格式填入list.txt文件即可。
haproxy,https://github.com/haproxy/haproxy.git

libevent,https://github.com/libevent/libevent.git

openresty,https://github.com/openresty/openresty.git
python脚本
完整代码如下,由于实际工作需要,增加了日记记录功能,脚本执行在控制台上看不到数据,输出会保存到日志文件中,如不需要,去掉重定向到文件即可。
应该比较清晰了。
#!/usr/bin/env python

# -*- encoding: utf- -*-

import os

import time

# 以下参数可自由指定

# 修改此处ip地址为gitlab服务器ip地址

giturl = 'git@172.16.6.105:kdv-opensource/{}.git'     # 需修改ip为相应的gitlab服务器地址

opensource_list = 'list.txt'            # 组件列表文件名

log_dirname = 'sync-logs'               # 日志记录目录名

opensource_dirname = 'opensource'       # 组件列表存放目录名

# 以下参数程序自动构建

dicts = {}                  # 存放组件列表,组件-组件链接地址

base_path = ''              # 程序执行根目录

log_file = ''               # 日志文件

opensource_path = ''

def read_file(file):

    """

    从文件中读取开源组件列表,填入到dicts中,以组件名为key,组件url为value

    :param file: 组件文件

    :return: None

    """

    with open(file, 'r') as fr:

        for line in fr:

            if line.strip():

                line = line.strip()

                # 逗号分隔的组件名和组件URL,存放到字典dicts中

                name, url = line.split(',')

                dicts[name.strip()] = url.strip()

def initialize():

    """

    做一些初始化工作

    :return: None

    """

    global base_path, log_file, opensource_path

    # 获取程序当前执行路径为根路径:base_path

    base_path = os.path.dirname(os.path.realpath(__file__))

    msg = 'Program path {}'.format(base_path)

    print(msg)

    # 组件目录

    opensource_path = os.path.join(base_path, opensource_dirname)

    # 判断程序是否是初始化运行,确定组件目录是否存在

    if not os.path.exists(opensource_path):

        mkdir_command = 'mkdir {}'.format(opensource_path)

        os.system(mkdir_command)

    # 日志目录

    log_path = os.path.join(base_path, log_dirname)

    # 判断程序是否是初始化运行,确定日志文件目录是否存在

    if not os.path.exists(log_path):

        mkdir_command = 'mkdir {}'.format(log_path)

        os.system(mkdir_command)

    # 以当前时间构造日志文件名称,存放到log_dirname目录中

    xtime = time.strftime("%Y-%m-%d-%H.%M.%S")

    file_name = '{}.{}'.format(xtime, 'txt')

    log_file = os.path.join(log_path, file_name)

    print(log_file)

    # write basic info to log file

    msg = '[*]Program base path : {}'.format(base_path)

    append_2_file(log_file, msg)

    msg = '[*]Program opensource path : {}'.format(opensource_path)

    append_2_file(log_file, msg)

    msg = '[*]Program log path : {}'.format(log_path)

    append_2_file(log_file, msg)

def append_2_file(file, msg):

    """

    append sth to file

    :param file: actually, the log file

    :param msg: sth you want to log

    :return: None

    """

    with open(file, 'a') as fw:

        fw.write(msg)

        fw.write('\n')

        pass

if __name__ == '__main__':

    # 初始化参数

    initialize()

    # 读取组件文件列表

    read_file(opensource_list)

    # 组件目录opensource下已经存在的文件列表

    num = len(dicts)                        # 总的组件个数

    files = os.listdir(opensource_path)            # 获取当前路径下的所有文件

    msg = '[*]Existing opensource-files in {} are : {}'.format(opensource_path, files)

    append_2_file(log_file, msg)

    index =

    os.chdir(opensource_path)               # 切换到组件路径下,方便操作

    print()

    for name, url in dicts.items():            # 组件名字&git repo的url地址

        # progress information

        index +=

        msg = '\n\n[{}/{}] - {}'.format(index, num, name)

        print(msg)

        append_2_file(log_file, msg)

        # save github information(origin) to log file

        msg = 'github(origin): {} - {}'.format(name, url)

        print(msg)

        append_2_file(log_file, msg)

        # save gitlab information(new) to log file

        name_git = '{}.git'.format(name)

        gitlab_url = giturl.format(name)

        msg = 'gitlab(new): {} - {}'.format(name, gitlab_url)

        print(msg)

        append_2_file(log_file, msg)

        if name_git in files:                # 如果是已有的repo,update更新即可

            try:

                print('-----------------------------------')

                # update

                os.chdir(name_git)

                command = 'git remote update'

                print(command)

                append_2_file(log_file, command)
          os.system(command)

                # push all branches

                command_push_all = 'git push gitlab --all 2>>{}'.format(log_file)

                print(command_push_all)

                append_2_file(log_file, '\n')                       # for better presentation

                append_2_file(log_file, command_push_all)           # log command execution

                os.system(command_push_all)

                # push all tags

                command_push_tags = 'git push gitlab --tags 2>>{}'.format(log_file)

                print(command_push_tags)

                append_2_file(log_file, '\n')                       # for better presentation

                append_2_file(log_file, command_push_tags)          # log command execution

                os.system(command_push_tags)

            except:

                print('sth bad happen...')

                continue

            finally:

                os.chdir('..')

        else:

            try:

                print('-----------------------------------')

                # 以镜像的形式clone repo

                command = 'git clone --mirror {} --progress 2>> {}'.format(url, log_file)

                print(command)

                os.system(command)

                # 创建远端分支

                os.chdir(name_git)

                pushurl = 'git remote add gitlab {}'.format(giturl.format(name))

                print(pushurl)

                append_2_file(log_file, pushurl)

                os.system(pushurl)

                # push all branches

                command_push_all = 'git push gitlab --all 2>>{}'.format(log_file)

                append_2_file(log_file, '\n')                       # for better presentation

                append_2_file(log_file, command_push_all)           # log command execution

                os.system(command_push_all)

                # push all tags

                command_push_tags = 'git push gitlab --tags 2>>{}'.format(log_file)

                append_2_file(log_file, '\n')                       # for better presentation

                append_2_file(log_file, command_push_tags)          # log command execution

                os.system(command_push_tags)

                os.chdir('..')

            except:

                print('sth bad happen...')

                continue

            finally:

                pass

    os.chdir('..')

    end_line = '\n=============================================='

    print(end_line)

    append_2_file(log_file, end_line)

    append_2_file(log_file, "This is the End")

    pass
效果图
再补两张效果图吧,如备份的组件curl,项目页 ==>

分支情况 ==>
提交记录 ==>

Question
zeroPaddedFilemode
在push过程中(push --mirror),如果有文件出现错误:"zeroPaddedFilemode: contains zero-padded file modes",可参考如下文章。
Pushing fails if local repo has problems with zero-padded file modes
Zero-padded file modes in repository
remote: fatal: fsck error in packed object when pushing oh-my-zsh repo to new remote
不过好像对我不起作用,什么.git/config和~/.gitconfig文件都改烂了,还是不行。难受...
解决方法:修改配置文件
# vim  /etc/gitlab/gitlab.rb

...

omnibus_gitconfig['system'] = {

  'fsck' => ['zeroPaddedFilemode = ignore'],     # 这个是上面某个链接里说的方法,但不起作用,于是试了下-下面那行

  "receive" => ["fsckObjects = false"],

}
重新配置:

  gitlab-ctl reconfigure

重启服务:

  gitlab-ctl restart
Github项目备份与更新的更多相关文章
- GitHub项目精选(持续更新)

github 上有趣又实用的前端项目(持续更新,欢迎补充) 1. reveal.js: 幻灯片展示框架 一个专门用来做 HTML 幻灯片的框架,支持 HTML 和 Markdown 语法. githu ...
- 用tortoiseGit管理GitHub项目代码(完整教程)
一.为什么要写这篇博客呢,因为在一开始用tortoiseGit来管理项目的时候,在百度上找了很多教程,但是感觉说的都不是很全,有些东西以及操作没写清楚,所以想写一片比较完整用tortoiseGit管理 ...
- Eclipse安装git插件以及关联导入GitHub项目
一.Eclipse配置git 1.查看自己eclipse的版本 打开eclipse 导航: help->AboutEclipse 如图: 2.检查Eclipse中是否已安装Git插件 菜单栏He ...
- github项目
一.github项目地址: https://github.com/fairy1231/gitLearning/tree/master 二.github的重要性: Git 是一个快速.可扩展的分布式版本 ...
- jenkins构建GitHub项目
一.Jenkins 配置 Git 首先,登录 Jenkins ,在首页找到 “系统管理 -> Global Tool Configuration -> Git ” Path to Git ...
- 如何一键部署项目&&代码自动更新
my-deploy : 由nodejs写的一个自动更新工具,理论支持所有语言(php.java.c#)的项目,支持所有git仓库(bitbucket.github等). Github 效果如何? 如果 ...
随机推荐
- 不积跬步无以至千里(C语言笔记)
第一章 初始C程序 1.C程序结构 简单来说,一个C程序就是由头文件和函数组成 头文件 一条编译预处理命令:作用是在对C程序进行正式编译 ...
- 详解Python模块导入方法
python常被昵称为胶水语言,它能很轻松的把用其他语言制作的各种模块(尤其是C/C++)轻松联结在一起.python包含子目录中的模块方法比较简单,关键是能够在sys.path里面找到通向模块文件的 ...
- zcelib - One cplusplus C++ crossplatform library use for develop server,similar to ACE.
zcelib - One cplusplus C++ crossplatform library use for develop server,similar to ACE.OS适配层,为了适应WIN ...
- EasyUI基础Draggable(拖)
学前easyui基于解析器,装载机.对他们来说,入门阶段,我们只需要在这一个简单的了解,第一阶段,不宜过深后,. 接着,根据easyui排列官方网站为了学习文件Draggable小工具. Dragga ...
- WPF Dispatcher的使用
<Window x:Class="DispatcherExam.MainWindow" xmlns="http://schemas.micro ...
- Android之运行时相机权限和联系人权限获取
原文:Android之运行时相机权限和联系人权限获取 本文链接:http://blog.csdn.net/qq_16628781/article/details/61623502 Android之运行 ...
- WPF TreeView HierarchicalDataTemplate
原文 WPF TreeView HierarchicalDataTemplate HierarchicalDataTemplate 的DataType是本层的绑定,而ItemsSource是绑定下层的 ...
- WPF——TargetNullValue(如何在绑定空值显示默认字符)
原文:WPF--TargetNullValue(如何在绑定空值显示默认字符) 说明:在数据绑定时,如果有些字段为空值,那么在数据绑定时可以用默认值来显示为空的字段. </Grid> { L ...
- delphi资源文件的使用
delphi资源文件的使用 资源文件(*.res)通过编译指令 $R 关联, 譬如工程文件 Project1 中的 {$R *.res} 就是关联 Project1.res 资源文件, 我们直接写作 ...
- 深度学习概述教程--Deep Learning Overview
引言 深度学习,即Deep Learning,是一种学习算法(Learning algorithm),亦是人工智能领域的一个重要分支.从快速发展到实际应用,短短几年时间里, ...