Consul+Nginx部署高可用
1. Consul Server
创建consul server虚拟主机
docker-machine create consul
出现如下内容即创建成功
Running pre-create checks...

Creating machine...

(consul) Copying /Users/enoch/.docker/machine/cache/boot2docker.iso to /Users/enoch/.docker/machine/machines/consul/boot2docker.iso...

(consul) Creating VirtualBox VM...

(consul) Creating SSH key...

(consul) Starting the VM...

(consul) Check network to re-create if needed...

(consul) Waiting for an IP...

Waiting for machine to be running, this may take a few minutes...

Detecting operating system of created instance...

Waiting for SSH to be available...

Detecting the provisioner...

Provisioning with boot2docker...

Copying certs to the local machine directory...

Copying certs to the remote machine...

Setting Docker configuration on the remote daemon...

Checking connection to Docker...

Docker is up and running!

To see how to connect your Docker Client to the Docker Engine running on this virtual machine, run: docker-machine env consul
创建工作目录consul
mkdir -p ~/workspace/consul && cd ~/workspace/consul
创建docker-compose.yml
version: "3"

services:

  consul:

    image: consul:latest

    ports:

      - 8500:8500

    command: agent -server -bootstrap -ui -client=0.0.0.0 -node=server01
切换环境到consul
eval $(docker-machine env consul)
执行docker-compose.yml
docker-compose up -d
查看虚拟主机IP
docker-machine ip consul

# output 192.168.99.103
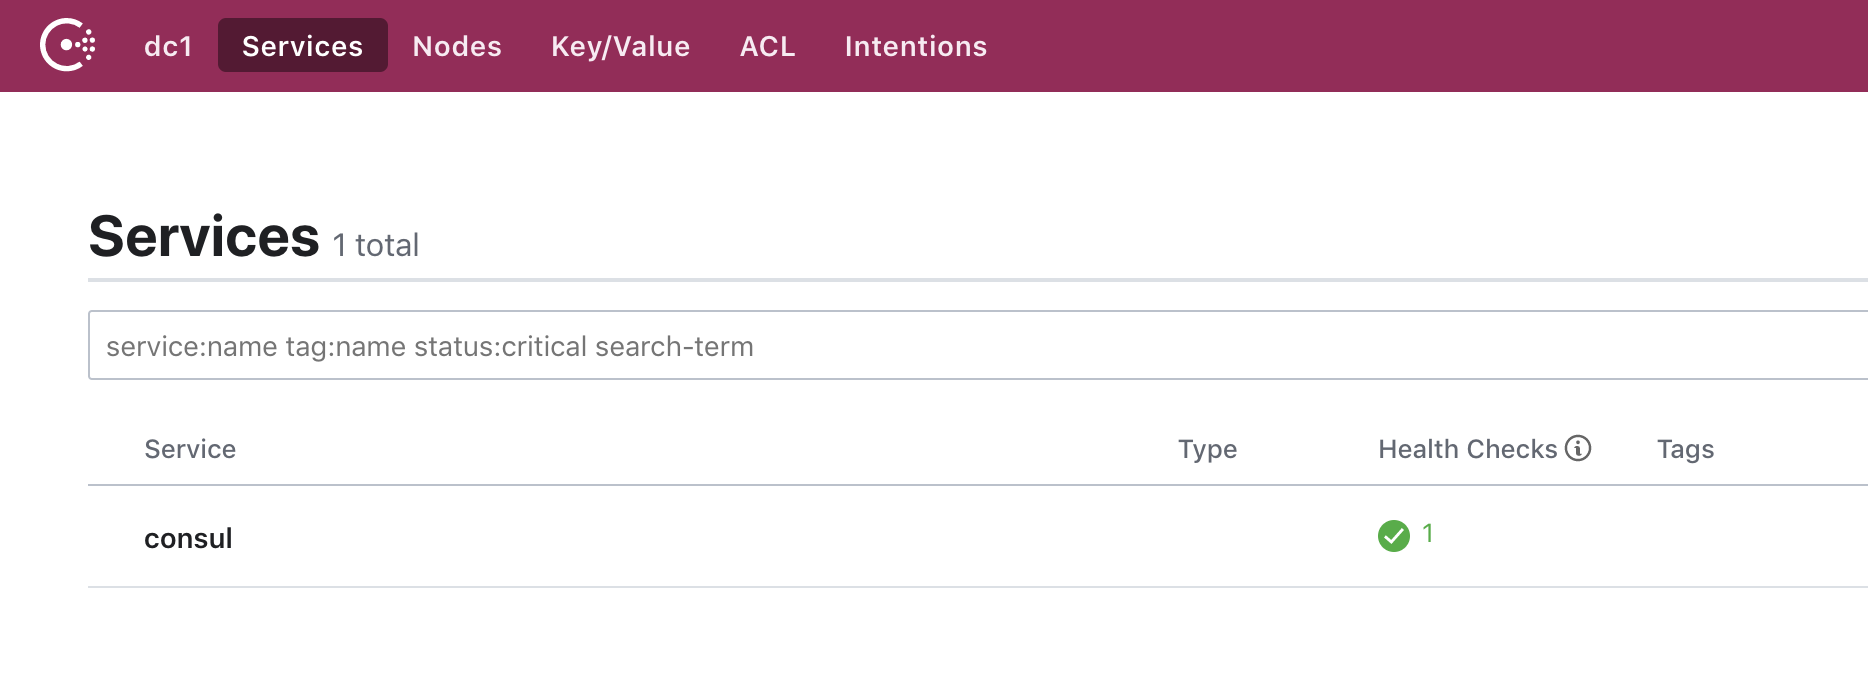
通过IP在浏览器访问8500端口,即可看到Consul的UI界面
2. Nginx + Consul Template
创建反向代理虚拟主机
docker-machine create reverseproxy
出现以下内容代表创建成功
Running pre-create checks...

Creating machine...

(reverseproxy) Copying /Users/enoch/.docker/machine/cache/boot2docker.iso to /Users/enoch/.docker/machine/machines/reverseproxy/boot2docker.iso...

(reverseproxy) Creating VirtualBox VM...

(reverseproxy) Creating SSH key...

(reverseproxy) Starting the VM...

(reverseproxy) Check network to re-create if needed...

(reverseproxy) Waiting for an IP...

Waiting for machine to be running, this may take a few minutes...

Detecting operating system of created instance...

Waiting for SSH to be available...

Detecting the provisioner...

Provisioning with boot2docker...

Copying certs to the local machine directory...

Copying certs to the remote machine...

Setting Docker configuration on the remote daemon...

Checking connection to Docker...

Docker is up and running!

To see how to connect your Docker Client to the Docker Engine running on this virtual machine, run: docker-machine env reverseproxy
切换当前环境到虚拟主机
eval $(docker-machine env reverseproxy)
创建工作目录reverseproxy
mkdir -p ~/workspace/reverseproxy && cd ~/workspace/reverseproxy
创建docker-compose.yml
version: "3"

services:

  nginx:

    image: nginx:latest

    ports:

      - 8081:80

    volumes:

      - ./nginx.conf:/etc/nginx/nginx.conf

      - ./conf.d:/etc/nginx/conf.d

  consul-template:

    image: hashicorp/consul-template:alpine

    volumes:

      - ./conf.d:/etc/nginx/conf.d

    command: consul-template --consul-addr 192.168.99.103:8500 --template "/etc/nginx/conf.d/nginx.ctmpl:/etc/nginx/conf.d/vhost.conf" --log-level=info
把容器跑起来
docker-compose up -d
查看IP
docker-machine ip reverseproxy

# output 192.168.99.102
浏览器访问reverseproxy的8081端口,出现如下内容代表启动成功

3. Webserver搭建
创建虚拟主机webserver1
docker-machine create webserver1

eval $(docker-machine env webserver1)

mkdir webserver1 & cd webserver1
创建docker—compose.yml
version: "3"

services:

  nginx1:

    image: nginx:latest

    ports:

      - 81:80

  nginx2:

    image: nginx:latest

    ports:

      - 82:80

  registrator:

    image: shaharil/registrator:latest

    volumes:

      - /var/run/docker.sock:/tmp/docker.sock

    command: consul://192.168.99.103:8500
跑起来
docker-compose up -d
打开reverseproxy/conf.d/vhost.conf可以看到webserver启动的nginxIP地址都被加了进去
upstream http_backend {

    server 172.18.0.2:81;

    server 172.18.0.3:82;

}

server {

    listen 8000;

    server_name localhost;

    location / {

        proxy_pass http://http_backend;

    }

}
做个试验,现在将其中一台nginx容器关闭
eval $(docker-machine env webserver1)

docker stop webserver1_nginx2_1
此时可以看到vhost.conf中的IP被去掉了
upstream http_backend {

    server 172.18.0.2:81;

}

server {

    listen 8000;

    server_name localhost;

    location / {

        proxy_pass http://http_backend;

    }

}
再将nginx容器打开,该容器的IP地址随之也会被加进去
docker start webserver1_nginx2_1

//以下是文件内容

upstream http_backend {

    server 172.18.0.2:81;

}

server {

    listen 8000;

    server_name localhost;

    location / {

        proxy_pass http://http_backend;

    }

}
Consul+Nginx部署高可用的更多相关文章
- consul-template + nginx部署高可用负载均衡
一.Consul-Template简介 Consul-Template是基于Consul的自动替换配置文件的应用.在Consul-Template没出现之前,大家构建服务发现系统大多采用的是Zooke ...
- 使用Ansible实现nginx+keepalived高可用负载均衡自动化部署
本篇文章记录通过Ansible自动化部署nginx的负载均衡高可用,前端代理使用nginx+keepalived,端web server使用3台nginx用于负载效果的体现,结构图如下: 部署前准备工 ...
- 008.Kubernetes二进制部署Nginx实现高可用
一 Nginx代理实现kube-apiserver高可用 1.1 Nginx实现高可用 基于 nginx 代理的 kube-apiserver 高可用方案. 控制节点的 kube-controller ...
- 013.Kubernetes二进制部署worker节点Nginx实现高可用
一 Nginx代理实现kube-apiserver高可用 1.1 Nginx实现高可用 基于 nginx 代理的 kube-apiserver 高可用方案. 控制节点的 kube-controller ...
- 基于Consul的数据库高可用架构
几个月没有更新博客了,已经长草了,特意来除草.本次主要分享如何利用consul来实现redis以及mysql的高可用.以前的公司mysql是单机单实例,高可用MHA加vip就能搞定,新公司mysql是 ...
- [转]搭建Keepalived+Nginx+Tomcat高可用负载均衡架构
[原文]https://www.toutiao.com/i6591714650205716996/ 一.概述 初期的互联网企业由于业务量较小,所以一般单机部署,实现单点访问即可满足业务的需求,这也是最 ...
- 基于Consul的数据库高可用架构【转】
几个月没有更新博客了,已经长草了,特意来除草.本次主要分享如何利用consul来实现redis以及mysql的高可用.以前的公司mysql是单机单实例,高可用MHA加vip就能搞定,新公司mysql是 ...
- Nginx入门篇(七)之Nginx+keepalived高可用集群
一.keepalived介绍 keepalived软件最开始是转为负载均衡软件LVS而设计,用来管理和监控LVS集群系统中各个服务节点的状态,后来又加入了可实现高可用的VRRP功能.所以Keepali ...
- kubernetes部署高可用Harbor
前言 本文Harbor高可用依照Harbor官网部署,主要思路如下,大家可以根据具体情况选择搭建. 部署Postgresql高可用集群.(本文选用Stolon进行管理,请查看文章<kuberne ...
随机推荐
- AAAI 2020论文分享:通过识别和翻译交互打造更优的语音翻译模型
2月初,AAAI 2020在美国纽约拉开了帷幕.本届大会百度共有28篇论文被收录.本文将对其中的机器翻译领域入选论文<Synchronous Speech Recognition and Spe ...
- [LeetCode] 1370. Increasing Decreasing String
1. 原题链接:https://leetcode.com/problems/increasing-decreasing-string/ 2. 解题思路 直观的想法是:用有序map<char, i ...
- 关于Spring和SpringMVC的总结
1.Spring中AOP的应用场景.AOP原理.好处? 答:AOP:Aspect Oriented Programming面向切面编程:用来封装横切关注点,具体可以在下面场景中使用: Authenti ...
- java 几种锁实现
public class SyncronizedTest { private int value = 1; private AtomicInteger value1 = new AtomicInteg ...
- 软件WEB自动化测试工具之智能元素定位
江湖一直有着这么一句名言“天下武功,唯快不破".那么在软件测试领域,自然而然我们会想到软件自动化测试.软件自动化测试的实现自然离不开软件自动化测试工具.软件自动化测试工具是软件自动化的载体, ...
- DIY 作品 及 维修 不定时更新
手机电池DIY充电宝 2块,优质手机电池加一个升压ic ,焊上一个 usb 母头.比买的强多了. 还能调压,最高调到24V 可以带白光焊台. 更换手机 SIM/SD 卡二合一 贴上高温胶带,吹下来. ...
- 五分钟学Java:如何才能学好Java Web里这么多的技术
原创声明 本文作者:黄小斜 转载请务必在文章开头注明出处和作者. 系列文章介绍 本文是<五分钟学Java>系列文章的一篇 本系列文章主要围绕Java程序员必须掌握的核心技能,结合我个人三年 ...
- git回滚到任意一个版本
1.首先查找提交的记录(-3表示显示最近的3条) git log -3 2.强制回滚到制定版本 git reset --hard 制定版本commitId 如:git reset --hard 4ba ...
- C++ 理解类 和 类中的public、protected、private
我们要明确,不只是C++有类,很多语言也会用到类,因为现在很多都是面向对象编程... 在c++中,关于类的理解,个人理解是这样的,具有共同属性的一个集合被称为类, 比如说人这个集合,具有性别,年龄,出 ...
- (转)协议森林09 爱的传声筒 (TCP连接)
协议森林09 爱的传声筒 (TCP连接) 作者:Vamei 出处:http://www.cnblogs.com/vamei 欢迎转载,也请保留这段声明.谢谢! 在TCP协议与"流" ...