
ubuntu14.04下snort的安装(官方文档安装)(图文详解)
不多说,直接上干货!
最近为了科研,需要安装和使用Snort。
snort的官网
https://www.snort.org/

Snort作为一款优秀的开源主机入侵检测系统,在windows和Linux平台上均可安装运行。Ubuntu作为一个以桌面应用为主的Linux操作系统,同样也可以安装Snort。
对于网络安全而言入侵检测是一件非常重要的事。入侵检测系统(IDS)用于检测网络中非法与恶意的请求。Snort是一款知名的开源的入侵检测系统。其 Web界面(Snorby)可以用于更好地分析警告。Snort使用iptables/pf防火墙来作为入侵检测系统。本篇博文中,我会安装并配置一个开源的入侵检测系统snort。
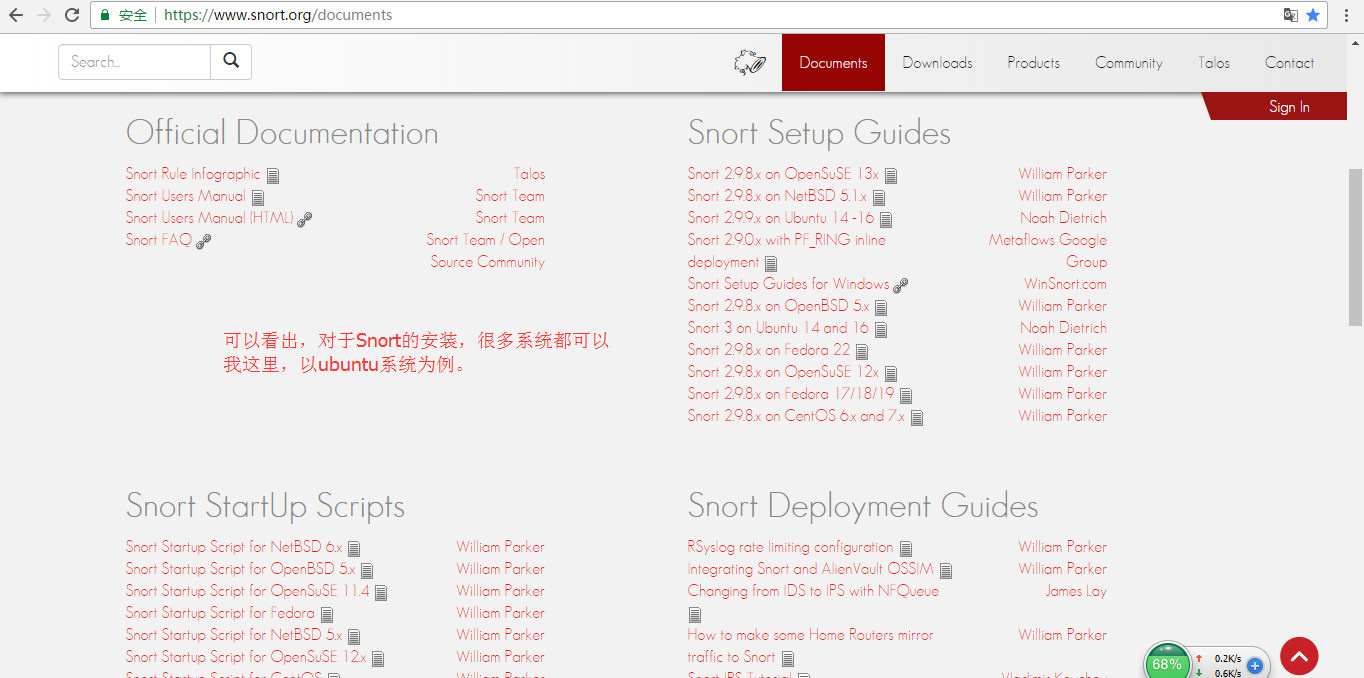
最好的文档,不愧还是官方文档!
说在前面的话
因为,我这里选择的是用官方当前最新来安装Snort,并且版本是定位在Snort2.9.9
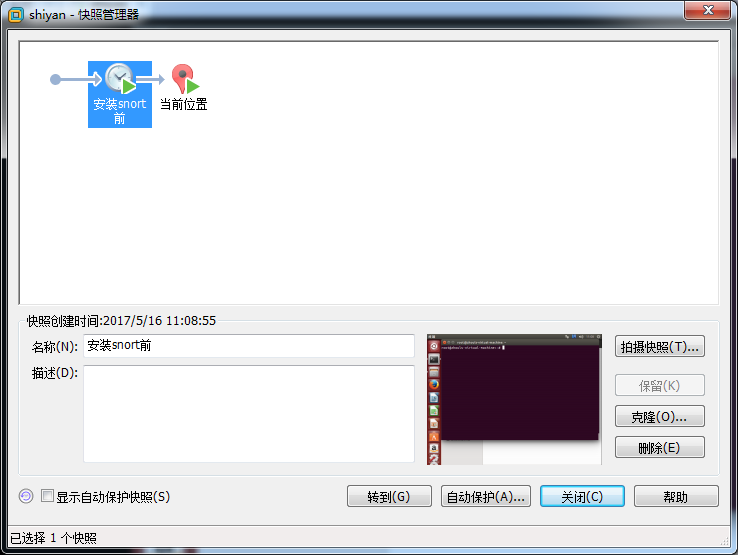
建议,大家跟我这样,在安装Snort前,先快照下,大不了错误,恢复重头再来一次呗!
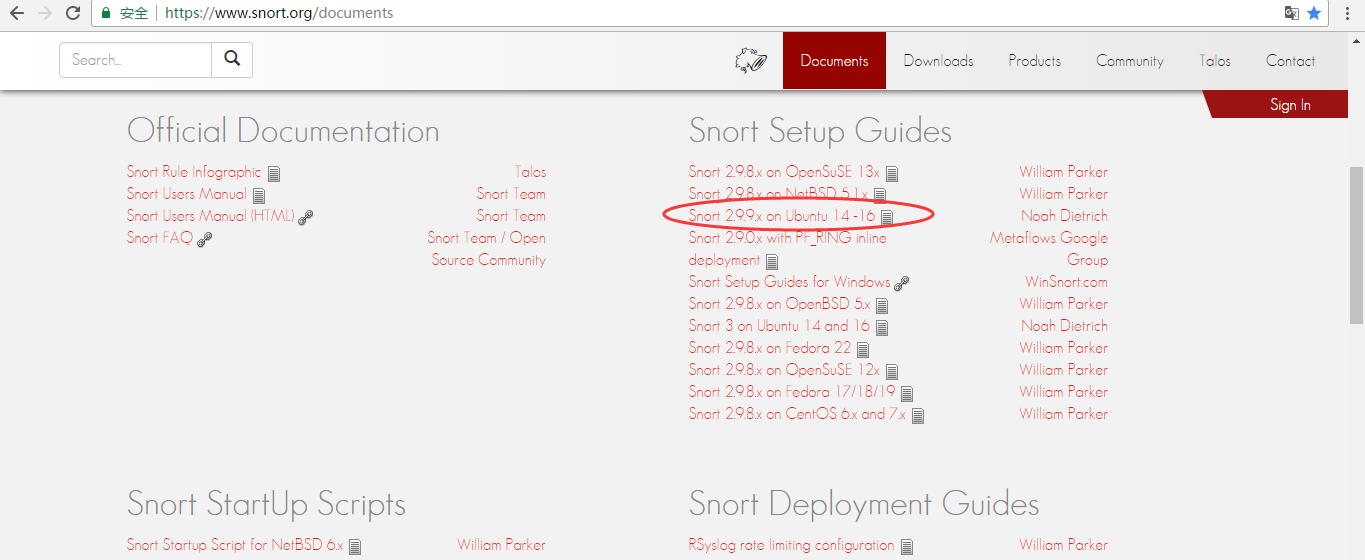
点击进入,带领大家来看官方文档。
https://s3.amazonaws.com/snort-org-site/production/document_files/files/000/000/122/original/Snort_2.9.9.x_on_Ubuntu_14-16.pdf?AWSAccessKeyId=AKIAIXACIED2SPMSC7GA&Expires=1494907659&Signature=xhOV%2FnF7%2BOsP%2FZUHpPLmYTU4%2Fkc%3D
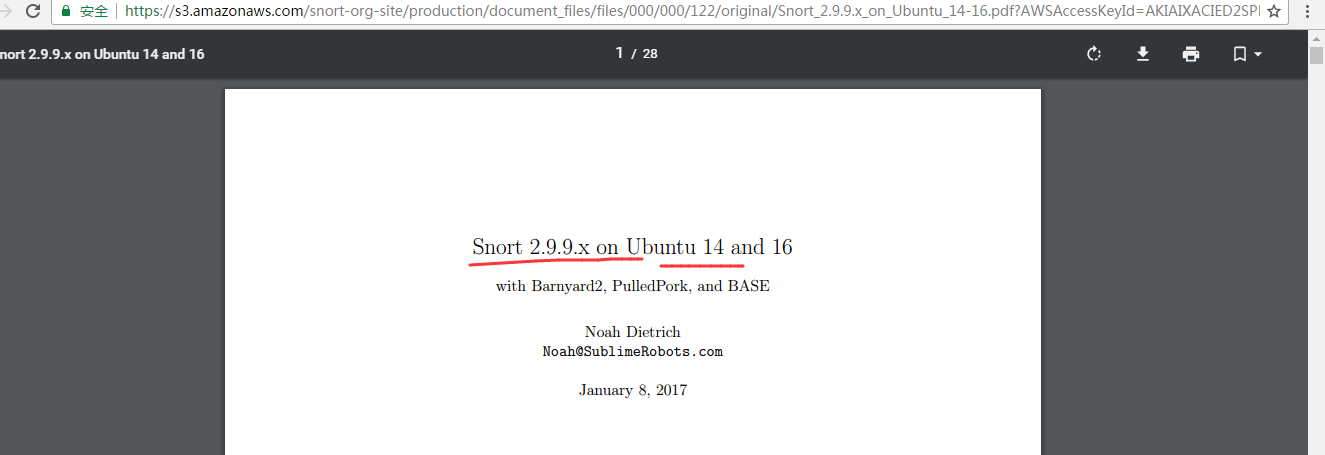

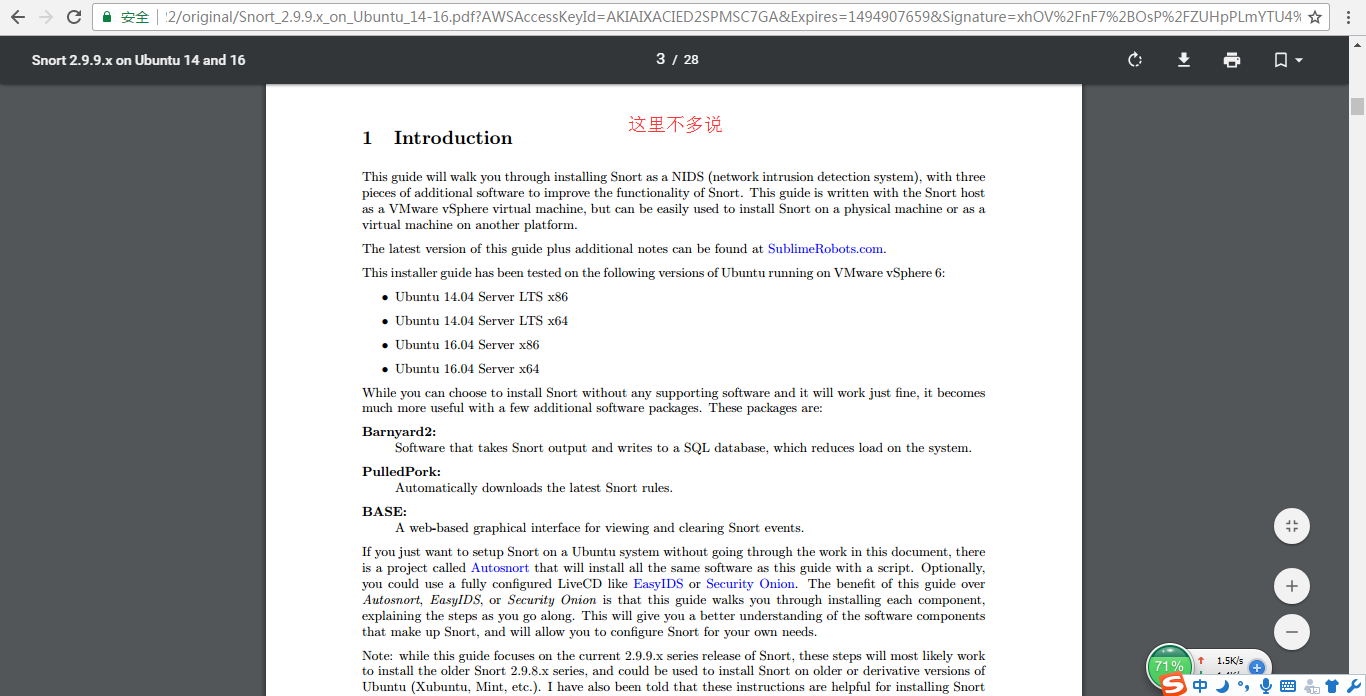

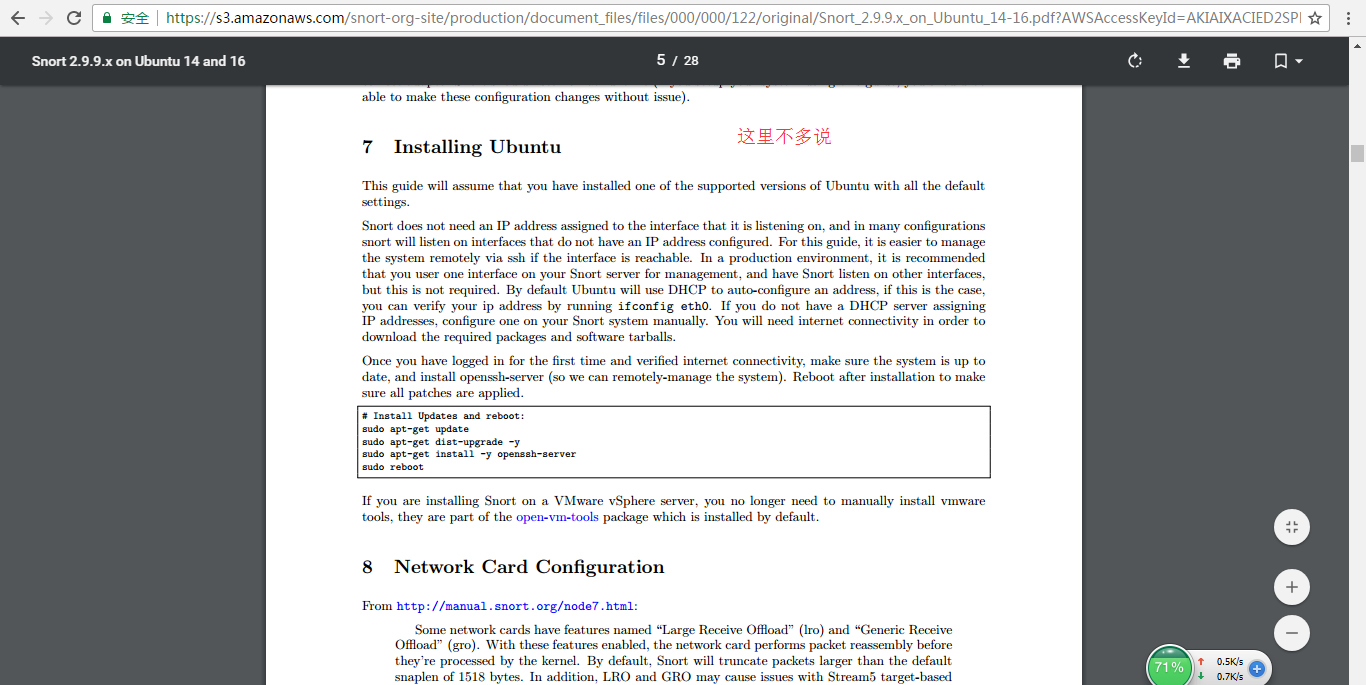
然后,现在,来带领大家,网络设置。
8 Network Card Configuration
From http://manual.snort.org/node7.html:
Some network cards have features named “Large Receive Offload” (lro) and “Generic Receive
Offload” (gro). With these features enabled, the network card performs packet reassembly before
they’re processed by the kernel. By default, Snort will truncate packets larger than the default
snaplen of 1518 bytes. In addition, LRO and GRO may cause issues with Stream5 target-based
reassembly. We recommend that you turn off LRO and GRO.
To disable LRO and GRO for any interface that Snort listens on, we will use the ethtool command in the
network interface configuration file /etc/network/interfaces. We use vi to edit the network interfaces
file:
sudo vi /etc/network/interfaces

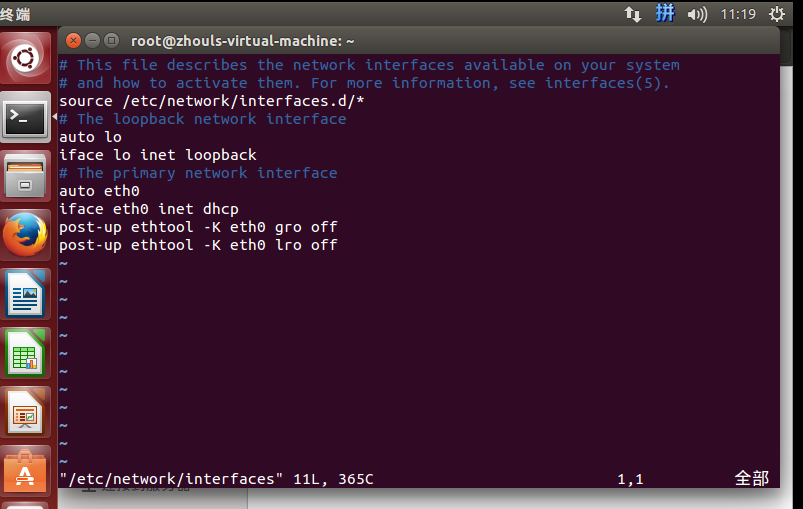
Append the following two lines for each network interface, making sure to change eth0 to match the interface
you are working on, since your interface names may be different, especially on Ubuntu 16:
post-up ethtool -K eth0 gro off

post-up ethtool -K eth0 lro off
an example of how the /etc/network/interfaces file should look for a single interface:
# This file describes the network interfaces available on your system

# and how to activate them. For more information, see interfaces().

source /etc/network/interfaces.d/*

# The loopback network interface

auto lo

iface lo inet loopback

# The primary network interface

auto eth0

iface eth0 inet dhcp

post-up ethtool -K eth0 gro off

post-up ethtool -K eth0 lro off
Restart networking (replace eth0 with your interfaces with below) and verify that LRO and GRO are disabled:
user@snortserver:~$ sudo ifconfig eth0 down && sudo ifconfig eth0 up

user@snortserver:~$ ethtool -k eth0 | grep receive-offload

generic-receive-offload: off

large-receive-offload: off

user@snortserver:~$

而我出现了on,所以,官网文档也说了,重启虚拟机。
if the interfaces do not show LRO and GRO as off, reboot and check again (it can be difficult to get Ubuntu to reload the network configuration without a reboot).

下一步

9 Installing the Snort Pre-Requisites
Snort has four main pre-requisites:(预安装)
pcap (libpcap-dev) available from the Ubuntu repository
PCRE (libpcre3-dev) available from the Ubuntu repository
Libdnet (libdumbnet-dev) available from the Ubuntu repository
DAQ (http://www.snort.org/downloads/) compiled from source
First we want to install all the tools required for building software. The build-essentials package does
this for us:
sudo apt-get install -y build-essential
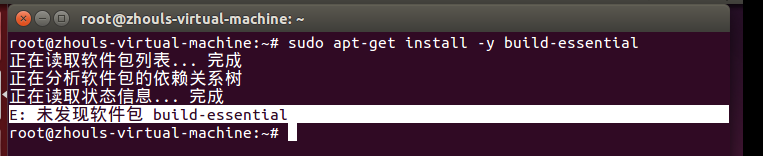
别慌,出现问题是好事,学会搜索解决问题。

如果这里大家出现网络不可达,或者下载慢的情况,可以见
Ubuntu14.04官方默认更新源sources.list和第三方源推荐(干货!)
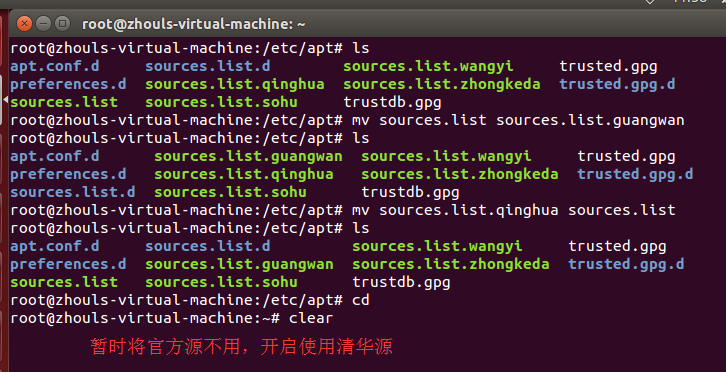
如果清华源不可用,则用阿里云或163源
然后,再来执行
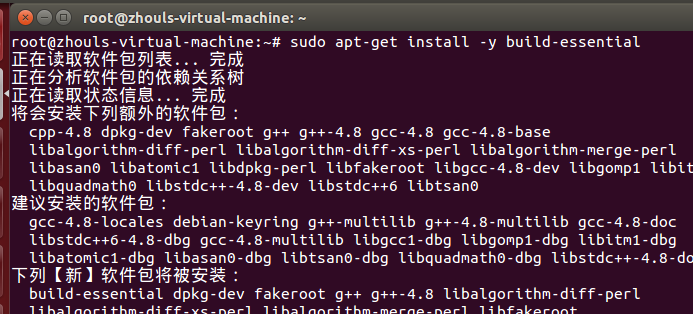
成功!
Once our build tools are installed, we install all Snort pre-requisites that are available from the Ubuntu
repositories3
sudo apt-get install -y libpcap-dev libpcre3-dev libdumbnet-dev
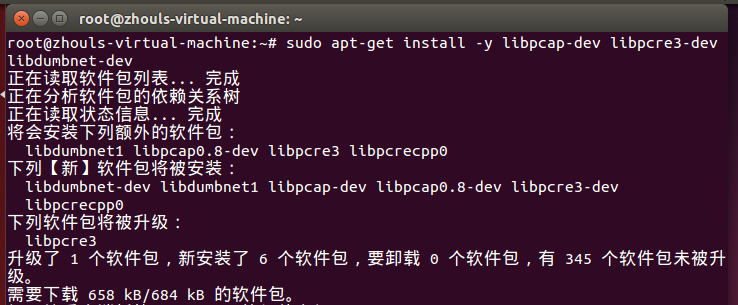
成功
The Snort DAQ (Data AcQuisition library)has a few pre-requisites that need to be installed:
sudo apt-get install -y bison flex

成功!
In this guide, we will be downloading a number of tarbals for various software packages. We will create a
folder called snort src to keep them all in one place:
mkdir ~/snort_src

cd ~/snort_src
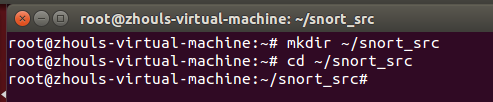
Download and install the latest version of DAQ from the Snort website. The steps below use wget to download version 2.0.6 of DAQ, which is the latest version at the time of writing this guide.
cd ~/snort_src

wget https://snort.org/downloads/snort/daq-2.0.6.tar.gz

tar -xvzf daq-2.0..tar.gz

cd daq-2.0.

./configure

make

sudo make install


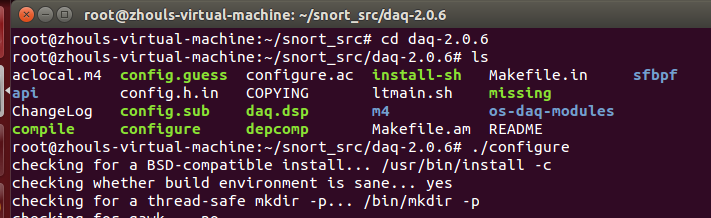
可能在这一步,大家会遇到我这个问题,
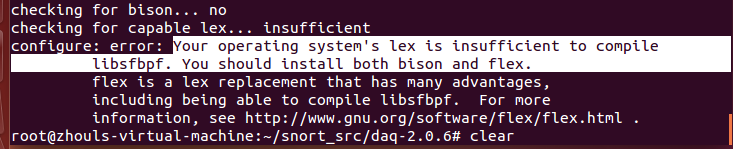
configure: error: Your operating system's lex is insufficient to compile

         libsfbpf. You should install both bison and flex.

         flex is a lex replacement that has many advantages,

         including being able to compile libsfbpf.  For more

         information, see http://www.gnu.org/software/flex/flex.html .
解决办法1:


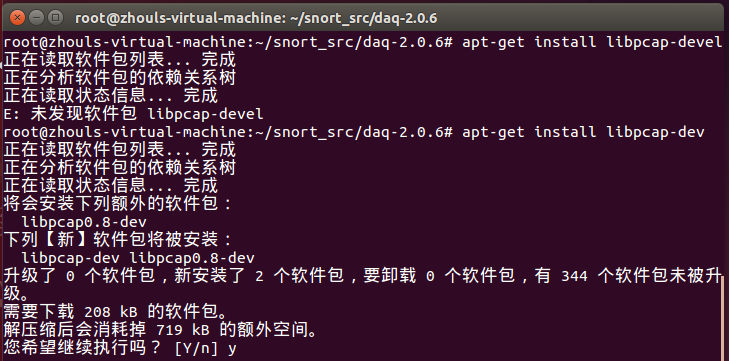
解决办法2:
或者(如果大家上述走不通的话,也可以下面来做)
其实解决办法就是
yum install bison
yum install flex
yum install libpcap-devel
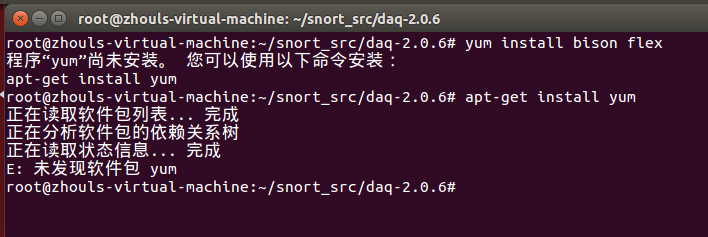
像这样的问题,等等,都可以通过我下面的博客来解决。说白了,就是源的问题。(优先试用清华源和网易源)
Ubuntu14.04官方默认更新源sources.list和第三方源推荐(干货!)
现在没有可用的软件包 *** ,但是它被其它的软件包引用了 和 E: 无法定位软件包 ***问题解决(思路清晰干货)
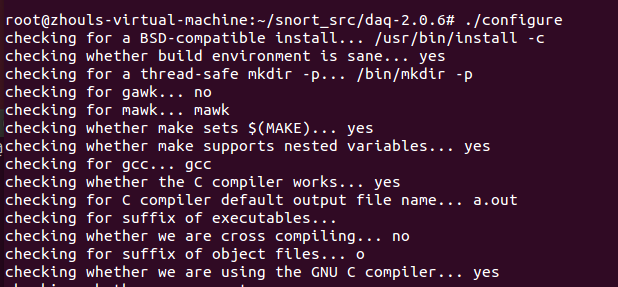
然后,安装完必要的工具后,再次运行./configure脚本,将会显示下面的输出。
ubuntu14.04下snort的安装(官方文档安装)(图文详解)的更多相关文章
- Ubuntu14.04下Neo4j图数据库官网安装部署步骤(图文详解)(博主推荐)
不多说,直接上干货! 说在前面的话 首先,查看下你的操作系统的版本. root@zhouls-virtual-machine:~# cat /etc/issue Ubuntu 14.04.4 LTS ...
- VMware下OSSIM 4.1.0的下载、安装和初步使用(图文详解)
不多说,直接上干货! 为什么,我写了一篇OSSIM 5.2.0的,还要再来写OSSIM 4.1.0呢,是因为,OSSIM 5.2.0所需内存较大,8G甚至16G,但是,肯定性能和里面集成组件越高级.也 ...
- Git学习系列之Windows上安装Git详细步骤(图文详解)
前言 最初,Git是用于Linux下的内核代码管理.因为其非常好用,目前,已经被成功移植到Mac和Windows操作系统下. 鉴于大部分使用者使用的是Windows操作系统,故,这里详细讲解Windo ...
- CentOS7+CDH5.14.0安装全流程记录,图文详解全程实测-总目录
CentOS7+CDH5.14.0安装全流程记录,图文详解全程实测-总目录: 0.Windows 10本机下载Xshell,以方便往Linux主机上上传大文件 1.CentOS7+CDH5.14.0安 ...
- ubuntu16.04下snort的安装(官方文档安装)(图文详解)
不多说,直接上干货! 最近为了科研,需要安装和使用Snort. snort的官网 https://www.snort.org/ Snort作为一款优秀的开源主机入侵检测系统,在windows和Linu ...
- Ubuntu14.04下完美安装cloudermanage多种方式(图文详解)(博主推荐)
说在前面的话 我的机器是总共4台,分别为ubuntucmbigdata1.ubuntucmbigdata2.ubuntucmbigdata3和ubuntucmbigdata4. ClouderaMan ...
- centos7安装oracle11g(根据oracle官方文档安装,解决图形界面安装问题)
一.系统及安装包 操作系统:centos 7.4 oracle版本:oracle 11g r2 二.centos环境配置 安装数据库所需要的软件包 [root@localhost data]# yum ...
- VMware下OSSIM 5.2.0的下载、安装和初步使用(图文详解)
不多说,直接上干货! 入门阶段不建议选用最新的版本. 采用OSSIM 4.11 到 OSSIM5.0.3 之间任何版本做实验,sensor的状态都会是“V”. 建议,入门,采用OSSIM5.0.0 ...
- Windows下的Jupyter Notebook 安装与自定义启动(图文详解)
不多说,直接上干货! 前期博客 Windows下的Python 3.6.1的下载与安装(适合32bits和64bits)(图文详解) 这是我自定义的Python 的安装目录 (D:\SoftWare\ ...
随机推荐
- 初识Dubbo 系列之5-Dubbo 成熟度
成熟度 功能成熟度 Feature特征 Maturity成熟度 Strength强度 Problem问题 Advise建议 User用户 并发控制 Tested 并发控制 试用 连接控制 Te ...
- MVVM 中 ViewModelBase和 CommandBase
public class ViewModelBase : INotifyPropertyChanged , IDisposable { public virtual string DisplayNam ...
- [NIO]dawn之Task具体解释
在上篇文章中,我们设置好了开发环境,接下来.我们将在了解了Task以及Buffer之后,再開始了解网络编程.我们首先来看看Task task简单介绍 package zhmt.dawn; import ...
- Linux Yum 命令使用举例
转自:https://blog.csdn.net/u012359618/article/details/51199309/ 本文给大家讲解Yum的使用15个范例: Yum软件包管理方式,在Red Ha ...
- swoole-tcp-server
swoole-tcp-server 标签(空格分隔): php,linux 执行程序 php swoole_server.php 查看端口:netstat -antpl 连接服务器:telnet ip ...
- Android 广播大全 Intent Action 事件详解
Android 广播大全 Intent Action 事件详解 投稿:mrr 字体:[增加 减小] 类型:转载 时间:2015-10-20我要评论 这篇文章主要给大家介绍Android 广播大全 In ...
- 用Maven创建第一个web项目Struts2项目
一.创建一个web项目 参考前面文章,项目名:maven-struts-demo. 二.配置pom.xml文件添加struts2依赖 <project xmlns="http://ma ...
- UVa 10943 How do you add?【递推】
题意:给出n,k,问恰好有k个不超过n的数的和为n的方案数有多少 可以隔板法来做 现在有n个小球放到k个盒子里面,盒子可以为空 那么就是n-k+1个缝隙,放上k-1个隔板(k-1个隔板就分成了k份) ...
- img标签IE下有边距——2017/7/21
设置css 在全局变量的是和给img标签设置 img{ border:0;} 1,img{float:left}2,img{display:block}
- 接口测试工具篇--jmeter
jmeter的安装及使用在这里不进行讲解了,网上有很多资料 下面开始讲解如何使用jmeter做http接口测试 在jmeter中添加一个http请求,添加方式:测试计划上邮件添加线程组,线程组上邮件选 ...