
NX二次开发-NXOpen::WCS Class Reference
 NX11+VS2013

 #include <NXOpen/Part.hxx>

 #include <NXOpen/PartCollection.hxx>

 #include <NXOpen/Session.hxx>

 #include <NXOpen/WCS.hxx>

 #include <NXOpen/CartesianCoordinateSystem.hxx>

 #include <NXOpen/CoordinateSystem.hxx>

 #include <NXOpen/CoordinateSystemCollection.hxx>

 using namespace NXOpen;

 NXOpen::Session *theSession = NXOpen::Session::GetSession();

 NXOpen::Part *workPart(theSession->Parts()->Work());

 NXOpen::Part *displayPart(theSession->Parts()->Display());
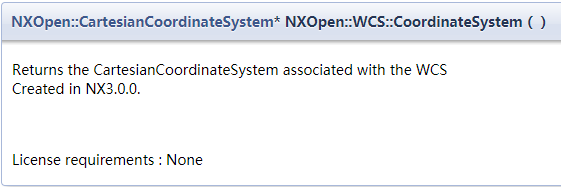
 //获取WCS相关信息

 NXOpen::CartesianCoordinateSystem* WcsData = workPart->WCS()->CoordinateSystem();

 //获得WCS的向量方向

 NXOpen::Vector3d xDirection;

 NXOpen::Vector3d yDirection;

 WcsData->GetDirections(&xDirection, &yDirection);

 //获得WCS的原点坐标

 Point3d WcsOrigin = workPart->WCS()->Origin();
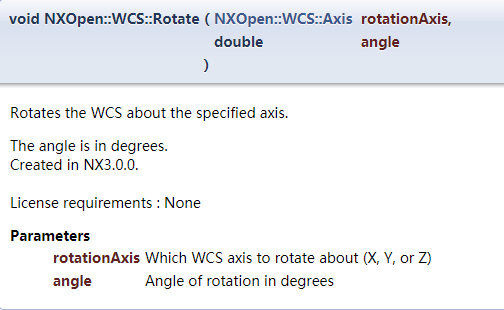
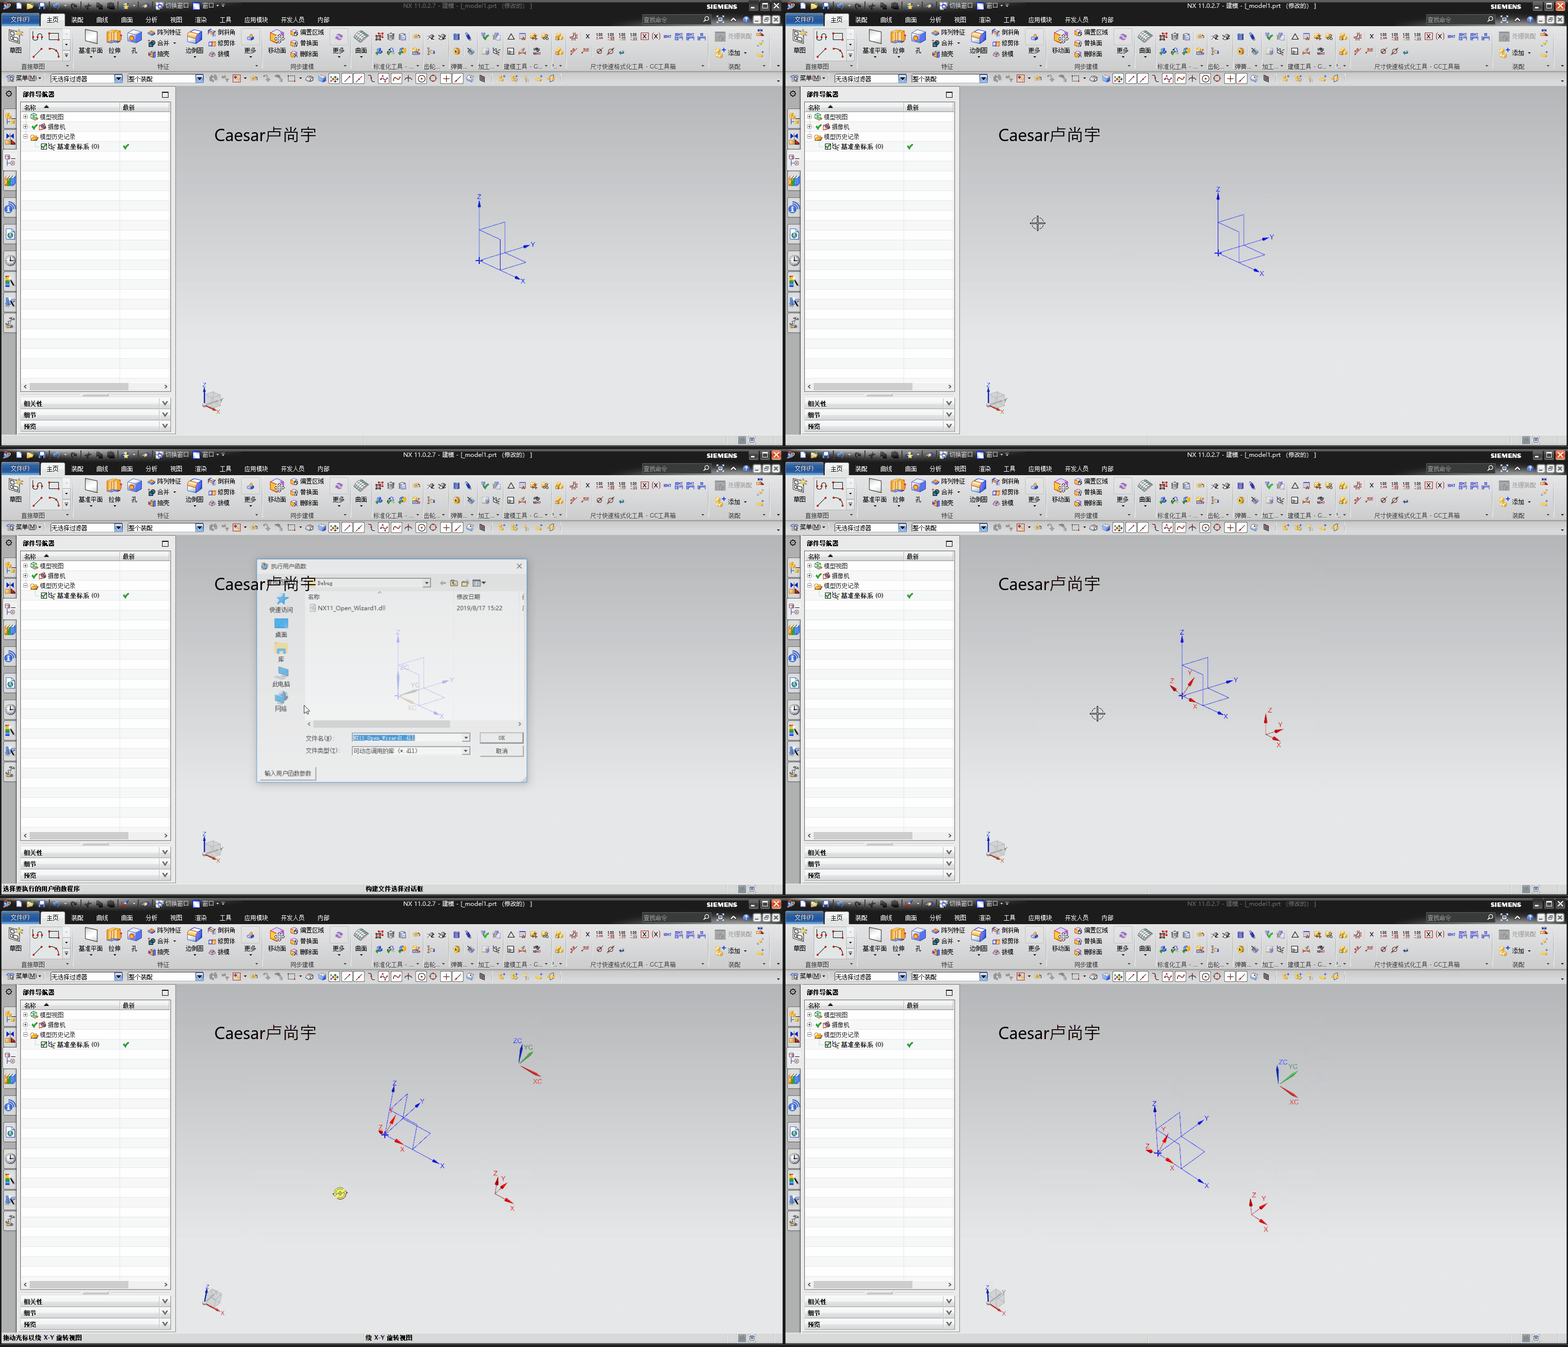
 //围绕指定的轴旋转WCS

 double Angle = 45.0;

 workPart->WCS()->Rotate(NXOpen::WCS::AxisXAxis, Angle);
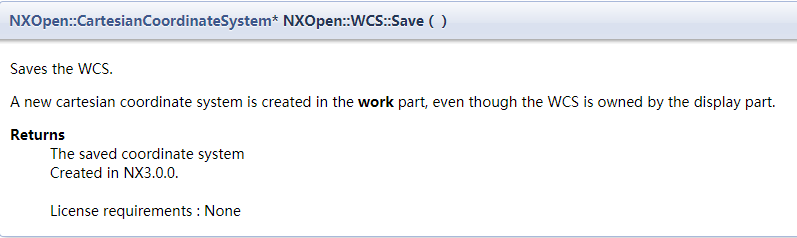
 //在工作部件中创建一个新的笛卡尔坐标系,即使WCS属于显示部件

 NXOpen::CartesianCoordinateSystem*  WcsNew = workPart->WCS()->Save();
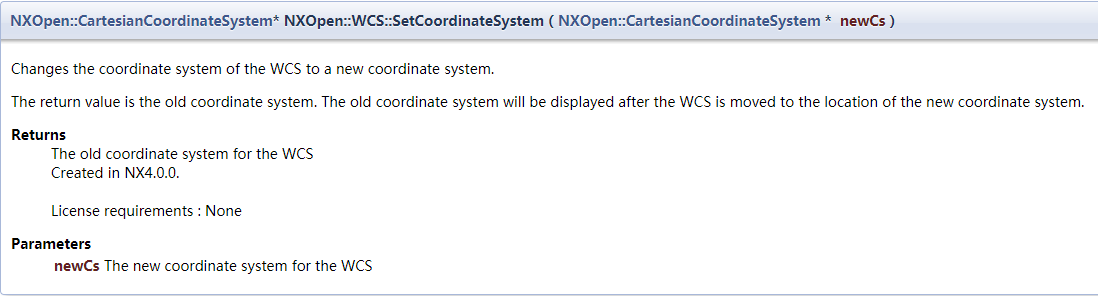
 //将WCS的坐标系更改为一个新的坐标系

 //返回值是旧的坐标系。将WCS移动到新的坐标系位置后,将显示旧坐标系。

 NXOpen::Point3d origin1 = { 150.0, 0.0, 0.0 };

 NXOpen::Vector3d xDirection1 = { 1.0, 0.0, 0.0 };

 NXOpen::Vector3d yDirection1 = { 0.0, 1.0, 0.0 };

 NXOpen::CartesianCoordinateSystem *newCs = workPart->CoordinateSystems()->CreateCoordinateSystem(origin1, xDirection1, yDirection1);

 NXOpen::CartesianCoordinateSystem*  WcsOld = workPart->WCS()->SetCoordinateSystem(newCs);
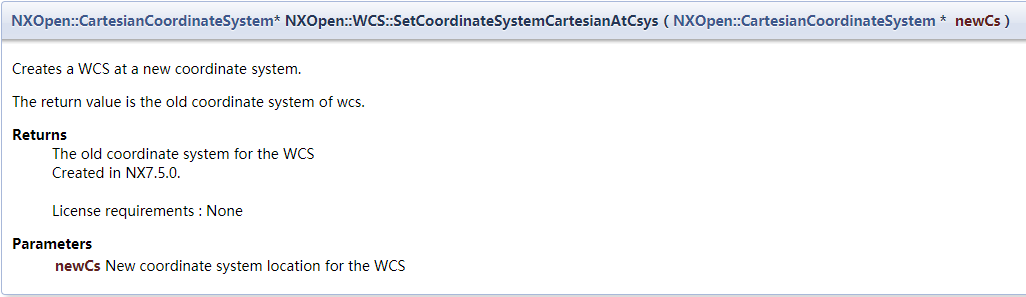
 //在新的坐标系中创建一个WCS

 //返回值是WCS的旧坐标系

 NXOpen::Point3d origin2 = { 150.0, 0.0, 0.0 };

 NXOpen::Vector3d xDirection2 = { 1.0, 0.0, 0.0 };

 NXOpen::Vector3d yDirection2 = { 0.0, 1.0, 0.0 };

 NXOpen::CartesianCoordinateSystem *newCs1 = workPart->CoordinateSystems()->CreateCoordinateSystem(origin2, xDirection2, yDirection2);

 NXOpen::CartesianCoordinateSystem*  WcsOld1 = workPart->WCS()->SetCoordinateSystemCartesianAtCsys(newCs1);
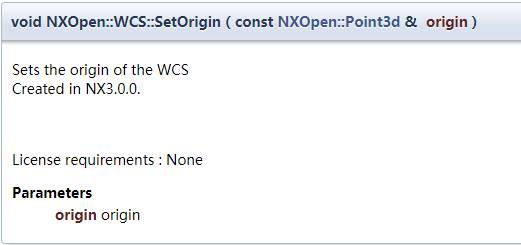
 //设置WCS原点

 Point3d WcsOri = { 100.0, 100.0, 100.0 };

 workPart->WCS()->SetOrigin(WcsOri);
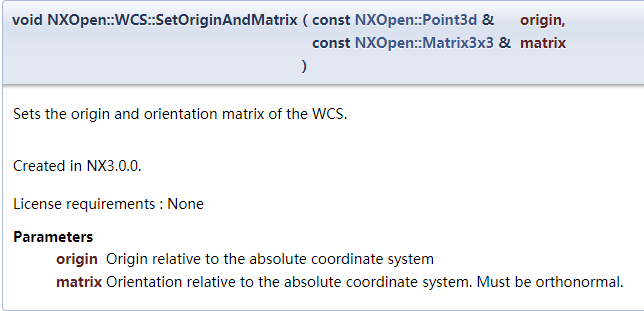
 //设置WCS的原点和方向矩阵

 Point3d WcsOri1 = { 100.0, 100.0, 100.0 };

 Matrix3x3 matrix = { , , , , , , , ,  };

 workPart->WCS()->SetOriginAndMatrix(WcsOri1, matrix);
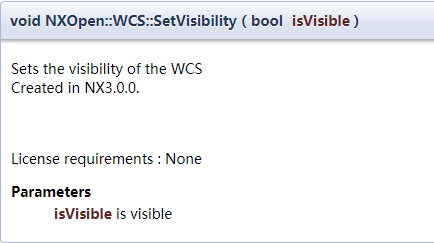
 //设置WCS的可见性

 workPart->WCS()->SetVisibility(false);
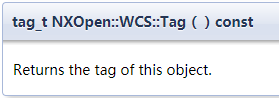
 //得到WCS的tag

 tag_t WcsTag = workPart->WCS()->Tag();
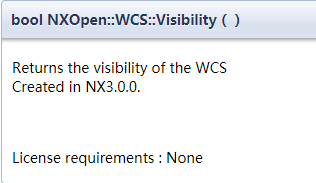
 //获得WCS的可见性

 bool WcsVis = workPart->WCS()->Visibility();

2019年8月17日
Caesar卢尚宇
NX二次开发-NXOpen::WCS Class Reference的更多相关文章
- NX二次开发-NXOpen::CoordinateSystemCollection Class Reference
NX11+VS2013 #include <NXOpen/Section.hxx> #include <NXOpen/SectionCollection.hxx> #inclu ...
- NX二次开发-获取WCS坐标系的原点坐标和矩阵标识
函数:UF_CSYS_ask_csys_info() 函数说明:获取工作坐标系对象的标识符. 用法: #include <uf.h> #include <uf_csys.h> ...
- NX二次开发-获取WCS标识
函数:UF_CSYS_ask_wcs() 函数说明:获取工作坐标系对象的标识. 用法: 1 #include <uf.h> 2 #include <uf_csys.h> 3 e ...
- NX二次开发-NXOpen::Drawings::DrawingSheet Class Reference
NX11+VS2013 #include <NXOpen/Section.hxx> #include <NXOpen/SectionCollection.hxx> #inclu ...
- NX二次开发-NXOPEN自动切换到工程图模块
UFUN的API里是没有切换到工程图的函数的,NXOPEN里是有方法可以用的.不过应该是不支持NX9以下的版本. NX9的不能录制出来,在UI类里有方法 NX9+VS2012 #include < ...
- NX二次开发-NXOpen获取边的端点NXOpen::Edge::GetVertices
NX9+VS2012 #include <NXOpen/Features_BlockFeatureBuilder.hxx> #include <NXOpen/Features_Fea ...
- NX二次开发-获取WCS标识UF_CSYS_ask_wcs
NX9+VS2012 #include <uf.h> #include <uf_csys.h> UF_initialize(); //获取WCS标识 tag_t WcsId = ...
- NX二次开发-设置WCS位置UF_CSYS_set_wcs
NX9+VS2012 UF_initialize(); //输入X向量Y向量输出一个3*3矩阵 ] = {0.0, 0.0, 1.0}; ] = {0.0, 1.0, 0.0}; ]; UF_MTX3 ...
- NX二次开发-设置WCS显示UF_CSYS_set_wcs_display
NX9+VS2012 #include <uf.h> #include <uf_csys.h> UF_initialize(); //设置WCS显示 //1显示WCS, 0不显 ...
随机推荐
- es的日期格式
https://www.elastic.co/guide/en/elasticsearch/reference/2.3/mapping-date-format.html 在es中,默认的时间类型为da ...
- Map集合类(一.hashMap源码解析jdk1.8)
java集合笔记一 java集合笔记二 java集合笔记三 jdk 8 之前,其内部是由数组+链表来实现的,而 jdk 8 对于链表长度超过 8 的链表将转储为红黑树 1.属性 //节点数组,第一次使 ...
- MaxCompute新功能发布
2018年Q3 MaxCompute重磅发布了一系列新功能. 本文对主要新功能和增强功能进行了概述. 实时交互式查询:Lightning on MaxCompute 生态兼容:Spark on Max ...
- PHP FILTER_VALIDATE_REGEXP 过滤器
定义和用法 FILTER_VALIDATE_REGEXP 过滤器根据兼容 Perl 的正则表达式来验证值. Name: "validate_regexp" ID-number: 2 ...
- Android中当数据库需要更新时我们该怎么办?
问题:Android数据库更新并保留原来的数据如何实现 Andoird的SQLiteOpenHelper类中有一个onUpgrade方法.帮助文档中只是说当数据库升级时该方法被触发.经过实践,解决了我 ...
- SP6779 GSS7 - Can you answer these queries VII
纯数据结构题,没有思维难度.直接用线段树求最大子段和的方法完成树上路径的合并.注意链上合并顺序要符合序列的前后顺序. #include <cstdio> #include <cstr ...
- LUOGU P5061 秘密任务(背包+二分图染色)
传送门 解题思路 \(orz\)出题人的神仙做法.本蒟蒻看不懂,就水个求补图再二分图染色的方法来\(%1%\)出题人. 首先我们对图中\(m\)个关系连边,发现这样是没法做的,因为我们最后要关注的是谁 ...
- NodeJS+Express+mySQL服务端开发详解
随着NodeJS的发展,现在已经被很多人熟知,NodeJS已经成为了前端开发人员必备的技能.本文不会对NodeJS过多介绍 如果你感兴趣可以访问NodeJS 官网, 维基百科 本文是利用NodeJS+ ...
- CSS:CSS 背景
ylbtech-CSS:CSS 背景 1.返回顶部 1. CSS 背景 CSS 背景属性用于定义HTML元素的背景. CSS 属性定义背景效果: background-color background ...
- (52) C# 串口通讯
一.串口通讯基本参数 1.波特率:每秒传输n个多少个二进制位. 例如 9600 b/s = 1200 B/s= 1.172KB/S 2.传输数据格式 数据格式由起始位(start bit).数据位 ...