170706、springboot编程之文件上传
使用thymleaf模板,自行导入依赖!
一、单文件上传
1、编写单文件上传页面singleFile.html
<!DOCTYPE html>

<html xmlns="http://www.w3.org/1999/xhtml" xmlns:th="http://www.thymeleaf.org"

      xmlns:sec="http://www.thymeleaf.org/thymeleaf-extras-springsecurity3">

<head>

    <title>单文件上传</title>

</head>

<body>

    <form method="post" enctype="multipart/form-data" action="/singleUpload">

        <p>选择文件:<input type="file" name="file"/></p>

        <p><input type="submit" th:value="上传"/></p>

    </form>

</body>

</html>
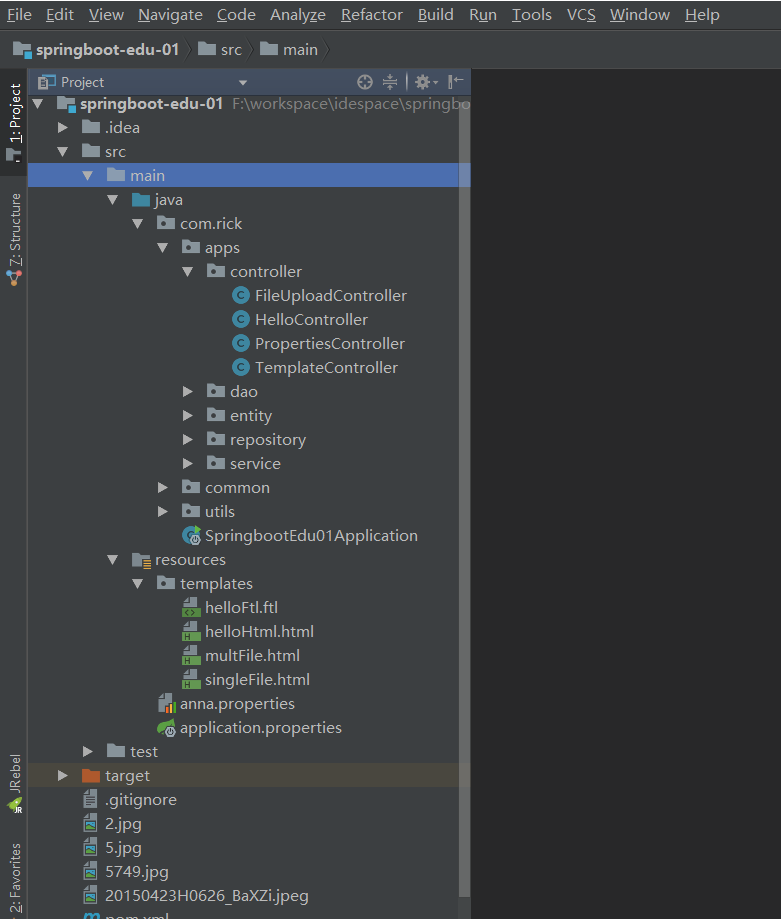
2、编写FileUploadController.java
package com.rick.apps.controller; import com.rick.common.ResultJson;
import org.springframework.stereotype.Controller;
import org.springframework.web.bind.annotation.*;
import org.springframework.web.multipart.MultipartFile; import java.io.BufferedOutputStream;
import java.io.File;
import java.io.FileOutputStream; /**
* Desc : 文件上传
* User : RICK
* Time : 2017/8/23 9:36
*/ @Controller
public class FileUploadController { /**
* Desc : 跳转单文件上传页面
* User : RICK
* Time : 2017/8/23 9:37
*/ @RequestMapping("/singleFile")
public String singleFile(){
System.out.println("-------------------");
return"/singleFile";
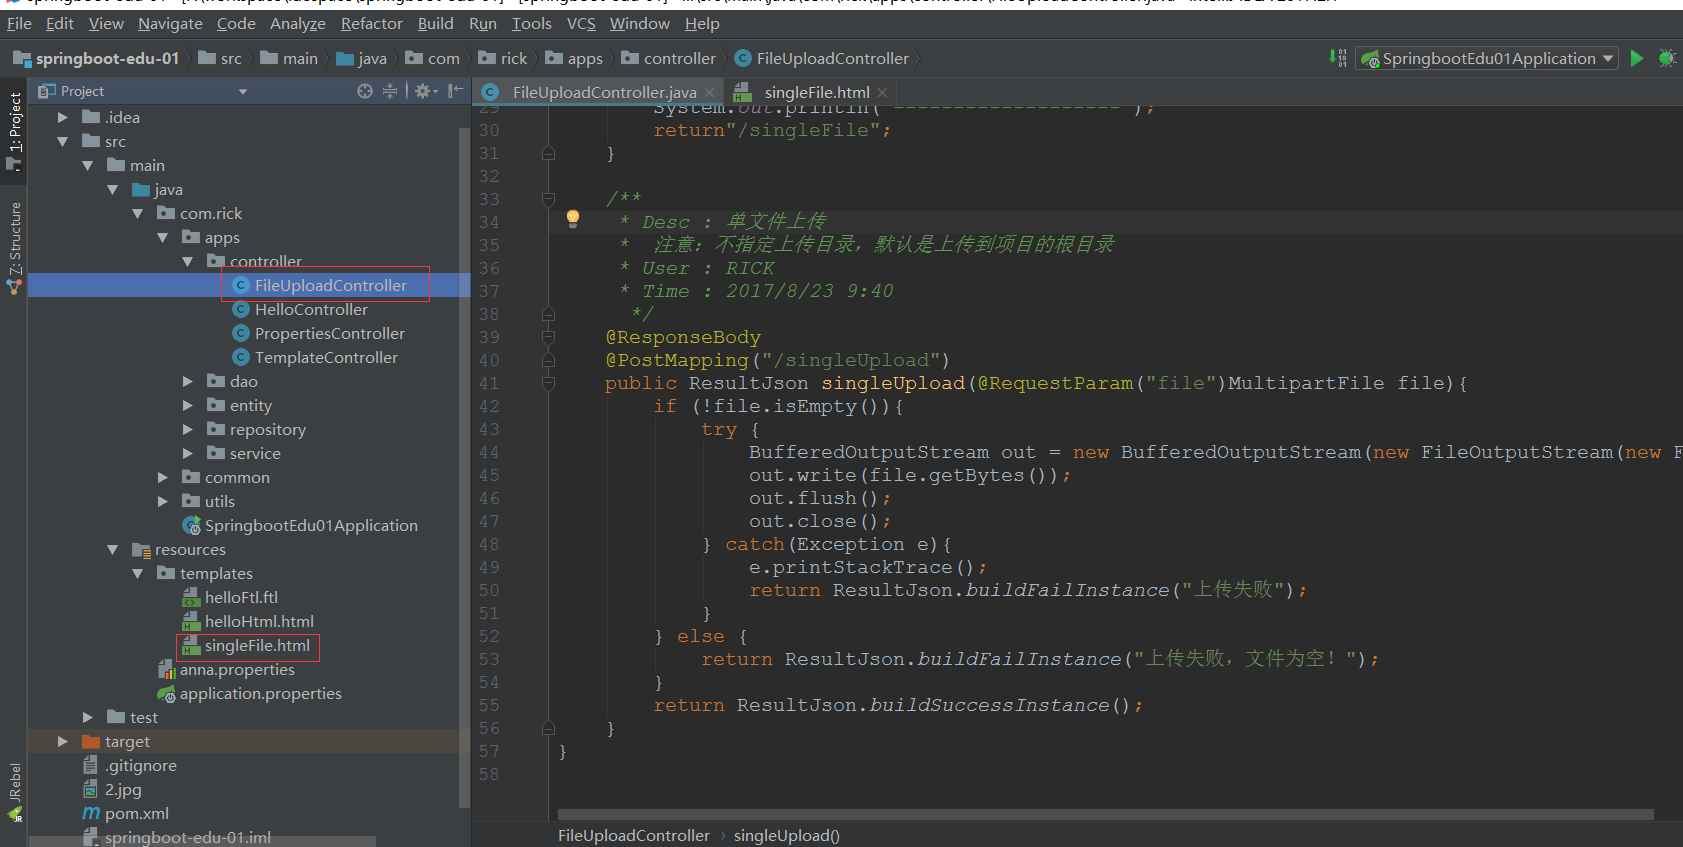
} /**
* Desc : 单文件上传
* 注意:不指定上传目录,默认是上传到项目的根目录
* User : RICK
* Time : 2017/8/23 9:40
*/
@ResponseBody
@PostMapping("/singleUpload")
public ResultJson singleUpload(@RequestParam("file")MultipartFile file){
if (!file.isEmpty()){
try {
BufferedOutputStream out = new BufferedOutputStream(new FileOutputStream(new File(file.getOriginalFilename())));
out.write(file.getBytes());
out.flush();
out.close();
} catch(Exception e){
e.printStackTrace();
return ResultJson.buildFailInstance("上传失败");
}
} else {
return ResultJson.buildFailInstance("上传失败,文件为空!");
}
return ResultJson.buildSuccessInstance();
}
}
3、编写文件上传的设置
package com.rick;

import org.springframework.boot.SpringApplication;

import org.springframework.boot.autoconfigure.SpringBootApplication;

import org.springframework.boot.context.properties.EnableConfigurationProperties;

import org.springframework.boot.web.servlet.MultipartConfigFactory;

import org.springframework.boot.web.servlet.ServletComponentScan;

import org.springframework.context.annotation.Bean;

import javax.servlet.MultipartConfigElement;

@SpringBootApplication

@EnableConfigurationProperties

@ServletComponentScan

public class SpringbootEdu01Application {

    public static void main(String[] args) {

        SpringApplication.run(SpringbootEdu01Application.class, args);

    }

    /**

     * Desc :  设置文件上传的基本配置

     * User : RICK

     * Time : 2017/8/23 10:11

      */

    @Bean

    public MultipartConfigElement multipartConfigElement(){

        MultipartConfigFactory factory = new MultipartConfigFactory();

        //设置文件大小限制 ,超了,页面会抛出异常信息,这时候就需要进行异常信息的处理了;

        factory.setMaxFileSize("1MB");//KB,MB

        //设置总上传数据总大小

        factory.setMaxRequestSize("10MB");////KB,MB

        //设置文件存放位置

//        factory.setLocation("d:\\files");

        return factory.createMultipartConfig();

    }

}
4、启动项目测试
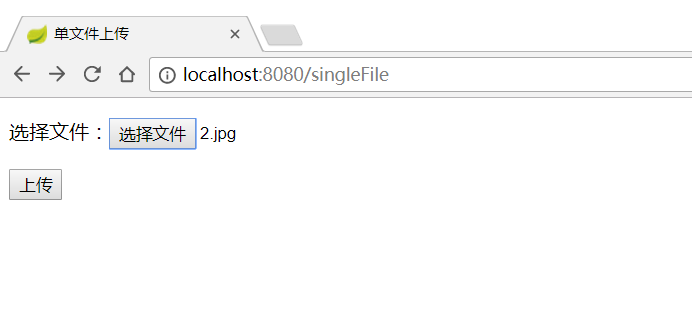
访问http://localhost:8080/singleFile出现文件上传页面

选择要上传的文件,点击上传

上传成功,到项目根目录下查看文件是否存在

项目清单:
二、多文件上传
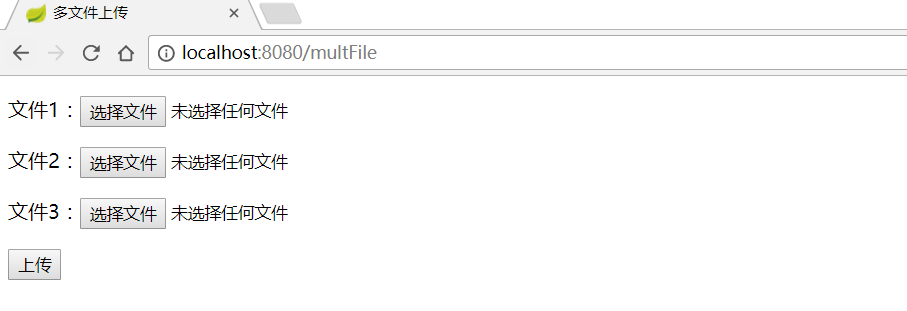
1、编写多文件上传页面multFile.html
<!DOCTYPE html>

<html lang="en">

<head>

    <title>多文件上传</title>

</head>

<body>

    <form method="post" enctype="multipart/form-data" action="/multUpload">

        <p>文件1:<input type="file" name="file" /></p>

        <p>文件2:<input type="file" name="file" /></p>

        <p>文件3:<input type="file" name="file" /></p>

        <p><input type="submit" value="上传" /></p>

    </form>

</body>

</html>
2、编写多文件上传后台代码FileUploadController.java
package com.rick.apps.controller;

import com.rick.common.ResultJson;

import org.springframework.stereotype.Controller;

import org.springframework.web.bind.annotation.*;

import org.springframework.web.multipart.MultipartFile;

import org.springframework.web.multipart.MultipartHttpServletRequest;

import javax.servlet.http.HttpServletRequest;

import java.io.BufferedOutputStream;

import java.io.File;

import java.io.FileOutputStream;

import java.util.List;

/**

 * Desc :  文件上传

 * User : RICK

 * Time : 2017/8/23 9:36

  */

@Controller

public class FileUploadController {

    /**

     * Desc :  跳转单文件上传页面

     * User : RICK

     * Time : 2017/8/23 9:37

      */

    @RequestMapping("/singleFile")

    public String singleFile(){

        return"/singleFile";

    }

    /**

     * Desc : 单文件上传

     *  注意:不指定上传目录,默认是上传到项目的根目录

     * User : RICK

     * Time : 2017/8/23 9:40

      */

    @ResponseBody

    @PostMapping("/singleUpload")

    public ResultJson singleUpload(@RequestParam("file")MultipartFile file){

        if (!file.isEmpty()){

            try {

                BufferedOutputStream out = new BufferedOutputStream(new FileOutputStream(new File(file.getOriginalFilename())));

                out.write(file.getBytes());

                out.flush();

                out.close();

            } catch(Exception e){

                e.printStackTrace();

                return ResultJson.buildFailInstance("上传失败");

            }

        } else {

            return ResultJson.buildFailInstance("上传失败,文件为空!");

        }

        return ResultJson.buildSuccessInstance();

    }

    /**

     * Desc :  跳转多文件上传页面

     * User : RICK

     * Time : 2017/8/23 9:37

     */

    @RequestMapping("/multFile")

    public String multFile(){

        return"/multFile";

    }

    /**

     * Desc :  多文件上传

     *  主要是使用了MultipartHttpServletRequest和MultipartFile

     * User : RICK

     * Time : 2017/8/23 10:17

      */

    @ResponseBody

    @PostMapping("/multUpload")

    public ResultJson multUpload(HttpServletRequest request){

        try {

            List<MultipartFile> files = ((MultipartHttpServletRequest)request).getFiles("file");

            MultipartFile file = null;

            BufferedOutputStream stream = null;

            for (int i=0;i<files.size();i++){

                file = files.get(i);

                if(!file.isEmpty()){

                    byte[] bytes = file.getBytes();

                    stream = new BufferedOutputStream(new FileOutputStream(new File(file.getOriginalFilename())));

                    stream.write(bytes);

                    stream.flush();

                    stream.close();

                }

            }

        } catch(Exception e){

            e.printStackTrace();

            return ResultJson.buildFailInstance("上传失败");

        }

        return ResultJson.buildSuccessInstance();

    }

}
3、启动项目测试,http://localhost:8080/multFile
选择文件
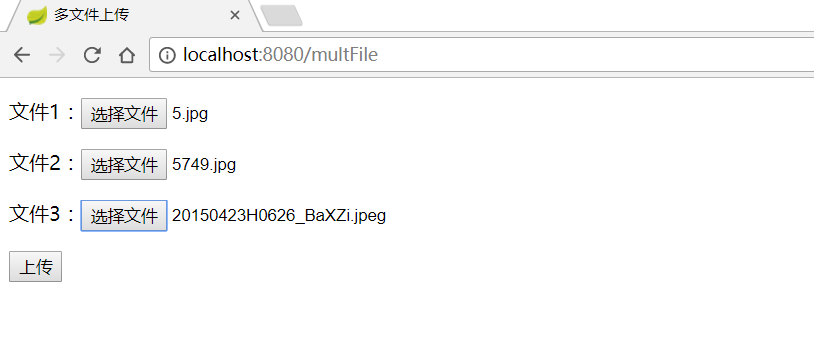
点击上传
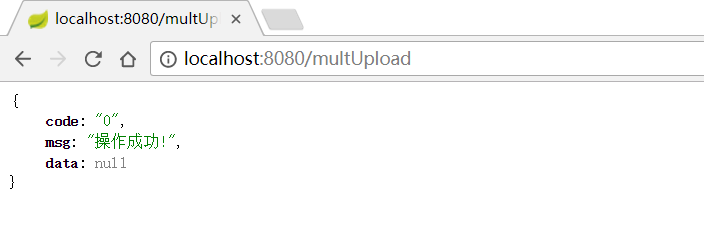
到项目根目录下查看文件是否上传成功
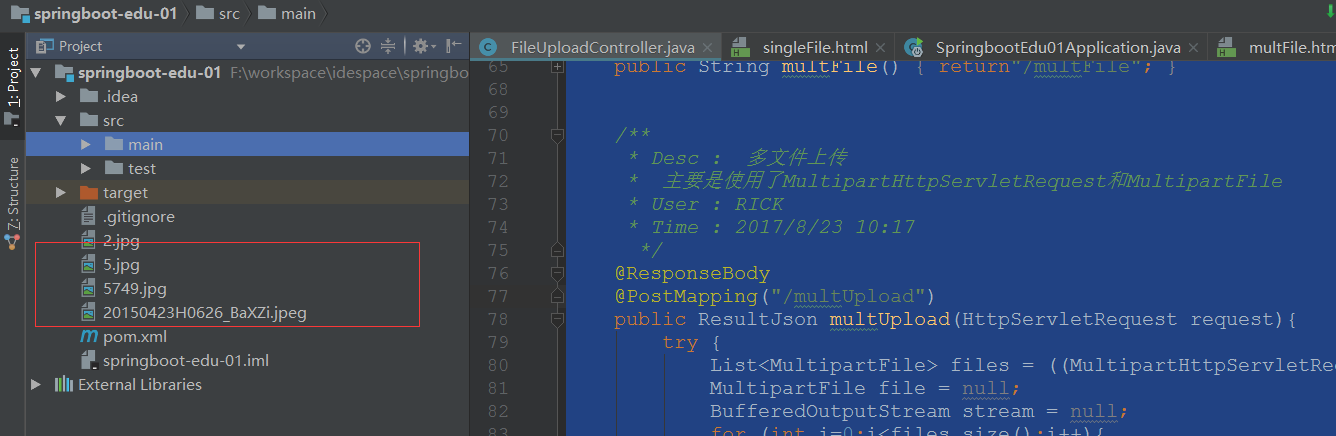
项目清单:
170706、springboot编程之文件上传的更多相关文章
- Windows环境下用C#编程将文件上传至阿里云OSS笔记
Windows环境下用C#编程将文件上传至阿里云OSS笔记 本系列文章由ex_net(张建波)编写,转载请注明出处. http://blog.csdn.net/ex_net/article/detai ...
- SpringBoot项目实现文件上传和邮件发送
前言 本篇文章主要介绍的是SpringBoot项目实现文件上传和邮件发送的功能. SpringBoot 文件上传 说明:如果想直接获取工程那么可以直接跳到底部,通过链接下载工程代码. 开发准备 环境要 ...
- Springboot如何启用文件上传功能
网上的文章在写 "springboot文件上传" 时,都让你加上模版引擎,我只想说,我用不上,加模版引擎,你是觉得我脑子坏了,还是觉得我拿不动刀了. springboot如何启用文 ...
- iOS-网络编程(二)文件上传和断点离线下载
一. iOS中发送HTTP请求的方案 在iOS中,我们常用发送HTTP请求的方案有苹果原生(自带)NSURLConnection:用法简单,最古老最经典最直接的一种方案 (iOS 9.0弃用)NSUR ...
- SpringBoot+BootStrap多文件上传到本地
1.application.yml文件配置 # 文件大小 MB必须大写 # maxFileSize 是单个文件大小 # maxRequestSize是设置总上传的数据大小 spring: servle ...
- SpringBoot之KindEditor文件上传
后端核心代码如下: package com.blog.springboot.controller; import java.io.BufferedOutputStream; import java.i ...
- springboot+vue实现文件上传
https://blog.csdn.net/mqingo/article/details/84869841 技术: 后端:springboot 前端框架:vue 数据库:mysql pom.xml: ...
- SpringBoot: 6.文件上传(转)
1.编写页面uploadFile.html <!DOCTYPE html> <html lang="en"> <head> <meta c ...
- Springboot(九).多文件上传下载文件(并将url存入数据库表中)
一. 文件上传 这里我们使用request.getSession().getServletContext().getRealPath("/static")的方式来设置文件的存储 ...
随机推荐
- 关于Cocos2d-x中监听物体不超越边界的解决方案
写一个监听器 touchlistener->onTouchMoved = [this](Touch* pTouch, Event*) { auto delta = pTouch->getD ...
- Struts2之Domain Model(域模型)。
使用原因 为了避免在action中有太多的类,而需要写大量的get().set(). 故在Struts2 使用 了 domain model. Action: private User user; p ...
- 直接拿来用!最火的Android开源项目(转)
摘要:对于开发者而言,了解当下比较流行的开源项目很是必要.利用这些项目,有时能够让你达到事半功倍的效果.为此,CSDN特整理了GitHub上最受欢迎的Android及iOS开源项目,本文详细介绍了20 ...
- 利用KEGG的API获取基因对应的pathway 信息
KEGG 官网提供了API, 可以方便的访问KEGG 数据库中的内容,链接如下: http://www.kegg.jp/kegg/rest/keggapi.html 利用API可以得到某一个基因参与的 ...
- 【Java集合的详细研究9】Java堆栈(stack)的使用方法
栈是一种常用的数据结构,栈只允许访问栈顶的元素,栈就像一个杯子,每次都只能取杯子顶上的东西,而对于栈就只能每次访问它的栈顶元素,从而可以达到保护栈顶元素以下的其他元素.”先进后出”或”后进先出”就是栈 ...
- Upgrade site collection from SP2010 to SP2013(Part 2)
内容中包含 base64string 图片造成字符过多,拒绝显示
- Linux下的CPU性能瓶颈分析案例
问题描述: 在对notify执行性能测试时发现cpu负载突然飙高,cpu利用率高达95%.这时候就要排查是哪些线程消耗了cpu,并从代码层找到占用cpu的“罪魁祸首”. 步骤: 1. 先用ps+gre ...
- Spring------SpringBoot中注解
转载: http://www.tuicool.com/articles/bQnMra
- Java精选笔记_面向对象(包、访问控制、内存机制、垃圾回收机制)
包 包的定义与使用 专门用来存放类的,通常功能相同的类存放在相同的包中. 包的声明只能位于Java源文件的第一行 Java语言中的常用包 java.lang:包含Java语言的核心类,如String. ...
- shell基础篇(十)shell脚本的包含
前记 写到这里:shell中基础差不多已经讲完了.希望你已经对shell有了一个基本了解.你可能跃跃欲试,要写一些程序练习一下.这会对你很有好处.建议大家去chinaunix去学习:我是li0924. ...