170706、springboot编程之文件上传
使用thymleaf模板,自行导入依赖!
一、单文件上传
1、编写单文件上传页面singleFile.html
<!DOCTYPE html>

<html xmlns="http://www.w3.org/1999/xhtml" xmlns:th="http://www.thymeleaf.org"

      xmlns:sec="http://www.thymeleaf.org/thymeleaf-extras-springsecurity3">

<head>

    <title>单文件上传</title>

</head>

<body>

    <form method="post" enctype="multipart/form-data" action="/singleUpload">

        <p>选择文件:<input type="file" name="file"/></p>

        <p><input type="submit" th:value="上传"/></p>

    </form>

</body>

</html>
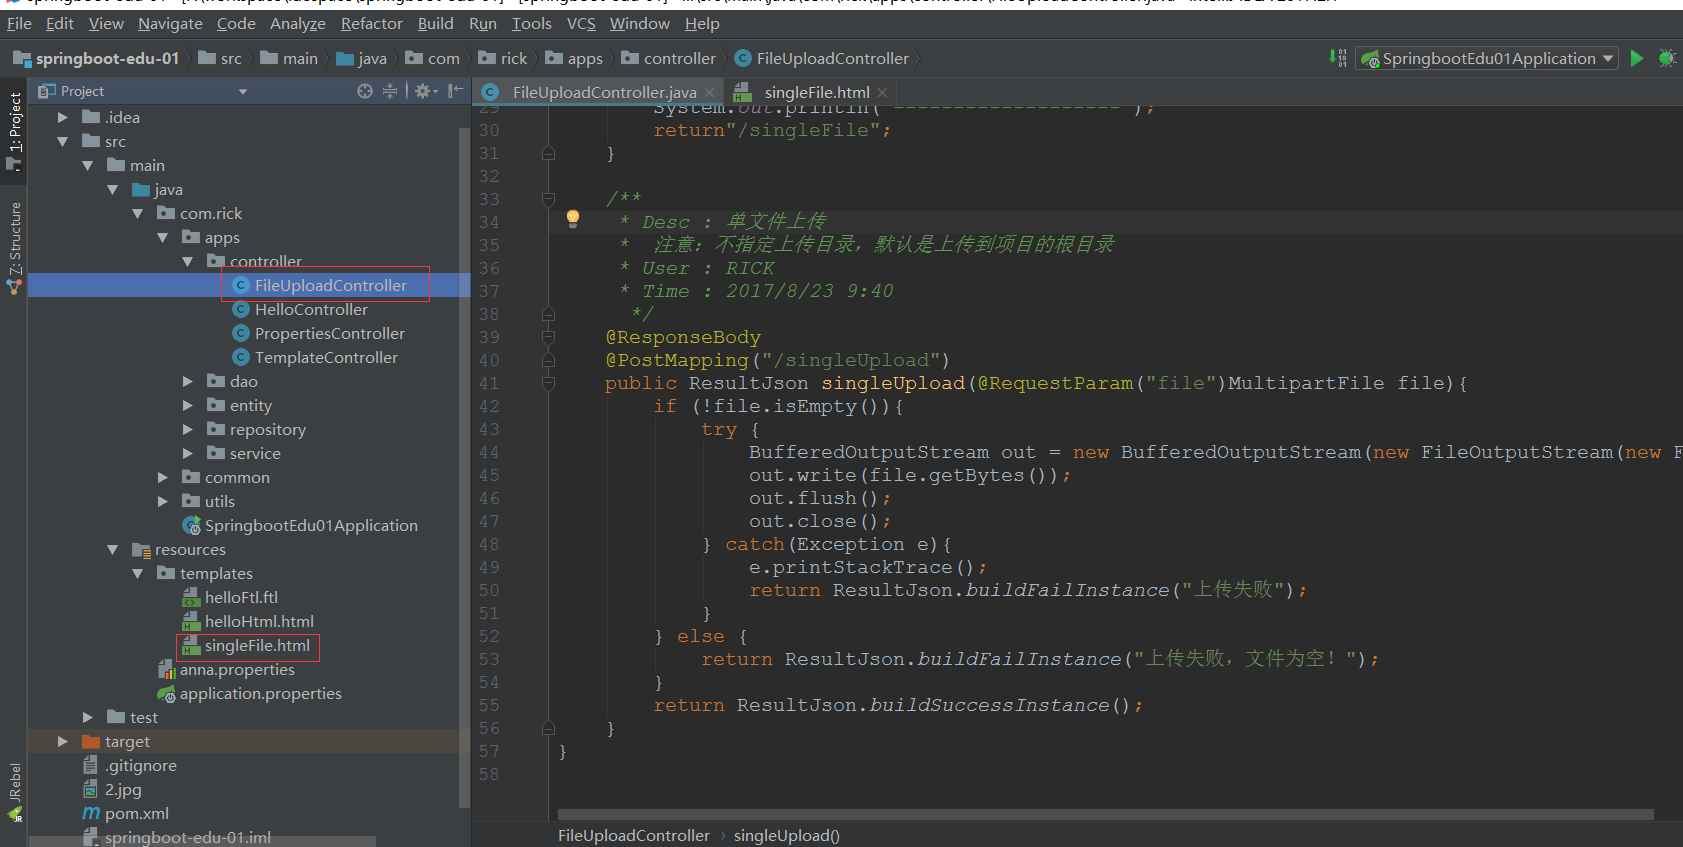
2、编写FileUploadController.java
package com.rick.apps.controller;

import com.rick.common.ResultJson;

import org.springframework.stereotype.Controller;

import org.springframework.web.bind.annotation.*;

import org.springframework.web.multipart.MultipartFile;

import java.io.BufferedOutputStream;

import java.io.File;

import java.io.FileOutputStream;

/**

 * Desc :  文件上传

 * User : RICK

 * Time : 2017/8/23 9:36

  */

@Controller

public class FileUploadController {

    /**

     * Desc :  跳转单文件上传页面

     * User : RICK

     * Time : 2017/8/23 9:37

      */

    @RequestMapping("/singleFile")

    public String singleFile(){

        System.out.println("-------------------");

        return"/singleFile";

    }

    /**

     * Desc : 单文件上传

     *  注意:不指定上传目录,默认是上传到项目的根目录

     * User : RICK

     * Time : 2017/8/23 9:40

      */

    @ResponseBody

    @PostMapping("/singleUpload")

    public ResultJson singleUpload(@RequestParam("file")MultipartFile file){

        if (!file.isEmpty()){

            try {

                BufferedOutputStream out = new BufferedOutputStream(new FileOutputStream(new File(file.getOriginalFilename())));

                out.write(file.getBytes());

                out.flush();

                out.close();

            } catch(Exception e){

                e.printStackTrace();

                return ResultJson.buildFailInstance("上传失败");

            }

        } else {

            return ResultJson.buildFailInstance("上传失败,文件为空!");

        }

        return ResultJson.buildSuccessInstance();

    }

}
3、编写文件上传的设置
package com.rick;

import org.springframework.boot.SpringApplication;

import org.springframework.boot.autoconfigure.SpringBootApplication;

import org.springframework.boot.context.properties.EnableConfigurationProperties;

import org.springframework.boot.web.servlet.MultipartConfigFactory;

import org.springframework.boot.web.servlet.ServletComponentScan;

import org.springframework.context.annotation.Bean;

import javax.servlet.MultipartConfigElement;

@SpringBootApplication

@EnableConfigurationProperties

@ServletComponentScan

public class SpringbootEdu01Application {

    public static void main(String[] args) {

        SpringApplication.run(SpringbootEdu01Application.class, args);

    }

    /**

     * Desc :  设置文件上传的基本配置

     * User : RICK

     * Time : 2017/8/23 10:11

      */

    @Bean

    public MultipartConfigElement multipartConfigElement(){

        MultipartConfigFactory factory = new MultipartConfigFactory();

        //设置文件大小限制 ,超了,页面会抛出异常信息,这时候就需要进行异常信息的处理了;

        factory.setMaxFileSize("1MB");//KB,MB

        //设置总上传数据总大小

        factory.setMaxRequestSize("10MB");////KB,MB

        //设置文件存放位置

//        factory.setLocation("d:\\files");

        return factory.createMultipartConfig();

    }

}
4、启动项目测试
访问http://localhost:8080/singleFile出现文件上传页面

选择要上传的文件,点击上传
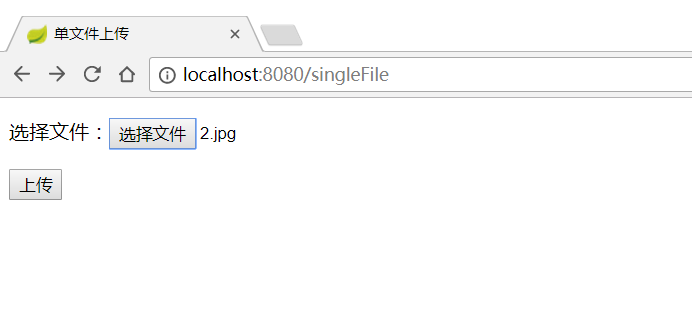

上传成功,到项目根目录下查看文件是否存在

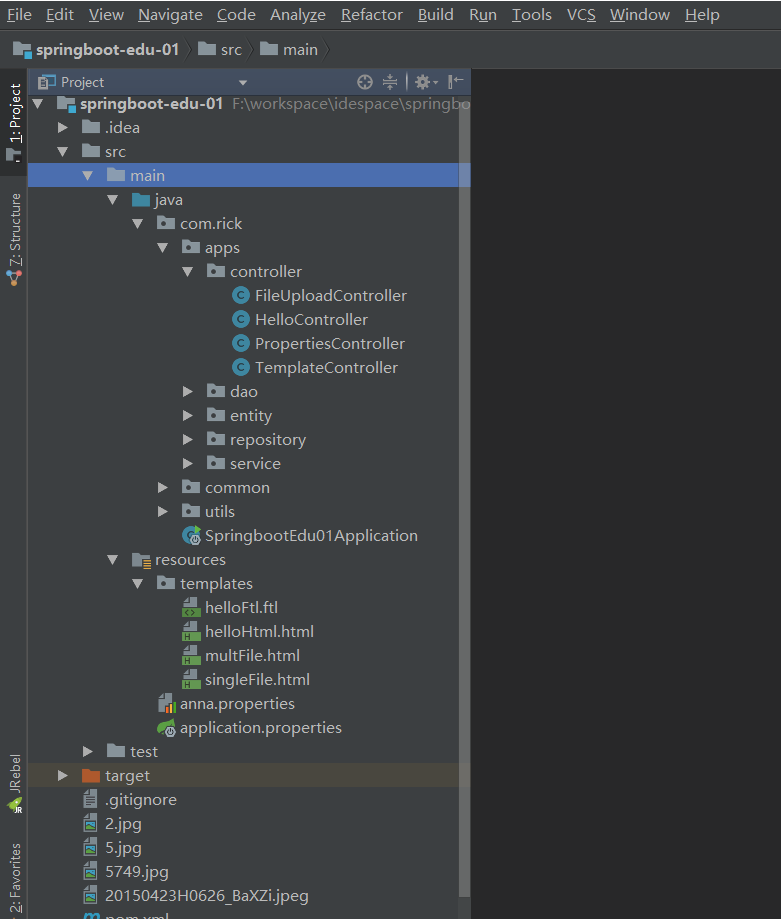
项目清单:
二、多文件上传
1、编写多文件上传页面multFile.html
<!DOCTYPE html>

<html lang="en">

<head>

    <title>多文件上传</title>

</head>

<body>

    <form method="post" enctype="multipart/form-data" action="/multUpload">

        <p>文件1:<input type="file" name="file" /></p>

        <p>文件2:<input type="file" name="file" /></p>

        <p>文件3:<input type="file" name="file" /></p>

        <p><input type="submit" value="上传" /></p>

    </form>

</body>

</html>
2、编写多文件上传后台代码FileUploadController.java
package com.rick.apps.controller;

import com.rick.common.ResultJson;

import org.springframework.stereotype.Controller;

import org.springframework.web.bind.annotation.*;

import org.springframework.web.multipart.MultipartFile;

import org.springframework.web.multipart.MultipartHttpServletRequest;

import javax.servlet.http.HttpServletRequest;

import java.io.BufferedOutputStream;

import java.io.File;

import java.io.FileOutputStream;

import java.util.List;

/**

 * Desc :  文件上传

 * User : RICK

 * Time : 2017/8/23 9:36

  */

@Controller

public class FileUploadController {

    /**

     * Desc :  跳转单文件上传页面

     * User : RICK

     * Time : 2017/8/23 9:37

      */

    @RequestMapping("/singleFile")

    public String singleFile(){

        return"/singleFile";

    }

    /**

     * Desc : 单文件上传

     *  注意:不指定上传目录,默认是上传到项目的根目录

     * User : RICK

     * Time : 2017/8/23 9:40

      */

    @ResponseBody

    @PostMapping("/singleUpload")

    public ResultJson singleUpload(@RequestParam("file")MultipartFile file){

        if (!file.isEmpty()){

            try {

                BufferedOutputStream out = new BufferedOutputStream(new FileOutputStream(new File(file.getOriginalFilename())));

                out.write(file.getBytes());

                out.flush();

                out.close();

            } catch(Exception e){

                e.printStackTrace();

                return ResultJson.buildFailInstance("上传失败");

            }

        } else {

            return ResultJson.buildFailInstance("上传失败,文件为空!");

        }

        return ResultJson.buildSuccessInstance();

    }

    /**

     * Desc :  跳转多文件上传页面

     * User : RICK

     * Time : 2017/8/23 9:37

     */

    @RequestMapping("/multFile")

    public String multFile(){

        return"/multFile";

    }

    /**

     * Desc :  多文件上传

     *  主要是使用了MultipartHttpServletRequest和MultipartFile

     * User : RICK

     * Time : 2017/8/23 10:17

      */

    @ResponseBody

    @PostMapping("/multUpload")

    public ResultJson multUpload(HttpServletRequest request){

        try {

            List<MultipartFile> files = ((MultipartHttpServletRequest)request).getFiles("file");

            MultipartFile file = null;

            BufferedOutputStream stream = null;

            for (int i=0;i<files.size();i++){

                file = files.get(i);

                if(!file.isEmpty()){

                    byte[] bytes = file.getBytes();

                    stream = new BufferedOutputStream(new FileOutputStream(new File(file.getOriginalFilename())));

                    stream.write(bytes);

                    stream.flush();

                    stream.close();

                }

            }

        } catch(Exception e){

            e.printStackTrace();

            return ResultJson.buildFailInstance("上传失败");

        }

        return ResultJson.buildSuccessInstance();

    }

}
3、启动项目测试,http://localhost:8080/multFile
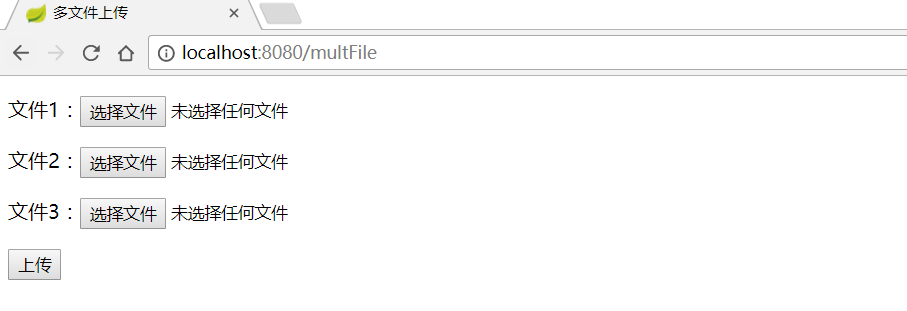
选择文件
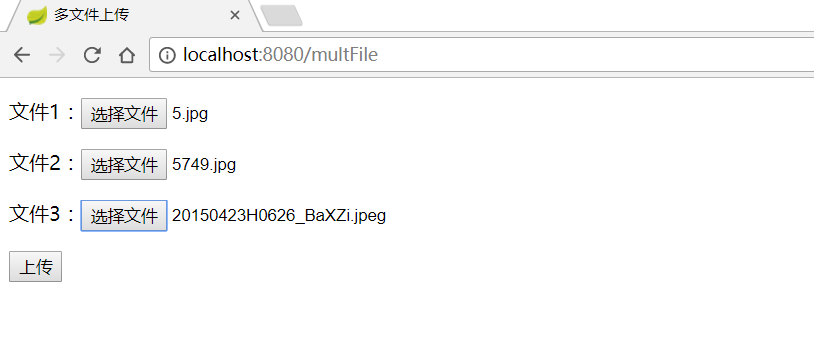
点击上传
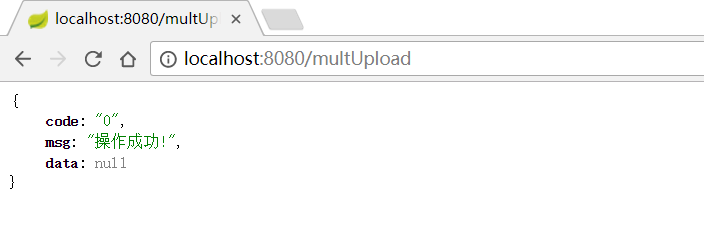
到项目根目录下查看文件是否上传成功
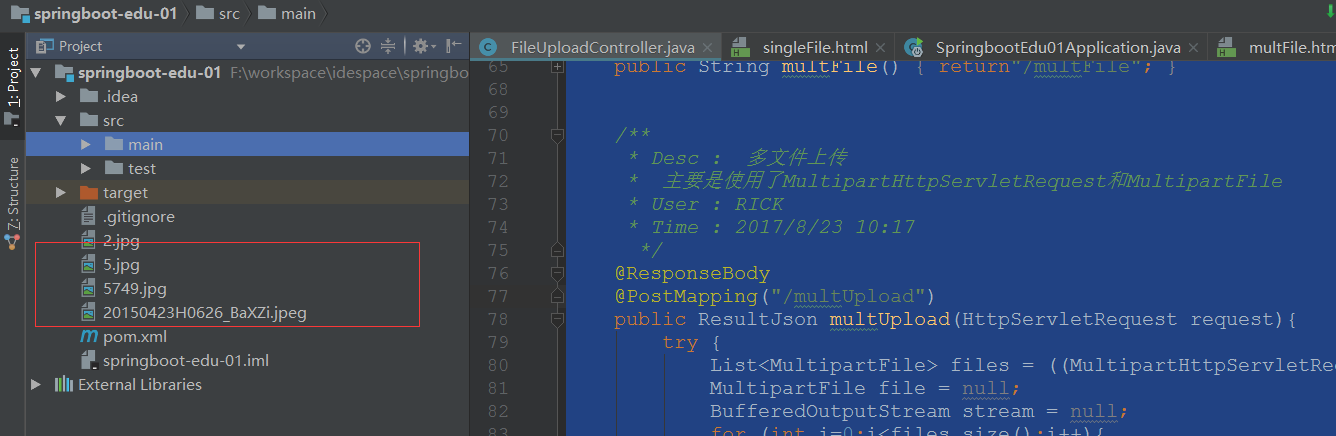
项目清单:
170706、springboot编程之文件上传的更多相关文章
- Windows环境下用C#编程将文件上传至阿里云OSS笔记
Windows环境下用C#编程将文件上传至阿里云OSS笔记 本系列文章由ex_net(张建波)编写,转载请注明出处. http://blog.csdn.net/ex_net/article/detai ...
- SpringBoot项目实现文件上传和邮件发送
前言 本篇文章主要介绍的是SpringBoot项目实现文件上传和邮件发送的功能. SpringBoot 文件上传 说明:如果想直接获取工程那么可以直接跳到底部,通过链接下载工程代码. 开发准备 环境要 ...
- Springboot如何启用文件上传功能
网上的文章在写 "springboot文件上传" 时,都让你加上模版引擎,我只想说,我用不上,加模版引擎,你是觉得我脑子坏了,还是觉得我拿不动刀了. springboot如何启用文 ...
- iOS-网络编程(二)文件上传和断点离线下载
一. iOS中发送HTTP请求的方案 在iOS中,我们常用发送HTTP请求的方案有苹果原生(自带)NSURLConnection:用法简单,最古老最经典最直接的一种方案 (iOS 9.0弃用)NSUR ...
- SpringBoot+BootStrap多文件上传到本地
1.application.yml文件配置 # 文件大小 MB必须大写 # maxFileSize 是单个文件大小 # maxRequestSize是设置总上传的数据大小 spring: servle ...
- SpringBoot之KindEditor文件上传
后端核心代码如下: package com.blog.springboot.controller; import java.io.BufferedOutputStream; import java.i ...
- springboot+vue实现文件上传
https://blog.csdn.net/mqingo/article/details/84869841 技术: 后端:springboot 前端框架:vue 数据库:mysql pom.xml: ...
- SpringBoot: 6.文件上传(转)
1.编写页面uploadFile.html <!DOCTYPE html> <html lang="en"> <head> <meta c ...
- Springboot(九).多文件上传下载文件(并将url存入数据库表中)
一. 文件上传 这里我们使用request.getSession().getServletContext().getRealPath("/static")的方式来设置文件的存储 ...
随机推荐
- 继电器是如何成为CPU的
阅读目录(Content) 从电池.开关和继电器开始 用继电器做个与门 用继电器做个或门 用继电器做个异或门 做一些看起来可用的东西 小小约定 振荡器 加法器 寄存器 R-S触发器 D触发器 上升沿D ...
- 【转】【Linux】linux下xargs命令
xargs命令xargs命令是给其他命令传递参数的一个过滤器,也是组合多个命令的一个工具.它擅长将标准输入数据转换成命令行参数,xargs能够处理管道或者stdin并将其转换成特定命令的命令参数.xa ...
- ubuntu/centos网络配置
UBUNTU网络配置 配置临时的Ip ifconfig eth0 其中24指的网络掩码24位. vim /etc/network/interfaces 添加下面内容 auto eth0 #开机自动连接 ...
- unity3d绘画手册-------地形高度调节
高度 所有地形 (terrain) 编辑工具的使用都很简单.您可以在场景视图 (scene view)中逐步绘制地形 (terrain).对于高度工具和其他所有工具,您只需选中工具,然后在场景视图 ( ...
- Mysql经常使用基本命令汇总及默认账户权限与改动
一直仅仅是在浅显利用数据库存储数据.也被windows惯坏了.非常多命令使用的时候记不起来.so,换LINUX系统!不再使用GUI管理数据库!也想深入学习下Mysql.从权限管理開始.也就诞生了这篇学 ...
- dirname(__FILE__) 介绍
简单地说: __FILE__ 返回当前 路径+文件名 dirname(__FILE__) 返回当前文件路径的 路径部分 (后面没有“\”号) dirname(di ...
- C#委托和事件详解
委托Delegate delegate是C#中的一种类型,它实际上是一个能够持有对某个方法的引用的类.与其它的类不同,delegate类能够拥有一个签名(signature),并且它"只能持 ...
- 工作流JBPM_day01:6-执行流程实例
工作流JBPM_day01:6-执行流程实例 执行流程 启动流程实例 查询任务列表 办理任务 向后执行一步 先部署流程定义在启动流程实例 Jbpm4_execution表表示正在执行的流程实例的的信息 ...
- 在linux本地下载ftp中的文件
使用wget命令 -r :会在当前目录下生成192.168.30.14文件名 下面的命令就是下载这个ftp目录"/home/ftp/*"下面的所有文件 wget -r ftp:// ...
- WAS的部署
一.设置JAM参数 1.登录WAS的控制台 https://192.168.0.91:9043/ibm/console