K8S中部署apisix(非ingress)
不使用pvc的方式在K8S中部署apisix-gateway
简介
因为公司项目准备重构,现在做技术储备,之前公司项目使用的ocelot做网关,ocelot是.net平台下的一个网关,也是很不错,但是在选型的时候需要考虑到性能问题,所以在这次重构中抛弃了ocelot,看了apisix和kong,kong也是一个很不错的网关,不过因为对kong不太了解,刚好有朋友在用apisix所以就选了apisix来做新的网关,避免了重复掉到坑里面。不单单是部署,后面还要使用apisix进行身份认证等一系列的插件都会使用,所以慢慢更新吧。
- 我的apisix使用etcd作为数据存储服务器,官方的使用pvc方式或者docker-compose的方式,对于新手不太友好,本篇是从etcd的安装到apisix的打通都会涉及。
- apisix是服务端,用来进行网络请求转发。
- apisix-dashboard是他的控制面板,用来进行可视化配置。
apisix介绍
apisix是基于 OpenResty + etcd 实现的云原生、高性能、可扩展的微服务 API 网关。它是国人开源,目前已经进入 Apache 进行孵化。APISIX 通过插件机制,提供了动态负载平衡、身份验证、限流限速等等功能,当然我们也可以自己开发插件进行拓展。
- 动态负载均衡:跨多个上游服务的动态负载均衡,目前已支持 round-robin 轮询和一致性哈希算法。
- 身份验证:支持 key-auth、JWT、basic-auth、wolf-rbac 等多种认证方式。
- 限流限速:可以基于速率、请求数、并发等维度限制。
1、部署etcd
etcd 是一个分布式键值对存储,设计用来可靠而快速的保存关键数据并提供访问。通过分布式锁,leader选举和写屏障(write barriers)来实现可靠的分布式协作。etcd集群是为高可用,持久性数据存储和检索而准备。
ubuntu部署etcd
ubuntu中部署etcd的两种方式:
一种是去GitHub下载二进制的安装包,还有一种是apt-get install etcd,第二种方式我也尝试过,可能是我软件源的问题,版本有点老,所以我就换成了使用第一种方式,而且也比较推荐使用第一种方式。
我用的etcd下载的版本是3.5.2,废话不多说直接看步骤:
1.1、将etcd etcdctl etcdutl 二进制文件拷贝到/usr/local/bin目录下
/usr/local/bin
1.2、创建一个etcd的etcd.conf.yml,将下面代码拷贝进去,我这里etcd就简单的配置了一下,没有做集群,所以yml很简单。
name: etcd-1

data-dir: /home/etcd/data

listen-client-urls: http://0.0.0.0:2379

advertise-client-urls: http://0.0.0.0:2379
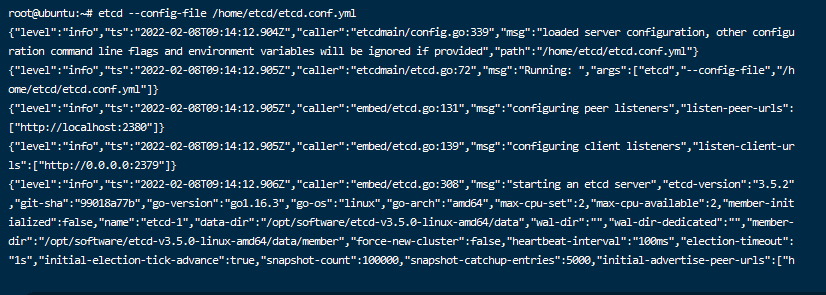
1.3、通过etcd --config-file etcd.conf.yml的路径运行,如下图就是成功了,也可以使用etcd manager客户端来测试。

1.4、如果使用etcd直接启动的话没有办法后台运行,所以我们需要在/etc/systemd/system目录下创建一个etcd.service来进行后台运行。
[Unit]

Description=ETCD Server

Documentation=https://github.com/coreos/etcd

After=network-online.target

Wants=network-online.target

[Service]

User=root

Group=root

ExecStart= etcd --config-file /home/etcd/etcd.conf.yml

[Install]

WantedBy=multi-user.target
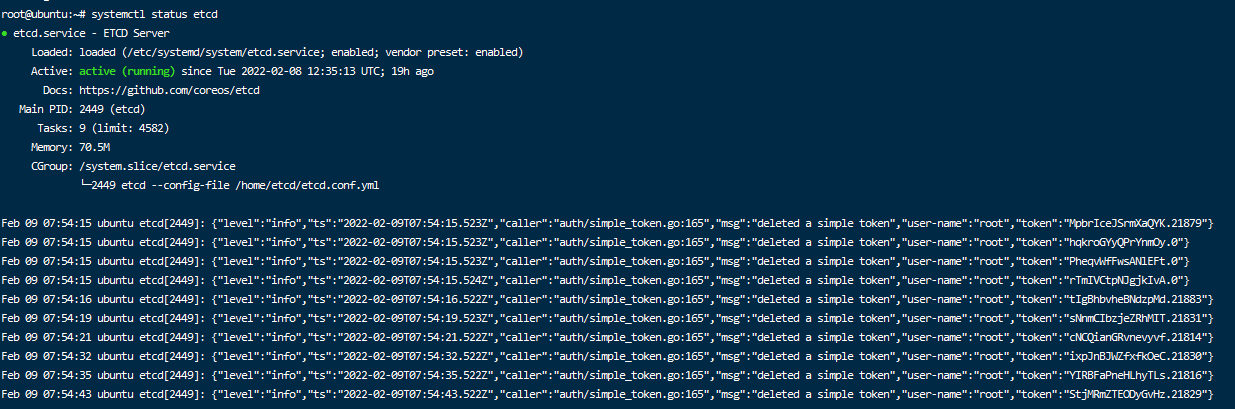
1.5、创建好之后可以通过以下命令来确定运行状态如下图:
# 启动

sudo systemctl start etcd.service

# 查看状态

sudo systemctl status etcd.service

# 开机自启

sudo systemctl enable etcd.service
1.6、设置用户名和密码
# 设置版本为V3

export ETCDCTL_API=3

# 添加用户

etcdctl user add root

# 开启认证

etcdctl auth enable
2、K8S部署apisix
apisix-gateway在部署的时候分为两块,分别是apisix和apisix-dashboard面板,所以看起来比较绕,不过apisix在部署的时候使用的是yaml文件覆盖的方式,所以我这里是将yaml存储到configmap中了,方便进行统一管理。我使用的k8s是Ubuntu出品的microk8s,用它的主要原因是因为配置简单。
2.1部署apisix
2.1.1、创建apisix.conf.yaml,并存储到configmap中,
apisix:

node_listen: 9080              # APISIX listening port

enable_ipv6: false

allow_admin:                  # http://nginx.org/en/docs/http/ngx_http_access_module.html#allow

    - 0.0.0.0/0              # We need to restrict ip access rules for security. 0.0.0.0/0 is for test.

admin_key:

- name: "admin"

    key: edd1c9f034335f136f87ad84b625c8f1

    role: admin                 # admin: manage all configuration data

                                # viewer: only can view configuration data

- name: "viewer"

    key: 4054f7cf07e344346cd3f287985e76a2

    role: viewer

enable_control: true

control:

    ip: "0.0.0.0"

    port: 9092

etcd:

host:          # supports defining multiple etcd host addresses for an etcd cluster

    - "http://192.168.31.170:2379"

user: "root"    # ignore etcd username if not enable etcd auth

password: "root"  # ignore etcd password if not enable etcd auth

discovery:

nacos:

    host:

    - "http://47.100.213.49:8848"

    prefix: "/nacos/v1/"

    fetch_interval: 30    # default 30 sec

    weight: 100           # default 100

    timeout:

    connect: 2000       # default 2000 ms

    send: 2000          # default 2000 ms

    read: 5000          # default 5000 ms

plugin_attr:

prometheus:

    export_addr:

    ip: "0.0.0.0"

    port: 9091

plugins:

- client-control

- ext-plugin-pre-req

- zipkin

- request-id

- fault-injection

- serverless-pre-function

- batch-requests

- cors

- ip-restriction

- ua-restriction

- referer-restriction

- uri-blocker

- request-validation

- openid-connect

- wolf-rbac

- hmac-auth

- basic-auth

- jwt-auth

- key-auth

- consumer-restriction

- authz-keycloak

- proxy-mirror

- proxy-cache

- proxy-rewrite

- api-breaker

- limit-conn

- limit-count

- limit-req

- gzip

- server-info

- traffic-split

- redirect

- response-rewrite

- grpc-transcode

- prometheus

- echo

- http-logger

- sls-logger

- tcp-logger

- kafka-logger

- syslog

- udp-logger

- serverless-post-function

- ext-plugin-post-req

stream_plugins:

- ip-restriction

- limit-conn

- mqtt-proxy
2.1.2、使用kubectl命令创建configmap
# 将config.yaml 存储到k8s的configmap中

kubectl create configmap sukt-apisix-gateway-config --from-file=config.yaml=/home/sukt-platform/apisix/apisix-gateway-config.yaml -n sukt-platform
2.1.3、新建apisix-deployment.yaml
apiVersion: apps/v1

kind: Deployment

metadata:

name: sukt-apisix-gateway

namespace: sukt-platform

spec:

selector:

    matchLabels:

    app: sukt-apisix-gateway

template:

    metadata:

    labels:

        app: sukt-apisix-gateway

    spec:

    containers:

    - name: sukt-apisix-gateway

        image: apache/apisix:2.10.3-alpine

        imagePullPolicy: IfNotPresent

        resources:

        limits:

            cpu: 500m

            memory: 1Gi

        requests:

            cpu: 250m

            memory: 256Mi

        securityContext:

        privileged: false

        terminationMessagePath: /dev/termination-log

        terminationMessagePolicy: File

        volumeMounts:

        - mountPath: /usr/local/apisix/conf/config.yaml

        name: config

        subPath: config.yaml

        ports:

        - containerPort: 9080

        - containerPort: 9443

    dnsPolicy: ClusterFirst

    restartPolicy: Always

    schedulerName: default-scheduler

    securityContext: {}

    terminationGracePeriodSeconds: 30

    volumes:

        - configMap:

            defaultMode: 420

            name: sukt-apisix-gateway-config

        name: config
2.1.4、新建apisix-service.yaml
apiVersion: v1

kind: Service

metadata:

name: sukt-apisix-gateway-nodetype

labels:

    app: sukt-apisix-gateway-nodetype

namespace: sukt-platform

spec:

type: NodePort

selector:

    app: sukt-apisix-gateway

ports:

- port: 9080

    name: transfer1

    targetPort: 9080

    nodePort: 30107

- port: 9443

    name: transfer2

    targetPort: 9443

    nodePort: 30108
2、部署apisix-dashboard
2.2.1、创建apisix-dashboard-config.yaml,并存储到configmap中,
#

# Licensed to the Apache Software Foundation (ASF) under one or more

# contributor license agreements.  See the NOTICE file distributed with

# this work for additional information regarding copyright ownership.

# The ASF licenses this file to You under the Apache License, Version 2.0

# (the "License"); you may not use this file except in compliance with

# the License.  You may obtain a copy of the License at

#

#     http://www.apache.org/licenses/LICENSE-2.0

#

# Unless required by applicable law or agreed to in writing, software

# distributed under the License is distributed on an "AS IS" BASIS,

# WITHOUT WARRANTIES OR CONDITIONS OF ANY KIND, either express or implied.

# See the License for the specific language governing permissions and

# limitations under the License.

#

conf:

listen:

    host: 0.0.0.0     # `manager api` listening ip or host name

    port: 9000          # `manager api` listening port

allow_list:           # If we don't set any IP list, then any IP access is allowed by default.

    - 0.0.0.0/0

etcd:

    endpoints:          # supports defining multiple etcd host addresses for an etcd cluster

    - "http://192.168.31.170:2379"

                        # yamllint disable rule:comments-indentation

                        # etcd basic auth info

    username: "root"    # ignore etcd username if not enable etcd auth

    password: "root"  # ignore etcd password if not enable etcd auth

    mtls:

    key_file: ""          # Path of your self-signed client side key

    cert_file: ""         # Path of your self-signed client side cert

    ca_file: ""           # Path of your self-signed ca cert, the CA is used to sign callers' certificates

    # prefix: /apisix     # apisix config's prefix in etcd, /apisix by default

log:

    error_log:

    level: warn       # supports levels, lower to higher: debug, info, warn, error, panic, fatal

    file_path:

        logs/error.log  # supports relative path, absolute path, standard output

                        # such as: logs/error.log, /tmp/logs/error.log, /dev/stdout, /dev/stderr

    access_log:

    file_path:

        logs/access.log  # supports relative path, absolute path, standard output

                        # such as: logs/access.log, /tmp/logs/access.log, /dev/stdout, /dev/stderr

                        # log example: 2020-12-09T16:38:09.039+0800	INFO	filter/logging.go:46	/apisix/admin/routes/r1	{"status": 401, "host": "127.0.0.1:9000", "query": "asdfsafd=adf&a=a", "requestId": "3d50ecb8-758c-46d1-af5b-cd9d1c820156", "latency": 0, "remoteIP": "127.0.0.1", "method": "PUT", "errs": []}

authentication:

secret:

    secret              # secret for jwt token generation.

                        # NOTE: Highly recommended to modify this value to protect `manager api`.

                        # if it's default value, when `manager api` start, it will generate a random string to replace it.

expire_time: 3600     # jwt token expire time, in second

users:                # yamllint enable rule:comments-indentation

    - username: admin   # username and password for login `manager api`

    password: P@ssW0rd

    - username: user

    password: P@ssW0rd

plugins:                          # plugin list (sorted in alphabetical order)

- api-breaker

- authz-keycloak

- basic-auth

- batch-requests

- consumer-restriction

- cors

# - dubbo-proxy

- echo

# - error-log-logger

# - example-plugin

- fault-injection

- grpc-transcode

- hmac-auth

- http-logger

- ip-restriction

- jwt-auth

- kafka-logger

- key-auth

- limit-conn

- limit-count

- limit-req

# - log-rotate

# - node-status

- openid-connect

- prometheus

- proxy-cache

- proxy-mirror

- proxy-rewrite

- redirect

- referer-restriction

- request-id

- request-validation

- response-rewrite

- serverless-post-function

- serverless-pre-function

# - skywalking

- sls-logger

- syslog

- tcp-logger

- udp-logger

- uri-blocker

- wolf-rbac

- zipkin

- server-info

- traffic-split
2.2.2、使用kubectl命令创建configmap
# 将config.yaml 存储到k8s的configmap中

kubectl create configmap sukt-apisix-dashboard-config --from-file=config.yaml=/home/sukt-platform/apisix/apisix-dashboard-config.yaml -n sukt-platform
2.2.3、新建apisix-dashboard-deployment.yaml
apiVersion: apps/v1

kind: Deployment

metadata:

name: sukt-apisix-dashboard

namespace: sukt-platform

spec:

selector:

    matchLabels:

    app: sukt-apisix-dashboard

template:

    metadata:

    labels:

        app: sukt-apisix-dashboard

    spec:

    nodeName: microk8sslave1 # 部署到指定的node节点

    containers:

    - name: sukt-apisix-dashboard

        image: apache/apisix-dashboard:2.10.1-alpine

        imagePullPolicy: IfNotPresent

        resources:

        limits:

            cpu: 500m

            memory: 1Gi

        requests:

            cpu: 250m

            memory: 256Mi

        securityContext:

        privileged: false

        terminationMessagePath: /dev/termination-log

        terminationMessagePolicy: File

        volumeMounts:

        - mountPath: /usr/local/apisix-dashboard/conf/conf.yaml

        name: config

        subPath: config.yaml #这个位置对应的是comfigmap中的名字,不是 /usr/local/apisix-dashboard/conf/conf.yaml

        ports:

        - containerPort: 9000

    dnsPolicy: ClusterFirst

    restartPolicy: Always

    schedulerName: default-scheduler

    securityContext: {}

    terminationGracePeriodSeconds: 30

    volumes:

        - configMap:

            defaultMode: 420

            name: sukt-apisix-dashboard-config

        name: config
2.2.4、新建apisix-dashboard-service.yaml
apiVersion: v1

kind: Service

metadata:

name: sukt-apisix-dashboard-nodetype

labels:

    app: sukt-apisix-dashboard-nodetype

namespace: sukt-platform

spec:

type: NodePort

selector:

    app: sukt-apisix-dashboard

ports:

- port: 9000

    name: transfer1

    targetPort: 9000

    nodePort: 30109
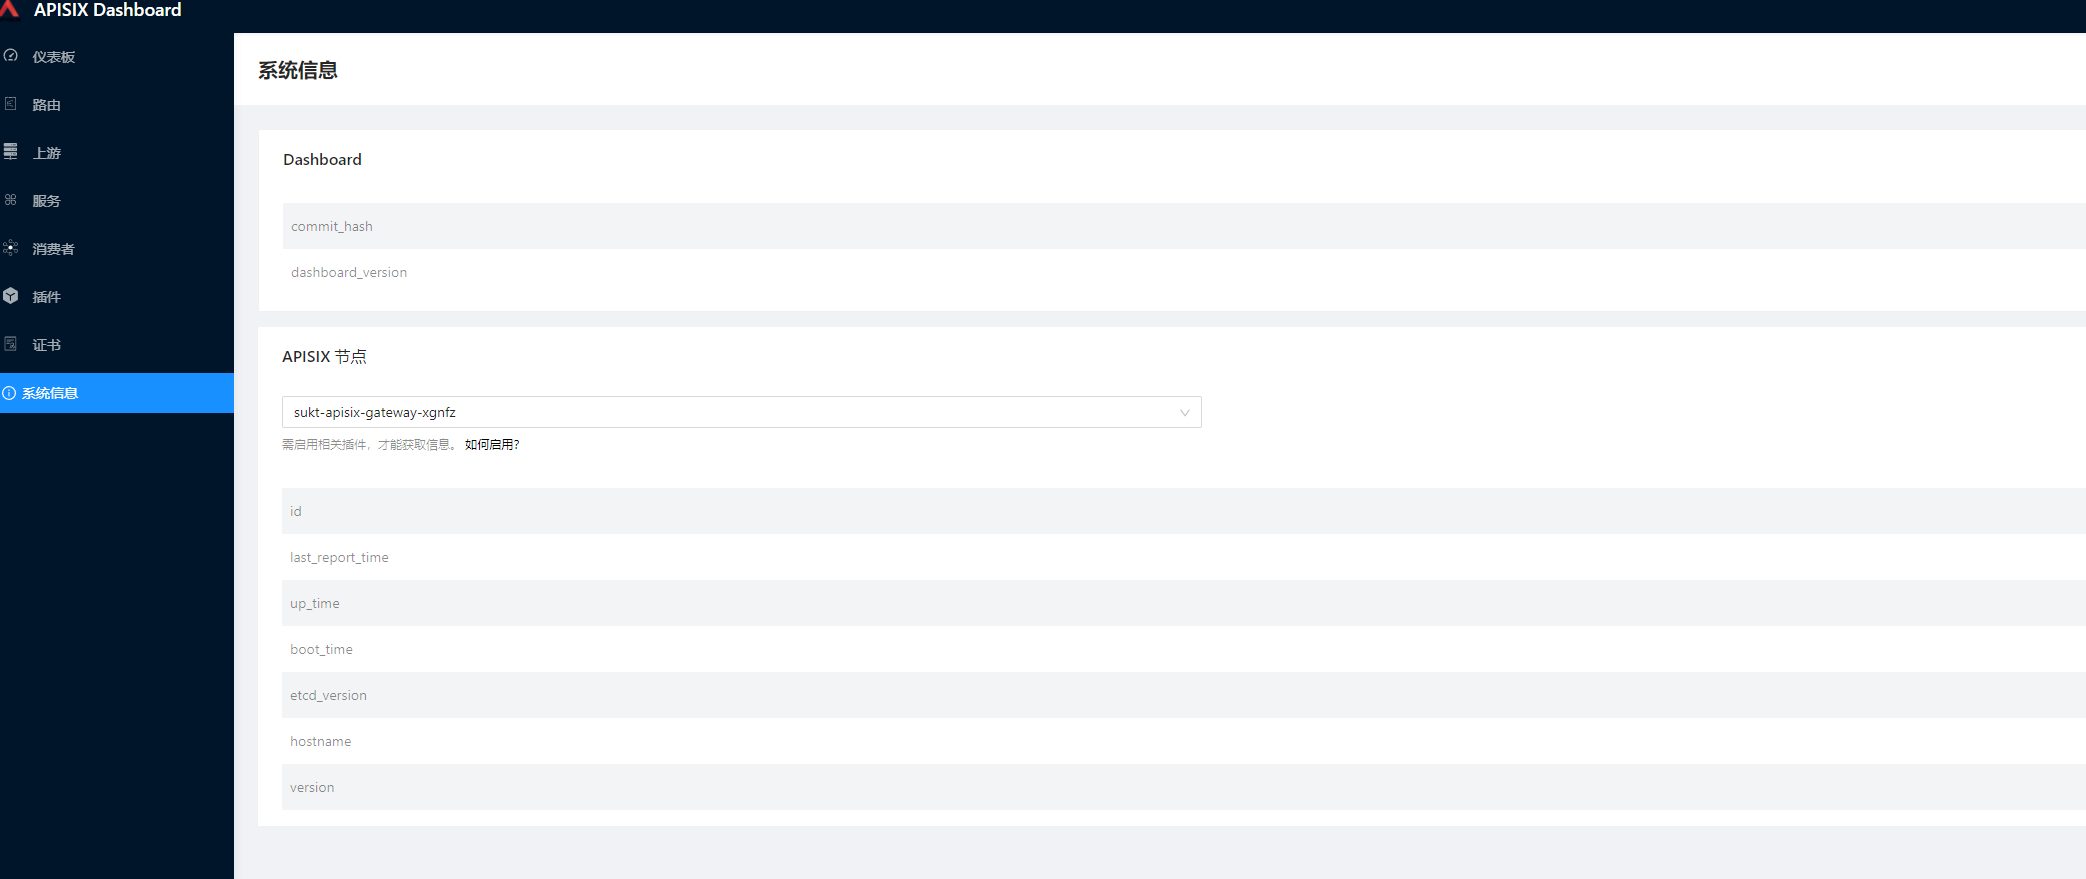
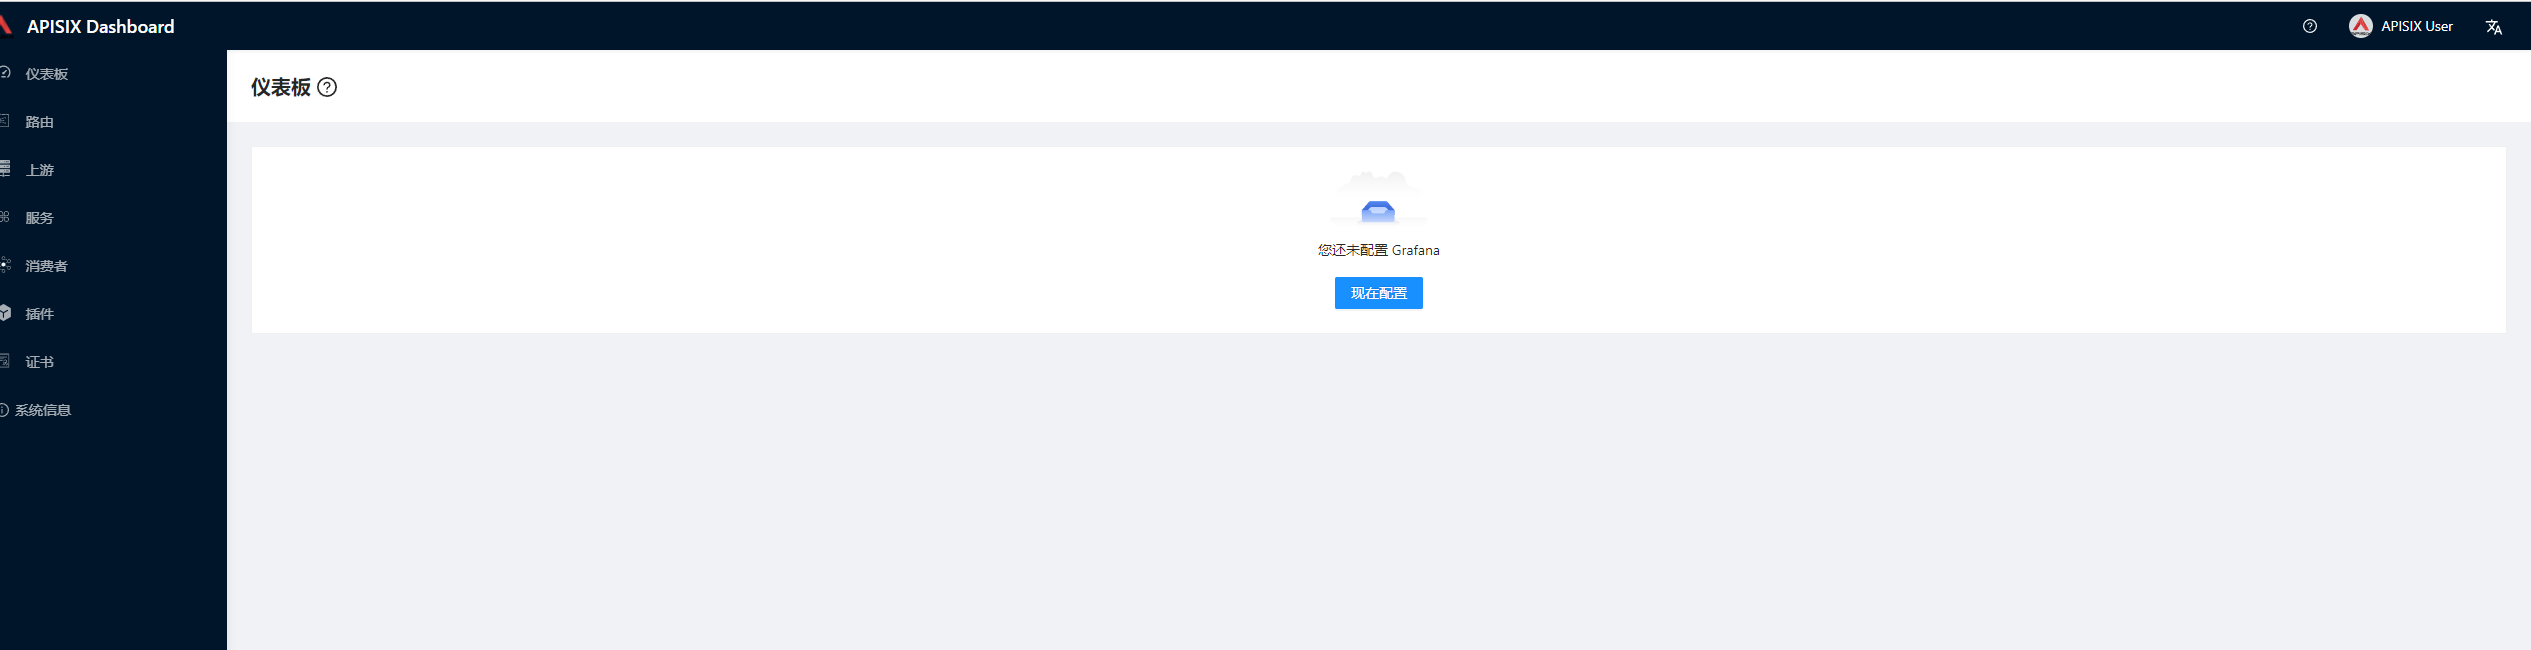
运行效果图
可以通过dashboard面板的系统信息查看apisix-gateway的运行信息
结语
apisix-gateway文章分为一个专题,本篇只是讲解了如何在k8s中安装以及启动,后面会讲解如何进行转发以及其他功能等。
K8S中部署apisix(非ingress)的更多相关文章
- k8s中部署springcloud
安装和配置数据存储仓库MySQL 1.MySQL简介 2.MySQL特点 3.安装和配置MySQL 4.在MySQL数据库导入数据 5.对MySQL数据库进行授权 1.MySQL简介 MySQL 是一 ...
- 不使用pvc的方式在K8S中部署apisix-gateway
不使用pvc的方式在K8S中部署apisix-gateway 简介 我的apisix使用etcd作为数据存储服务器,官方的使用pvc方式或者docker-compose的方式,对于新手不太友好,本篇是 ...
- 在k8s中部署前后端分离项目进行访问的两种配置方式
第一种方式 (1) nginx配置中只写前端项目的/根路径配置 前端项目使用的Dockerfile文件内容 把前端项目编译后生成的dist文件夹放在nginx的html默认目录下,浏览器访问前端项目时 ...
- Prometheus K8S中部署Alertmanager
Prometheus K8S中部署Alertmanager 设置告警和通知的主要步骤如下:一.部署Alertmanager二.配置Prometheus与Alertmanager通信三.配置告警 1. ...
- Kubernetes之在k8s中部署Java应用
部署好了k8s以后 部署参考https://www.cnblogs.com/minseo/p/12055731.html 怎么在k8s部署应用 项目迁移到k8s平台是怎样的流程 1,制作镜像 2,控制 ...
- Docker & k8s 系列三:在k8s中部署单个服务实例
本章将会讲解: pod的概念,以及如何向k8s中部署一个单体应用实例. 在上面的篇幅中,我们了解了docker,并制作.运行了docker镜像,然后将镜像发布至中央仓库了.然后又搭建了本机的k8s环境 ...
- 【转】K8S中部署Helm
K8S中的包管理工具 1. 客户端Helm(即Helm) 通过脚本安装:curl https://raw.githubusercontent.com/helm/helm/master/scripts ...
- 使用 Nocalhost 开发 Kubernetes 中的 APISIX Ingress Controller
本文作者:黄鑫鑫 - Nocalhost 项目核心开发者 腾讯云 CODING DevOps 研发工程师.硕士毕业于中山大学数据科学与计算机学院,曾负责过平安云主机及国家超算中心容器云平台等相关业务, ...
- k8s部署高可用Ingress
部署高可用Ingress 官网地址https://kubernetes.github.io/ingress-nginx/deploy/ 获取ingress的编排文件 wget https://raw. ...
随机推荐
- camunda如何调用HTTP REST(Service Task)服务节点
Camunda中的Service Task(服务任务)用于调用服务.在Camunda中,可以通过调用本地Java代码.外部工作项.web服务形式实现的逻辑来完成的. 本文重点描述如何使用web服务 ...
- mysql中max_connections与max_user_connections使用区别
问题描述:把max_connections和max_user_connections参数进行分析测试,顾名思义,max_connections就是负责数据库全局的连接数,max_user_connec ...
- 适配抖音!三角面转换和3d模型体量减小,轻量化一键即可完成!
抖音3d特效,可谓是越来越火爆了,这个有着迪士尼画风的3D大眼,就刷屏了国内外用户的首页! 有人好奇这些特效究竟是怎么制作的?其实就是把3D模型调整适配到头部模型上,调整位置或者大小就可以制作出一个简 ...
- sap 获取设置的打印机参数
*&---------------------------------------------------------------------* *& Form FRM_SET_PRI ...
- SAP -SE30 程序运行时间分析
运行SE30 选中Program,点击Excute 点击运行 分析结果
- Java获取显示器屏幕大小
public static void main(String[] args) { Dimension screensize = Toolkit.getDefaultToolkit().getScree ...
- Linux YUM yum 命令详解
Yum命令 常用yum命令列表 command is one of: * install package1 [package2] [...] * update [package1] [package2 ...
- Pytorch分布式训练
用单机单卡训练模型的时代已经过去,单机多卡已经成为主流配置.如何最大化发挥多卡的作用呢?本文介绍Pytorch中的DistributedDataParallel方法. 1. DataParallel ...
- 如何手写一个js工具库?同时发布到npm上
自从工作以来,写项目的时候经常需要手写一些方法和引入一些js库 JS基础又十分重要,于是就萌生出自己创建一个JS工具库并发布到npm上的想法 于是就创建了一个名为learnjts的项目,在空余时间也写 ...
- 计算机二级Python(第一阶段)
介绍 本篇文章主要针对于计算机二级考试的崽崽,当然想了解Python和学习Python的崽崽也是可以看本篇文章的:毕竟,手机和电脑都可以运行Python:本篇我文章虽然是笔记,但是也纯靠手打,希望 ...