windows 安装Nacos步骤
一、Nacos中文文档网址
1、Nacos官网地址:https://nacos.io/en-us/

 Nacos中文文档网址:Nacos 快速开始https://nacos.io/zh-cn/docs/quick-start.html
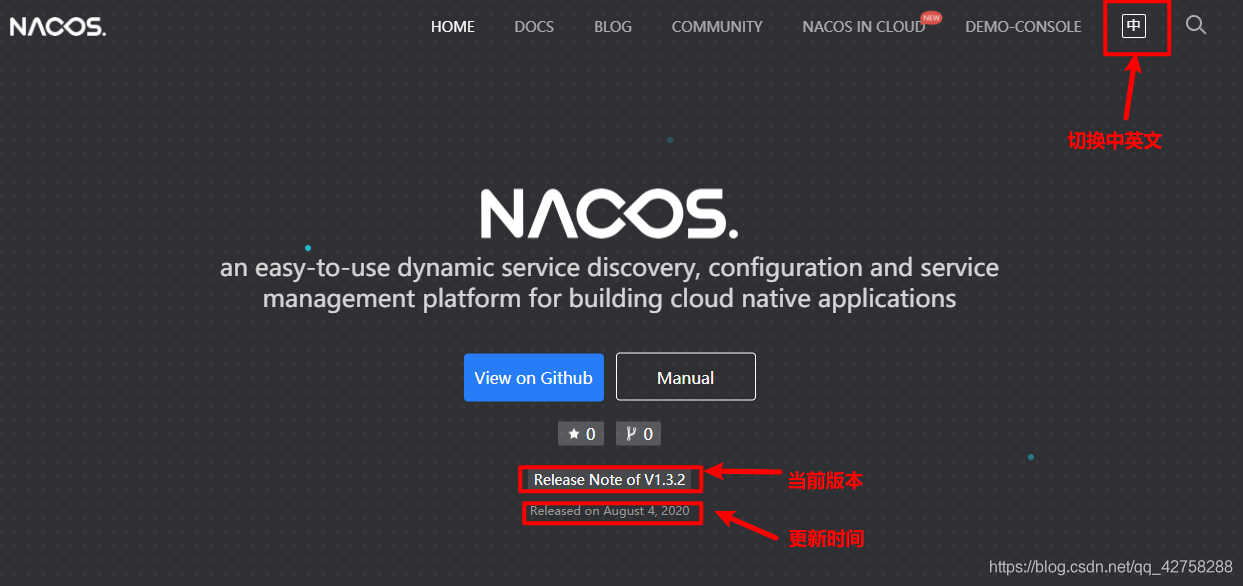
2、点击当前版本,主页显示当前版本的一些配置信息
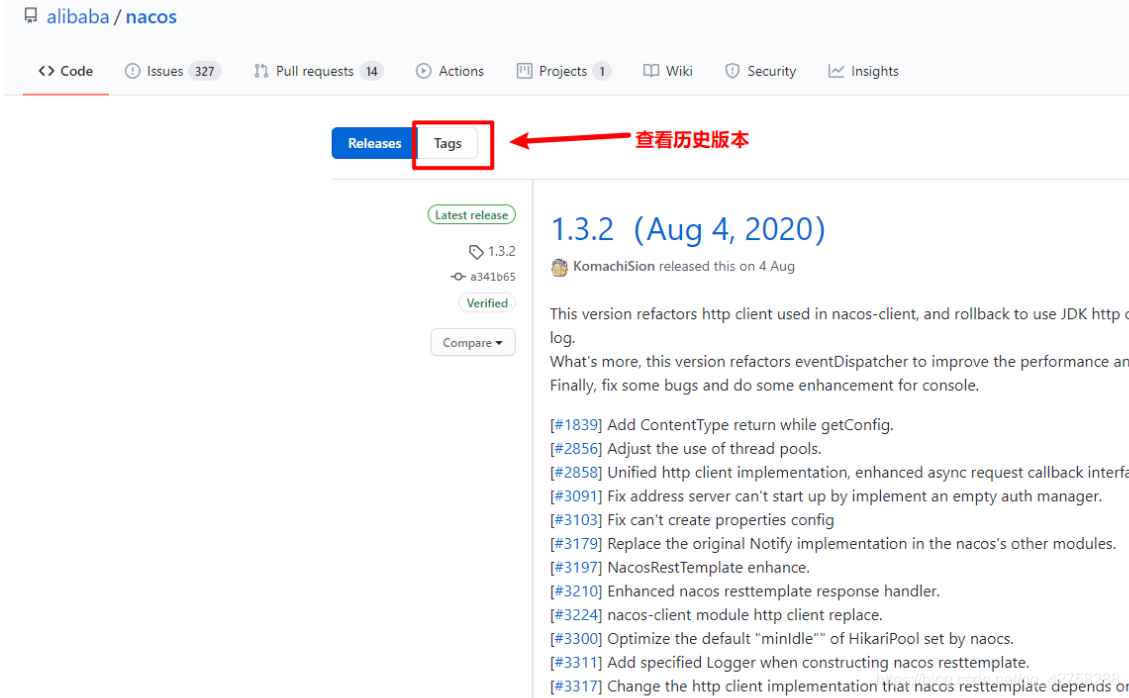
3、点击Tags,查看历史版本
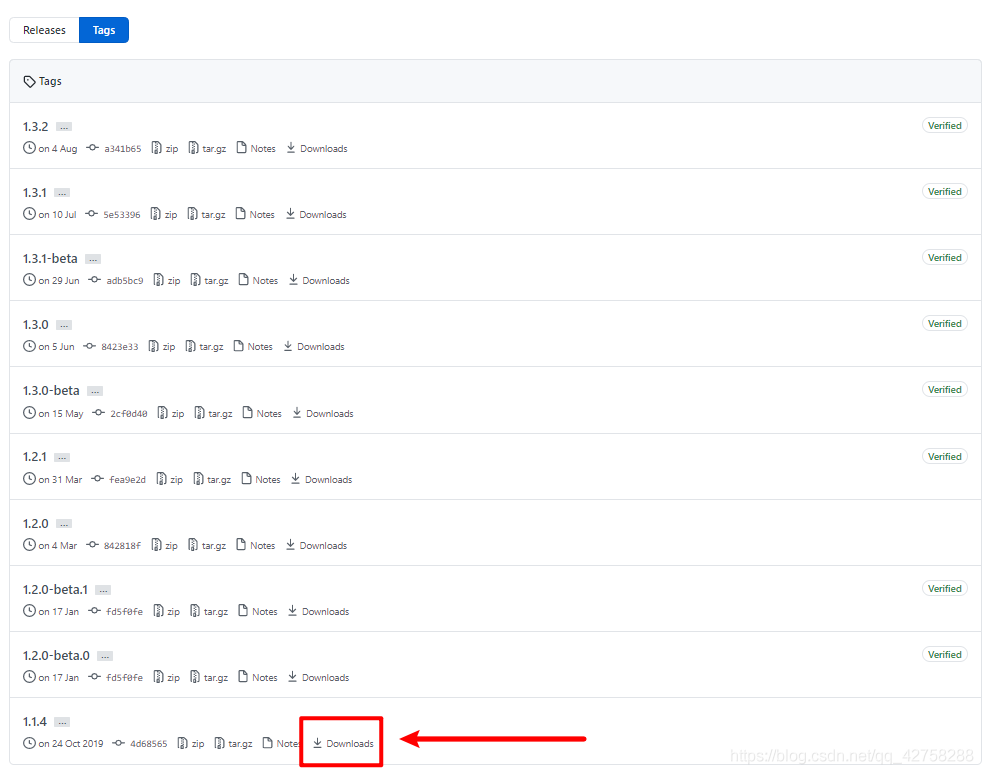
4、找到你想要的下载的版本,点击DownLoads
5、根据系统选择版本
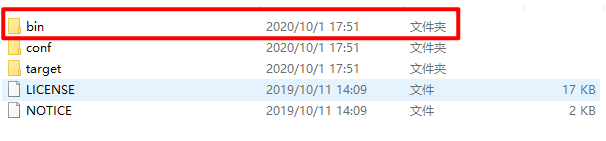
6、解压后的目录
记得运行sql文件!!!!
sql文件地址在解压之后的: nacos\conf\nacos-mysql.sql
先创建数据库nacos!!!
我的配置文件已经放在这了!!!
#

# Copyright 1999-2018 Alibaba Group Holding Ltd.

#

# Licensed under the Apache License, Version 2.0 (the "License");

# you may not use this file except in compliance with the License.

# You may obtain a copy of the License at

#

#      http://www.apache.org/licenses/LICENSE-2.0

#

# Unless required by applicable law or agreed to in writing, software

# distributed under the License is distributed on an "AS IS" BASIS,

# WITHOUT WARRANTIES OR CONDITIONS OF ANY KIND, either express or implied.

# See the License for the specific language governing permissions and

# limitations under the License.

#

#*************** Spring Boot Related Configurations ***************#

### Default web context path:

server.servlet.contextPath=/nacos

### Default web server port:

server.port=8848

#*************** Network Related Configurations ***************#

### If prefer hostname over ip for Nacos server addresses in cluster.conf:

# nacos.inetutils.prefer-hostname-over-ip=false

### Specify local server's IP:

# nacos.inetutils.ip-address=

#*************** Config Module Related Configurations ***************#

### If use MySQL as datasource:

spring.datasource.platform=mysql

### Count of DB:

db.num=1

### Connect URL of DB:

db.url.0=jdbc:mysql://192.168.0.179:3306/nacos?serverTimezone=UTC&useSSL=false&allowPublicKeyRetrieval=true

db.user.0=root

db.password.0=root

### Connection pool configuration: hikariCP

db.pool.config.connectionTimeout=30000

db.pool.config.validationTimeout=10000

db.pool.config.maximumPoolSize=20

db.pool.config.minimumIdle=2

#*************** Naming Module Related Configurations ***************#

### Data dispatch task execution period in milliseconds:

# nacos.naming.distro.taskDispatchPeriod=200

### Data count of batch sync task:

# nacos.naming.distro.batchSyncKeyCount=1000

### Retry delay in milliseconds if sync task failed:

# nacos.naming.distro.syncRetryDelay=5000

### If enable data warmup. If set to false, the server would accept request without local data preparation:

# nacos.naming.data.warmup=true

### If enable the instance auto expiration, kind like of health check of instance:

# nacos.naming.expireInstance=true

nacos.naming.empty-service.auto-clean=true

nacos.naming.empty-service.clean.initial-delay-ms=50000

nacos.naming.empty-service.clean.period-time-ms=30000

#*************** CMDB Module Related Configurations ***************#

### The interval to dump external CMDB in seconds:

# nacos.cmdb.dumpTaskInterval=3600

### The interval of polling data change event in seconds:

# nacos.cmdb.eventTaskInterval=10

### The interval of loading labels in seconds:

# nacos.cmdb.labelTaskInterval=300

### If turn on data loading task:

# nacos.cmdb.loadDataAtStart=false

#*************** Metrics Related Configurations ***************#

### Metrics for prometheus

#management.endpoints.web.exposure.include=*

### Metrics for elastic search

management.metrics.export.elastic.enabled=false

#management.metrics.export.elastic.host=http://localhost:9200

### Metrics for influx

management.metrics.export.influx.enabled=false

#management.metrics.export.influx.db=springboot

#management.metrics.export.influx.uri=http://localhost:8086

#management.metrics.export.influx.auto-create-db=true

#management.metrics.export.influx.consistency=one

#management.metrics.export.influx.compressed=true

#*************** Access Log Related Configurations ***************#

### If turn on the access log:

server.tomcat.accesslog.enabled=true

### The access log pattern:

server.tomcat.accesslog.pattern=%h %l %u %t "%r" %s %b %D %{User-Agent}i %{Request-Source}i

### The directory of access log:

server.tomcat.basedir=file:.

#*************** Access Control Related Configurations ***************#

### If enable spring security, this option is deprecated in 1.2.0:

#spring.security.enabled=false

### The ignore urls of auth, is deprecated in 1.2.0:

nacos.security.ignore.urls=/,/error,/**/*.css,/**/*.js,/**/*.html,/**/*.map,/**/*.svg,/**/*.png,/**/*.ico,/console-ui/public/**,/v1/auth/**,/v1/console/health/**,/actuator/**,/v1/console/server/**

### The auth system to use, currently only 'nacos' is supported:

nacos.core.auth.system.type=nacos

### If turn on auth system:

nacos.core.auth.enabled=false

### The token expiration in seconds:

nacos.core.auth.default.token.expire.seconds=18000

### The default token:

nacos.core.auth.default.token.secret.key=SecretKey012345678901234567890123456789012345678901234567890123456789

### Turn on/off caching of auth information. By turning on this switch, the update of auth information would have a 15 seconds delay.

nacos.core.auth.caching.enabled=true

### Since 1.4.1, Turn on/off white auth for user-agent: nacos-server, only for upgrade from old version.

nacos.core.auth.enable.userAgentAuthWhite=true

### Since 1.4.1, worked when nacos.core.auth.enabled=true and nacos.core.auth.enable.userAgentAuthWhite=false.

### The two properties is the white list for auth and used by identity the request from other server.

nacos.core.auth.server.identity.key=

nacos.core.auth.server.identity.value=

#*************** Istio Related Configurations ***************#

### If turn on the MCP server:

nacos.istio.mcp.server.enabled=false

###*************** Add from 1.3.0 ***************###

#*************** Core Related Configurations ***************#

### set the WorkerID manually

# nacos.core.snowflake.worker-id=

### Member-MetaData

# nacos.core.member.meta.site=

# nacos.core.member.meta.adweight=

# nacos.core.member.meta.weight=

### MemberLookup

### Addressing pattern category, If set, the priority is highest

# nacos.core.member.lookup.type=[file,address-server]

## Set the cluster list with a configuration file or command-line argument

# nacos.member.list=192.168.16.101:8847?raft_port=8807,192.168.16.101?raft_port=8808,192.168.16.101:8849?raft_port=8809

## for AddressServerMemberLookup

# Maximum number of retries to query the address server upon initialization

# nacos.core.address-server.retry=5

## Server domain name address of [address-server] mode

# address.server.domain=jmenv.tbsite.net

## Server port of [address-server] mode

# address.server.port=8080

## Request address of [address-server] mode

# address.server.url=/nacos/serverlist

#*************** JRaft Related Configurations ***************#

### Sets the Raft cluster election timeout, default value is 5 second

# nacos.core.protocol.raft.data.election_timeout_ms=5000

### Sets the amount of time the Raft snapshot will execute periodically, default is 30 minute

# nacos.core.protocol.raft.data.snapshot_interval_secs=30

### raft internal worker threads

# nacos.core.protocol.raft.data.core_thread_num=8

### Number of threads required for raft business request processing

# nacos.core.protocol.raft.data.cli_service_thread_num=4

### raft linear read strategy. Safe linear reads are used by default, that is, the Leader tenure is confirmed by heartbeat

# nacos.core.protocol.raft.data.read_index_type=ReadOnlySafe

### rpc request timeout, default 5 seconds

# nacos.core.protocol.raft.data.rpc_request_timeout_ms=5000
我这边只修改了
#*************** Config Module Related Configurations ***************#

### If use MySQL as datasource:

spring.datasource.platform=mysql

### Count of DB:

db.num=1

### Connect URL of DB:

db.url.0=jdbc:mysql://192.168.0.179:3306/nacos?serverTimezone=UTC&useSSL=false&allowPublicKeyRetrieval=true

db.user.0=root

db.password.0=root
由于startup.cmd默认启动方式是cluster模式,在本地运行是需要改成standalone模式

修改后

7、点击bin文件夹,启动startup.cmd
8、打开浏览器输入:http://localhost:8848/nacos/#/logi

9、在浏览器里面输入http://127.0.0.1:8848/nacos,然后再打开的首页输入Nacos的账号:nacos和密码:nacos,就可以登录刚刚启动的Nacos
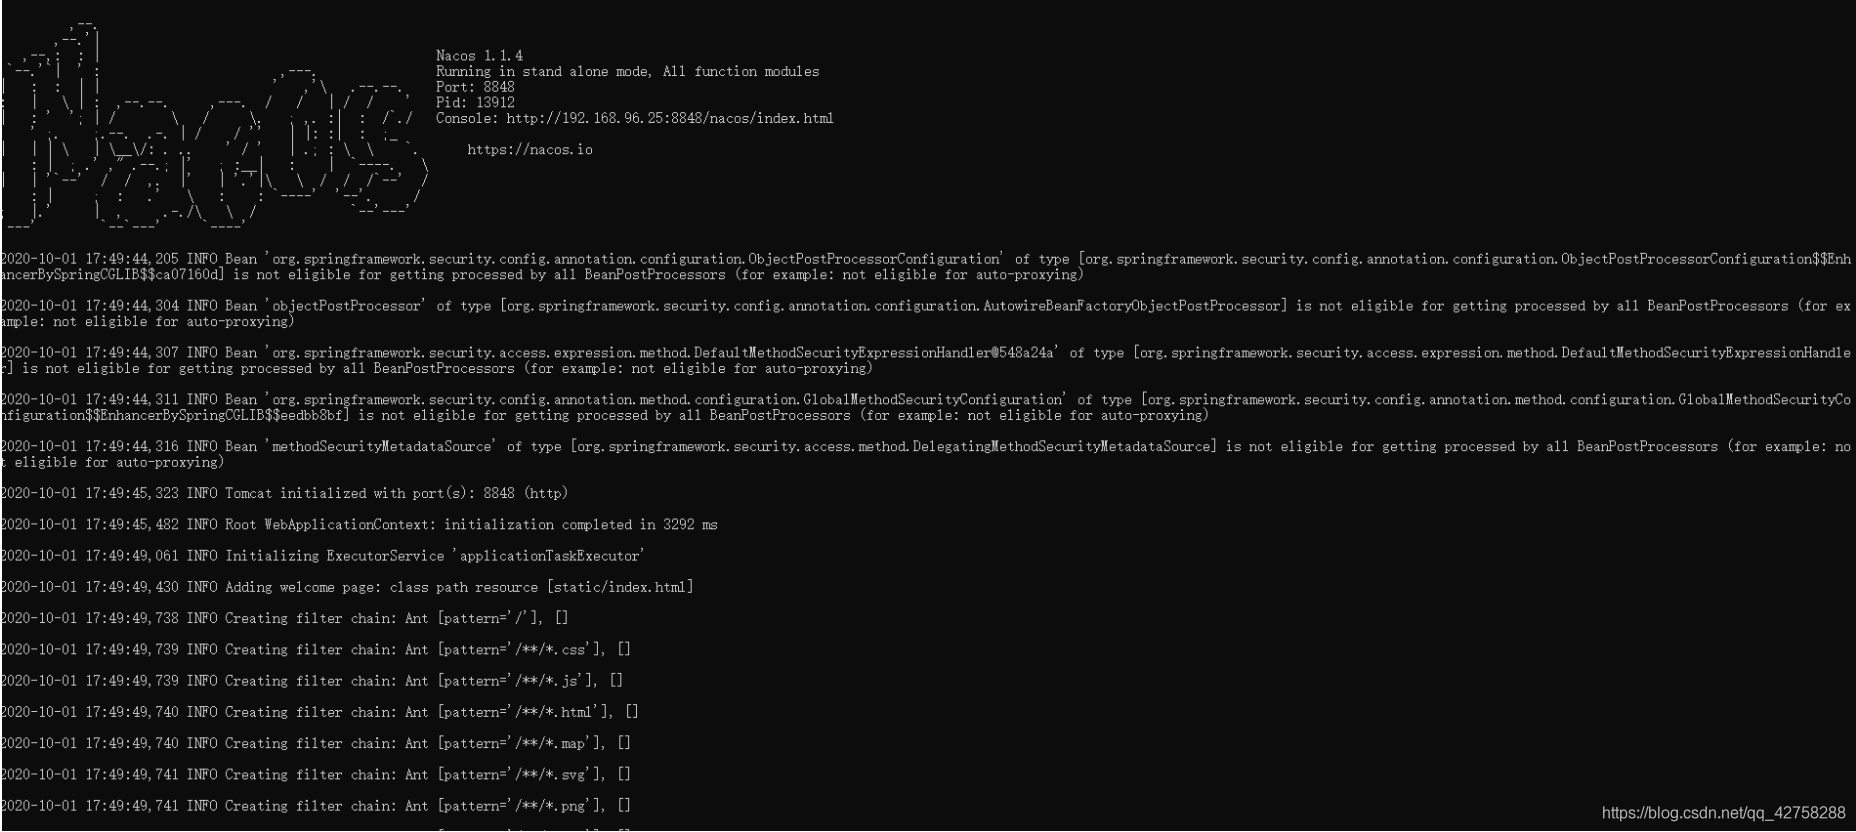
10、出现下面页面,登录成功

======================================================================================
踩坑:
nacos启动有两种方式
方式一:直接点击bin目录下的startup.cmd启动
方式二:在bin目录下启动cmd,输入:startup.cmd启动
坑:启动服务失败,启动闪退

报错:此时不应有 \software\nacos"\logs\java_heapdump.hprof"。
错误原因:解压地址包含中文路径
三、注意事项
1、Nacos在双击startup.cmd启动时提示:Unable to start embedded Tomcat.
这是因为这里Nacos没有配置集群模式,而startup.cmd默认启动方式是cluster集群模式,所以只需要在startup.cmd启动文件中将MODE的值cluster改成standalone就可以单机模式启动。
windows 安装Nacos步骤的更多相关文章
- windows 安装mysql 步骤
Windows 安装mysql 5.7.12教程 1.在官网下载mysql5.7.12.zip并解压 复制默认配置文件my-default.ini,并命名为my.ini 使用记事本打开,修改如下配置 ...
- windows 安装nvm步骤(shi'yongnvm-windows管理node版本):
瞎几把前言:mac上可以用n来管理node版本,私以为n很好用.家里的win7台式机一直没有安装过任何管理工具,今天来给家里电脑安装一下nvw-windows,一个用于windows系统的node版本 ...
- windows安装cnpm步骤
1.首先前往nodejs官网下载nodejs 2.安装nodejs 3.打开cmd,输入npm -v,检查npm是否安装成功.成功返回的话返回输出版本号 4.安装cnpm,输入npm install ...
- an'gularjs 环境搭建之NodeJS、NPM安装配置步骤(windows版本)
NodeJS.NPM安装配置步骤(windows版本) :http://xiaoyaojones.blog.163.com/blog/static/28370125201351501113581/ ...
- (转 留存)Windows环境下的NodeJS+NPM+GIT+Bower安装配置步骤
Windows环境下的NodeJS+NPM+GIT+Bower安装配置步骤 标签: NodeJSnpmbower 2015-07-17 16:38 3016人阅读 评论(0) 收藏 举报 分类: G ...
- Redis 3.0 Windows 安装步骤
Redis 3.0 Windows 安装步骤 ----来自 https://www.aliyun.com/jiaocheng/872572.html 发布时间:2018-04-10 来源:网络 上传者 ...
- Docker Desktop for Windows 安装步骤
Docker Desktop for Windows 安装要求 Docker Desktop for Windows需要运行Microsoft Hyper-V.如果需要,Docker Desktop ...
- 关于Windows安装两个不同版本的MySQL详细步骤
关于Windows安装两个不同版本的MySQL详细步骤 安装两个不同版本的数据库原因 由于大部分教程所使用的数据库为5.7版本,而我之前安装的是8.0版本. 在一些特殊情况下,低版本数据库不能动,高版 ...
- Windows 安装 Zookeeper 详细步骤
Windows 安装 Zookeeper 详细步骤 一. Zookeeper 安装包下载 1.官网地址 Zookeeper官网 2.安装包下载 这里选择目前的稳定版 3.6.3 下载 可以看到有两个选 ...
- Mysql(windows)安装
h3 { color: rgb(255, 255, 255); background-color: rgb(30,144,255); padding: 3px; margin: 10px 0px } ...
随机推荐
- python匹配一个最近时间的文件
def new_report(bakdir,str): files = os.listdir(bakdir) lists = [] #列出目录的下所有文件和文件夹保存到lists for f in f ...
- Java开发
总结java开发中知识点和问题点 基础: 常用加解密算法: [md5] import java.security.MessageDigest; public static final String e ...
- 移动端自动化之Autox.js
github: https://github.com/kkevsekk1/AutoX 官方文档:http://doc.autoxjs.com/ 1. 安装vscode的扩展插件 如果之前有使用 aut ...
- 编程辅助工具之Kite
python作为一门门槛很低但又功能强大的编程语言,现在已经得到了非常广泛的使用,但是它的常用库非常多,而且往往更新后许多方法都有所变化,因此想要记住其大部分函数的用法对于大部分人来说比较困难,因而会 ...
- seldom-platform颠覆传统的自动化测试平台
1. 传统的自动化测试平台 近些年,中等以上规模的公司测试团队都在建设自己的自动化测试平台.主要要以 HTTP接口测试 和 性能测试 为主:一些平台还支持 Web UI测试和App UI测试等,试图通 ...
- 如何优雅地在Django项目里生成不重复的ID?
前言 本来标题是想叫"生成不重复的四位数"的,不过单纯数字有点局限,推广一下变成不重复 ID 吧~ 这个功能是在做下面图片里这个小项目时遇到的,有点像微信的面对面建群,生成一个随机 ...
- 开启Word、Excel、PPT时速度很慢的一种解决方法
本文介绍基于修改加载项,解决Microsoft Office系列软件开启速度较慢的办法. 最近,发现Excel软件的打开速度越来越慢,会在一定程度上影响工作效率.因此尝试对此加以解决.其中,本 ...
- 【NAS】绿联NAS UGOS PRO 使用natfrp(Sakura Frp)内网穿透访问Docker应用
配置加速 https://registry.cn-hongkong.aliyuncs.com 下载镜像 创建容器 [容器]-[创建]-[手动创建]- 选择你下载的镜像即可 在日志中查看密码 访问容器 ...
- 2024年1月Java项目开发指南4:IDEA里配置MYSQL
提前声明:文章首发博客园(cnblogs.com/mllt) 自动"搬家"(同步)到CSDN,如果博客园中文章发生修改是不会同步过去的,所以建议大家到我的博客园中查看 前提条件: ...
- 【Python】【MySQL】Python将JSON数据以文本形式存放到MySQL的Text类型字段中
1.起因 在做一个自动打卡的玩意.登录会得到那个平台一系列的信息.我又不想专门修改.增加数据库字段来存放,所有打算直接将返回的JSON数据保存到一个MySQL字段中. 内容肯定不能直接放,考虑下比如数 ...