如何搭建开源code review gerrit服务器
搭建环境:Ubuntu 14.04
一、环境准备
1.Java环境
gerrit依赖,用于安装gerrit环境。
下载:jdk-7u79-linux-x64.tar.gz http://www.oracle.com/technetwork/java/javase/downloads/jdk7-downloads-1880260.html
安装:sudo tar zxvf ./jdk-7u79-linux-x64.tar.gz -C /opt
配置:vim ~/.bashrc(针对当前用户) or vim /etc/profile(针对所有用户,推荐)
export JAVA_HOME=/opt/jdk1..0_79

export JRE_HOME=$JAVA_HOME/jre

export CLASSPATH=$JAVA_HOME/lib:$JRE_HOME/lib:$CLASSPATH

export PATH=$JAVA_HOME/bin:$JRE_HOME/bin:$PATH
验证:java -version
java version "1.7.0_79"
Java(TM) SE Runtime Environment (build 1.7.0_79-b15)
Java HotSpot(TM) 64-Bit Server VM (build 24.79-b02, mixed mode)
2.git环境
gerrit依赖,用来操作git repository。
安装:sudo apt-get install git
验证:git --version
git version 1.9.1
3.gerrit环境
下载:Gerrit 2.12.4 https://www.gerritcodereview.com/download/gerrit-2.12.4.war
4.apache2环境
安装:sudo apt-get install apache2
验证:sudo /etc/init.d/apache2 start
5.gerrit管理帐号(可选,使用独立账号配置gerrit)
gerrit依赖,用来管理gerrit。
sudo adduser gerrit
sudo passwd gerrit
并将gerrit加入sudo权限
sudo visudo
gerrit ALL=(ALL:ALL) ALL
二、安装与配置gerrit
1.配置gerrit
默认安装:java -jar gerrit-2.12.4.war init --batch -d ~/review_site
更新配置文件:sudo vim ~/review_site/etc/gerrit.config
[gerrit]

        basePath = git #默认gerrit对应的git库

        canonicalWebUrl = http://192.168.199.112:8081/ #gerrit web管理界面

[database]

        type = h2 #h2数据库

        database = db/ReviewDB #数据库路径

[index]

        type = LUCENE

[auth]

        type = HTTP #auth模式,默认为OPENID,配置为HTTP,需要apache配置反向代理

[receive]

        enableSignedPush = false

[sendemail]
     enable=false #关闭邮件提醒

[container]

        user = gerrit #linux user for gerrit

        javaHome = /opt/jdk1..0_79/jre #java home

[sshd]

        listenAddress = *:29418 #default gerrit port

[httpd]

        listenUrl = http://*:8081/

[cache]

        directory = cache

[http]

        proxy = http://192.168.199.112:8080 #proxy server

        proxyUsername = gerrit1 #proxy user & password

        proxyPassword =
2.配置apache2反向代理
- 如果apache目录结构如下:
[username@hostname apache2]$ ls
apache2.conf conf-enabled magic mods-enabled ports.conf sites-enabled conf-available envvars mods-available sites-available
开启SSL、Proxy、Rewrite等模块:
cd /etc/apache2/mods-enabled

ln -s ../mods-available/proxy.load

ln -s ../mods-available/proxy.conf

ln -s ../mods-available/proxy_http.load

ln -s ../mods-available/proxy_balancer.conf

ln -s ../mods-available/proxy_balancer.load

ln -s ../mods-available/rewrite.load

ln -s ../mods-available/ssl.conf

ln -s ../mods-available/ssl.load

ln -s ../mods-available/socache_shmcb.load #

ln -s ../mods-available/slotmem_shm.load #
更新配置文件:sudo vim /etc/apache2/sites-enabled/gerrit-httpd.conf
ServerName 192.168.199.112 #your server ip

<VirtualHost *:>

    ProxyRequests Off

    ProxyVia Off

    ProxyPreserveHost On

    AllowEncodedSlashes On

    RewriteEngine On

    RewriteRule ^/(.*) http://192.168.199.112:8081/$1 [NE,P] #rewrite rule for proxy

    <Proxy *>

          Order deny,allow

          Allow from all

    </Proxy>

    <Location /login/>

        AuthType Basic

        AuthName "Gerrit Code Review"

        Require valid-user

        AuthBasicProvider file

        AuthUserFile /etc/apache2/passwords #password file for gerrit

    </Location>

    ProxyPass / http://192.168.199.112:8081/

</VirtualHost>
- 如果apache目录结构如下:
[username@hostname apache2]$ ls

bin  build  cgi-bin  conf  error  htdocs  icons  include  lib  logs  man  manual  modules
开启SSL、Proxy、Rewrite等模块:
[username@hostname apache2]$ vi conf/http.conf
# Open LoadModule

LoadModule proxy_module modules/mod_proxy.so

LoadModule proxy_http_module modules/mod_proxy_http.so
LoadModule ssl_module modules/mod_ssl.so

LoadModule rewrite_module modules/mod_rewrite.so

# Gerrit config

Include conf/extra/gerrit-httpd.conf
其中apache2/conf/extra/gerrit-httpd.conf内容同上,apache2/sites-enabled/gerrit-httpd.conf。
3.配置gerrit账户密码
touch /etc/apache2/passwords
htpasswd -b /etc/apache2/passwords admin 123456(管理员)
htpasswd -b /etc/apache2/passwords gerrit1 123456(普通用户)
4.启动gerrit&启动apache2
sudo ~/review_site/bin/gerrit.sh start
sudo /etc/init.d/apache2 start
5.访问gerrit 管理界面 http://192.168.199.112:8080/
第一次访问,需要输入第3步设置的admin及密码,该账户将作为gerrit管理员账户。进入后可设置FullName: GerritAdmin。

三、如何使用gerrit
前提:需要git使用端 / gerrit服务端配合使用。
1.添加项目(gerrit 服务端)
1.1使用gerrit添加新项目:(适用于开启新项目并使用gerrit)
ssh -p 29418 gerrit1@192.168.199.112 gerrit create-project --empty-commit --name demo-project #建议采用管理界面添加
或者使用gerrit管理界面

1.2使用gerrit添加已有项目:(适用于已有项目下移植到gerrit中)
ssh -p 29418 gerrit1@192.168.199.112 gerrit create-project --name exist-project #建议采用管理界面添加
或者使用gerrit管理界面

然后将已有项目与gerrit上建立的exist-project关联,即将已有代码库代码push到gerrit中进行管理。
cd ~/gitcode/exist-project
git push ssh://gerrit1@192.168.199.112:29418/exist-project *:*
2.生成sshkey(git使用端)
在开发账户中生成sshkey,用作与gerrit服务器连接。
ssh-keygen -t rsa #生成sshkey
ls ~/.ssh/ #可查看sshkey
cat ~/.ssh/id_rsa.pub #查看sshkey
ssh-rsa AAAAB3NzaC1yc2EAAAADAQABAAABAQCj1XDqjNXbn39oeacJOxe8FklBJRpGS1CcHRThWBytZ4A5KXAaxYzcD94GUd9UxxZzKCr6y90mwuJ+jkKxCTlqUiwj73QIiPWQ3Re08M049W4XxdfGnu/jyTI9DptWBsF0dwFJlQquUtitS+b1Tkz7Jr7+WipbZ22aiHwRvY4VcvCCdIHy/BnCCbVcfgk9u8f+X+ROm+DkOGfUcBNXWEJydqF0wy/D13Q5gp9OAXMIOD05T3GToJRwYtx2cVFmK4jE9HtcudOrrZNFVHqeblbA7EMKpIuDpLho7esmpwJ/woB1wnKTwHoUzbMt0a6hHPMNWyP2WIJebEA1KzThLixt gerrit@RylanYan-ThinkPad
3.添加sshkey到gerrit服务器(gerrit 服务端)
此步骤与git流程类似,即将id_rsa.pub内容上传到git repository,gerrit中帮我们管理git repository.

4.拉取代码&配置git hooks(git client端)
验证sshkey是否配置成功:ssh gerrit1@192.168.199.112 -p 29418
The authenticity of host '[192.168.199.112]:29418 ([127.0.0.1]:29418)' can't be established.

  RSA key fingerprint is db::3d:c2:::b5:8d:ac:bc:b5:9e:2f::5f:4a.

  Are you sure you want to continue connecting (yes/no)? yes

  Warning: Permanently added '[192.168.199.112]:29418' (RSA) to the list of known hosts.

  ****    Welcome to Gerrit Code Review    ****

  Hi user, you have successfully connected over SSH.

  Unfortunately, interactive shells are disabled.

  To clone a hosted Git repository, use:

  git clone ssh://gerrit1@192.168.199.112:29418/REPOSITORY_NAME.git
拉取代码: git clone ssh://gerrit1@192.168.199.112:29418/demo-project
更新githooks:gitdir=$(git rev-parse --git-dir); scp -p -P 29418 gerrit1@192.168.199.112:hooks/commit-msg ${gitdir}/hooks/
该过程用来在commit-msg中加入change-id,gerrit流程必备。
修改代码并提交,推送时与原有git流程不一致,采用 git push origin HEAD:refs/for/master 。
git push origin HEAD:refs/for/master

Counting objects: , done.

Delta compression using up to  threads.

Compressing objects: % (/), done.

Writing objects: % (/),  bytes |  bytes/s, done.

Total  (delta ), reused  (delta )

remote: Processing changes: new: , refs: , done

remote:

remote: New Changes:

remote:   http://localhost:8081/4 Append date to testfile

remote:

To ssh://gerrit1@localhost:29418/demo-project

 * [new branch]      HEAD -> refs/for/master
五.使用gerrit website完成code review
当完成push后,可在gerrit管理界面看到当前提交code review的change。
查看需要code review的提交:

查看某次提交的详细信息(审核者+2可通过本次提交,提交者可通过Abandon本次提交):

如果审核者+2通过后,可提交该次commit.

六.gerrit注意事项
* 需要为每个使用者分配gerrit账号,不要都使用admin账号,因为admin账号可直接push master
* pull代码后需要配置githooks文件,以便在commit时自动生成change-id,否则无法push
* push代码时需要使用git push origin HEAD:refs/for/master(branch),gerrit默认关闭非admin账号的push direct权限
* push代码时需要commit email与gerrit account email一致,否则无法push成功,可选择关闭email notify,并开启forge user权限,或者通过修改gerrit数据库account email信息
* gerrit数据库与gitlab同步,需要安装replication插件,并开启该功能 参考:http://www.cnblogs.com/tesky0125/p/5973642.html

参考链接:
Java SDK Download: http://www.oracle.com/technetwork/java/javase/downloads/jdk7-downloads-1880260.html
Gerrit Code Review - Releases Download: https://gerrit-releases.storage.googleapis.com/index.html
Gerrit Code Review - Quick get started guide: https://git.eclipse.org/r/Documentation/install-quick.html
Gerrit代码审核服务器搭建全过程 http://blog.csdn.net/ganshuyu/article/details/8978614
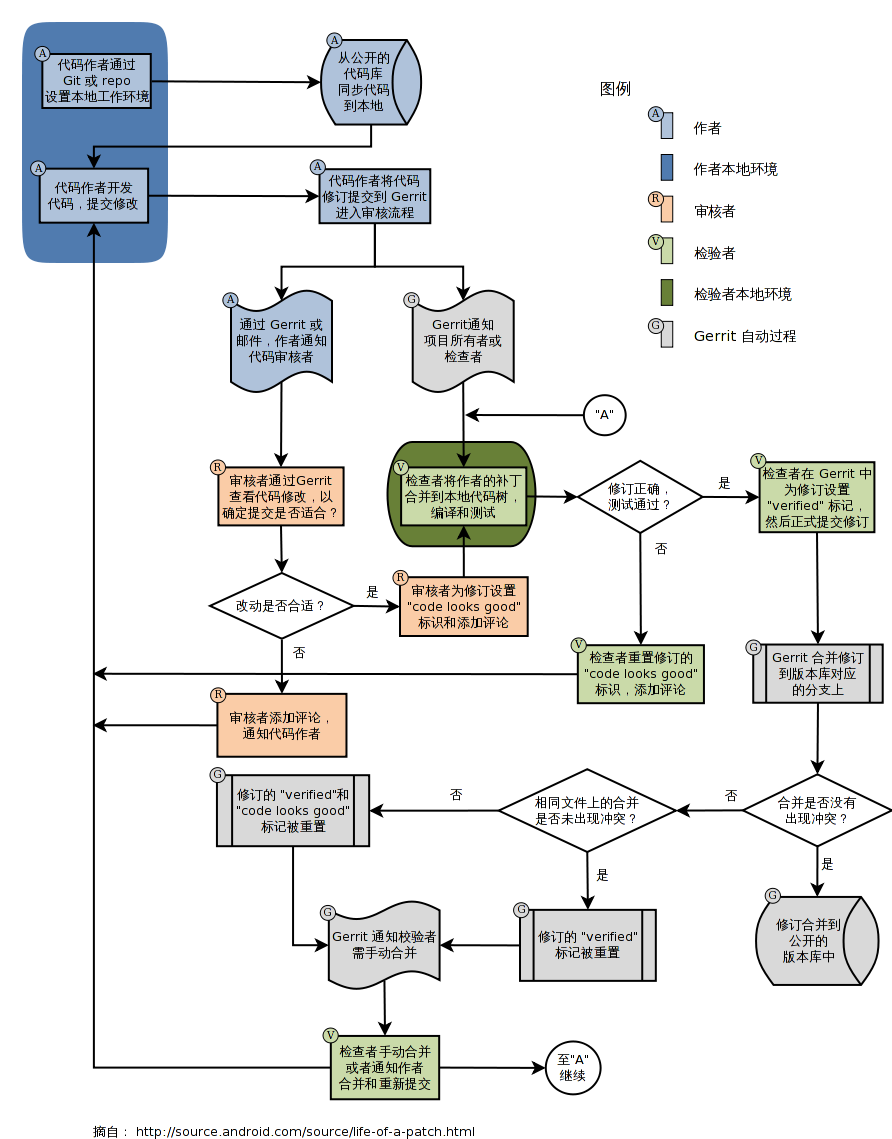
Gerrit代码审核流程 http://www.worldhello.net/gotgit/images/gerrit-workflow.png
Gerrit代码审核原理 http://www.worldhello.net/gotgit/05-git-server/055-gerrit.html
Gerrit代码审核权限管理 https://gerrit-review.googlesource.com/Documentation/access-control.html#category_forge_committer
Gerrit修改数据库email信息 http://www.cnblogs.com/kevingrace/p/5624122.html
Gerrit安装replication插件 https://gerrit-review.googlesource.com/Documentation/cmd-plugin-install.html
如何搭建开源code review gerrit服务器的更多相关文章
- Git Gerrit Code Review
Gerrit Code Review | Gerrit Code Reviewhttps://www.gerritcodereview.com/
- Ubuntu下搭建基于apache2的gerrit+gitweb服务器
说明:Ubuntu版本12.04 1. 配置gerrit管理帐号 1 sudo adduser gerrit 增加sudo权限: 1 sudo usermod -a -G sudo gerrit 切换 ...
- 关于Gerrit code review 介绍与安装
代码审核(Code Review)是软件研发质量保障机制中非常重要的一环,但在实际项目执行过程中,却因为种种原因被Delay甚至是忽略.在实践中,给大家推荐一款免费.开放源代码的代码审查软件Gerri ...
- 搭建gerrit服务器(apache&nginx反向代理方式)
这段时间,想搭建一个gerrit,用于代码托管,gerrit的搭建,网上有很多种教程,但是自己按照别人的教程逐步操作,一直出现诸多问题.最头痛的就是:Configuration Error Check ...
- jenkins + gerrit 自动code review
最近有需求要push review以后自动跑一些测试,如果通过就自动+2 不通过就-2,目前做法如下(jenkins gerrit均已配置好,Jenkins可以连接gerrit并拉代码): 1. Je ...
- 在 GitHub 上玩转开源项目的 Code Review
一.幕后故事 时光荏苒,岁月如梭-- (太文绉绉了,这不是我的风格) 今天我准备聊聊在 GitHub 上如何玩 Code Review. 突发奇想?心血来潮?不是. 咋回事呢?(对八卦不感兴趣的可以直 ...
- Git Review + Gerrit 安装及使用完成 Code-Review
转载自:https://cloud.tencent.com/developer/article/1010615 1.Code Review 介绍 Code Review 代码评审是指在软件开发过程中, ...
- Code Review Tools
Code Review中文应该译作“代码审查”或是“代码评审”,这是一个流程,当开发人员写好代码后,需要让别人来review一下他的代码,这是一种有效发现BUG的方法.由此,我们可以审查代码的风格.逻 ...
- Code Review Engine Learning
相关学习资料 https://www.owasp.org/index.php/Code_review https://www.owasp.org/images/8/8e/OWASP_Code_Revi ...
随机推荐
- 在vs中char类型的实参与LPCWSTR类型的形参类型不兼容怎么解决?
今天在做 COS脚本解释器的时候,遇到了这个问题 先了解一下 LPCTCHAR 这个东东 LPCTSTR用来表示你的字符是否使用UNICODE, 如果你的程序定义了UNICODE或者其他相关的宏,那么 ...
- BZOJ 1833: [ZJOI2010]count 数字计数
Description 问 \([L,R]\) 中0-9的个数. Sol 数位DP. 预处理好长度为 \(i\), 最高位为 \(j\) 的数位之和. 然后从上往下计算,不要忘记往下走的同时要把高位的 ...
- linux下编译安装vim7.4并安装clang_complete插件
linux下编译安装vim7.4并安装clang_complete插件 因为debian里软件仓库中下载安装的vim是不支持python写的插件的(可以打开vim,在命令模式先输入:py测试一下),导 ...
- ASM:《X86汇编语言-从实模式到保护模式》第17章:保护模式下中断和异常的处理与抢占式多任务
★PART1:中断和异常概述 1. 中断(Interrupt) 中断包括硬件中断和软中断.硬件中断是由外围设备发出的中断信号引发的,以请求处理器提供服务.当I/O接口发出中断请求的时候,会被像8259 ...
- error LNK2019:unresolved external symbol
error LNK2019:unresolved external symbol 这个错误是指程序不认识函数.具体的说就是.h文件中定义并没有实现,这就是库出现了问题. 遇到这个问题,第一步就要看是哪 ...
- 用netbeans和xdebug调试php的配置
xdebug的chrome.firefox插件 chrome:Xdebug helper firefox:easy Xdebug ----------------------------------- ...
- jsf初学解决faces 中文输入乱码问题
中文乱码,貌似在java里很常见,请看简单代码: 很简单的faces <div class="td-block"> <h:outputLabel class=&q ...
- [BI项目记]-文档版本管理笔记
代码的版本管理程序员们有专门的工具,那么作为项目管理人员如何进行文档版本的管理呢,此篇介绍如何通过SharePoint进行文档版本管理. 在没有SharePoint的时代我们如何管理版本呢?通常我们会 ...
- 函数图象(N=x+y*i)
using System; using System.Collections.Generic; using System.Linq; using System.Text; using System.T ...
- Java 集合系列04之 fail-fast总结(通过ArrayList来说明fail-fast的原理、解决办法)
概要 前面,我们已经学习了ArrayList.接下来,我们以ArrayList为例,对Iterator的fail-fast机制进行了解.内容包括::1 fail-fast简介2 fail-fast示例 ...