Python与MogoDB交互
睡了大半天,终于有时间整理下拖欠的MongoDB的封装啦。
首先我们先进行下数据库的连接:
conn = MongoClient('localhost',27017) # 建立连接
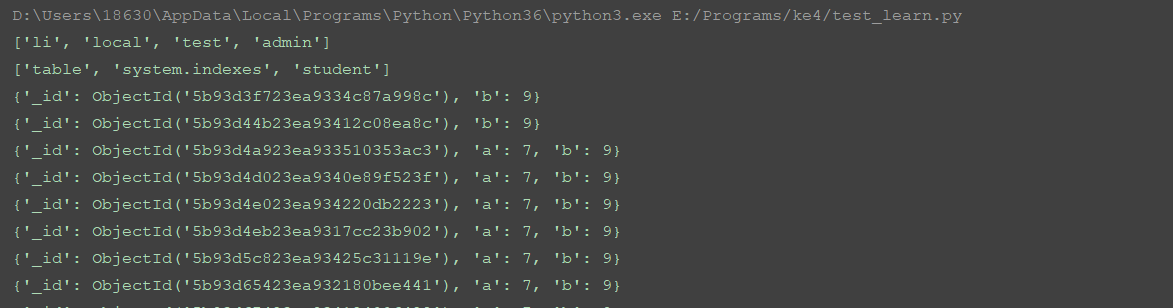
result = conn.list_database_names() # 查看mongodb里面有哪些数据库
print(result)
db = conn['test'] # 选择数据库,当你选择的不存在的时候,会自动帮你创建
print(db.collection_names()) # 查看当前数据库里面有哪些集合
self.collection = db['table'] # 选择集合,当集合不存在也会自动创建
那么这个时间, 我简单操作下:
ps:本段代码为废话,可直接略过。test调试
data = {"a":1, "b":2}

# collection.insert(data)

collection.insert_one(data)

# collection.insert([{"a":1, "b":2}, {"a":1, "b":2}])

collection.insert_many([{"a":1, "b":2}, {"a":1, "b":2}])

# result = collection.find_one()  # 查看一条数据

# key = collection.find_many()  # 查看一条数据

result = collection.find()  # 查看所有

for data in result:

    print(data)

# collection.remove()  # 删除所有

collection.delete_one({"a":1})

result = collection.find()  # 查看所有

for data in result:

    print(data)
这里进入正题吧。
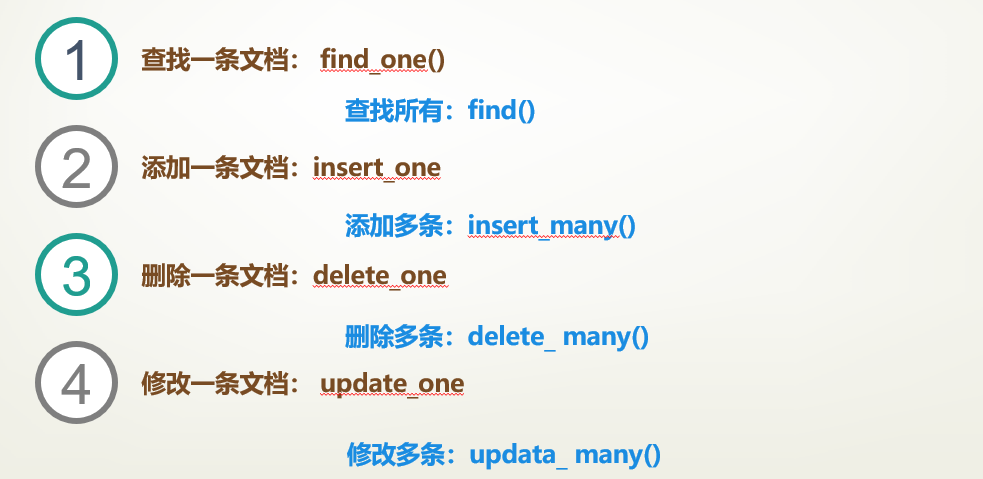
先看下,mongoDB的方法都有哪些:
详细的封装代码如下:
from pymongo import MongoClient

import pymongo

'''

查找一条文档: find_one()

查找所有:find()

添加一条文档:insert_one

添加多条:insert_many()

删除一条:delete_one()

删除多条:delete_many()

修改一条文档: update_one()

修改多条: update_many()

'''

class MongoDB():

    def __init__(self):

        conn = MongoClient('localhost',27017)   # 建立连接

        result = conn.list_database_names() # 查看mongodb里面有哪些数据库

        print(result)

        db = conn['test'] # 选择数据库,当你选择的不存在的时候,会自动帮你创建

        print(db.collection_names()) # 查看当前数据库里面有哪些集合

        self.collection = db['table']  # 选择集合,当集合不存在也会自动创建

    def insertDB(self, data):

        """直接使用insert() 可以插入一条和插入多条 不推荐 明确区分比较好"""

        return self.collection.insert_many(data) if len(data) > 1 else self.collection.insert_one(data)

    def findDB(self):   # 查询全部

        res = self.collection.find()

        for data in res:

            print(data)

    def find_oneDB(self, data):  # 单条查询

        res = self.collection.find_one(data)

        print(res)

    def removeDB(self):  # 删除全部

        self.collection.remove()

    def deleteDB(self, data):  # 删除单条

        self.collection.delete_one(data)

    def deleteManyDB(self):  # 删除多条

        self.collection.delete_many()

    def updateOneDB(self, fifler, updata):  # 单条编辑

        res = self.collection.update_one(fifler, updata)

        return res

    def updateManyDB(self, fifler, updata): # 批量编辑

        res = self.collection.update_many(fifler, updata)

        return res

if __name__ == '__main__':

    conn = MongoDB()

    # 以下为代码调试,我总得调试完成吧,要不会被骂的。

    # data = {"name":"456"}

    conn.insertDB([{"a":6, "b":6}, {"a":7, "b":7}])

    # conn.removeDB({"name":'456'})

    conn.deleteDB({"a":6, "b":6})

    # conn.updateOneDB({"a":7}, {"b":9})

    # conn.updateOneDB({"a":7}, {"$set":{"b":9}})

    conn.updateManyDB({"a":7}, {"$set":{"b":9}})

    conn.findDB()
到这关于mongoDB的知识,整理完毕。
另外关于updata参数报错:ValueError: update only works with $ operators
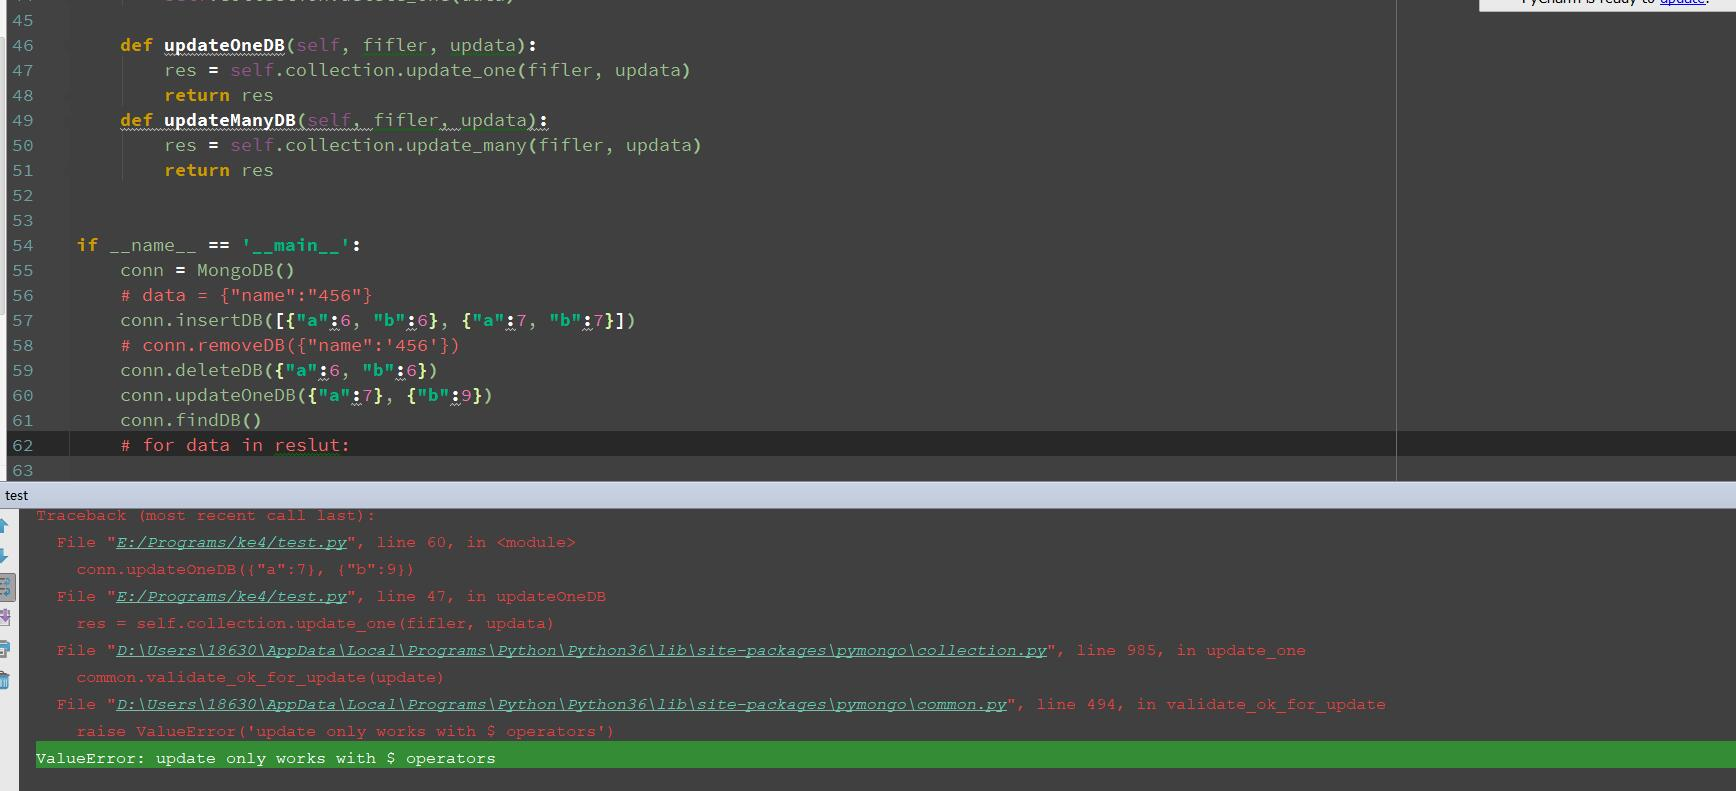
解决办法:
conn.updateManyDB({"a":7}, {"$set":{"b":9}})
作者:含笑半步颠√
博客链接:https://www.cnblogs.com/lixy-88428977
声明:本文为博主学习感悟总结,水平有限,如果不当,欢迎指正。如果您认为还不错,欢迎转载。转载与引用请注明作者及出处。
Python与MogoDB交互的更多相关文章
- Python和Excel交互
Python和Excel交互 使用的python包为XlsxWriter 下载的链接 https://pypi.python.org/pypi/XlsxWriter 初级的例子: def write_ ...
- 【转】Python之系统交互(subprocess)
[转]Python之系统交互(subprocess) 本节内容 os与commands模块 subprocess模块 subprocess.Popen类 总结 我们几乎可以在任何操作系统上通过命令行指 ...
- Python与Mysql交互
#转载请联系 在写内容之前,先放一张图,bling- 这张图算是比较详细的表达出了web开发都需要什么.用户访问网页,就是访问服务器的网页文件.这些网页文件由前端工程师编写的.服务器通常用nginx/ ...
- Python实现用户交互,显示省市县三级联动的选择
题目:Python实现用户交互,显示省市县三级联动的选择 定义的字典为: dic = { "江西": { "萍乡": ["安源", &quo ...
- 二十、Python与Mysql交互
先安装一个python与MySQL交互的包:MySQL-python $ gunzip MySQL-python-1.2.2.tar.gz $ tar -xvf MySQL-python-1.2.2. ...
- python与C++交互
python和C++能进行有效的交互,c++调用Python的一些小用法 写了一个python脚本导入发生异常,可能是编码问题(如存在中文),Python默认的是ASCII可加上:#!/usr/bin ...
- Python之系统交互(subprocess)
本节内容 os与commands模块 subprocess模块 subprocess.Popen类 总结 我们几乎可以在任何操作系统上通过命令行指令与操作系统进行交互,比如Linux平台下的shell ...
- Python的用户交互程序及格式化输出
1. 用户输入 在Python 3 中,用户输入用input()函数即可实现用户交互程序. 例如,我们根据程序提示输入用户名和密码,并且打印输入的信息. 2. 字符串格式化输出 例如,我们根据程序提 ...
- Python与RabbitMQ交互
RabbitMQ 消息队列 成熟的中间件RabbitMQ.ZeroMQ.ActiveMQ等等 RabbitMQ使用erlang语言开发,使用RabbitMQ前要安装erlang语言 RabbitMQ允 ...
随机推荐
- Spring域属性和代理模式
一.域属性 好处:大幅度减少Spring配置 坏处:依赖不能明确管理,可能会有多个bean同时符合注入规则.没有清晰的依赖关系. 1,byName 根据属性名自动装配.此选项将检查容器并根据名字查找 ...
- python 启动pydoc查看文档
启动pydoc查看文档 python3 -m pydoc -p 访问http://localhost:6789 或者查看官方文档:https://seleniumhq.github.io/seleni ...
- ex3
#include <stdio.h> int main() { char ch; printf("please input:\n"); scanf("%c&q ...
- node解析修改ngix配置文件
主要是通过nginx-conf这个工具. git地址:https://github.com/tmont/nginx-conf 具体用法: npm install -S nginx-conf 安装工具 ...
- Redis中删除过期Key的三种策略
转载自:http://blog.csdn.net/a_bang/article/details/52986935?locationNum=9&fps=1 项目中有个接口要频繁调用查询数据库中的 ...
- java join()基本用法与说明解释
join()方法的作用,是等待这个线程结束: 也就是说,t.join()方法阻塞调用此方法的线程(calling thread)进入 TIMED_WAITING 状态,直到线程t完成,此线程再继续: ...
- 解决vue项目路由出现message: "Navigating to current location (XXX) is not allowed"的问题(点击多次跳转)
如果网页跳转用的方法传参去跳转: (点击多次链接会出现错误) <a class="" href="javascript:void(0);" @click= ...
- ubuntu18 任务栏调到底部
$ gsettings set org.gnome.shell.extensions.dash-to-dock dock-position BOTTOM 原因如下: https://askubuntu ...
- 转载:【TP5.0】TP5 Validate 验证规则
下面是部分tp5内置的验证规则: 格式验证类: 'name'=>'require' 验证某个字段的值是否为数字(采用filter_var验证),例如: number 或者 integer 'na ...
- MySQL 设计与开发规范2
目录 1. 规范背景与目的 2. 设计规范 2.1. 数据库设计 2.1.1. 库名 2.1.2. 表结构 2.1.3. 列数据类型优化 2.1.4. 索引设计 2.1.5. 分库分表.分区表 2.1 ...