
浏览器对象模型“BOM”,对浏览器窗口进行访问和操作
location对象
location.href url地址
location.hash 锚点
location.hostname 主机名(需要放到服务器上)
location.host 主机名+端口号(需要放到服务器上)
location.pathname 目录或者文件
location.port 端口
location.protocol 协议
location.search ?后面的内容
<!DOCTYPE html>

<html lang="en">

<head>

    <meta charset="UTF-8">

    <title>Document</title>

    <style>

        body{

            width:100%;

            height:100%;

        }

        p{

            height:100%;

            height:2000px;

            background:#abcdef;

        }

    </style>

    <script>

        window.onload=function(){

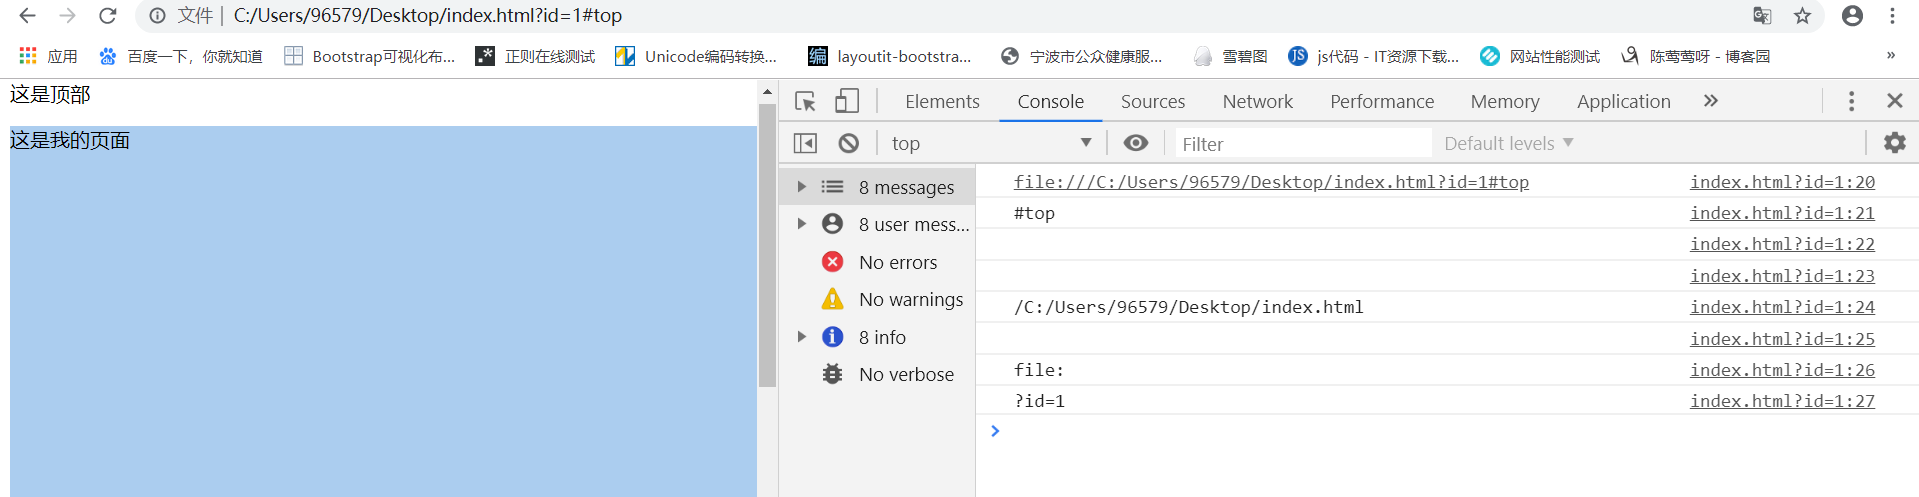
            console.log(location.href);//file:///C:/Users/96579/Desktop/index.html

            console.log(location.hash);//#top

            console.log(location.host);

            console.log(location.hostname);

            console.log(location.pathname);///C:/Users/96579/Desktop/index.html

            console.log(location.port);

            console.log(location.protocol);//file:

            console.log(location.search);//?id=1

        }

    </script>

</head>

<body>

    <a id="top">这是顶部</a>

    <p>这是我的页面</p>

    <a href="#top"><button>回到顶部</button></a>

</body>

</html>
利用js控制location.hash ,跳转到某个锚点
<!DOCTYPE html>

<html lang="en">

<head>

    <meta charset="UTF-8">

    <title>Document</title>

    <style>

        body{

            width:100%;

            height:100%;

        }

        p{

            height:100%;

            height:2000px;

            background:#abcdef;

        }

    </style>

    <script>

        window.onload=function(){

            var btn=document.getElementById("btn");

            btn.onclick=function(){

                location.hash="#top";

            }

        }

    </script>

</head>

<body>

    <a id="top">这是顶部</a>

    <p>这是我的页面</p>

    <button id="btn">回到顶部</button>

</body>

</html>
location.href=url 切换页面url,会有历史记录
window.location=url 切换页面url,会有历史记录
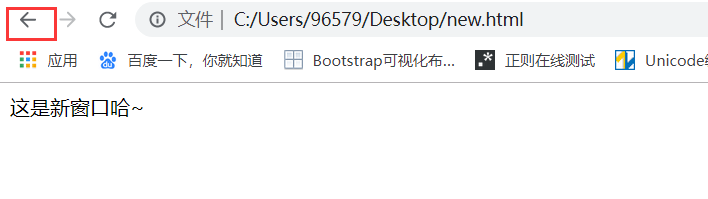
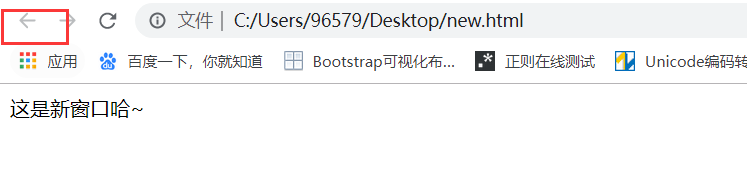
location.replace(url) 切换页面url,没有历史记录
<!DOCTYPE html>

<html lang="en">

<head>

    <meta charset="UTF-8">

    <title>Document</title>

    <style>

        body{

            width:100%;

            height:100%;

        }

        p{

            height:100%;

            height:2000px;

            background:#abcdef;

        }

    </style>

    <script>

        window.onload=function(){

            setTimeout(function(){

                location.href="new.html";

            },1000);

        }

    </script>

</head>

<body>

    <p>这是我的页面</p>

</body>

</html>
<!DOCTYPE html>

<html lang="en">

<head>

    <meta charset="UTF-8">

    <title>Document</title>

    <style>

        body{

            width:100%;

            height:100%;

        }

        p{

            height:100%;

            height:2000px;

            background:#abcdef;

        }

    </style>

    <script>

        window.onload=function(){

            setTimeout(function(){

                location.replace("new.html");

            },1000);

        }

    </script>

</head>

<body>

    <p>这是我的页面</p>

</body>

</html>
location.reload() 重新加载页面(有可能从缓存中加载)
location.reload(true) 重新加载页面(强制从服务器重新加载)
<!DOCTYPE html>

<html lang="en">

<head>

    <meta charset="UTF-8">

    <title>Document</title>

    <style>

        body{

            width:100%;

            height:100%;

        }

    </style>

    <script>

        window.onload=function(){

            var reload=document.getElementById("reload");

            reload.onclick=function(){

                location.reload();//有可能从缓存中刷新

                location.reload(true);//强制从服务器重新加载

            }

        }

    </script>

</head>

<body>

    <button id="reload">刷新</button>

</body>

</html>
history对象
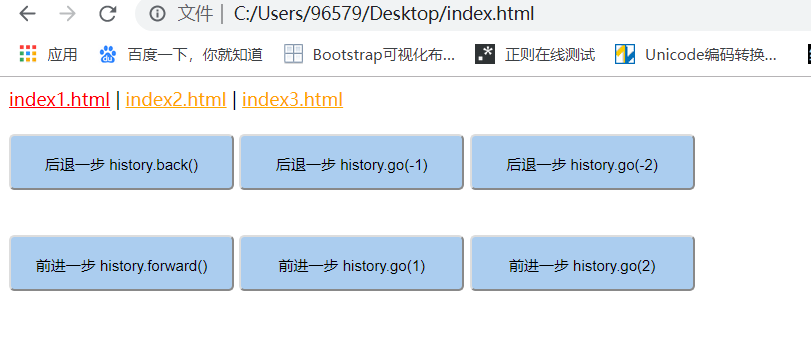
history.back() 后退一步
history.go(-1) 后退一步
history.go(-n) 后退n步
history.forward() 前进一步
history.go(1) 前进一步
history.go(n) 前进n步
<!DOCTYPE html>

<html lang="en">

<head>

    <meta charset="UTF-8">

    <title>Document</title>

    <style>

        body{

            width:100%;

            height:100%;

        }

        a{

            color:orange;

        }

        a.active{

            color:red;

        }

        button{

            background:#abcdef;

            width:200px;

            height:50px;

            line-height:50px;

            text-align: center;

            border-radius:5px;

            cursor:pointer;

            margin:20px 0;

        }

    </style>

    <script>

        window.onload=function(){

            var back=document.getElementById("back");

            var back1=document.getElementById("back1");

            var back2=document.getElementById("back2");

            back.onclick=function(){

                history.back();

            }

            back1.onclick=function(){

                history.go(-1);

            }

            back2.onclick=function(){

                history.go(-2);

            }

        }

    </script>

</head>

<body>

    <div>

        <a href="index1.html" class="active">index1.html</a> |

        <a href="index2.html">index2.html</a> |

        <a href="index3.html">index3.html</a>

    </div>

    <button id="back">后退一步 history.back()</button>

    <button id="back1">后退一步 history.go(-1)</button>

    <button id="back2">后退两步 history.go(-2)</button>

    <br>

    <button id="forward">前进一步 history.forward()</button>

    <button id="forward1">前进一步 history.go(1)</button>

    <button id="forward2">前进两步 history.go(2)</button>

</body>

</html>
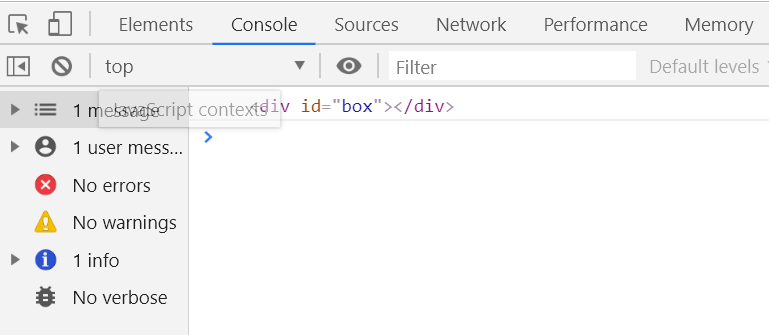
补充,在原生js中,可以直接使用id获取元素
如:
<!DOCTYPE html>

<html lang="en">

<head>

    <meta charset="UTF-8">

    <title>new</title>

    <style>

        body{

            width:100%;

            height:100%;

        }

    </style>

    <script>

        window.onload=function(){

            console.log(box);

        }

    </script>

</head>

<body>

    <div id="box"></div>

</body>

</html>
screen 对象
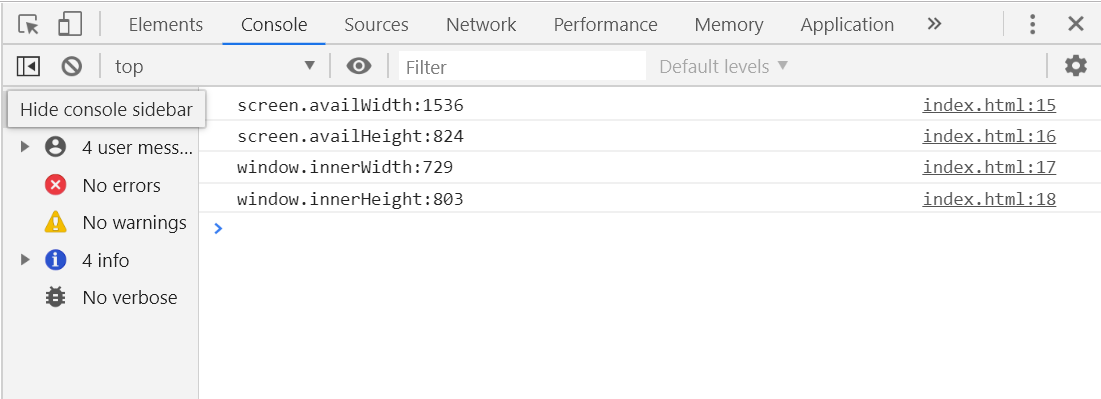
screen.availWidth 屏幕可用宽度
screen.availHeight 屏幕可用高度(去除底部任务栏)
window.innerWidth 窗口可见宽度
window.innerHeight 窗口可见高度
<!DOCTYPE html>

<html lang="en">

<head>

    <meta charset="UTF-8">

    <title>Document</title>

    <style>

        body{

            width:100%;

            height:100%;

        }

    </style>

    <script>

        window.onload=function(){

            console.log("screen.availWidth:"+screen.availWidth);

            console.log("screen.availHeight:"+screen.availHeight);

            console.log("window.innerWidth:"+window.innerWidth);

            console.log("window.innerHeight:"+window.innerHeight);

        }

    </script>

</head>

<body>

</body>

</html>
IE浏览器不支持console.log
navigator 对象
navigator.userAgent 获取浏览器相关信息
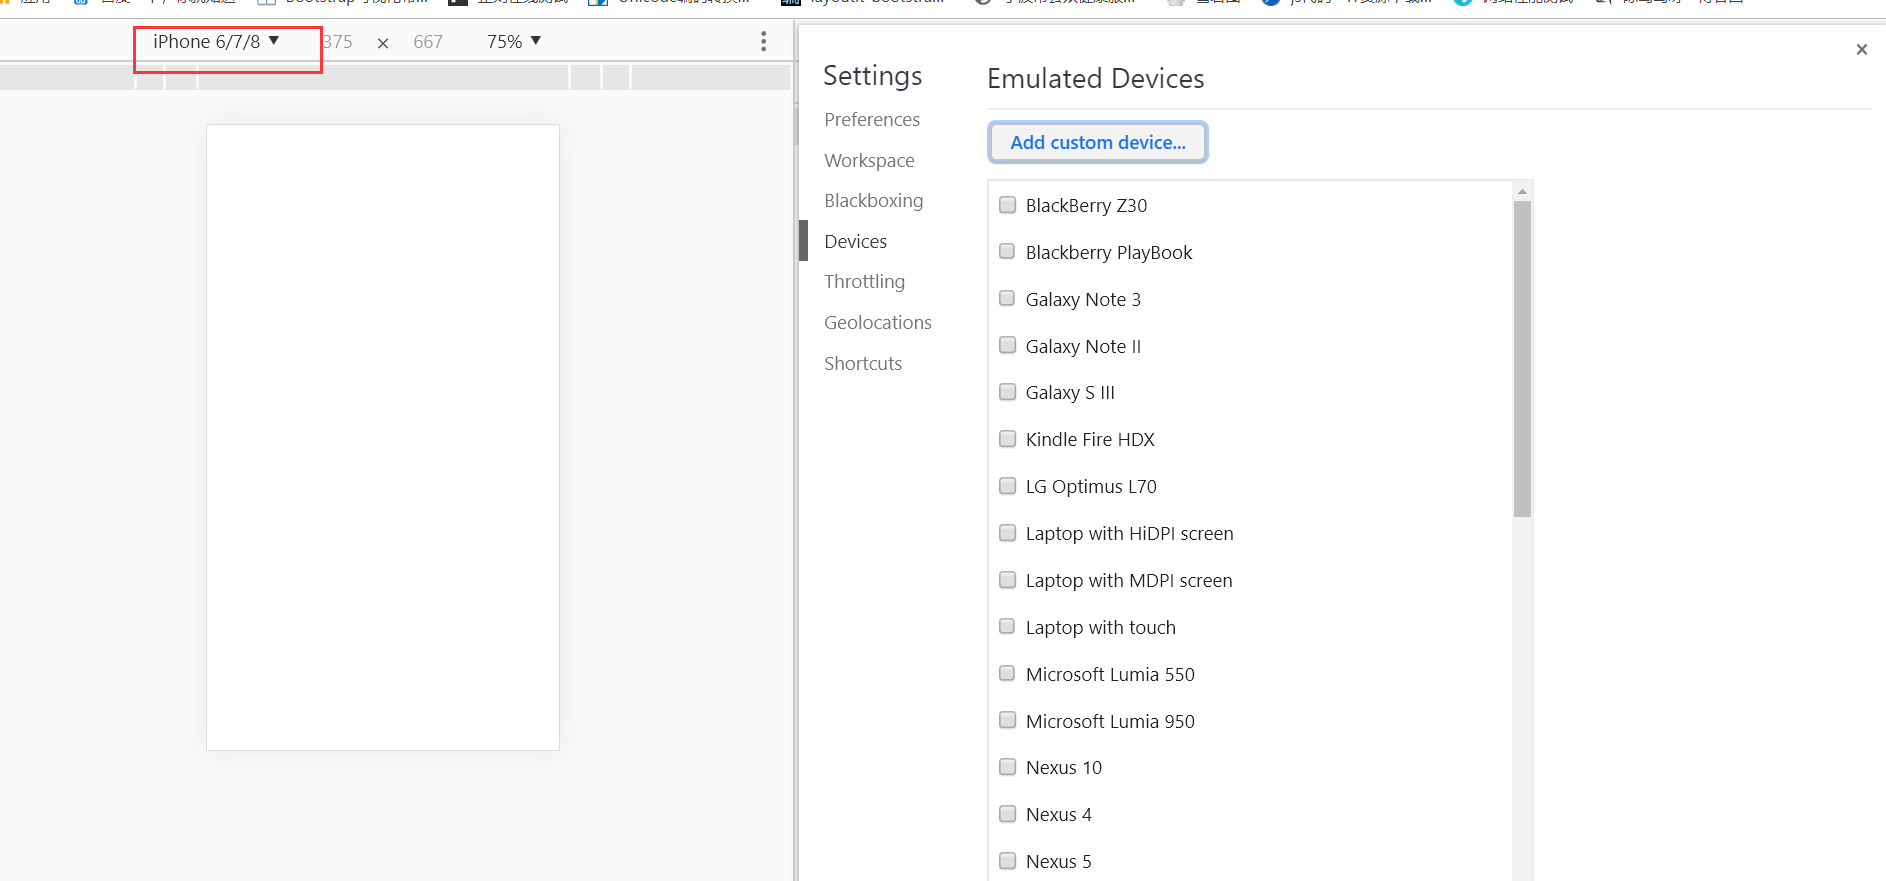
控制台的移动端设备可以编辑新增
<!DOCTYPE html>

<html lang="en">

<head>

    <meta charset="UTF-8">

    <title>Document</title>

    <style>

        body{

            width:100%;

            height:100%;

        }

    </style>

    <script>

        window.onload=function(){

            function getBrowser(){

                var explorer=navigator.userAgent.toLowerCase();

                if(explorer.indexOf("msie")>-1){

                    return "IE8~10(低版本IE)";

                }else if(explorer.indexOf("trident")>-1){

                    return "高版本IE或者edge浏览器";

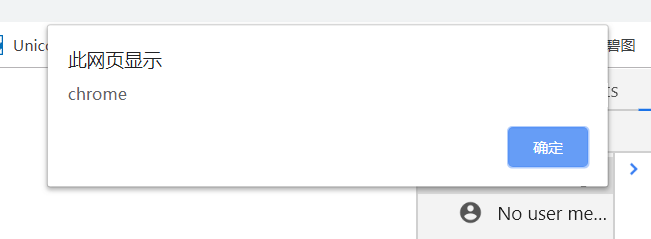
                }else if(explorer.indexOf("chrome")>-1){

                    return "chrome";

                }else if(explorer.indexOf("firefox")>-1){

                    return "firefox";

                }else if(explorer.indexOf("opera")>-1){

                    return "opera";

                }else if(explorer.indexOf("safari")>-1){

                    return "safari";

                }else{

                    return "未知浏览器";

                }

            }

            var myBrowser=getBrowser();

            alert(myBrowser);

        }

    </script>

</head>

<body>

</body>

</html>
浏览器对象模型“BOM”,对浏览器窗口进行访问和操作的更多相关文章
- 浏览器对象模型BOM小结
概念 BOM (Browser Object Model) 浏览器对象模型 BOM提供了独立于内容而与浏览器窗口进行交互的对象 BOM主要用于管理窗口与窗口之间的通讯,因此其核心对象是window B ...
- 浏览器对象模型BOM
第二章 浏览器对象模型BOM 1.作用:操作窗口:提供导航对象:提供定位对象:浏览器上方的地址栏:提供跟屏幕相关对象:提供对Cookie的支持 2.根元素:window:代表整个窗口:window,o ...
- 浏览器对象模型BOM(Browser Object Model)
1.结构 BOM是Browser Object Model的缩写,简称浏览器对象模型 BOM提供了独立于内容而与浏览器窗口进行交互的对象 由于BOM主要用于管理窗口与窗口之间的通讯,因此其核心对象是w ...
- JavaScript高级程序设计(第3版)学习笔记·第8章——浏览器对象模型BOM
转自:http://www.shaoqun.com/a/43768.aspx 访问和操作浏览器窗口的模型称为浏览器对象模型BOM(Browser Object Model),但习惯上是把所有针对浏览器 ...
- ExtJS浏览器对象模型BOM——命名空间和用户代理对象、Cookie
BOM(浏览器对象模型(BrowserObjectModel)),允许访问和操控浏览器窗口.研发者通过使用BOM,可移动窗口.更改状态栏文本.执行其它不与页面内容发生直接联系的操作. 本文将从ExtJ ...
- 浏览器对象模型bom的作用是什么?
浏览器对象模型bom的作用是什么? 零.总结 1.BOM提供了独立于内容而与浏览器窗口进行交互的对象 2.BOM提供了一些访问窗口对象的一些方法,我们可以用它来移动窗口位置,改变窗口大小,打开新窗口和 ...
- 浏览器对象模型(BOM)是什么?(体系结构+知识详解)(图片:结构)
浏览器对象模型(BOM)是什么?(体系结构+知识详解)(图片:结构) 一.总结 1.BOM操作所有和浏览器相关的东西:网页文档dom,历史记录,浏览器屏幕,浏览器信息,文档的地址url,页面的框架集. ...
- JavaScript编程:浏览器对象模型BOM
4.浏览器对象模型BOM: document.body.offsetwidth可以获取浏览器宽度. Window对象: 窗口操作: 1.moveBy(dx,dy ...
- JavaScript 浏览器对象模型 (BOM)
浏览器对象模型 (BOM) 使 JavaScript 有能力与浏览器“对话”. 浏览器对象模型 (BOM) 浏览器对象模型(Browser Object Model)尚无正式标准. 由于现代浏览器已经 ...
- 浏览器对象模型(BOM)
BOM结构 用户浏览网页的时候,浏览器会自动创建一些对象,这些对象存放着浏览器窗口的属性和相关信息,也就是大家熟称的BOM.浏览器对象模型是一个层次化的对象集,我们可以通过window对象访问所有对象 ...
随机推荐
- 手把手写框架入门(一) | 核心拦截器DispatchFilter实现
前言 1Filter实现框架拦截 1配置自定义Filter 2创建一个Filter 3创建一个ActionMapping 4创建一个ActionMapper 5创建一个WebExecutor 6创建测 ...
- SSH(二)
SSH框架整合的系统架构,Action.Service.Dao.SessionFactory.DataSource都可以作为Spring的Bean组件管理 使用HibernateDaoSupport基 ...
- 微信小程序框架分析小练手(三)——仿香哈菜谱小程序制作
香哈菜谱是一款围绕美食而成的小程序,在这里可以查看各式各样的菜谱. 一.打开微信开发者工具,新建一个项目:xhcp.如下图: 二.建立如下的一些目录: 三.将底部标签导航图标.美食轮播图片.宫格导航图 ...
- 林大妈的JavaScript进阶知识(一):对象与内存
JavaScript中的基本数据类型 在JS中,有6种基本数据类型: string number boolean null undefined Symbol(ES6) 除去这六种基本数据类型以外,其他 ...
- 【MySQL 原理分析】之 Trace 分析 order by 的索引原理
一.背景 昨天早上,交流群有一位同学提出了一个问题.看下图: 我不是大佬,而且当时我自己的想法也只是猜测,所以并没有回复那位同学,只是接下来自己做了一个测试验证一下. 他只简单了说了一句话,就是同样的 ...
- POJ_2479_DP
http://poj.org/problem?id=2479 从前向后保存起点到每一点的最长串,从后向前保存尾点到每一点的最长串. 然后枚举中断点,找前后和最大值就行了. #include<io ...
- Windows系统-cmd中的tracert命令
大部分同学都是用的Linux系统来测试网络命令相关工具,我用Windows10系统来测试tracert. tracert:也被称为Windows路由跟踪实用程序,在命令提示符(cmd)中 ...
- 用赋值表达式作为bool值
enum Status { stOk, stQuit, stError }; int main() { Status status; int n; bool b1 = (status = stOk); ...
- 业余无线电A类考试准备笔记
在线模拟自测地址:https://liunan.github.io/crac/ 共361题,到LK0074 1004/2890行 Key Word: 要合法 要服从管理 Note: 无线电管理 最高法 ...
- 某cms审计思路,以及ci框架如何找寻注入点
某cms审计思路,以及ci框架如何找寻注入点 ABOUT 之前闲着没事的时候审的某cms,之前看一群大表哥刷过一次这个cms,想着看看还能不能赶得上分一杯羹,还是审计出来些东西,来说一说一个前台注入吧 ...