
后端学 Angular 2 —— 组件间通信
1. 父组件向子组件传递信息
使用@Input
子组件的属性用 @Input 进行修饰,在父组件的模板中绑定变量
例子:
import { Component, OnInit, Input } from '@angular/core';

@Component({

    selector: 'my-input',

    template: `

    <h1>I am your father!</h1>

    <p>{{content}}</p>

    <input-child [content]="content"></input-child>

    `

})

export class InputComponent implements OnInit {

    content: string = 'May the force be with you';

    ngOnInit() { }

}

@Component({

    selector: 'input-child',

    template: `

    <h1>The skywalker.</h1>

    <p>{{content}}</p>`

})

export class InputChildComponent {

    @Input() content: string = '';

}
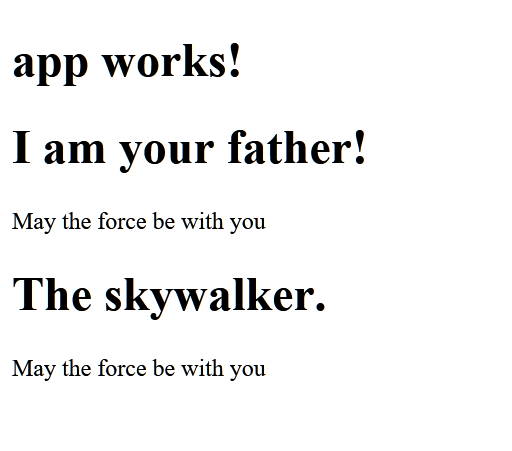
效果:
使用 setter 拦截输入的属性
在子组件中做一些修改,添加两个私有字段:revertContent、_content,然后为 _content 添加 setter 和 getter
代码
@Component({

    selector: 'input-child',

    template: `

    <h1>The skywalker.</h1>

    <p>{{content}}</p>

    <p>{{revertContent}}</p>`

})

export class InputChildComponent {

    revertContent: string;

    _content: string = '';

    @Input() set content(str: string) {

        this._content = str;

        this.revertContent = str.split(' ').reverse().join(' ');

    }

    get content() {

        return this._content;

    }

}
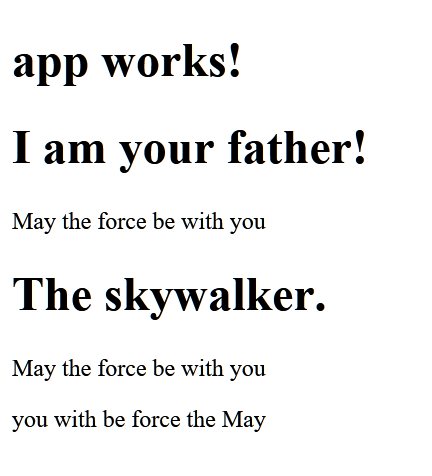
效果:
使用 ngOnChanged 拦截输入的属性
首先要修改一下 import 内容:
import { Component, OnInit, Input, OnChanges, SimpleChange } from '@angular/core';
然后让子组件实现 OnChanges 接口的 ngOnchanges 方法,修改后的子组件如下:
@Component({

    selector: 'input-child',

    template: `

    <h1>The skywalker.</h1>

    <p>{{content}}</p>

    <p>{{revertContent}}</p>`

})

export class InputChildComponent implements OnChanges {

    revertContent: string = 'default content';

    _content: string = 'default content';

    @Input() set content(str: string) {

        this._content = str;

    }

    get content() {

        return this._content;

    }

    ngOnChanges(changes: { [propKey: string]: SimpleChange }) {

        if (changes['content'] !== undefined) {

            let value = <string>(changes['content'].currentValue);

            this.revertContent = value.split(' ').reverse().join(' ');

            this.revertContent = `revert "${value}" to "${this.revertContent}"`;

        }

    }

}
ngOnChanges 是一个生命周期钩子,下图指出了这个方法的调用时机。

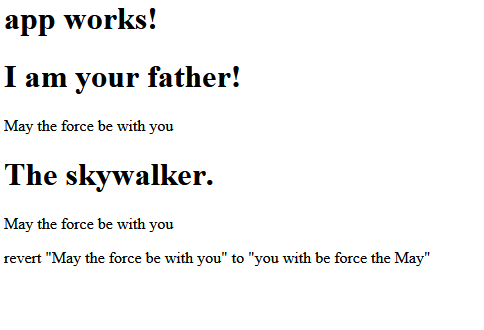
效果:
2. 子组件向父组件传递消息
子组件使用 EventEmitter<TEvent>
子组件中声明一个 EventEmitter<TEvent> 属性,然后在父组件的模板中添加这个事件的监听器
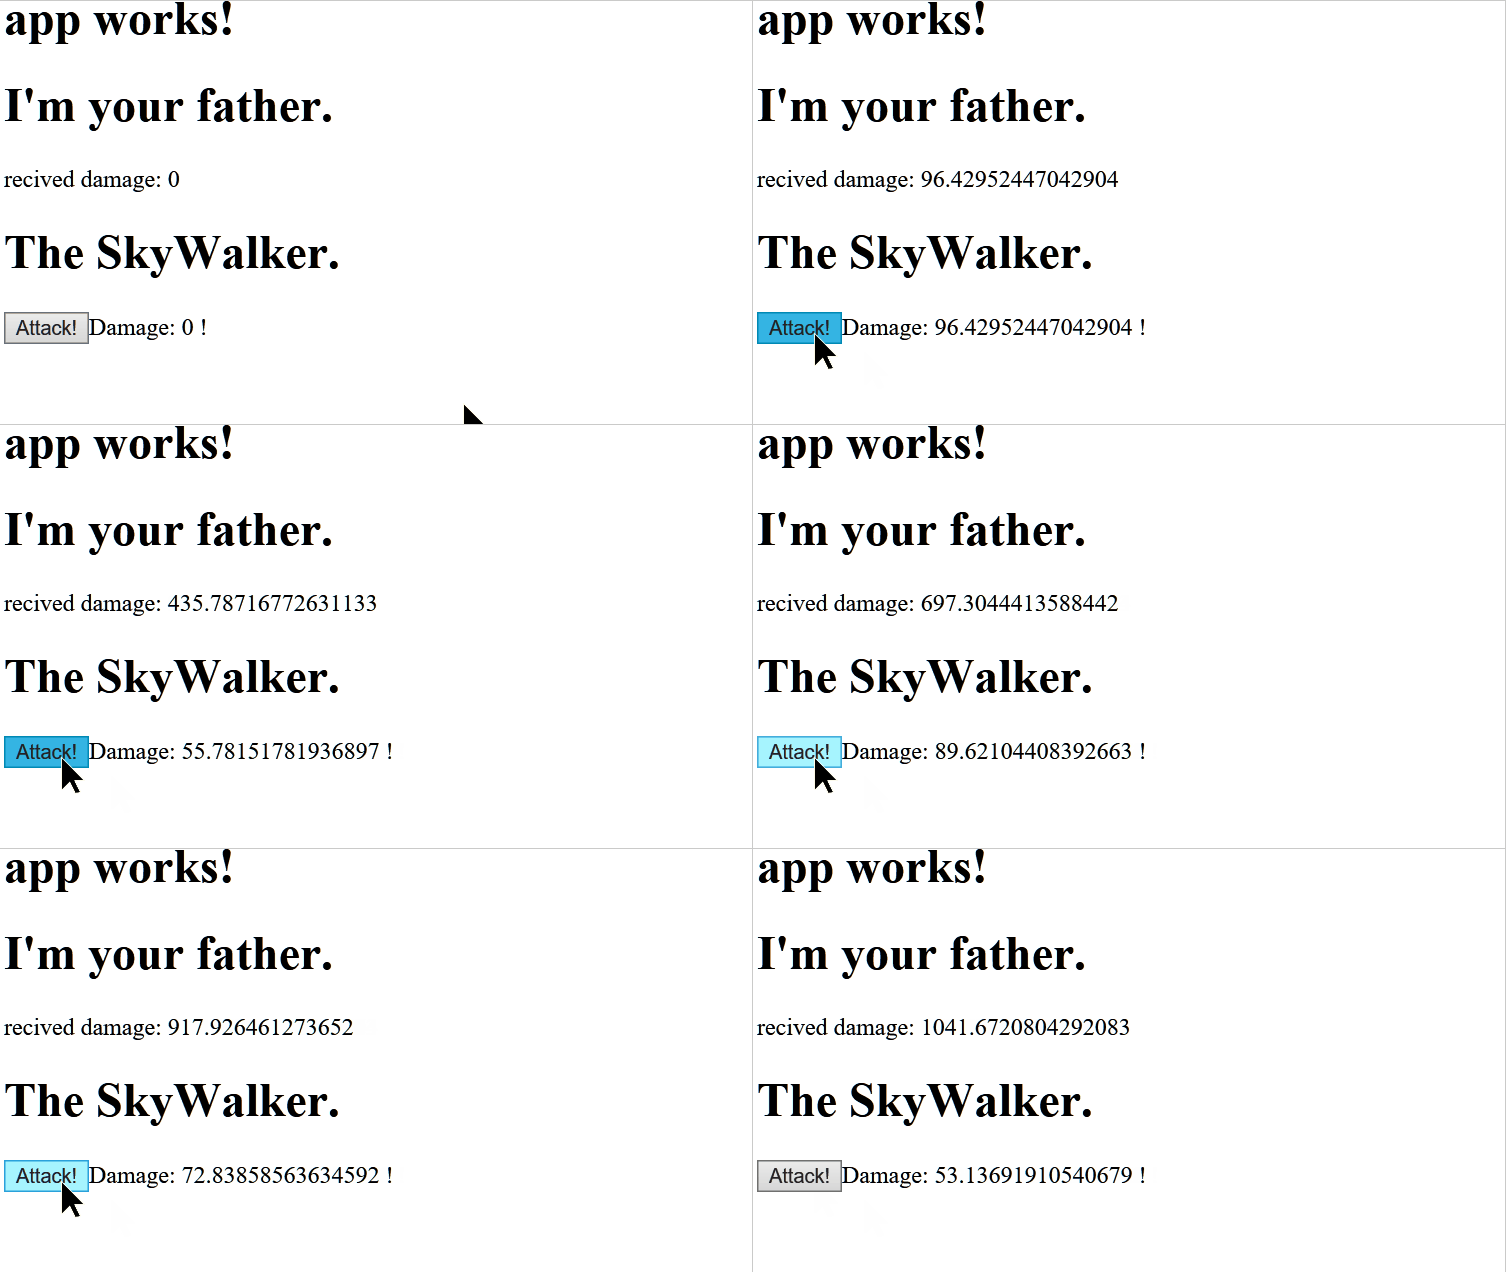
代码:
import { Component, OnInit, Output, EventEmitter } from '@angular/core';

@Component({

    selector: 'event',

    template: `

    <h1>I'm your father.</h1>

    <p>recived damage: {{damage}}</p>

    <event-child (onAttacked)="onAttackedHandler($event)"></event-child>`

})

export class EventComponent implements OnInit {

    damage: number = 0;

    onAttackedHandler(damage: number) {

        this.damage += damage;

    }

    ngOnInit() { }

}

@Component({

    selector: 'event-child',

    template: `

    <h1>The SkyWalker.</h1>

    <button (click)="attack()">Attack!</button><span>Damage: {{damage}} !</span>

    `

})

export class EventChildComponent {

    private baseDamage: number = 100;

    damage: number = 0;

    @Output() onAttacked = new EventEmitter<number>();

    attack() {

        this.damage = Math.random() * this.baseDamage;

        this.onAttacked.emit(this.damage);

    }

}
使用本地变量
在父组件模板中使用 #xxx 这样的本地变量绑定子组件,然后就可以在模板中直接使用子组件的属性作为数据源
@Component({

    selector: 'event',

    template: `

    <h1>I'm your father.</h1>

    <p>recived damage: {{damage}}</p>

    <p>last damage: {{child.damage}}</p>

    <event-child #child (onAttacked)="onAttackedHandler($event)"></event-child>`

})

export class EventComponent implements OnInit {

    damage: number = 0;

    onAttackedHandler(damage: number) {

        this.damage += damage;

    }

    ngOnInit() { }

}
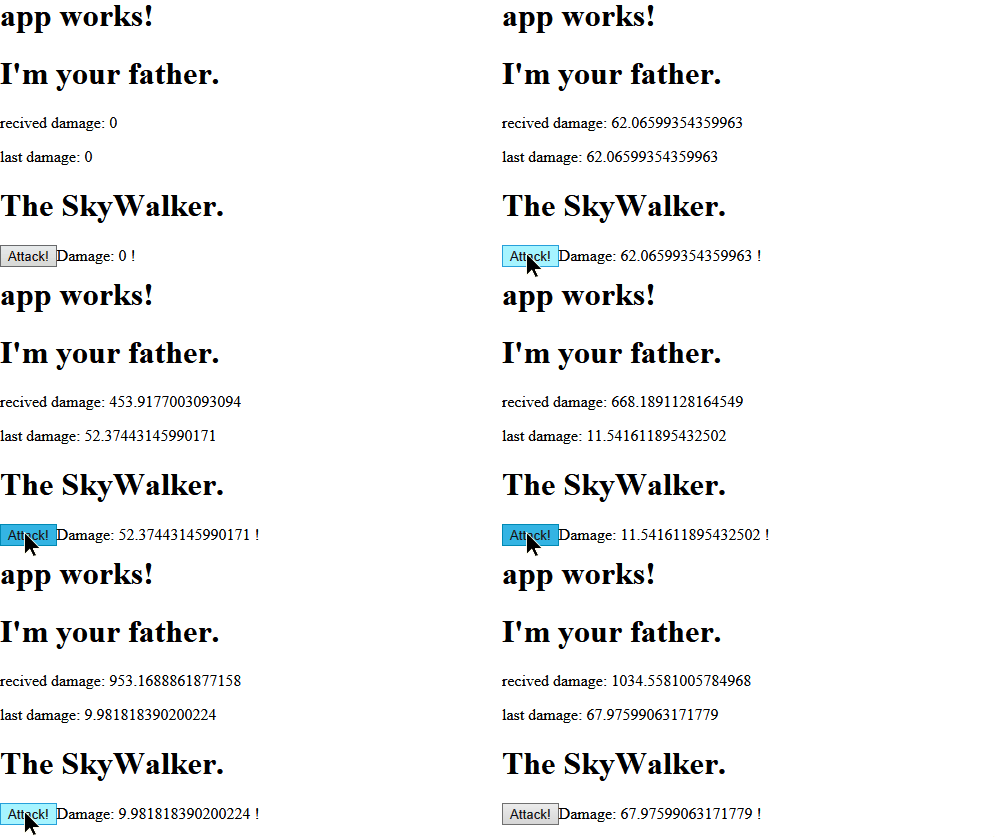
使用 @ViewChild
父组件中使用 @ViewChild 获取子组件的引用,然后使用方法同上
import { Component, OnInit, Output, EventEmitter, ViewChild } from '@angular/core';

@Component({

    selector: 'event-child',

    template: `

    <h1>The SkyWalker.</h1>

    <button (click)="attack()">Attack!</button><span>Damage: {{damage}} !</span>

    `

})

export class EventChildComponent {

    private baseDamage: number = 100;

    damage: number = 0;

    @Output() onAttacked = new EventEmitter<number>();

    attack() {

        this.damage = Math.random() * this.baseDamage;

        this.onAttacked.emit(this.damage);

    }

}

// 注意,这里我交换了父子组件的位置,现在父组件的定义放在了下面

@Component({

    selector: 'event',

    template: `

    <h1>I'm your father.</h1>

    <p>recived damage: {{damage}}</p>

    <p>last damage: {{child.damage}}</p>

    <event-child  (onAttacked)="onAttackedHandler($event)"></event-child>`

})

export class EventComponent implements OnInit {

    damage: number = 0;

    @ViewChild(EventChildComponent) child: EventChildComponent;

    onAttackedHandler(damage: number) {

        this.damage += damage;

    }

    ngOnInit() { }

}
终极大招——组件间使用 service 通信
首先让我们在文件的开头定义一个 AttackService:
import { Component, OnInit, Injectable } from '@angular/core';

import { Subject } from 'rxjs/Subject';

import { Observable } from 'rxjs/Rx';

@Injectable()

export class AttackService {

    // 用来产生数据流的数据源

    private damageSource = new Subject<number>();

    // 把数据流转换成 Observable

    damage$ = this.damageSource.asObservable();

    attack(damage: number) {

        // 把伤害输入到数据流

        this.damageSource.next(damage);

    }

}
然后在父组件与子组件中订阅这个数据流:
@Component({

    selector: 'event-child',

    template: `

    <h1>The SkyWalker.</h1>

    <button (click)="attack()">Attack!</button><span>Damage: {{damage}} !</span>

    `

})

export class EventChildComponent {

    private baseDamage: number = 100;

    damage: number = 0;

    constructor(private attackService: AttackService) {

    }

    attack() {

        this.damage = Math.random() * this.baseDamage;

        // 天行者调用 AttackService 产生伤害

        this.attackService.attack(this.damage);

    }

}

// 注意,这里我交换了父子组件的位置,现在父组件的定义放在了下面

@Component({

    selector: 'event',

    providers: [AttackService], // 向父组件注入 AttackService,这样,父组件与子组件就能共享一个单例的 service

    template: `

    <h1>I'm your father.</h1>

    <p>recived damage: {{damage}}</p>

    <p>last damage: {{lastDamage}}</p>

    <event-child></event-child>`

})

export class EventComponent implements OnInit {

    damage: number = 0;

    lastDamage: number = 0;

    constructor(private attackService: AttackService) {

        // 父组件订阅来自天行者的伤害

        this.attackService.damage$.subscribe(damage => {

            this.lastDamage = damage;

            this.damage += damage;

        }, error => {

            console.log('error: ' + error);

        });

    }

    ngOnInit() { }

}
效果:
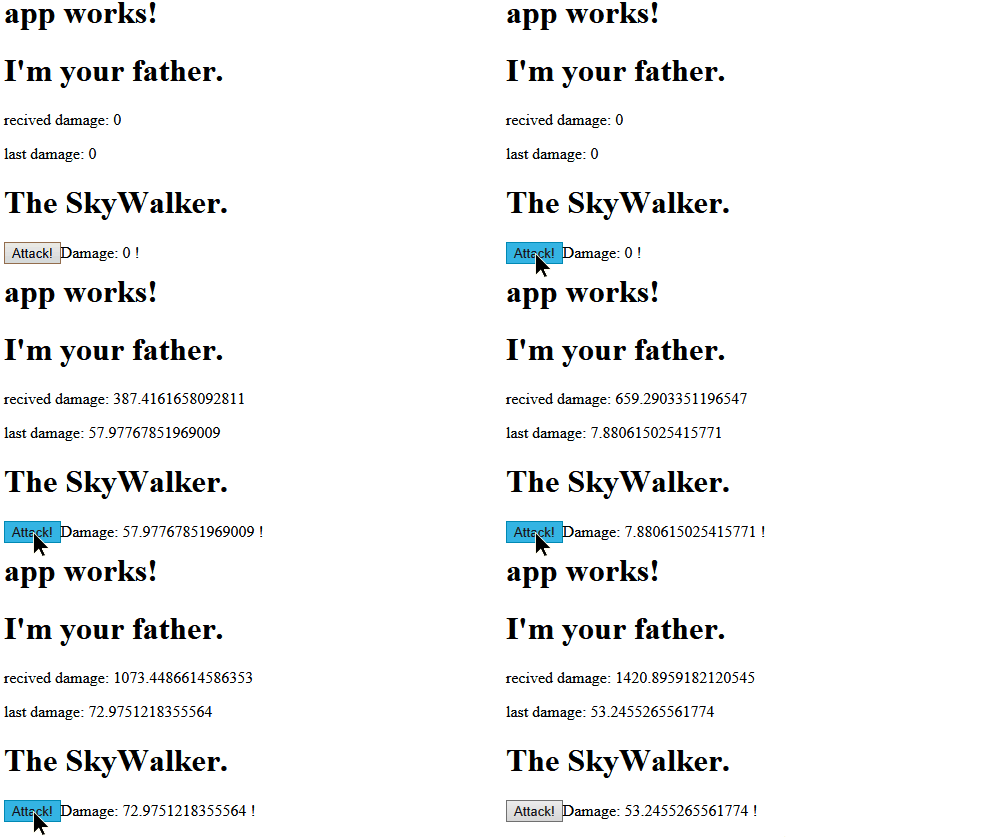
如果我们把 service 注册到根模块,那么,就可以在整个 app 中共享数据啦~
后端学 Angular 2 —— 组件间通信的更多相关文章
- Angular : 响应式编程, 组件间通信, 表单
Angular 响应式编程相关 ------------------------------------------------------------------------------------ ...
- React 精要面试题讲解(二) 组件间通信详解
单向数据流与组件间通信 上文我们已经讲述过,react 单向数据流的原理和简单模拟实现.结合上文中的代码,我们来进行这节面试题的讲解: react中的组件间通信. 那么,首先我们把看上文中的原生js代 ...
- python 全栈开发,Day91(Vue实例的生命周期,组件间通信之中央事件总线bus,Vue Router,vue-cli 工具)
昨日内容回顾 0. 组件注意事项!!! data属性必须是一个函数! 1. 注册全局组件 Vue.component('组件名',{ template: `` }) var app = new Vue ...
- vue组件间通信六种方式(完整版)
本文总结了vue组件间通信的几种方式,如props. $emit/ $on.vuex. $parent / $children. $attrs/ $listeners和provide/inject,以 ...
- Vue组件间通信6种方式
摘要: 总有一款合适的通信方式. 作者:浪里行舟 Fundebug经授权转载,版权归原作者所有. 前言 组件是 vue.js 最强大的功能之一,而组件实例的作用域是相互独立的,这就意味着不同组件之间的 ...
- React独立组件间通信联动
React是现在主流的高效的前端框架,其官方文档 http://reactjs.cn/react/docs/getting-started.html 在介绍组件间通信时只给出了父子组件间通信的方法,而 ...
- 聊聊Vue.js组件间通信的几种姿势
写在前面 因为对Vue.js很感兴趣,而且平时工作的技术栈也是Vue.js,这几个月花了些时间研究学习了一下Vue.js源码,并做了总结与输出. 文章的原地址:https://github.com/a ...
- 【Vue】利用父子组件间通信实现一个场景
组件间通信是组件开发的,我们既希望组件的独立性,数据能互不干扰,又不可避免组件间会有联系和交互. 在vue中,父子组件的关系可以总结为props down,events up: 在vue2.0中废弃了 ...
- vue_组件间通信:自定义事件、消息发布与订阅、槽
自定义事件 只能用于 子组件 向 父组件 发送数据 可以取代函数类型的 props 在父组件: 给子组件@add-todo-event="addTodo" 在子组件: 相关方法中, ...
随机推荐
- iOS10 适配、Xcode8配置总结
随着iOS10的推送更新到来,勤劳的程序员又在加班加点的搬砖了,为此收集了一些iOS10 更新的技能给大伙参考,不断更新喜欢就star 前沿 一.Xcode8 插件你去哪了 以为是和之前一样 Xcod ...
- spark-submit 分发应用
Spark 提供了一个名为spark-submit 的单一工具来跨集群管理器的提交作业,命令如下: bin/spark-submit [options] <app jar | python fi ...
- DOS命令追加符的使用
@echo off start \\192.168.10.120\常用软件\系统工具\远程客户端\winvnc.exe #打开共享的远程客户端程序 ipconfig /all > d:\disp ...
- 移动Web开发调研
背景 在移动互联网浪潮下,移动设备普及,对配置需要考虑移动端设备可访问性.Web作为最贴近用户的配置手段,面向从PC端传统页面,向移动端页面的转型. 概念 PC Web: 面向传统PC电脑的浏览器开发 ...
- Python模块和包
模块和包是python组织代码的基本方式. 模块: python的每一个脚本文件都可称之为模块,模块的名称就是脚本的文件名.例如当我们写了一个test.py的脚本文件,则可以在同目录下的另外一个脚本m ...
- My 1st webUI try
1. Add three control to the UI: StartTime EndTime Weekdays: 2015-11-17 20:26:40 data-model: Html5在ht ...
- hasOwnProperty 递归 简单回调 链式调用
1.hasOwnProperty 函数的返回值为Boolean类型.如果对象object具有名称为propertyName的属性,则返回true,否则返回false. function Box(){ ...
- jtree添加节点
利用Model添加了节点之后,需要reload树
- SQL用先进先出存储过程求出库数量
create table t( id ,), name ),--商品名称 j int, --入库数量 c int, --出库数量 jdate datetime --入库时间 ) ,,'2007-12- ...
- 论文阅读(Lukas Neuman——【ICDAR2015】Efficient Scene Text Localization and Recognition with Local Character Refinement)
Lukas Neuman--[ICDAR2015]Efficient Scene Text Localization and Recognition with Local Character Refi ...