nginx 配置文件与日志模块
内容概要
- Nginx 虚拟主机
- 基于多 IP 的方式
- 基于多端口的方式
- 基于多域名的方式
- 日志配置(日志格式详解)
- Nginx 访问控制模块(可以去 Nginx.org 文档 documentation 查找)
- Nginx 访问认证模块
- Nginx 状态监控模块
内容详细
一、Nginx 虚拟主机
搭建完 Nginx 服务之后,可以通过多种方式来访问网站
1、基于多 IP 的方式
[root@web01 conf.d]# cat game2.conf

server {

    listen 80;

    server_name 192.168.15.7;		< -- 使用不同的 IP 地址访问进入不同的网站根目录

    location / {

	    root /opt/Super_Marie;

        index index.html;

    }

}

server {

    listen 80;

    server_name 172.16.1.7;		< -- 使用不同的 IP 地址访问进入不同的网站根目录

    location / {

        root /opt/tank;

        index index.html;

    }

}
2、基于多端口的方式
[root@web01 conf.d]# cat game3.conf

server {

    listen 80;					< -- 使用不同的 端口 访问进入不同的网站根目录

    server_name 192.168.15.7;

    location / {

        root /opt/Super_Marie;

        index index.html;

    }

}

server {

    listen 81;					< -- 使用不同的 端口 访问进入不同的网站根目录

    server_name 192.168.15.7;

    location / {

        root /opt/tank;

        index index.html;

    }

}
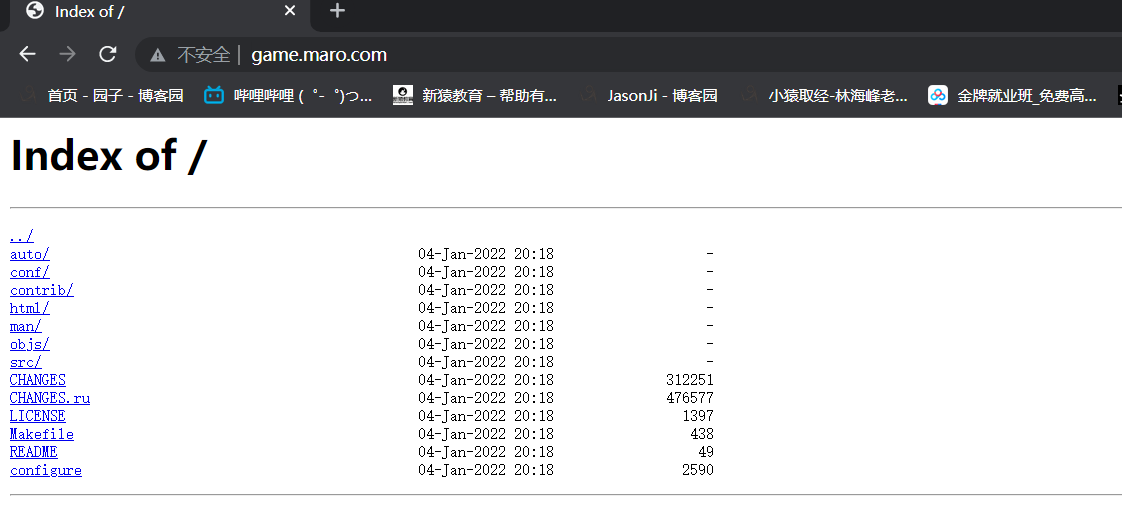
3、基于多域名的方式(需要配置 解析文件 hosts)
[root@web01 conf.d]# cat game4.conf

server {

    listen 80;

    server_name game.maro.com;

    location / {

        root /opt/Super_Marie;

        index index.html;

    }

}

server {

    listen 80;

    server_name game.chinese_chess.com;

    location / {

        root /opt/tank;

        index index.html;

    }

}

# 配置解析文件

windows

	C:\Windows\System32\drivers\etc\hosts
二、Nginx 日志详解
# 企业中 Nginx 日志监控指标(日志作用)

	网站状态码是500的比例:

		比例高表示网站稳定性不好

	网站的访问来源

		查看恶意访问 IP ,短时间发起大量请求

	网站排错

		查看 Nginx 报错位置

		systemctl status nginx.service -l

		或查看日志

		cat /var/log/nginx/error.log

$remote_addr  : 客户端IP

$http_x_forwarded_for  : 真实的客户端IP(在反向代理中生效)

Nginx 日志格式配置文件 : /etc/nginx/nginx.conf
    log_format json '{"@timestamp":"$time_iso8601",'

                  '"host":"$server_addr",'

                  '"service":"nginxTest",'

                  '"trace":"$upstream_http_ctx_transaction_id",'

                  '"log":"log",'

                  '"clientip":"$remote_addr",'

                  '"remote_user":"$remote_user",'

                  '"request":"$request",'

                  '"http_user_agent":"$http_user_agent",'

                  '"size":$body_bytes_sent,'

                  '"responsetime":$request_time,'

                  '"upstreamtime":"$upstream_response_time",'

                  '"upstreamhost":"$upstream_addr",'

                  '"http_host":"$host",'

                  '"url":"$uri",'

                  '"domain":"$host",'

                  '"xff":"$http_x_forwarded_for",'

                  '"referer":"$http_referer",'

                  '"status":"$status"}';

    access_log /var/log/nginx/access.log json ;
简约版本
    log_format  main  '$remote_addr - $remote_user [$time_local] "$request" '

                      '$status $body_bytes_sent "$http_referer" '

                      '"$http_user_agent" "$http_x_forwarded_for"';

    access_log  /var/log/nginx/access.log  main;
日志格式详解
搭配日志输出结果了解日志变量意思:

tail -f : 实时查看日志文件
[root@web01 ~]# tail -f /var/log/nginx/access.log

日志变量

$remote_addr : 客户端 IP (上一层访问的 IP ,如果是通过 VPN 访问,显示跳板机 IP)

$http_x_forwarded_for  : 真实的客户端IP(在反向代理中生效)

$remote_addr : 192.168.15.1

$remote_user [$time_local] : [04/Jan/2022:16:17:51 +0800]

$request : "GET / HTTP/1.1" (请求方式为 GET )

$status	: 404 (状态码)

$body_bytes_sent : 555 (文件大小)

$http_referer : "http://192.168.15.7/" (访问的域名)

$http_user_agent : "Mozilla/5.0 (Windows NT 10.0; Win64; x64) AppleWebKit/537.36 (KHTML, like Gecko) Chrome/96.0.4664.110 Safari/537.36" (请求载体的身份标识)
三、日志模块
Nginx 配备了很多日志模块,具体使用方法查看官方文档 : https://nginx.org/en/docs/
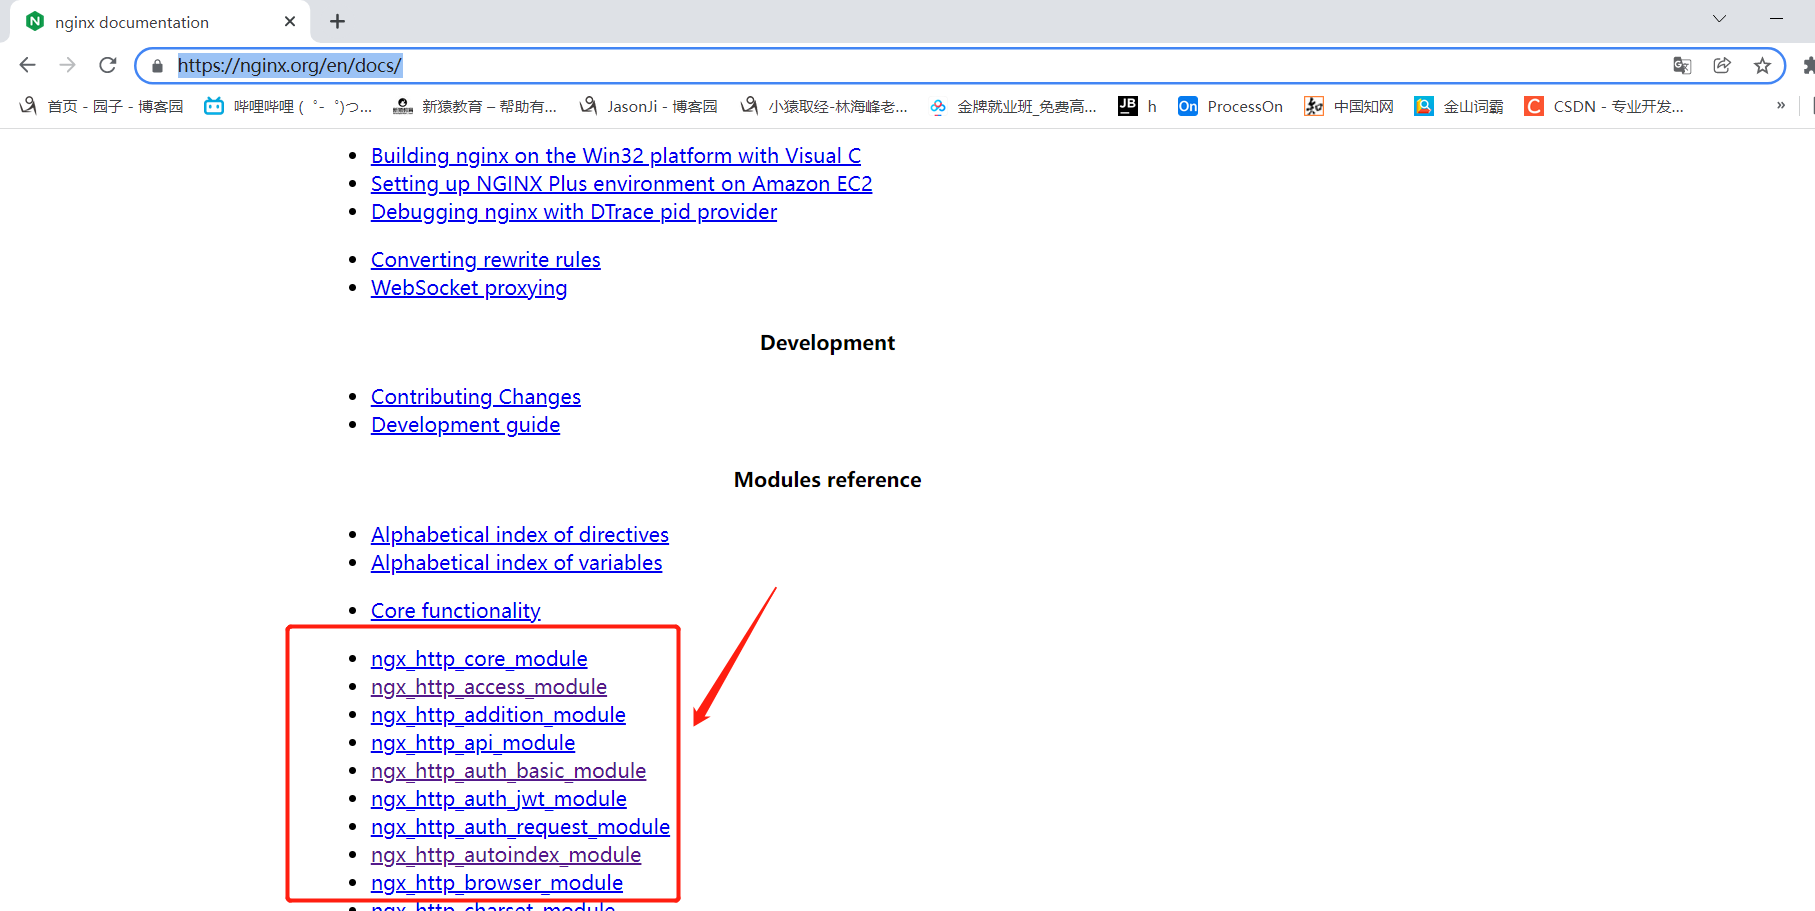
1、Nginx 访问控制模块
查看该模块原始启动状态

ngx_http_access_module
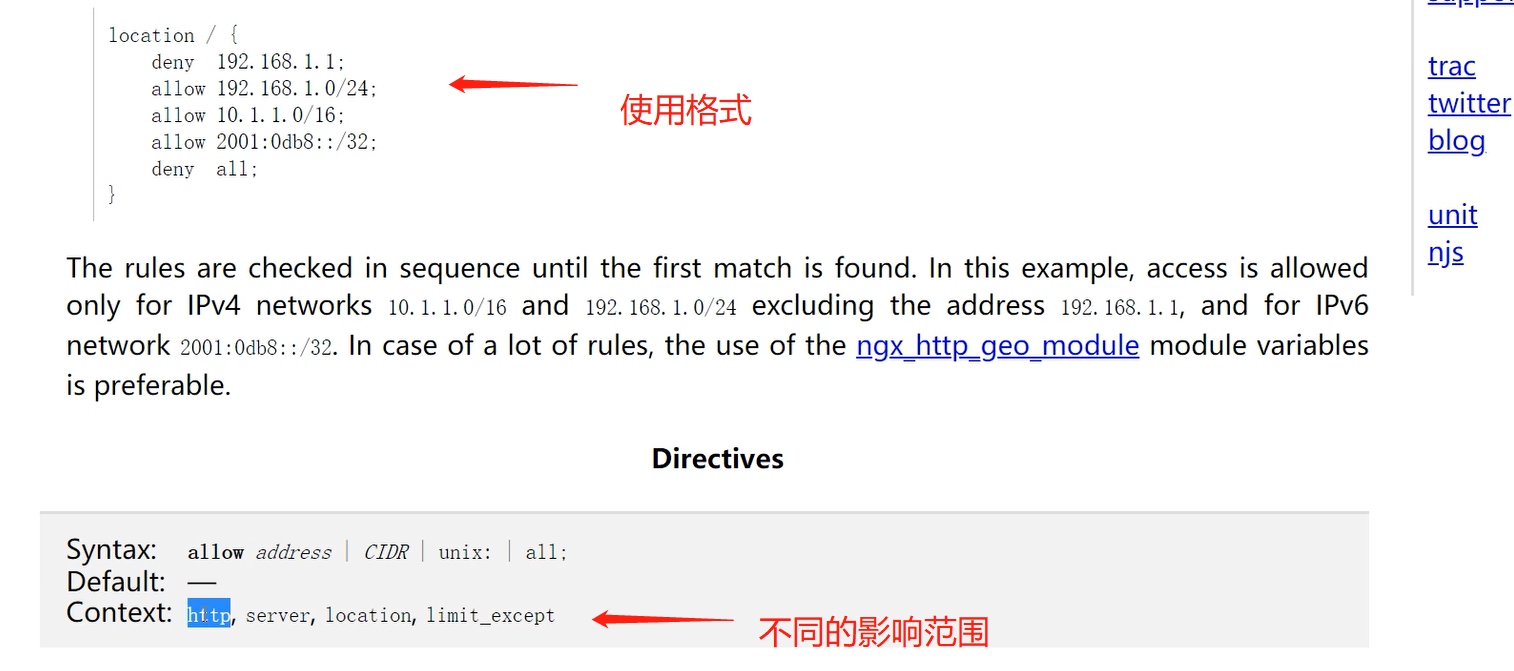
允许或者拒绝某些 IP 的访问

	deny	: 拒绝 (阻止某个访问者的 IP)

	allow	: 允许

案例1:允许192.168.15.1访问,不允许其他IP访问(执行顺序自上而下)

    allow 192.168.15.1;

    deny all;

案例2:允许192.168.15.0这个网段访问,不允许其他网段访问

    allow 192.168.15.0/24;

    deny all;

案例3:只允许通过VPN来访问

   allow 172.16.1.81;

   deny all;
ngx_http_auth_basic_module
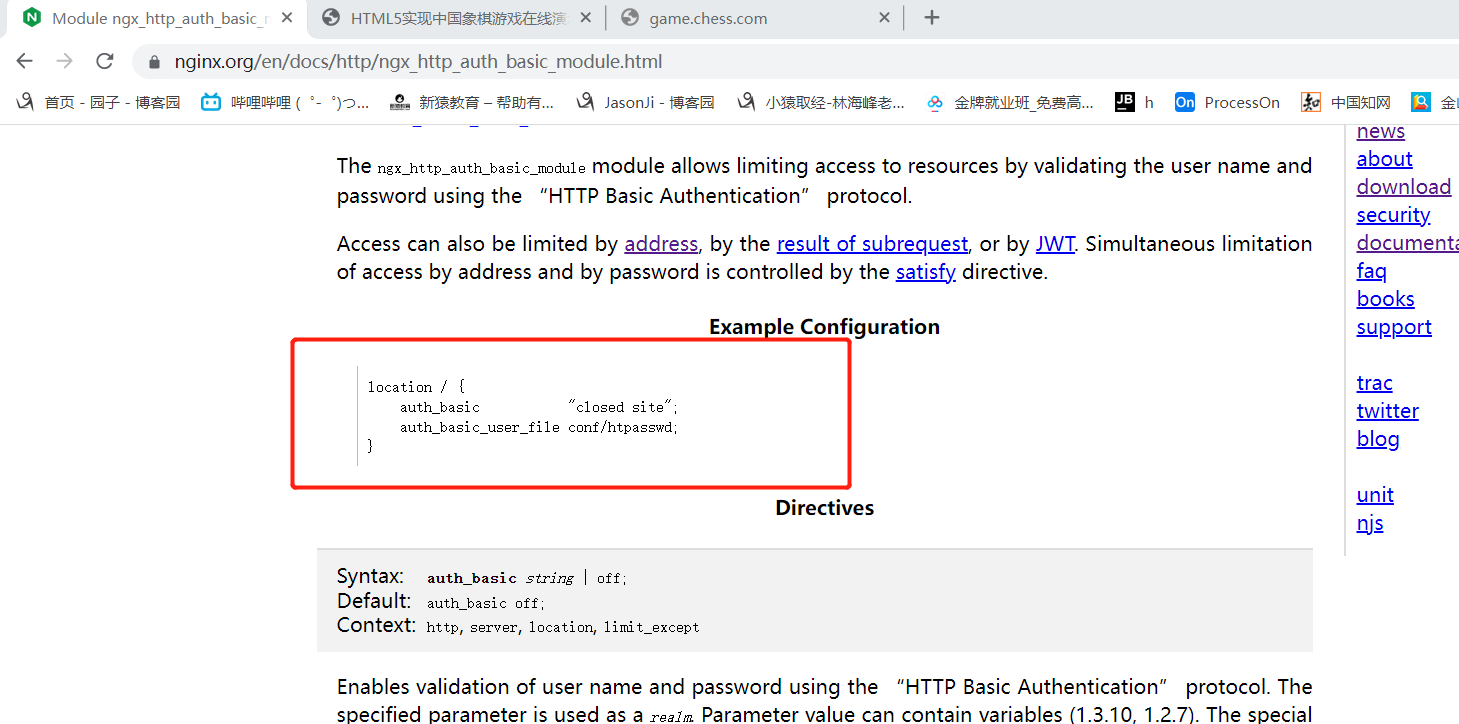
设置访问之前需要进行登录
1、安装httpd-tools
[root@web01 ~]# yum install httpd-tools -y
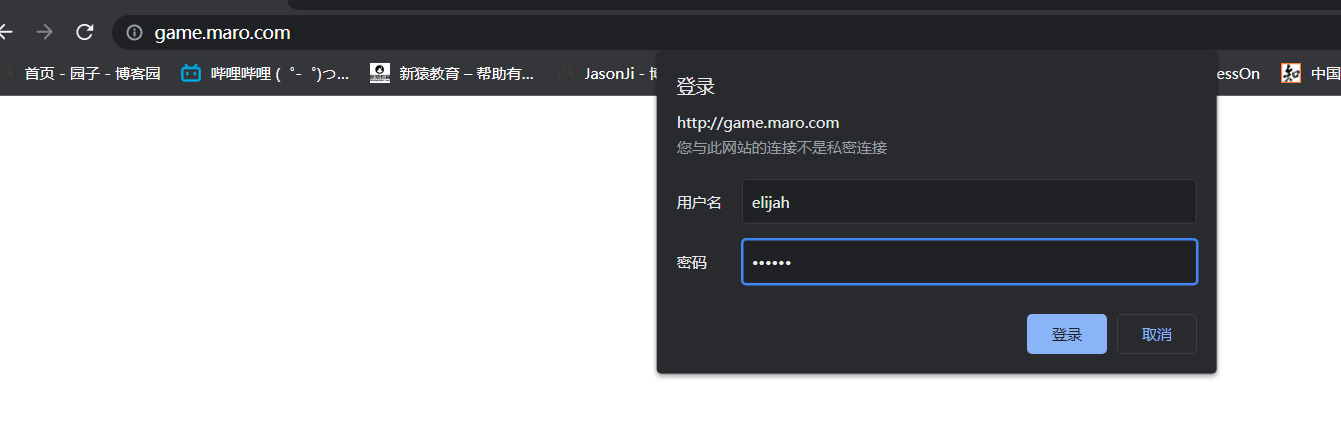
2、生成用户名密码文件
[root@web01 nginx]# htpasswd -c /etc/nginx/auth elijah
New password:
Re-type new password:
Adding password for user elijah (在 /etc/nginx 路径下创建认证文件 auth,登录用户名为 elijah)
[root@web01 nginx]# cat auth
elijah:$apr1$H9Mw0K6b$pOATFh4sydoHKIG8ciGYI1
3、将文件路径加入Nginx配置
[root@web01 conf.d]# cat game.conf
server {
listen 80;
server_name game.maro.com;
auth_basic "welcome to login"; < -- 将登录认证文件添加到 server 模块
auth_basic_user_file /etc/nginx/auth;
location / {
root /opt/super_Maro;
index index.html;
}
}
4、重启Nginx
[root@web01 conf.d]# systemctl restart nginx
ngx_http_autoindex_module
展示目录索引

autoindex on; 				(打开索引)

autoindex_exact_size on;	(显示文件大小)

autoindex_localtime on;		(显示文件时间,当地时间)

autoindex_format json;		(页面展示的格式 默认 html)
[root@web01 conf.d]# vim game.conf

[root@web01 conf.d]# cat game.conf

server {

    listen       80;

    server_name  game.maro.com;

    autoindex on;

    autoindex_exact_size on;

    autoindex_localtime on;

    autoindex_format html;

    location / {

        root   /tmp/nginx-1.20.2;

        index  index.html;

    }

}
补充:
nginx 如果是编译安装,想要执行 nginx 命令,需要输入完整目录

	/usr/local/nginx/sbin/nginx -t

太麻烦了,需要添加到环境变量才方便使用

	临时添加:

		PATH=$PATH:/usr/local/nginx/sbin

	永久添加:

		vim /root/.bash_profile

			PATH=$PATH:$HOME/bin:/usr/local/nginx/sbin

		source .bash_profile (使环境变量不用重启就能让里面新增的变量生效)
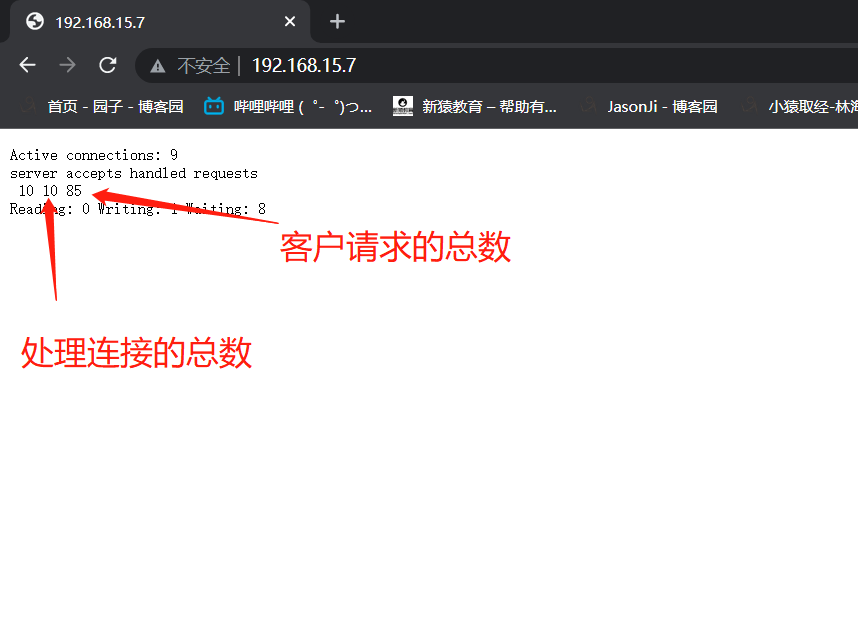
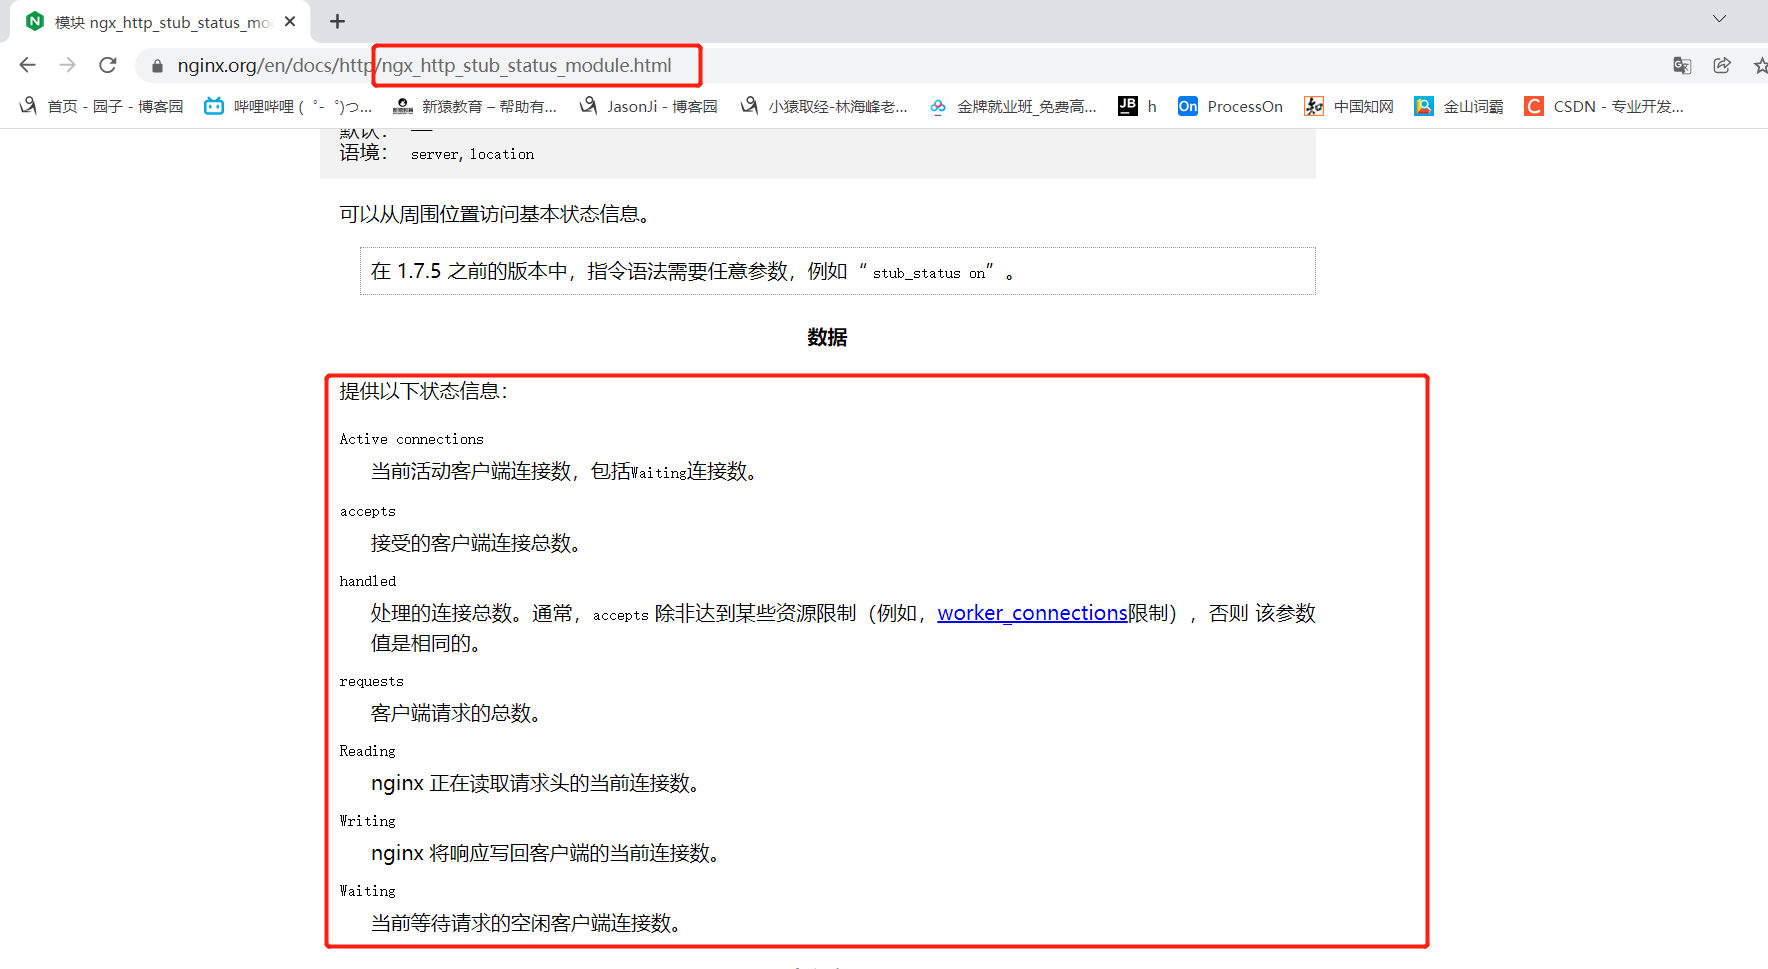
2、Nginx 状态监控模块
监控 Nginx 运行状态

[root@web01 conf.d]# cat game5.conf

server {

    listen 80;

    server_name 192.168.15.7;

    location / {

        stub_status;

    }

}
3、访问连接控制模块(控制访问速率)
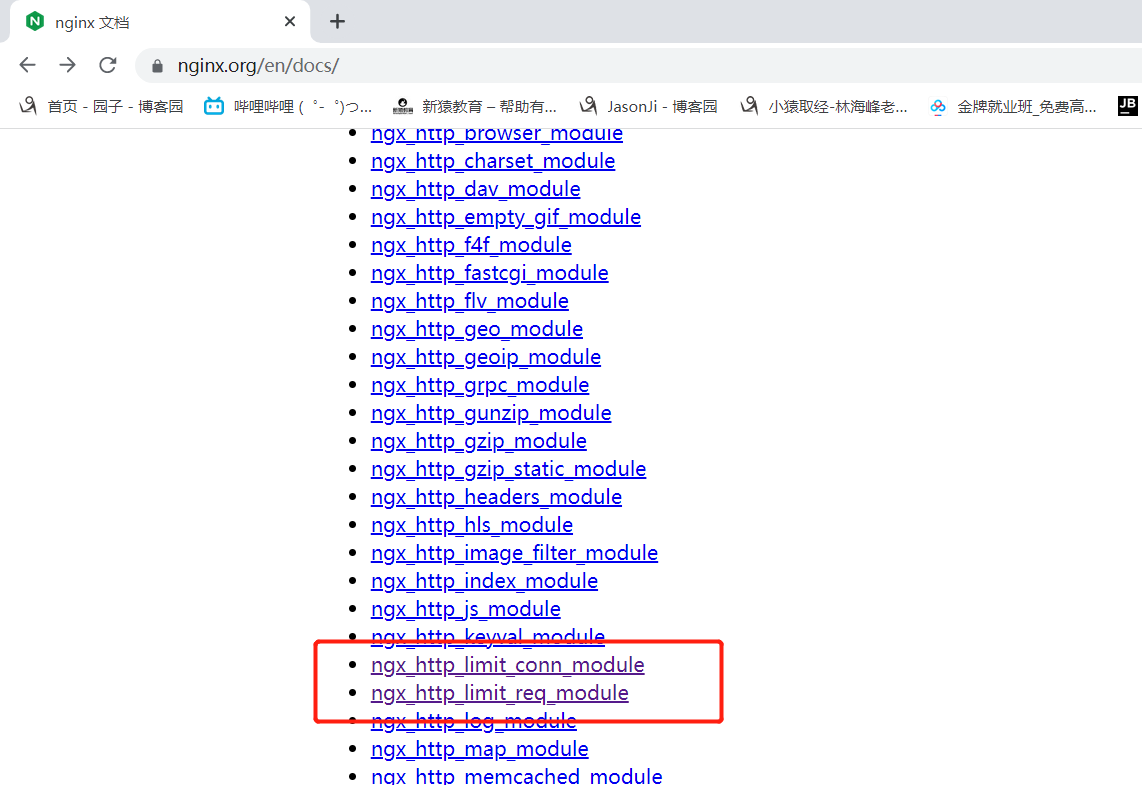
1、控制 Nginx 连接数
ngx_http_limit_conn_module
1、安装 ab 测命令(压力测试)

	yum install httpd-tools -y

2、ab 参数

	-n : 总共需要访问多少次

	-c : 每次访问多少个(请求数)

limit_conn_zone $remote_addr zone=addr:10m;

server {

    listen 80;

    server_name 192.168.15.7;

    limit_conn addr 1;

    location / {

        root /opt/super_Maro;

        index index.html;

    }

}
ngx_http_limit_req_module
2、控制 Nginx 访问量
1、创建连接池(可以用来记录被访问的次数)

    limit_req_zone $remote_addr zone=one:10m rate=1r/s;

    声明连接池      变量(客户端IP)  名称  连接池的大小  速率

2、限制数

	limit_req_zone $remote_addr zone=one:10m rate=1r/s;

server {

    listen 80;

    server_name 192.168.15.7;

    limit_req zone=one burst=5;	< -- 每秒超过1次请求的次数不能超过5个

        location  {

            root /opt/super_Maro;

            index index.html;

    }

}
nginx 配置文件与日志模块的更多相关文章
- Nginx配置文件及模块解析
一.Nginx是什么? Nginx是一个基于c语言开发的高性能http服务器及反向代理服务器.由俄罗斯的程序设计师Igor Sysoev所开发,官方测试nginx能够支支撑5万并发链接,并且cpu.内 ...
- nginx日志模块、事件模块
日志模块 1.access_log指令 语法: access_log path [format [buffer=size [flush=time]]]; access_log logs/access. ...
- 循序渐进nginx(三):日志管理、http限流、https配置,http_rewrite模块,第三方模块安装,结语
目录 日志管理 access_log error_log 日志文件切割 自定义错误页 http访问限流 限制请求数 语法 使用 限制连接数 语法 测试 补充: https配置 使用 生成证书 配置ng ...
- Nginx配置文件nginx.conf有哪些属性模块?
worker_processes 1: # worker进程的数量 events { # 事件区块开始 worker_connections 1024: # 每个worker进程支持的最大连接数 } ...
- Python 日志模块 logging通过配置文件方式使用
vim logger_config.ini[loggers]keys=root,infoLogger,errorlogger [logger_root]level=DEBUGhandlers=info ...
- Nginx配置文件nginx.conf中文详解(转)
######Nginx配置文件nginx.conf中文详解##### #定义Nginx运行的用户和用户组 user www www; #nginx进程数,建议设置为等于CPU总核心数. worker_ ...
- Nginx配置文件详解
Nginx是一款面向性能设计的HTTP服务器,相较于Apache.lighttpd具有占有内存少,稳定性高等优势. ######Nginx配置文件nginx.conf中文详解##### #定义Ngin ...
- 005.nginx配置文件
1.替换nginx主配置文件 通过前面的配置,LNMP的环境已经搭建完成,现在我们替换nginx配置文件: [root@huh ~]# cd /usr/local/nginx/conf/[root@h ...
- nginx配置文件nginx.conf超详细讲解
#nginx进程,一般设置为和cpu核数一样worker_processes 4; #错误日志存放目录 error_log /data1/logs/er ...
随机推荐
- Ant: macrodef
<macrodef name="tokenReplace"> <attribute name="subapp"/> <attrib ...
- mysql 5.7.29 在centos7.6下超简单的本地yum源安装与配置
目录 生成yum源元数据 从网易镜像站下载MySQL 5.7 的 bundle包 创建文件 mysql-local.repo 执行yum install命令 生成yum源元数据 createrepo ...
- 解决ubuntu18.04重启后蓝牙鼠标需要重新配对的问题
打开bash,运行bluetoothctl命令 # bluetoothctl 列出可用的蓝牙控制器 [bluetooth]# list 选择使用的蓝牙控制器 [bluetooth]# select 0 ...
- 【Java】流程控制
文章目录 流程控制 一.用户交互scanner 1.1 Scanner对象 1.2 Scanner进阶使用 二.顺序结构 三.选择结构 3.1 if单选择结构 3.2 if双选择结构 3.3 if多选 ...
- C# 在PDF文档中应用多种不同字体
在PDF文档中,可绘制不同字体样式.不同语言的文字,可通过使用Standard字体.TrueType字体.CJK字体或者自定义(私有)等字体类型.下面通过C#程序代码来展示如何实现使用以上类型的字体来 ...
- 建造者模式(Bulider模式)
模式的定义与特点 建造者(Builder)模式的定义:指将一个复杂对象的构造与它的表示分离,使同样的构建过程可以创建不同的表示,这样的设计模式被称为建造者模式.它是将一个复杂的对象分解为多个简单的对象 ...
- python操作MySQL--实例
有一段时间,没更新,但这都不是自己懒惰的借口,希望自己能坚持下去: python可以操作MySQL 数据库,需要安装的是MySQL-python,并且实现读入excel表及生成excel 表,则需要x ...
- 集合框架-Map集合重点方法keySet演示
1 package cn.itcast.p6.map.demo; 2 3 import java.util.HashMap; 4 import java.util.Iterator; 5 import ...
- 定义函数返回 ax2 + bx + c = 0 的两个解
# -*- coding: utf-8 -*- import math def quadratic(a, b, c): s = b*b - 4*a*c if a == 0: x = -c / b re ...
- Android安卓开发-记账本布局
账单页面布局统计页面布局我的页面布局主页面加号记账页面布局.点击记账页面记账类别布局点击收入页面收入类别布局统计页面支出布局统计页面收入布局查询页面布局数据库设计字段一,支出id和收入id分配字段二, ...