vue学习七之Axios
JQuery时代,我们使用ajax向后台提交数据请求,Vue时代,Axios提供了前端对后台数据请求的各种方式。
什么是Axios
Axios是基于Promise的Http客户端,可以在浏览器和node.js中使用。
为什么使用Axios
Axios非常适合前后端数据交互,另一种请求后端数据的方式是vue-resource,vue-resource已经不再更新了,且只支持浏览器端使用,而Axios同时支持浏览器和Node端使用。
Vue开发者推荐使用更好的第三方工具,这就是Axios,详细的文件,请参考Evan You的这篇文章。
安装
Axios的安装支持多种方式
npm安装
1 |
npm install axios |
cdn
1 |
<script src="https://cdn.bootcss.com/axios/0.18.0/axios.min.js"></script> |
使用方式介绍
接下来,我们使用Django,搭建一个后台程序,并使用Vue Cli搭建一个前端程序,使用Axios进行前后端数据交互。
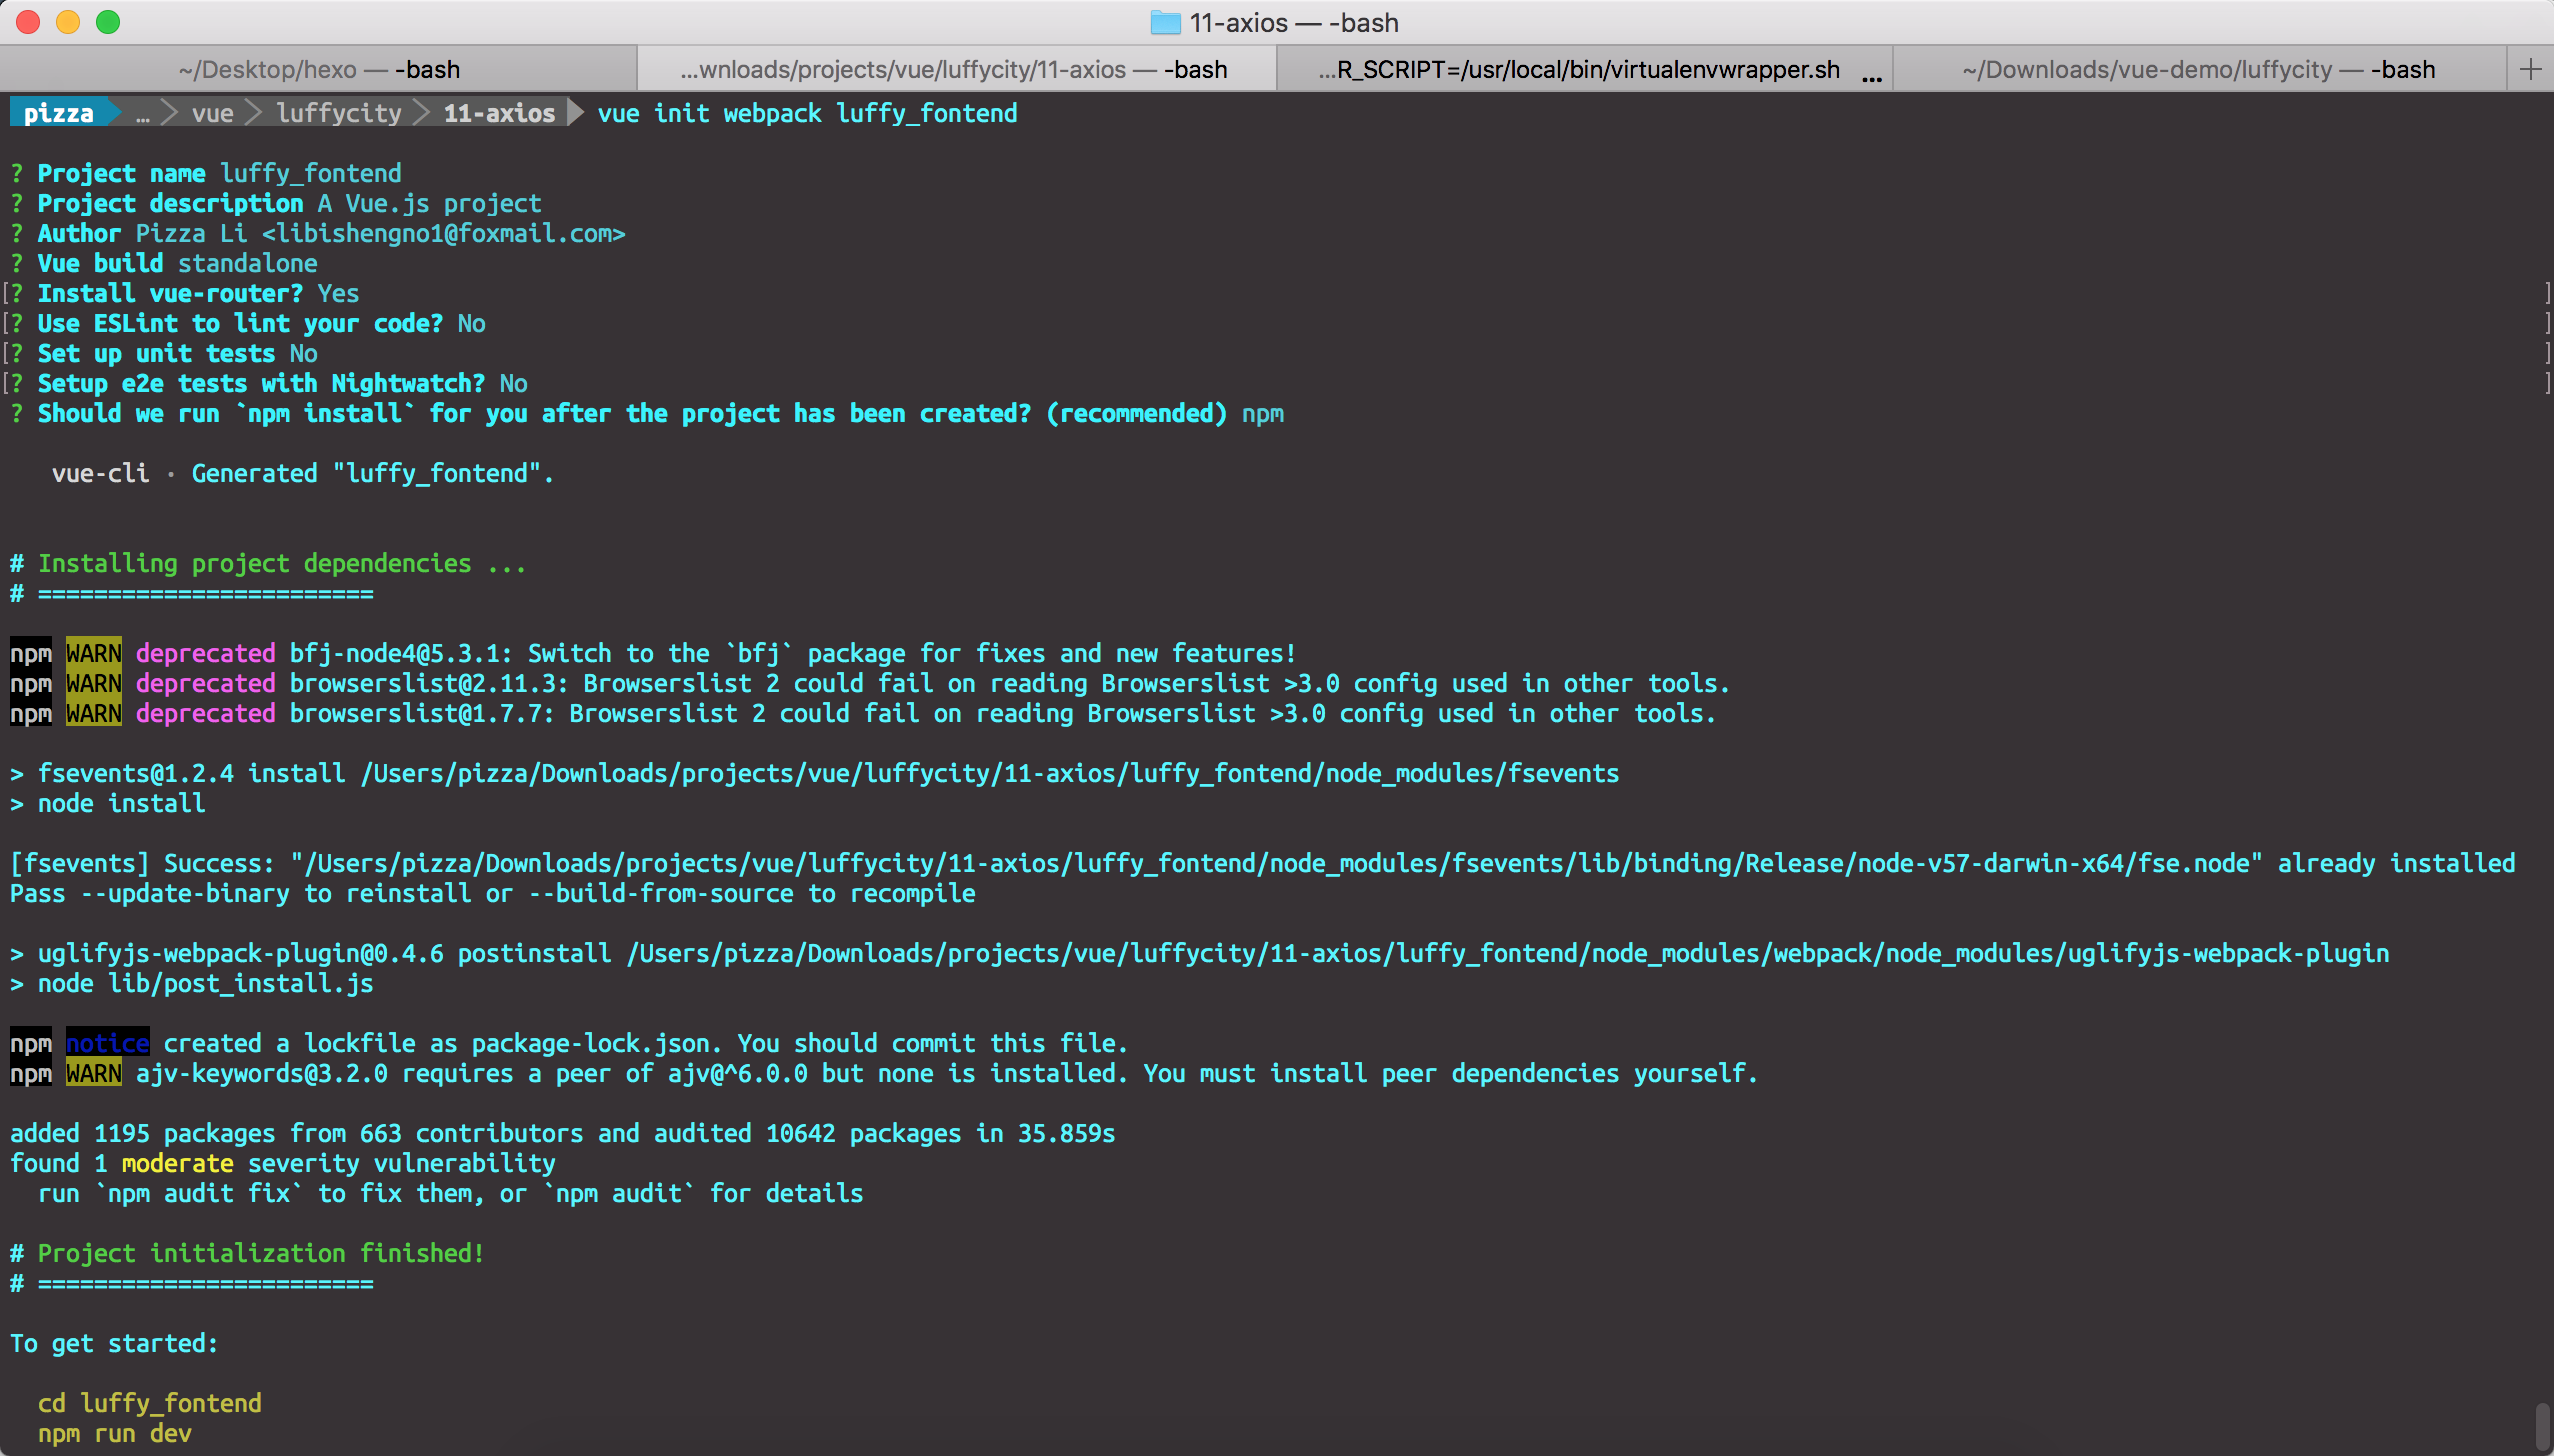
使用Vue Cli创建一个前端程序
1 |
vue init webpack luffy_fontend |
使用Django创建一个后端程序luffy_backend
1 |
django-admin startproject luffy_backend |
创建一个courses应用
1 |
cd luffy_backend |
在models.py中创建两个类
1 |
from django.db import models # Create your models here. class Courses(models.Model): |
插入数据
1 |
// courses_courses |
在views.py中写好接口
1 |
from django.shortcuts import render, HttpResponse |
定义接口
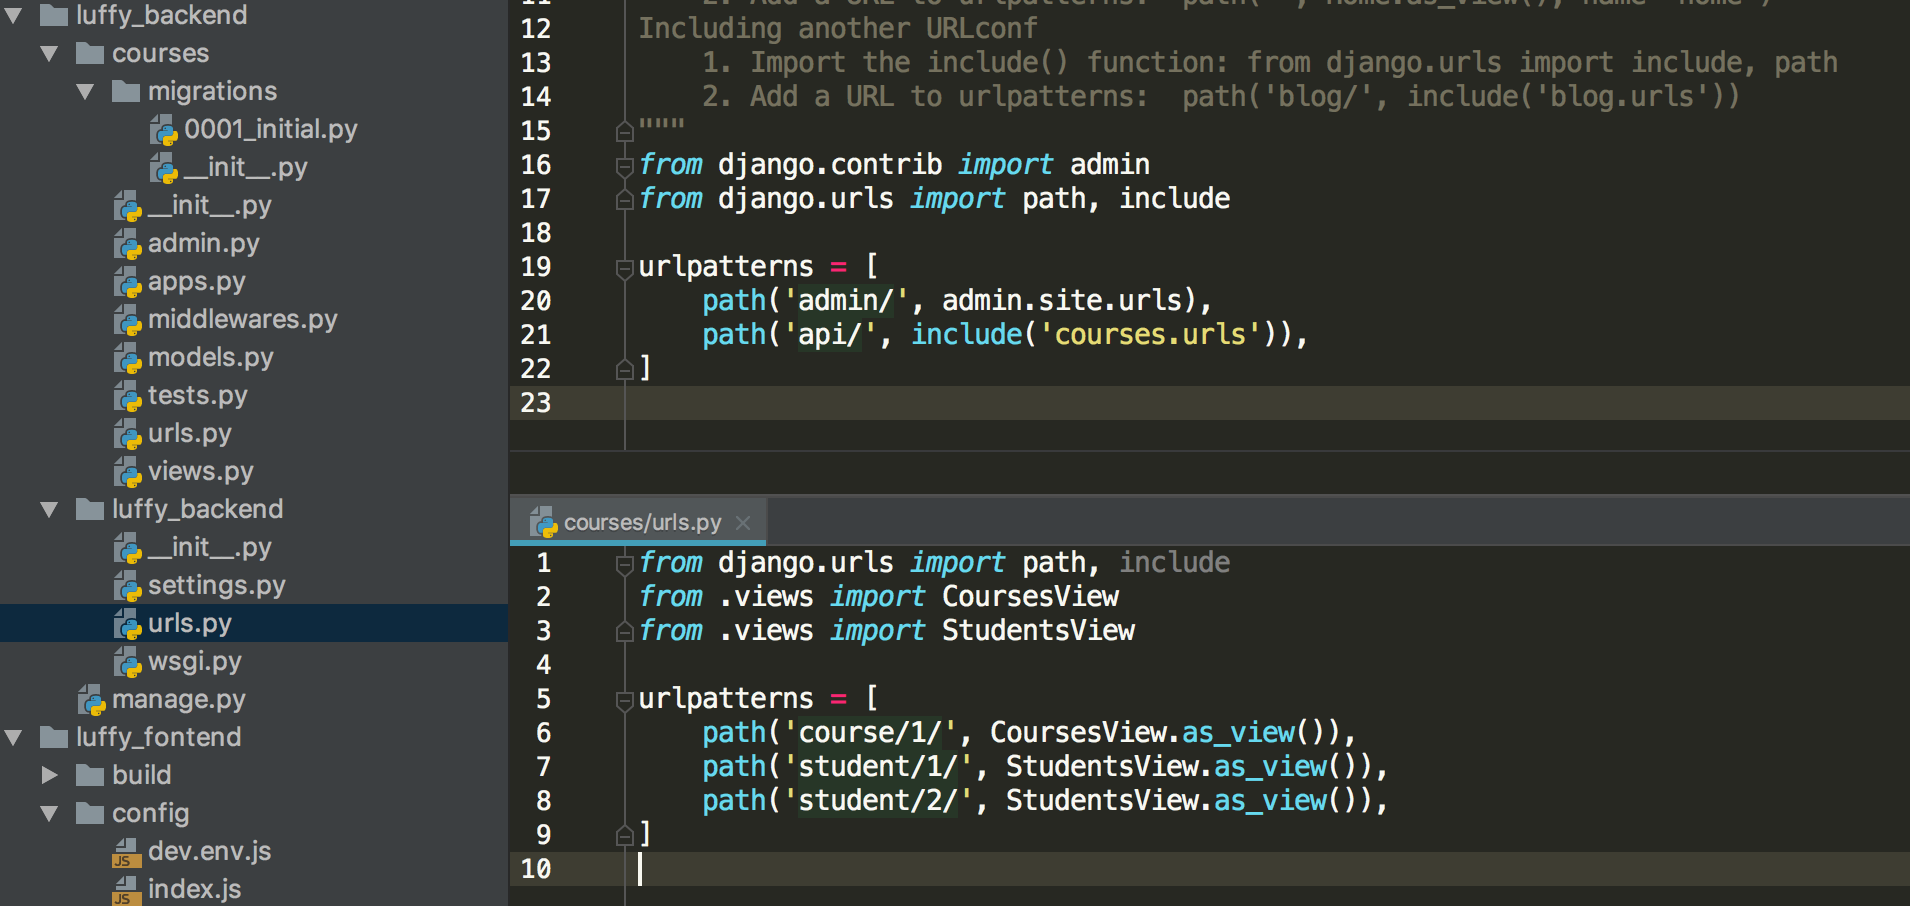
配置后台接口
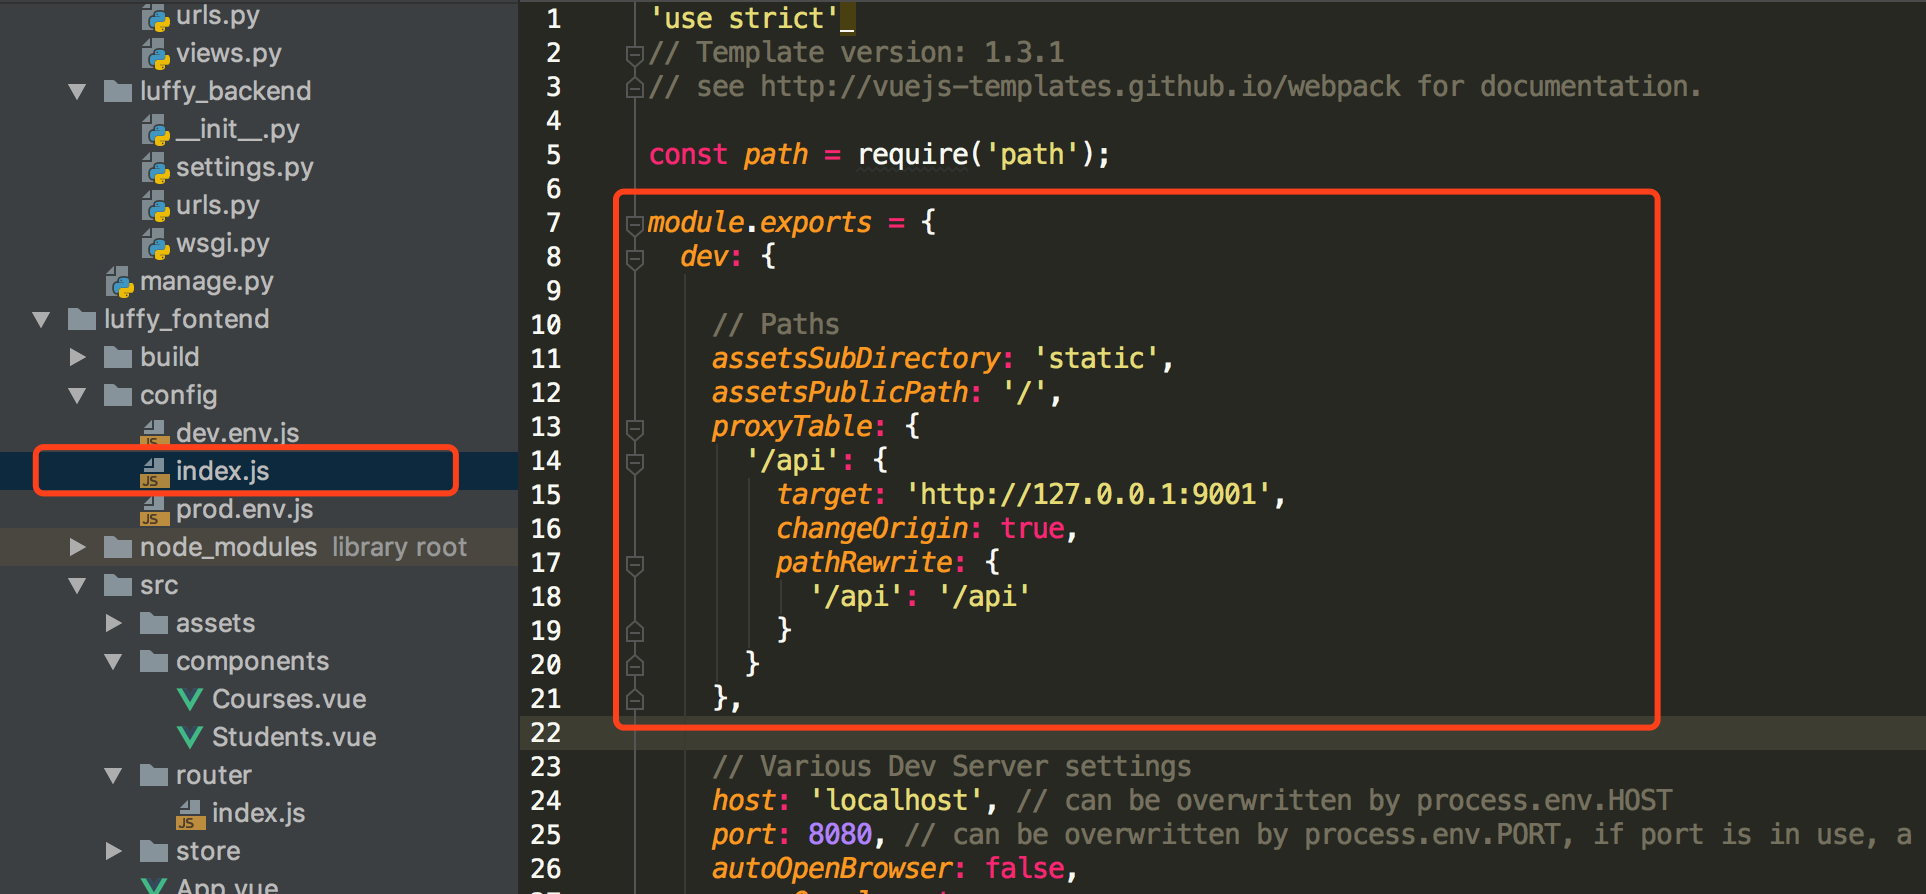
获取课程信息
1 |
<template> |
获取学生信息
1 |
<template> |
以上,就是我们通过Axios的get和post请求与后台进行数据交互的全过程。
vue学习七之Axios的更多相关文章
- day 84 Vue学习六之axios、vuex、脚手架中组件传值
Vue学习六之axios.vuex.脚手架中组件传值 本节目录 一 axios的使用 二 vuex的使用 三 组件传值 四 xxx 五 xxx 六 xxx 七 xxx 八 xxx 一 axios的 ...
- day 85 Vue学习七之vue-cookie
Vue学习七之vue-cookie 通过vue如何操作cookie呢 参考链接:https://www.jianshu.com/p/535b53989b39 第一步:安装vue-cookies ...
- day 87 Vue学习六之axios、vuex、脚手架中组件传值
本节目录 一 axios的使用 二 vuex的使用 三 组件传值 四 xxx 五 xxx 六 xxx 七 xxx 八 xxx 一 axios的使用 Axios 是一个基于 promise 的 HT ...
- day 87-1 Vue学习七之vue-cookie
通过vue如何操作cookie呢 参考链接:https://www.jianshu.com/p/535b53989b39 第一步:安装vue-cookies npm install vue-coo ...
- vue 学习七 组件上使用插槽
我们有时候可能会在组件上添加元素,就像下面那样 <template> <div id="a"> <com1> <p>我是渲染的值&l ...
- vue学习(七) v-model 双向数据绑定
//html <div id="app"> <input type="text"v-model="msg" style=& ...
- vue学习目录 vue初识 this指向问题 vue组件传值 过滤器 钩子函数 路由 全家桶 脚手架 vuecli element-ui axios bus
vue学习目录 vue学习目录 Vue学习一之vue初识 Vue学习二之vue结合项目简单使用.this指向问题 Vue学习三之vue组件 Vue学习四之过滤器.钩子函数.路由.全家桶等 Vue学习之 ...
- vue学习【二】vue结合axios动态引用echarts
大家好,我是一叶,本篇是vue学习的第二篇,本篇将要讲述vue结合axios动态引用echarts. 在vue中,异步刷新使用的是axios,类似于大家常用的ajax,其实axios已经是vue的第二 ...
- AntDesign vue学习笔记(七)Form 读写与图片上传
AntDesign Form使用布局相比传统Jquery有点繁琐 (一)先读写一个简单的input为例 <a-form :form="form" layout="v ...
随机推荐
- Android源码中中一种常见的struct使用方法
直接看例子: #include<iostream> #include<stdlib.h> using namespace std; struct Base{ int ba; i ...
- Android对touch事件的拦截,在View Tree上的传递顺序
当发生touch事件时,系统会产生一个MotionEvent并且沿着View Tree开始传递.首先获取MotionEvent是View Tree的根节点,根节点通常是一个ViewGroup,View ...
- RabbitMQ笔记四:Binding,Queue,Message概念
Binding详解 黄线部分就是binding Exchange与Exchange,Queue之间的虚拟连接,Binding中可以包含Routing key或者参数 创建binding 注意: ...
- jQuery的一些静态方法
// 该方法被绑定在jQuery对象上,只能通过$.noConflict()调用 noConflict: function( deep ) { // 取消$在window上的绑定,方法是将_$绑定到w ...
- LeetCode 30 Substring with Concatenation of All Words(确定包含所有子串的起始下标)
题目链接: https://leetcode.com/problems/substring-with-concatenation-of-all-words/?tab=Description 在字符 ...
- Unity3D Animator控制参数和添加事件
Animator控制参数和添加事件 using UnityEngine; using System.Collections; public class AniControl : MonoBehavio ...
- 剑指offer题目记录
1.如下为类型CMyString的声明,请为该类型添加赋值运算符函数. class CMyString { public: CMyString(char* pData = NULL); CMyStri ...
- Egret的屏幕适配模式图示
1 ShowAll 过长时,上边有边框 过短时,左右有边框 2 noScale 不会进行任何缩放 3 noBorder 过长时,裁减左右 过短时,裁减上下 4 fixedWidth 过长时,下方有边框 ...
- C#取得Web程序和非Web程序的根目录的N种取法
取得控制台应用程序的根目录方法方法1.Environment.CurrentDirectory 取得或设置当前工作目录的完整限定路径方法2.AppDomain.CurrentDomain.BaseDi ...
- [Windows]Window 7 修改系统时区
注意:编码存储为ANSI tzutil /s "China Standard Time"pause